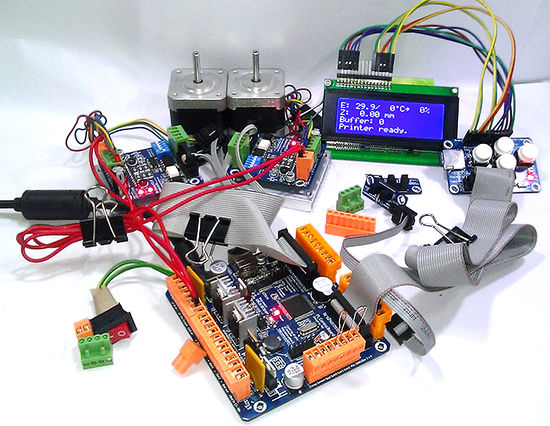
PiBot for Repetier Motherboard
|
English • العربية • български • català • čeština • Deutsch • Ελληνικά • español • فارسی • français • hrvatski • magyar • italiano • română • 日本語 • 한국어 • lietuvių • Nederlands • norsk • polski • português • русский • Türkçe • українська • 中文(中国大陆) • 中文(台灣) • עברית • azərbaycanca • |
Release status: working
| Description | Part of PiBot Electronics Motherboard
|
| License | |
| Author | |
| Contributors | |
| Based-on | [[]]
|
| Categories | |
| CAD Models | see files
|
| External Link |
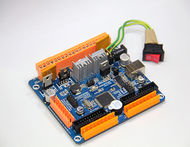
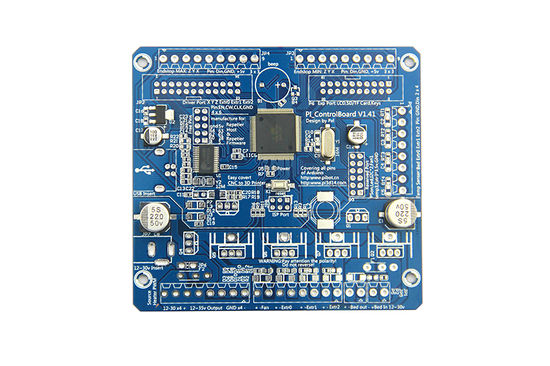
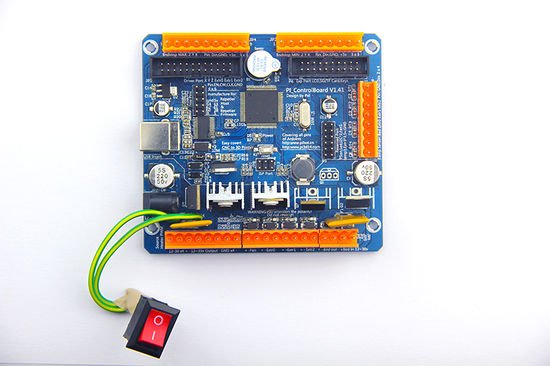
- PiBot for Repetier Motherboard is a part of PiBot electronics. It put forward a easy solution to make your 3D printer and CNC machine. Not only an electronic board, but also PiBot-box which with the function similar to computer Host and you can easily handle it only plug few terminals.The technology of grit and black oxide finish dose used in PiBot-box fabrication.
Contents
Features & Specifications
Highlights
- PiBot-Box development kit Supported. Offer a set of solution to your electronics. Easy use and transplant.
- IDC & HT-396 cold-pressed terminal,It means these anti-plug linker is very convenience,fast and reliable.
- build-in pins assignment silk in the Top Over layer. It more convenience to change or make your own assignment.
- Officially authorization to add the Repetier terms on the boards. Support all the function in the Repetier-Host and Repetier-Firmware.
- Compatible all of the pins in the Ardunio Mega 2560 and Ardunio ADK
- It's flexible! Capability to supply motors and heaters with a different voltage.
- The heat bed with independent power source and Self-recovered safety. With two MOSFET parallel solution that can driver more powerful heat bed(optional function, you can use the soldered MOSFET only).
- It's affordable! it fit to manufacture PiBot, RepRap, Mendel, CNC machine or to etch DIY.
- Heater driver with heat sink,compatible more powerful heated header.
Details
- PiBot-Box Size: 273*225*50mm Technology: Grit Technology,Black Oxide Finish Color/Colour: Matte Black Material: Code-Draw Steel
- Controller and motor drive discrete solutions.
- Double-sided PCB. Board Size;99.9*91.2 mm-Rectangle ; mount hole distance; 92.6*75 mm-4xM3 hole
- CPU: ATmega2560, ATmega1280 (Atmel Corp.)
- 4x to 6x PiBot TB6600 Stepper Driver, exchangeable, up to 4.5A output and 45v input,adjustable microstepping. Using a IDC-24pin port, neat and dust-free finish.
- On-board USB-TTL converter.
- Integrated hardware for a fan, three extruder, a heated bed, 4 temperature sensor, 6 endstop port.
- External hand switch [120V-10A]
- IDC-20pin expand port, include: SD cards, keys, dispaly LCD (lcd1602 or lcd2004),reset button.
- Extension Boards for additional extruder, temperature sensor, fans, I2C bus device.
- Extraction free pins use for whatever is desireable.
- Single Supply, use the LM317File:LM317 for PiBot.pdf 3-terminal adjustable regulater, 5v supply solution. So the input can up to 40v.
Design Goals
- Designed for Repetier and PiBot-box.
- Offer an easy convert solution that to change your CNC machine into a 3D printer.
- Easy use for DIY enthusiast, convenience for secondary development.
- Support more extrude header and more types of machine.
- Make it similar to computer host and you can easily handle it only plug few cables.
- PiBot for Repetier Motherboard: http://www.pibot.com/index.php/pibot-for-repetier-motherboard.html#.UmNs17LBjVk
Communication & Contact
- Any idea to develop this motherboard, you can email Pan Xinlong.
- All parts are licensed under CC BY-NC-SA 3.0.
PiBot Box
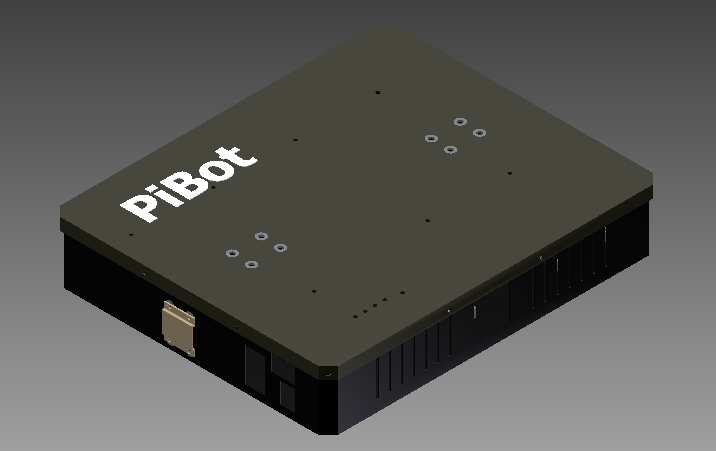
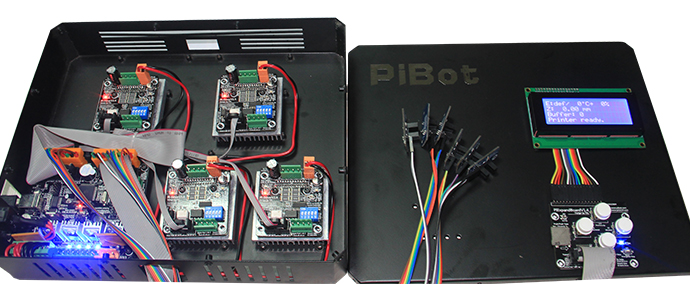
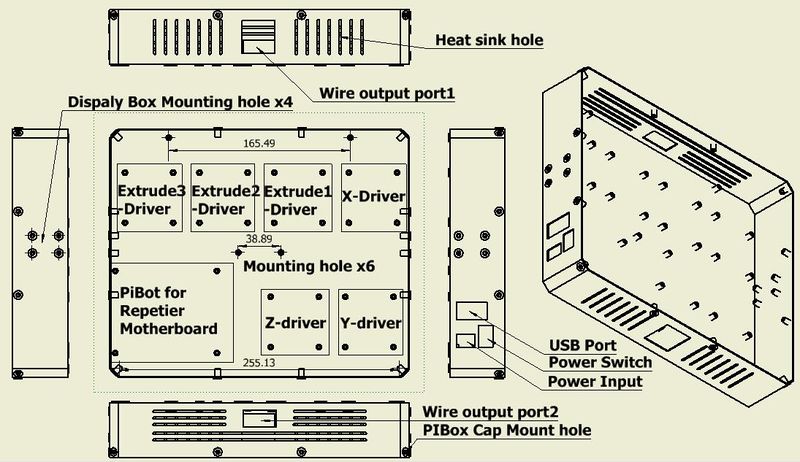
PiBot Box _an Code-Drawn Steel Box. It can hold 1 PiBot mother Board , 4 PiBot TB6600 stepper driver, 1 manual controller board. This Steel Box include many heat sink holes which can continuous work for a few days without heat sink fan. Every working part contain the busy Indicator and this box with assorted machine hole.
The second generation will put forward later, it can include 6 PiBot TB6600 stepper driver.
Ports and Connectors
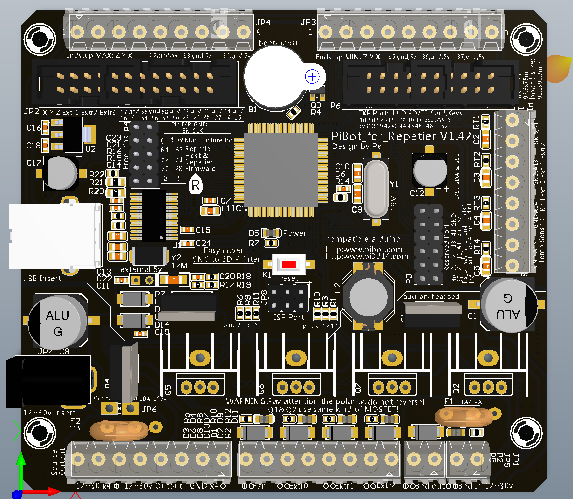
- PiBot_for_Repetier_Motherboard 3D PCB integrate
How to Build
This part is only for users who want a empty PCB and weld them. The Mother board purchase from PiBot is welded by High-speed SMT machine in PCB process factory.
- Solder Images
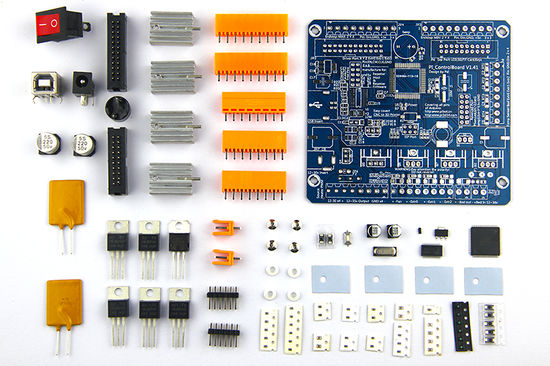
- Prepare all of the components to build a PiBot For Repetier Mother Board;
- You'll need a soldering toolkit and SMT soldering toolkit to finish this board.
- Use SMT soldering toolkit
- Apply solder paste to every exposed SMD pad.
- Place each SMD component on its appropriate pad.
- Place populated board on a cold hotplate,turn hotplate on,board solders itself!
- Solder in remaining through hole components.
- If you without a soldering toolkit, you can also use an tweezers and an soldering iron finish them by manual. All of them are hand solderable!
- Use soldering toolkit
- Insert through hole components.
- solder all these pins to the pad.
IDC-20pin expand connector,IDC cold compression pincers
HT-396 cold-pressed terminal,HT cold compression pincers
- Hardware Test & Debug
- Before plug in the power source and USB cable, you need to check the polarity of electrolytic capacitor, chip and diode.
- Use an digital multimeter to test the resistance value of the power. Usually, it has a increase resister. Ensure no short cut and insufficient solder.
- If no problem, you can plug in the USB cable, the power LED (red) lighten.
- Plug in IDC-20pin expand connector,IDC-24pin Driver connector,temperature sensor.
- Now, you can open the Repetier Host, click "Connet".
- Notice
Firmware & Host
- PiBot for Repetier Motherboard V1.4 uses by default Repetier host and Repetier firmware.
- Download the Repetier firmware and Code editor Arduino IDE or Source Insight
- Unzip the Repetier firmware, open your Arduino IDE.
- Select the Board type "arduino mega 2560" in "Tools\Board\arduino mega 2560" and the "Serial Port" in "Tools\Serial Port\COM**"
- Open file Repetier.pde or "Repetier.ino" in "Repetier Unzip file\Repetier-Firmware\src\ArduinoAVR\Repetier\Repetier.pde" or "Repetier Unzip file\Repetier-Firmware\src\ArduinoAVR\Repetier\Repetier.ino".
- Select configuration.h set #define MOTHERBOARD 315 (PiBot for Repetier V1.4) or #define MOTHERBOARD '314 (PiBot for Repetier V1.0-1.3)
- set #define DRIVE_SYSTEM 0 (full cartesian system, xyz have seperate motors.) & #define FEATURE_CONTROLLER 8( PiBot Display/Controller extension with 20x4 character display) or #define FEATURE_CONTROLLER 9 (PiBot Display/Controller extension with 16x2 character display).
- Click the "Verify" button to compile the code or direct click "Upload" button to compile and upload firmware to PiBot for Repetier mother board.
- Other firmware maybe compatible too, but you need to configure it. Such as: Marlin firmware.
Troubleshooting
- If part of module can't work, you can easily deal with them by check the connect headers and the dip Resettable Fuse.
- If you can't upload the firmware, Please check the Aduino tools setting and press the "reset button" once the compile finished.
Safety Tip
Once you start putting electricity into your RepRap - even at just 12 volts - you have to take basic, common sense precautions to avoid fires. Just in case these fail, test your workshop smoke detector. Don't have a smoke detector? Get one!
