PonokoRepRapXMotorAssembly
Ponoko RepRap X Motor Assembly
The X Motor assembly can be fitted with either a NEMA17 or NEMA23 stepper motor. With the larger NEMA23 design, the motor body itself is used to trap the X Carriage guide rails to the X Motor Bracket. With the NEMA17, the motor is screwed directly to its bracket and acrylic clamps are used to hold the guide rails in place.
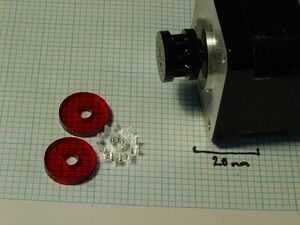
First, locate the size of rims and gear that (a) fits the shaft on your stepper motor, and (b) fits the type of ball chain that you have purchased. If the gear or rim does not quite fit the spindle of the motor, file away on the interior flat surface with a small flat file until it just fits. If you have no flat on your stepper motor, clamp it in the jaws of a vice and put one there with a 2nd cut file.
Once you have something that fits on, scrape the motor shaft with the file a bit to give it a good key, and epoxy the rim/gear/rim sandwich into place right at the end of the shaft. Make sure all is square before the epoxy sets.
Try not to fill the teeth of the gear with epoxy. If you do, try not to wipe it out with a solvent-soaked rag that dissolves the acrylic...
Some form of test on some scrap is in order.
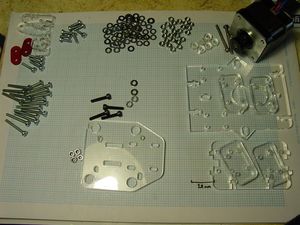
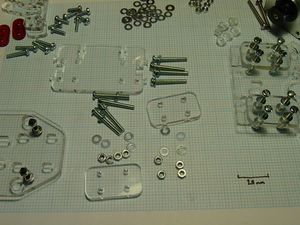
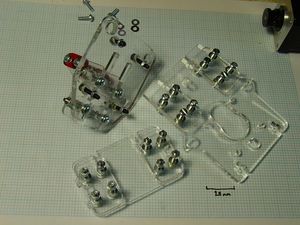
Here is a complete set of parts for the X Motor Assembly, using a NEMA 17 stepper motor. For a NEMA 23 motor, two of the Rail Clamps and their fastenings will not be needed, but 4 M5 25mm screws with 8 washers and 4 nuts not shown here will be:
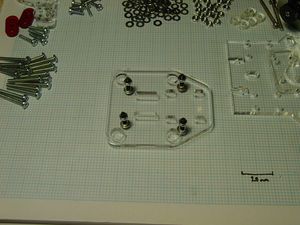
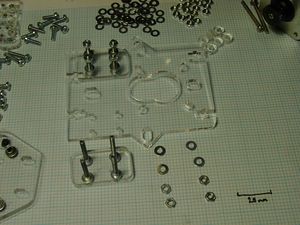
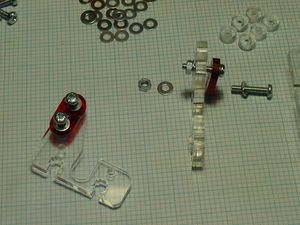
Put washers on four M3 16mm screws, and insert them into the X End Spacer as shown. Only use nuts, not washers on the other side as these nuts will become captive later.
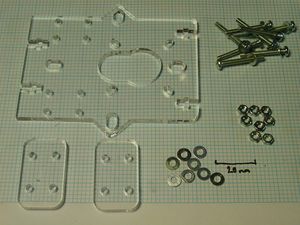
Locate these parts for assembling the X Motor Bracket from:
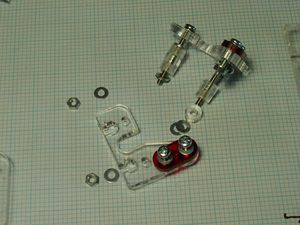
(NEMA17 Only) Put M3 washers on four M3 25mm screws and put them through a rectangular Rail Clamp. Insert this into the matchinf four holes in the large X Motor Bracket and secure with washers and nuts. Repeat for the matching Rail Clamp on the X Motor Bracket.
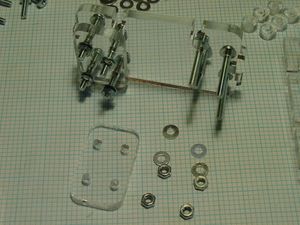
Locate the parts for the X Motor Lower Bracket as shown here:
Take the X Motor Lower Bracket and attach the two Rail Clamps as per the X Motor Bracket, but this time the M3 screws are inserted into the Bracket first, not the Clamp.
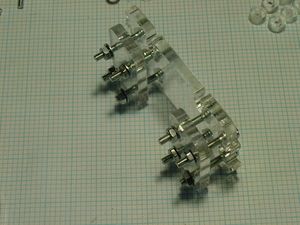
The completed X Motor Lower Bracket Assembly.
Assembling the Y Saddles is exactly the same as building the ones for the X Idler Assembly.
Just to remind you, this is the order in which the Y Saddles are braced together:
Attach the Y Saddle Assembly to the End Spacer using four M3 8mm screws with washers, and captive nuts as with the X Idler Assembly. Do not tighten fully. Wait until the X Axis Assembly is mated with the Y Axis for that.
If you're using a NEMA 17 motor, fit it now. Don't know what kind you're using? NEMA 17 only fits the small set of 4 slotted holes, NEMA 23 only fits the larger set that extend into the little triangular "wings" on the X Motor Bracket.
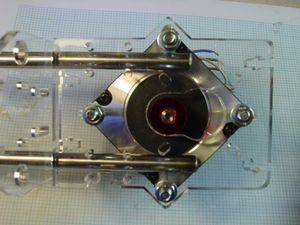
(NEMA23 Only)If you're using a NEMA 23 motor, you will fit it later, using it to trap the Guide Rails against the X Motor Bracket as shown here:
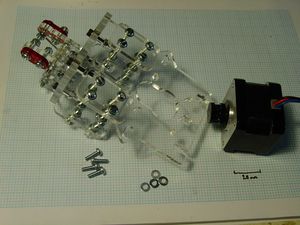
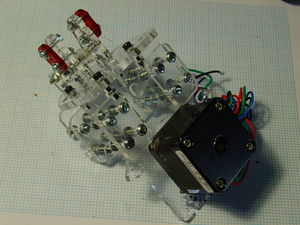
When it's all put together properly, the X Motor Assembly (this one fitted with a NEMA 17 motor) looks like this:
-- Main.VikOlliver - 07 Nov 2008
