PonokoXIdlerAssembly
Ponoko RepRap X Idler Assembly
| [PonokoRepRap Main Ponoko Page] | ||
| Prev Step | Next Step | |
| BOM for this page |
The X Idler holds an Idler Wheel on a freely rotating bearing that is used to tension one end of the X axis drive chain. It has two arms that reach out to rest on the Y axis and support the X Axis Assembly. It also has clamps for each of the 4 X Axis Guide Rails.
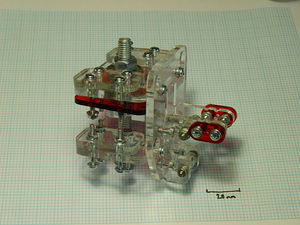
This is what it looks like when fully assembled. Note that the arms of the r-shaped Y Saddles reaching out from the central X Axis End Spacer are unusually thin in these illustrations.Yours should be made of stronger 8mm acrylic - but take great care when tensioning them anyway!
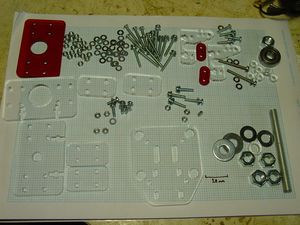
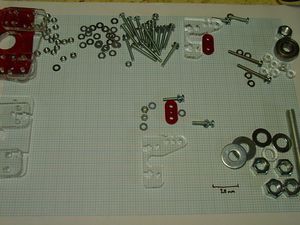
You will need the following bits:
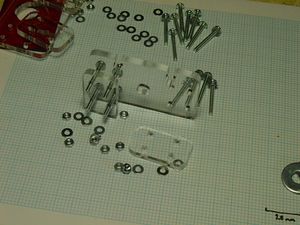
Put <part p="4 M3">washer</part>s on <part>4 M3 16mm screw</part>s and bolt them with <part p="4 M3">nut</part>s (no washers) through the X Axis End Spacer.
Then do the same with <part>4 M3 12mm screw</part>s (and <part p="4 M3">washer</part>s and <part p="4 M3">nut</part>s) but from the other side.
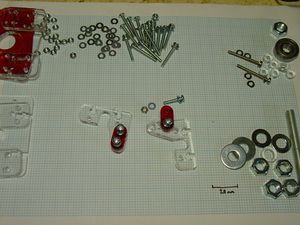
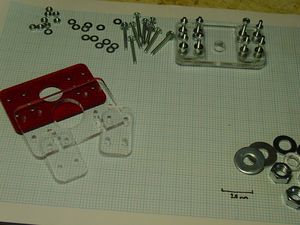
Locate the parts for the Y Saddle and Chain Clamp. Note that the example saddle here is cut from 4.5mm acrylic; later ones will be cut from 8mm for additional strength. They need it.
Assemble one Y Saddle with the Chain Clamp against one side, and a second with it on the other. The two Clamps should be attached as mirror images of each other. Use <part>4 M3 20mm screw</part>s, a pair of <part p="8 M3">washer</part>s each, and <part p="4 M3">nut</part>s.
Note: With the new 8mm thick saddles, you may well find that the 4.5mm thick Chain Clamps are needed, not the red 3mm thick ones shown in this illustration. Fortunately, both are provided.
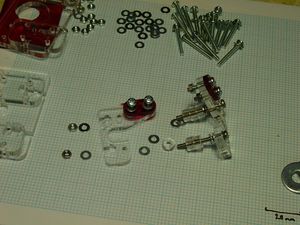
Put <part p="2 M3">washer</part>s on <part>two M3 40mm screw</part>s and slide them into the clamp side of one of the Y saddles. Slide on one or two <part p="4 M3">washer</part>s - the exact number depends on the thickness of your "8mm" and "5mm" acrylic. You might not need any.
Follow these with two (or three, depending on acrylic thickness) 5mm thick M3 acrylic spacers to each screw, perhaps another washer or two, and then the matching Y saddle. Test the fit against the four matching holes fitted with M3 12mm screws in the X Axis End Spacer that you made a few steps earlier.
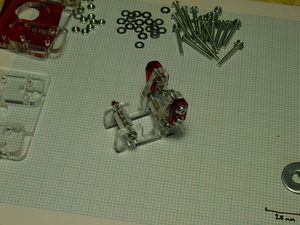
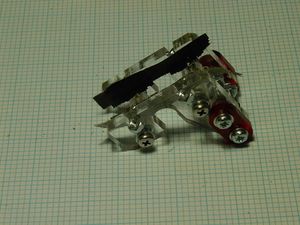
The completed saddle should look like this.
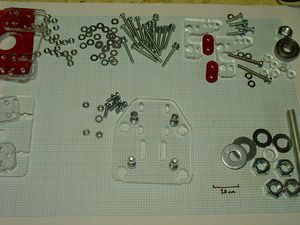
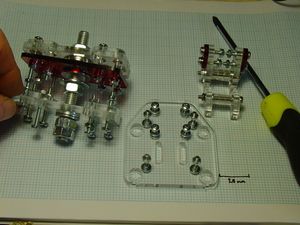
Put the <part p="4 M3">washer</part>s on <part>4 M3 20mm screw</part>s and thread them through the X Idler Lower Bracket. Slip on one of the two matching X Rail Clamps and put <part p="4 M3">washer</part>s and <part p="4 M3">nut</part>s on each screw. No need to do them right up as we'll be clamping them onto an 8mm rail later.
Repeat for the other 4 holes on the Lower Bracket using <part p="4 M3">washer</part>s on <part>4 M3 20mm screw</part>s and <part p="4 M3">washer</part>s under the <part p="4 M3">nut</part>s.
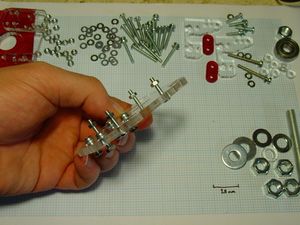
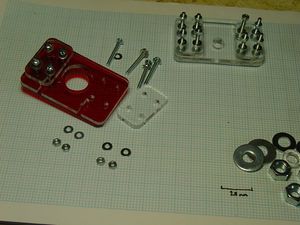
Now assemble to X Idler Top Bracket in a similar way, but this time the screw heads are on the same side as the Rail Clamps. This is because it makes them easier to do up when the X Idler Assembly is complete. Because of the extra thickness, use <part>8 M3 25mm screw</part>s with the <part p="8 M3">washer</part>s and <part p="4 M3">nut</part>s.
Note that the thin piece with the smaller central hole goes underneath the thicker piece. Again, no need to do the nuts all the way up just yet.
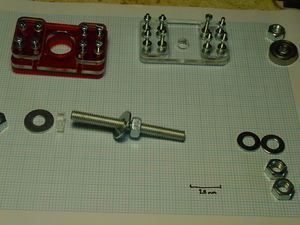
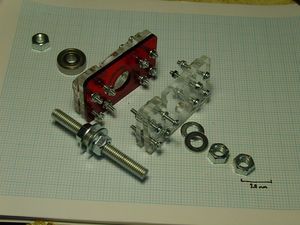
Put a <part p="M8">nut</part> roughly in the middle of the 80mm long piece of M8 <part p="M8 80mm">studding</part> and slip on a <part p="M8">washer</part> as shown. Follow the washer with an <part p="two">M8 wide aka fender washer</part>, a clear 5mm acrylic ring, and another wide washer held in place with the <part>M8 nut</part> lurking at the far left of the photo. Don't tighten just yet - you may have to adjust it. This is the X Idler Wheel around which the ball-chain will eventually go.
Onto one end add (as per the order in the photo) the Bottom Idler Bracket, a couple of <part p="two">M8 washer</part>s and a couple of <part p="two">M8 nut</part>s. These will be locked nuts when all is nicely aligned. On the other end, put the Top Idler Bracket, a <part>608Z skate bearing</part> and another <part p="M8">nut</part>. When complete and aligned, the bearing should be clamped firmly to the top of the X Idler Wheel by that last nut.
Now shuffle the two assembled brackets onto the 4 M3 16mm screws on the X Axis End Spacer, and the Y Saddle assembly onto the remaining four screws.
If you have difficulty attaching the Y Saddle, remove the nuts from the 4 M3 16mm screws and hold the nuts in place in the Y Saddle assembly using thin pieces of tape as shown here.
Without fully tightening the nuts, shuffle the parts around on the End Spacer ...
... until you have something that look like this:
That's the complete X Idler Assembly.
| [PonokoRepRap Main Ponoko Page] | ||
| Prev Step | Next Step |
-- Main.VikOlliver - 25 Oct 2008
