Robot arm
This page is a development stub. Please enhance this page by adding information, cad files, nice big images, and well structured data!
Release status: unknown
| Description | Robotic Arm Repstrap
|
| License | unknown
|
| Author | |
| Contributors | |
| Based-on | |
| Categories | |
| CAD Models | |
| External Link |
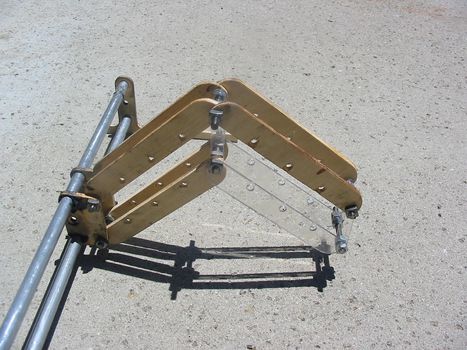
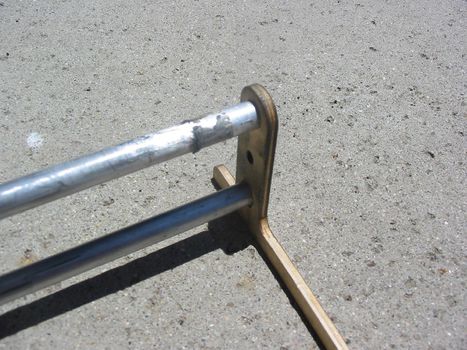
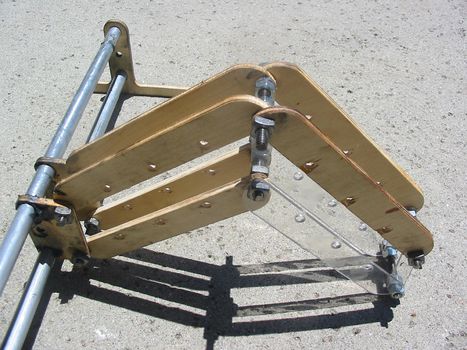
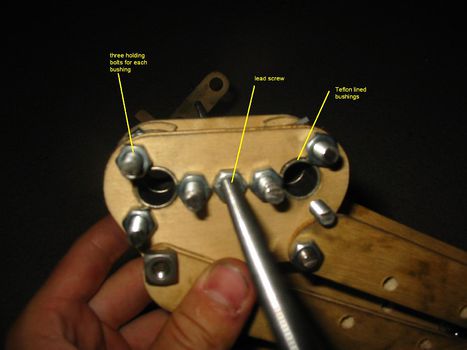
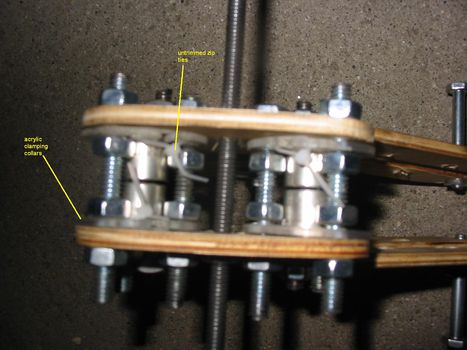
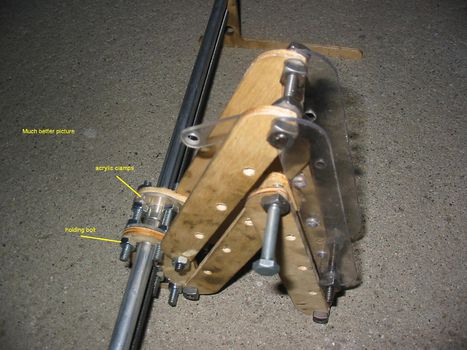
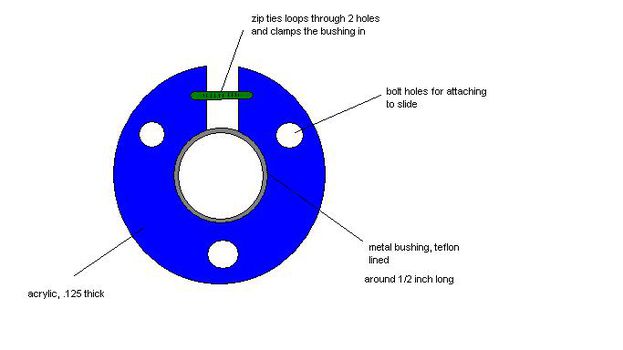
The robotic arm repstrap uses much less parts than a normal rep strap, and has a much larger work area. It uses a part polar, part Cartesian coordinate system. The x axis is linear, driven by a threaded rod along two rails. The arm slides along the rails with teflon lined bushings.The Y and Z axis are controlled using a two link arm, made from plywood. This arm is made up of two parallelograms. This parallelogram shape ensures that the end of the arm will stay level at all times. Two motors drive the arm using threaded rod and nut, which lengthens and shortens the distance between the two sides of each parallelogram, causing the arm to move up and down, in and out. Surprisingly, even with a 2lb load at the end of the arm, fully extended, you cannot notice any oscillation on a fast stop from full speed. The arm is extremely stiff due to the wooden links and the threaded rod pins.
The speed of the arm is currently around 30 Inches per minute, with salvaged printer motors, which is plenty sufficient for use as a repstrap. These motors will have a simple encoder wheel attached to them (printed on paper), which will be read by some light sensors and LEDs. A microcontroller such as the Arduino, or the parallax SX, will take instructions from a parallel port and control the motors accordingly.
The g-code for this machine will have to be converted to the robotic arm coordinates. This will be done on the computer, with a program that can take user inputs of dimensions for their machine, and convert the gcode based on those dimensions.
Right now the cost for this machine is around $50, if you buy everything rather than salvage (not including the extruder). This is much cheaper than the Darwin or Mendel, and it is easier to put together and therefore easier to maintain. I hope this will open up the world of 3-d printing to more people. The forum page is here if you want to suggest ideas or get the design so you can work on your own. http://forums.reprap.org/list.php?185
By the way, it is not finished in the pictures. Many modifications have been added lately. Pictures will be uploaded shortly. The stands that hold the x-axis motor and the rails have changed significantly.
Parts List:
motor couplers: Easy_Reliable_Coupler
gm3 motor mounts: (4 required)
pivoting nut holders (4 required)
Arm links- long: (8 required)
Arm links- short: (4 required)
Linear slide: (2 required- mirrored)
Images:
