R2C2 For Rapman
Under construction
Contents
Intro
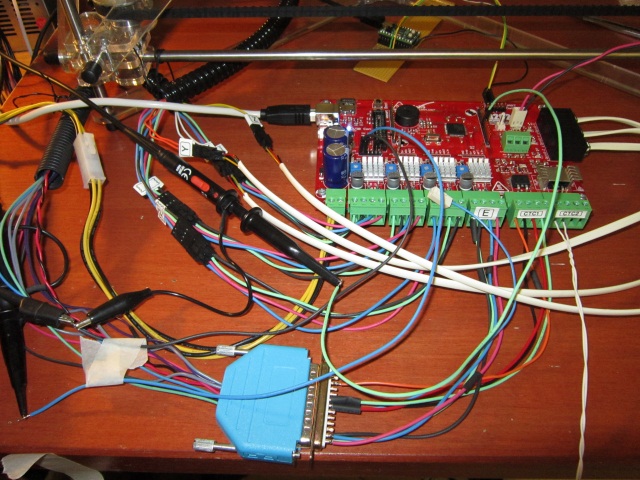
R2C2 is a new electronics board for RepRap printers and other devices. I recently got an R2C2 board which I am using with a RapMan. Here I will document how to get R2C2 to work with Rapman.
Hardware hookup
Power
To use the power brick an adapter from power socket to bare wires is needed. I am using an old computer PSU so have chopped a 12V extension cable up.
- Pin 1, 12V
- Pin 2, Ground
Stepper motors
Connecting the X and Y steppers is straightforward, connect the stepper wires to the screw-clamp terminals as follows:
- Pin 1, Green
- Pin 2, Black
- Pin 3, Blue
- Pin 4, Red
For the Z stepper we need to reverse the direction:
- Pin 1, Blue
- Pin 2, Red
- Pin 3, Green
- Pin 4, Black
Endstop microswitches
The R2C2 is supplied with opto endstop boards and cables which is nice but not directly usable with Rapman. To make the connection, I chopped two of the RJ11 cables in half, and connected Pin 1 (Yellow) and Pin 2 (Red) (can also use Pin 3, Green) to the microswitch wires. I use a Molex C-Grid/SL connector, but soldering or a screw terminal would work just as well. The colour scheme varies on RJ11 cables, so you might have to work out which is pin 1 and 2.
Note that on V1.1P revision boards the LEDs do not indicate correctly for the endstops, but the software will pick them up correctly.
RJ11 cables turn out to be quite common in the UK, as they are used for telephones. I already had a bunch lying around, but they can also be bought in various lengths from shops selling telephone kit, e.g. Maplin. You can get crimp tools, but you probably won't need to.
Extruder connections
To connect the extruder, I wired up a female D25 to connect to the existing D25 male connector, and then run the bare wires to the screw-clamps on the R2C2 board.
Pinout:
DB25 connector
Colours are colours on Rapman
- 1 - Extruder 1 2B (Red)
- 2 - Extruder 1 2A (Blue)
- 7 - +V (12V) (Grey)
- 8 - Extruder 1 Heater (Grey)
- 11 - Extruder 1 Thermistor (Purple)
- 14 - Extruder 1 1B (Green)
- 15 - Extruder 1 1A (Black)
- 20 - Extruder 1 Fan Return (Black)
- 21 - Extruder 1 Thermistor and Ground (Purple)
Connect to R2C2 as follows:
Numbers in brackets are D25 pins above.
J5 (Motor Extruder 1)
- 1 - (14) 1B (Green)
- 2 - (15) 1A (Black)
- 3 - (2) 2A (Blue)
- 4 - (1) 2B (Red)
J8 (CTC #1)
- 1 - (11) Extruder 1 Thermistor
- 2 - (21) Extruder 1 Thermistor and Ground
- 3 - (7) +V (12V)
- 4 - (8) Extruder 1 Heater
J24 (Fan for Extruder Cooling)
- 1 - No Connect
- 2 - Extruder 1 Fan Return
Note: J24 pin numbering is as marked on PCB
