Laser Cutter Notes
|
English • العربية • български • català • čeština • Deutsch • Ελληνικά • español • فارسی • français • hrvatski • magyar • italiano • română • 日本語 • 한국어 • lietuvių • Nederlands • norsk • polski • português • русский • Türkçe • українська • 中文(中国大陆) • 中文(台灣) • עברית • azərbaycanca • |
Release status: unknown
| Description | turnkey or DIY laser-cutter toolheads
|
| License | |
| Author | |
| Contributors | |
| Based-on | |
| Categories | |
| CAD Models | |
| External Link |
Contents
RepRap Research/Writeups
See the Laser Cutter Working Group@forum.reprap for discussion.
Background
Cost Estimate
- comercial 'naked' diodelaser with 8Watt@975nm and 0.1mm atached glass fibre: ~230 Euros (in quantities above 5 pcs).
- turnkey-system with 10Watts @ 975nm, a visible red pilot-laser and jack for the glass fibre: ~1000 Euros (in quantities above 5 pcs).
Components
Laser Light Sources
- CO2-lasertube ... sealed (RF) or 'naked' glass-tube
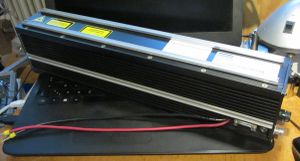
Here a 10 Watt "sealed" RF-CO2-lasermodule - PS = 30V@6A, controlling per TTL-PWM-signal:
- diode-laser ... best with atached glass fibre (=pigtailed)
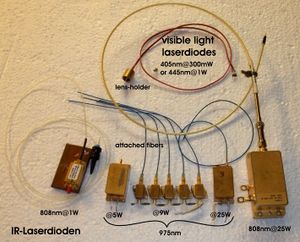
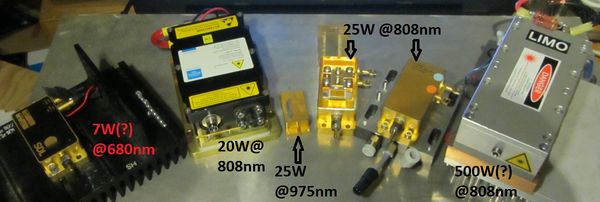
- Different laserdiodes:
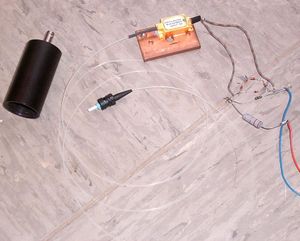
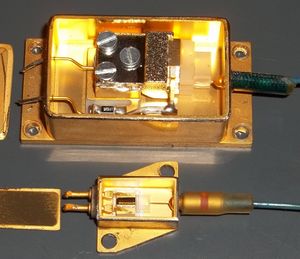
1 Watt pigtail diode laser with optical head, different diodes with up to 25 Watts, different diodes with up to 500 Watts:
You can harvest RED LaserDiodes from old DVD burners. The quicker the burner the better. The types you can expect to find are more or less the following:
x12 speed recording – 200mW
x16 speed recording – 250mW
x16 Dual Layer speed recording – 300mW
x24 Dual Layer speed recording – 400mW
These are diven mostly around 300-400mA (to get around 200-250mW of power). With this little amount of power you can expect to engrave (in slow speeds) wood and paper, and cut colored paper. Good focusing helps.
In ebay there are Blue 2Watt lasers scavenged from DLP projectors. The so called M140 variety can go easily up to 2Watt when driven at 1.4Ampers. With this quite more hefty diode you can expect to cut any color of paper, light plywood, thin leather etc.
- IR-diodes internal assembly:
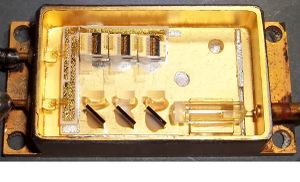
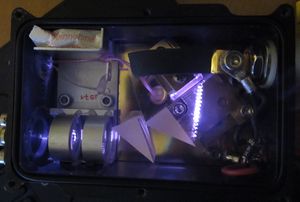
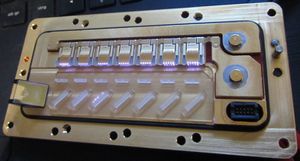
opened 5Watt-, 9Watt- + 25Watt-diodelasers, 20Watt808nm-diodelaser, 200Watt@976nm-diodelaser:
- Complete modules:
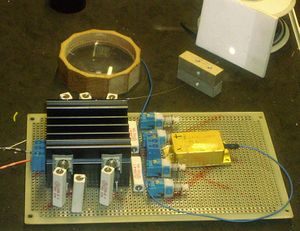
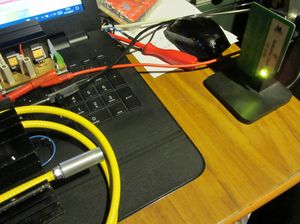
5 Watt pigtail diode laser with 4xLM317-driver atached and lighting on a beam-indicator without optics:
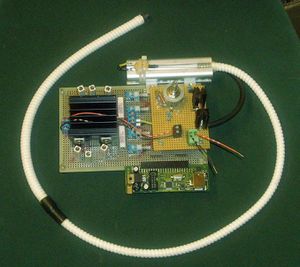
complete 5 watt pigtail diode laser-module with 4x or 5x LM317-driver, MOSFET, microcontroller, armored tube and an optic head - prototype on the left, V2 on the right:
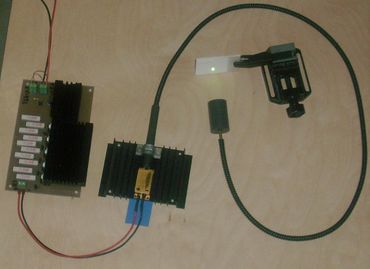
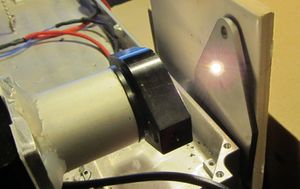
30Watt@975nm laser diode with 8.6A driver, with about 1Watt focused on IR indicator:
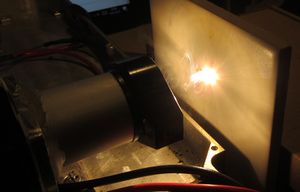
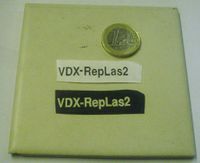
200Watt@976nm laser diode with about 20 Watt on ceramic tile and stainless steel:
- Applications:
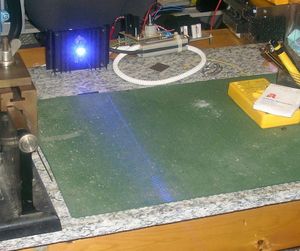
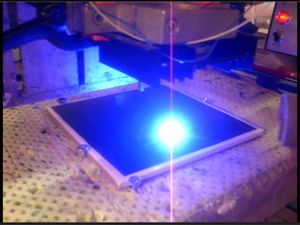
'real blue' 445nm-diode with 1Ampere current and roughly 1Watt output power. - left = focussed beam, middle = burning without filter, right = UV-filterplate:
- ...
beam-feeding optics
2. beam-feeding optics:
- CO2: - mirrors
- diode-lasers: - glass fibre and/or lenses and mirrors
- ...
focussing optics
3. focussing optics:
- CO2: - Germanium- or ZnSe-lens for CO2-laser ... concave mirror is possible too
- diode-lasers: - 'normal' optical lenses
- ...
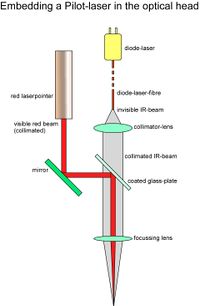
3.1. Embedding a Pilotlaser as guide or beam-indicator:
power source and output-power control
- Main article: Bright Light Circuit
4. power-source:
- CO2: - mostly monolithic PS, good when below 40 Volts for RF-CO2-lasers, 'naked' and DIY-CO2-tubes need above 1000 Volts
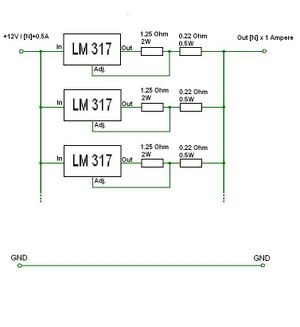
- diode-lasers: - constant-current-driver (e.g. more LM317 in parallel) -- update for a more complete driver circuit
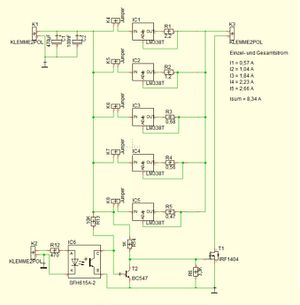
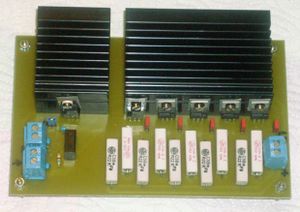
- a 5xLM317-driver with switching MOSFET:
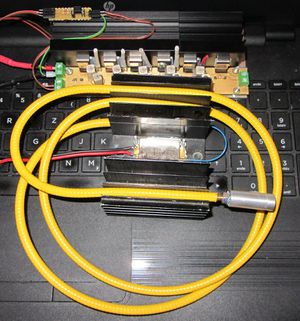
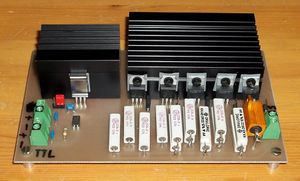
- modified driver with 2xLM317 with 1Ampere each and 3xLM338 with 2, 2, and 2.6 Ampere for free combinations from 1 to 8.6 Amps:
- ...
5. output-power controller:
- CO2: - embedded in RF-CO2-lasers - mostly TTL-input capable of switching the laser output with some ten kHz
- diode-lasers: - current-modulation and/or PWM-switching for diode-lasers until some kHz.
A very cheap and stable solution is the AMC7135 chip that can be easily found as flashlight driver. Its a super simple constant current regulator that works up to 6V (so the 5V PC power supply is enough). Every AMC7135 provides 350mA of power and you can parallel them. So that means 2 AMC7135 provide 700mA , 3x 1050mA 4x 1400 etc. A small 47μF capacitor near the laser leads should protect the laser from spikes.
The PT4115 driver is more versatile and it can be set with a sense resistor. It also has a PWM pin. It can also be found as flashlight driver but it can need modding, ie change the sense resistor and/or attach a cable to the PWM pin.
- diode-lasers: - AOM (AcoustoOpticalModulator) switching until some hundred kHz
- ...
6. controlling the output-power:
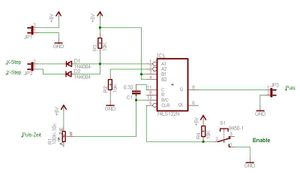
- generating geometrically defined pulses from the XY-clocks of the CNC-controller:
- calculating the needed power relative to moving speed of the laser focus
- ...
Air Jet
While not strictly necessary, many laser cutters have a blow a jet of air at the point being cut. Is it better to use (a) relatively cool room-temperature air, or (b) hot air?
Usage
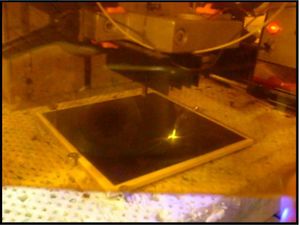
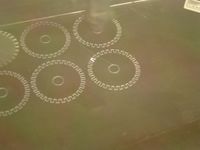
CO2-laser cutting acrylic:
Fiber Laser Cutter for Metal
Fiber laser cutter is used for cutting stainless steel, carbon steel, electrical steel, galvanized steel, aluminum zinc plate, aluminum, aluminum alloy, titanium alloy, copper, brass, iron and other metal materials.
Diode-laser:
- cutting:
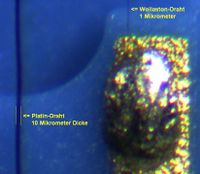
- brazing / hard soldering:
Multi-Diode-Laserhead:
- similar to an inkjet-printer, where many nozzles ar aligned in an array to print many dot-lines synchrone, you can align multiple diode-lasers in an array to process parallel lines simultaneous.
With falling prices of laserdiodes it should be possible to build a head with 8 hating/burning spots in a line with a distance of 5mm (diameter of typical small collimator-lenses) between them (or less, when arranging in a zigzag-array) in a DIY-range below 1000 Euros.
With a software separating the processing data for the single lasers you can speedup the time per sheet along with the count of lasers ...
Capacity/Specifications
Requirements
- Power
- Nitrogen tank or clean dry compressed air.
Cutting speed
The primary factors affecting cutting speed v are laser beam power P, the material being cut and its thickness h. The dependence of v on P and h is approximately proportional, i.e. severance energy P/hv is approximately constant for a fixed material and cutting process. Severance energy can be thought of as the laser beam energy needed to make a cut of 1 mm2 area (i.e. 1 mm cut length × 1 mm thickness). Note that 1 Watt power is 1 Joule of energy per second, so a 36 W laser should cut 3 mm acrylic sheet (P/hv=1.2 J/mm2) at the speed of about v = P/h / (P/hv) = (36 W) / (3 mm) / (1.2 J/mm2)=10 mm/sec.
| Material | Typical severance
energy (J/mm2) |
Min-max severance
energies (J/mm2) |
|---|---|---|
| Cardboard | 0.5 | 0.2–1.7 |
| Acrylic sheet | 1.2 | 1–3 |
| Plyboard | 31 | 20–65 |
Cutting Speed and other firmware considerations in RepRap firmwares
Using a laser on a reprap machine requires usually lower speeds. In order to achieve them, it maybe necessary to change the acceleration settings on your reprap firmware. With acceleration of 800mm/sec² the lowest achievable speed is F360 (6mm/sec). Changing the acceleration speed to 80mm/sec² will achieve a lowest speed of F120 (2mm/sec).
Instead of tweaking acceleration you can also use Teacup Firmware, which allows feedrates down to F1. That's a full minute for a single millimeter and should be fine for even the slowest cuts.
If you are using the M106/M107 (fan on/off) for laser on/off then a G4 P0 command is actually needed before and after every M106/M107 command. If the laser is not so powerful then the G4 P0 command after every M106 (laser on) should be set to something like G4 P250 (wait 250milliseconds) in order to give the laser point a head start. your mileage may vary, so testing is your best friend :)
Experimenting with Red lasers from DVD burners
While CO2 lasers are great and quite cheap to get, they are bulky and need to be mounted away from the head of your laser cutter. Thats the reason most people in the hobby category opt for a diode laser. While from 2014 and on, everybody's favorite diode seems to be the so called blue (445nm) M140 harvested from old projectors (1,4W and 2W variety), those diodes tend to be quite expensive for experimentation. The same (and more expensive) rule applies to even beefier lasers that make their rounds on ebay.
Sourcing red lasers from old DVD recorders on the other hand is quite cheap and driving them with a LM317 or an AMC7135 even cheaper. But what a flimsy red diode running at around 350mA can really achieve as a laser cutter?
I dare say quite much if you handle with care. You have seen the videos on the internet, but I havent found yet a source of tips and tricks. So here is my take on it.
a) While laser cutters dont need a Z axis, try to get one. Getting the right distance from the material you want to cut is essential and this is more true for weak lasers. While you can get the right distance by focusing your lenses, re-focusing is a tedious job and a pain in the ass. A z-axis permits you to focus once on Z=0 and then adjust the height of you axis to the height of the material you want to cut/engrave.
b) Did I mention how important is the right focus? The thinner your burning tip is the more concentrated power you get. Doubling the size of the tip spreads the power logarithmically, so adjusting the focus is paramount. The difference between focused and unfocused is sometimes quite miniscule in terms of turns of the screw-on lens. Sometimes a 5-10degree turn can make a huge difference. Thats why its important to have a Z-axis in order to offset for the height of your cutting material.
c) Go slow. I use RepRap firmware which is adjusted for 3d printing. Going slow even to 1mm/sec is going to give your laser time to cut/engrave easier. (in order to do that in reprap firmware you should decrease the acceleration. Test with a timer if the F Value (mm/min) reflects to actual time your carriage travels.
d) Go darker. The darker the color of the material you are trying to cut the easier it is for the laser to burn. For wood I use some stain, for paper colored paper
e) Use G4 PXXX . This is essential if you are using the M106/M107 commands to drive your laser (Fan on/off). G4 PXXX adds a pause in miliseconds. The usual trick is to do the following G4 P0 M106 ; laser on G3 P250 ; wait for 250miliseconds.
That pause gives the laser time to start burning. Once it has started burning its easier to continue. The G4 P0 command help synchronize movements. M106 is meant for fan on/off and sometimes without a G4 P(ause) command it doesnt play well
Health and Safety
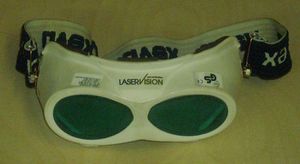
Laser goggles are essential when working with lasers!
This laser goggles have blocking ranges of 700-1100nm (for diode-lasers and NdYAG) and 10600nm (for CO2-lasers)
Fumes and vapours are extremely toxic and carcinogenic!
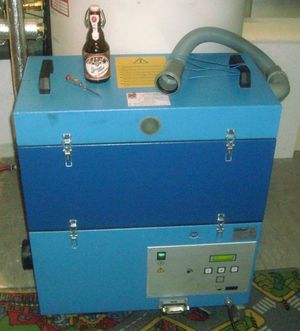
You can absorb the toxic vapours by exhausting the fuming area through a charcoalabsorber - e.g. the disc-shaped filters often used in deep fat fryers, or filtering units for soldering ...
Common laser-fume absorbers are really big parts but much more capable than absorbers for soldering vapours:
When using inert (and other) gases in an enclosed room you have to test for leakage or monitor the oxygen-concentration in the room.
Similar projects
There are some similar projects to create an Open Source laser cutter, some of them already shipping devices:
- The Fiber Laser Cutter for Metal
- The LaserSaur project (see Bill of Material, G-Code driver,Arduino Shield, and Application)
- The LaosLaser open source project focussed on a open hardware controller with platform independent printer drivers (see Wiki)
- Let me introduce my laser cutter forum thread by MyMaker
- How to build a CNC Laser Router using some parts from old printers
- DIY Micro Laser Cutter for a diode laser cutter hack, and lots of other cool DIY projects
- Buildlog.net has a number of DIY laser builds documented
- Peter posted photos of his partially assembled "Boot-strappable Open Laser Cutter", "Boot-strappable Open Laser Cutter: Part 2".
- Selective Laser Sintering uses very similar hardware to a laser cutter; see SLS Printer, DIY Selective Laser Sintering FAQ, etc.
References
- ↑ Steen, Mazumder. Laser Material Processing, 4th ed, Springer-Verlag, 2010.
External links
- Laser Cutting Machine Category
- Optical Density Calculator to find out which kind of goggles you need.
