Cu1 (metal accretion printer)
Contents
This is a development page for the Cu1 metal accretion printer
'What this project is
The Cu1 metal accretion printer is under development by me, Engineeringfeind, as a response to a video by TurboSunshine on YouTube, the video showed an interesting take on metal 3d printing by using the method of electroforming, AKA electroplating. the machine deposited a drop of copper electrolyte onto the area, then ran a small copper pipe over the area, closing the circuit and bonding the molecular copper to the conductive filament laid down by the print head. While amazing, this design had some flaws, mainly the complicated pump system and wasted electrolyte. I wanted to design a machine that could print in copper without the use of those complications, as well as using easy to acquire and use components, what I came up with was a machine that drags a copper bar over a conductive baseplate inside of a vat filled with the bright copper electrolyte.
'Bill of materials
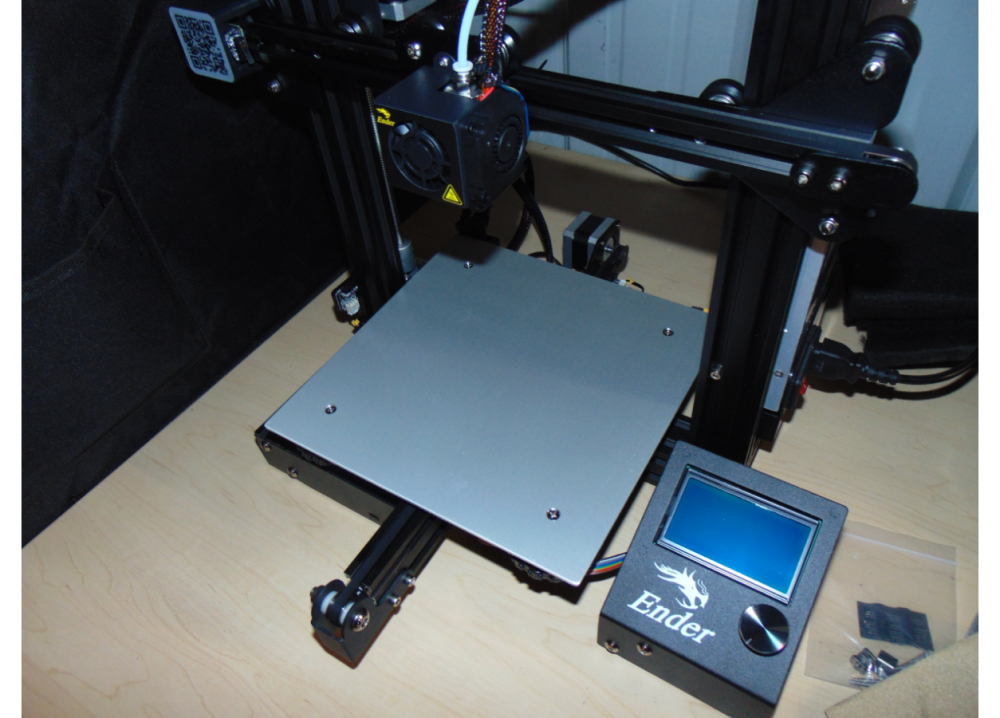
1X original ender 3 (or clone)
300G of PLA filament
Stranded core wire
1.5 mm diameter copper bars
8 small magnets
A square plastic container/W lid (2.5-5 inches tall and no more than 9 inches wide)
Voltage to current converter
a square of 1/16" thick aluminum plate that fits inside the purchased container
'Tools and materials
Hot-glue gun
soldering iron
wire stripper
a computer capable of running Arduino IDE
An FDM/FFF or SLA 3d printer (the Ender 3 or clone can be used to print the parts before being disassembled)
Stage 1
Print these parts out of PLA, ABS, or PETG, or with a resin printer WARNING, measure your exact parts and modify the supplied stl files accordingly
https://www.thingiverse.com/thing:6486272
Stage two
'Printer prepping/disassembly
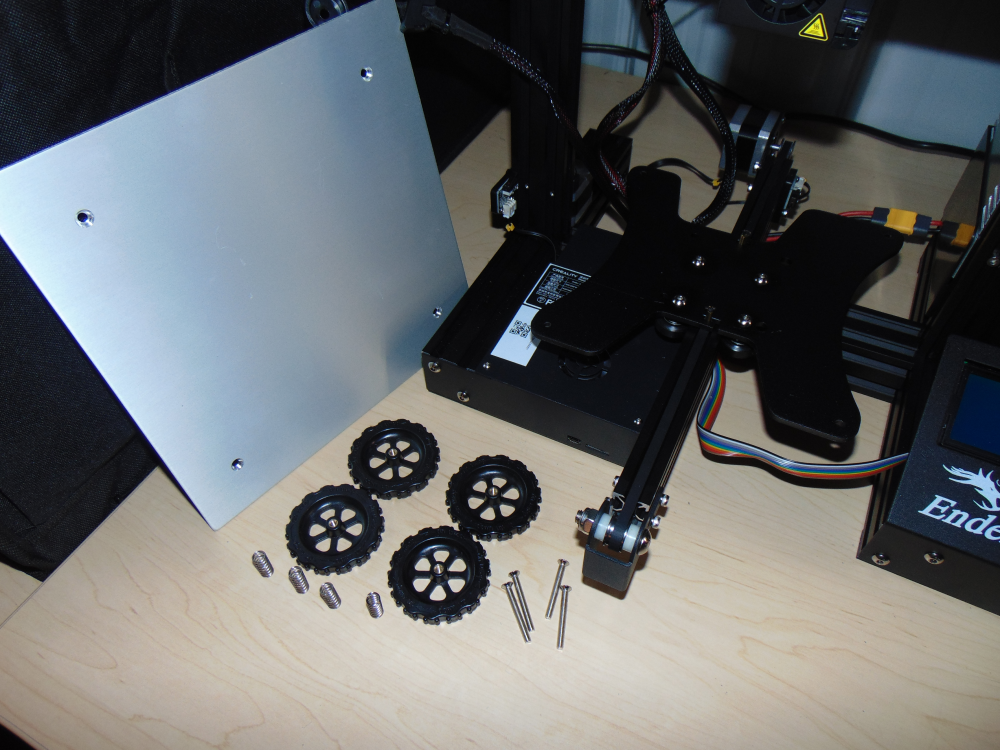
1: Remove build plate
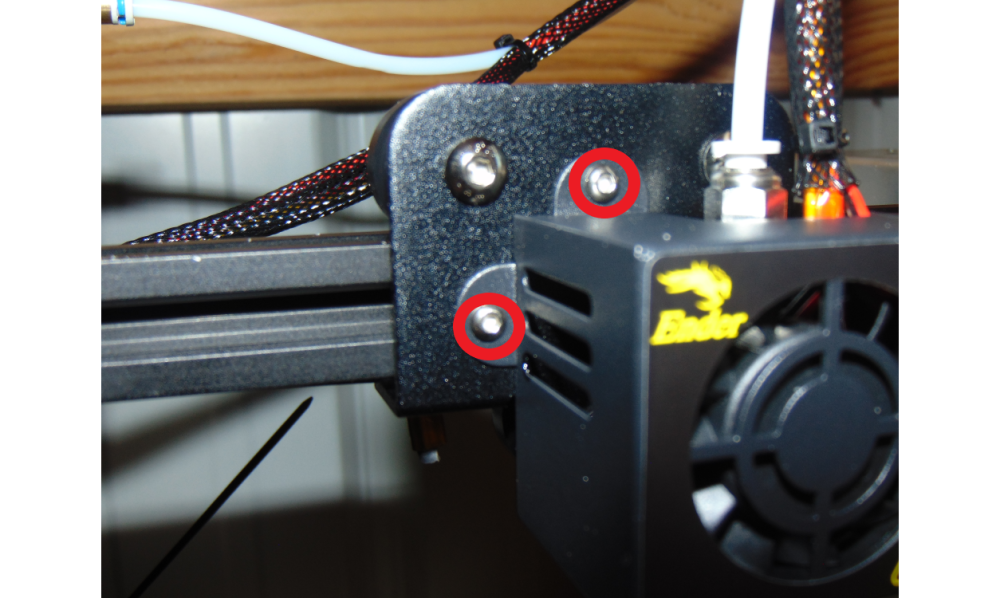
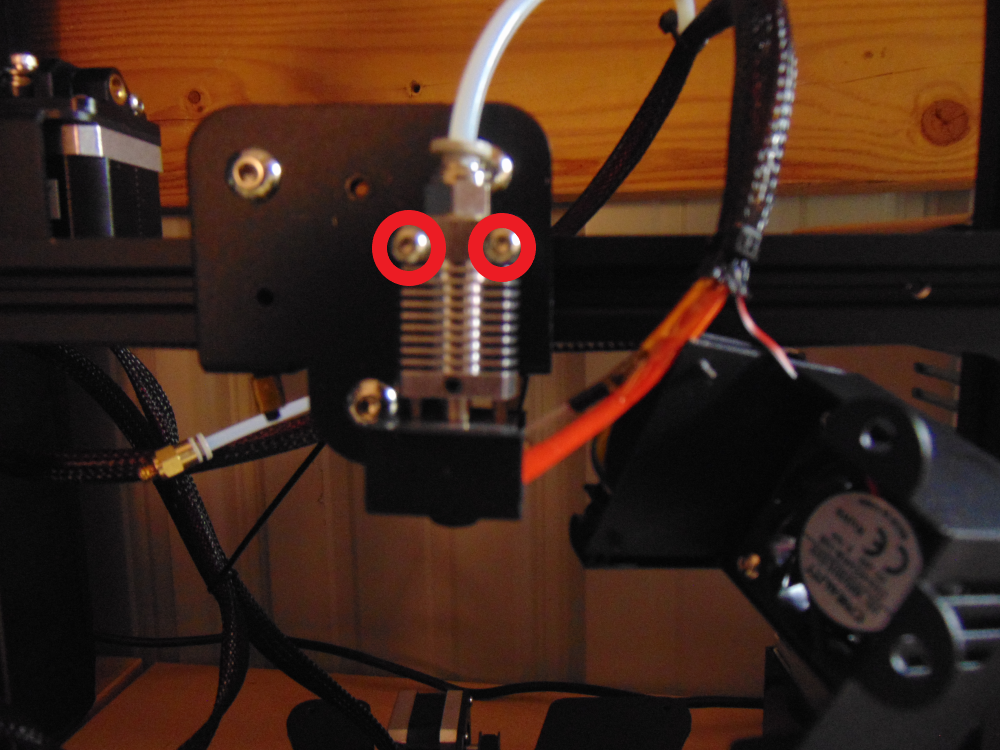
2:Remove hotend shell
After step 2 File:Step 2 after
