Watson Hot End
This page is a development stub. Please enhance this page by adding information, cad files, nice big images, and well structured data!
Release status: experimental
| Description | The Jazzy Hot End tries to combine the advantages of other designs while making it simpler to fabricate.
|
| License | GPL
|
| Author | |
| Contributors | |
| Based-on | |
| Categories | |
| CAD Models | |
| External Link |
Contents
Jazzy Hot End
The Jazzy Hot End is primarily based on the J-Head nozzle (at least to start) while making some modifications so that it is easier to fabricate. Functionally - I like several design elements of the J-Head - most notably the low part count and clean implementation. However, the J-Head requires the ability to do offset lathe machining - not a simple task for most. The insulator also has some tricky indexed, radial machining on the PEEK insulator which requires either a cnc lathe with a live tooling head to mill the slots, or a mill with a rotary vise - neither of which are readily available to me (or most people for that matter) - however that one element of the complexity isn't critical functionally and could probably be ignored. Regardless - I designed a variant that I could build with tools I had available (drill press, saw, lathe)...perhaps even the lathe part could be eliminated with a little more design iteration, but the orifice is a tricky problem.
Functionally - I tried to improve on a couple potential issues. One of which is the combination of the heater block & nozzle into a single part, which means you can't easily change nozzles/orifices if you jam, change materials, etc. That may not matter much, but I wanted to be able to swap nozzles more easily. Also - the J-Head puts the PEEK plastic into tension and on a threaded interface - I'm not comfortable putting that much stress on a plastic that's already near its functional temperature limit (when printing ABS anyway).
Design Changes
The Jazzy Hot end makes very few actual changes compared to designs that came before. Mostly it mixes and matches in a way that I thought would be simple to fabricate and assemble and provide as much of the reliable performance as possible from existing designs.
Assembly
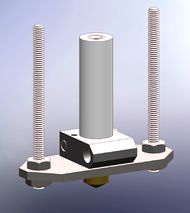
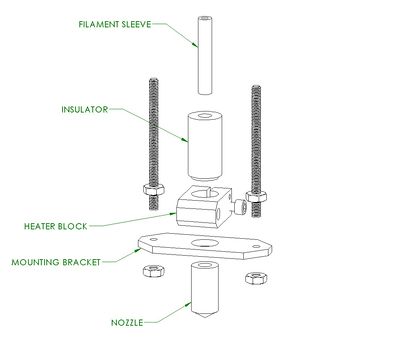
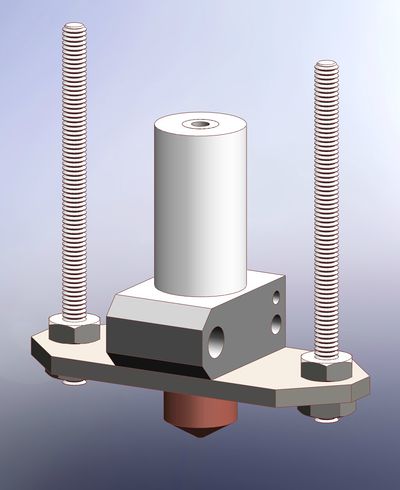
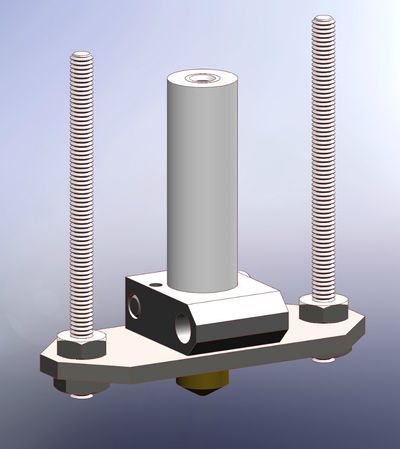
The assembly of the design so far consists of 5 main components: the heater block, the nozzle, the insulator, the filament sleeve and the mounting bracket. The heater block houses the resistor heating element and thermistor and also serves to clamp/hold the nozzle. The insulator thermally isolates the heater block from the extruder - it also keeps everything lined up. The mounting block holds everything securely against the extruder.
Stresses
The synthesis of this hot end focuses on the idea that common failure modes will not cause it to break itself. The idea is everything is strong enough that if the hot end completely jams - the extruder will just slip/strip on the filament. Rather than over-build the components, I just put everything into compression so all the significant stresses are transmitted through the metal parts & the plastic can basically sit there and do nothing but insulate. This approach should also allow this hot end to survive all but the most extreme thermal runaway situation.
Heating
There is the possibility that by adding the additional part interface between the heater block and nozzle, that I'm going to reduce the overall thermal conductivity between the heater and nozzle. In an effort to counter this - I want to use good thermally conductive materials. Brass machines nicely and resists corrosion, but it's thermal conductivity is only ~115 W/m*K. Copper is one of the best thermal conductors at ~400 W/m*K and aluminum is not a half-bad alternative at ~180 W/m*K. By placing the thermistor and heaters on opposite sides of the heater block, combined with a securely clamped connection to the nozzle in the middle - I should get acceptable thermal transfer & temperature control (in theory..).
V 0.1
This is my first crude attempt at building a hot end. I was basing my design mostly off what I could see in other design notes and really had no idea how it would perform since this is literally my first hot end. I used 5/8" PEEK rod to build the insulator, 1/4" PTFE tubing, 1/2" copper rod for the nozzle, 1/2 x 3/4" aluminum bar for the heater block and 1/8 x 1" 303 stainless steel bar for the mounting plate.I used a wirewound 6.8ohm, 3W axial resistor as the heating element. This one to be specific:
http://search.digikey.com/us/en/products/W21-6R8JI/985-1102-1-ND/2401967
The wirewound aspect seems to be critical for high temperature survival (it's basically nichrome wire construction internally if I understand correctly), but I'm not sure what other aspects might be important beyond the power rating. I used the same thermistor as the J-head: B57560G104F 100kOhm EPCOS.
I used high temp Silicone RTV to glue the resistor and thermistor into the heater block and I used regular heatshrink to protect the wire leads. I used regular 18G braided wire to wire up the heater resistor and cat5 cable to wire the thermistor.
Drawings
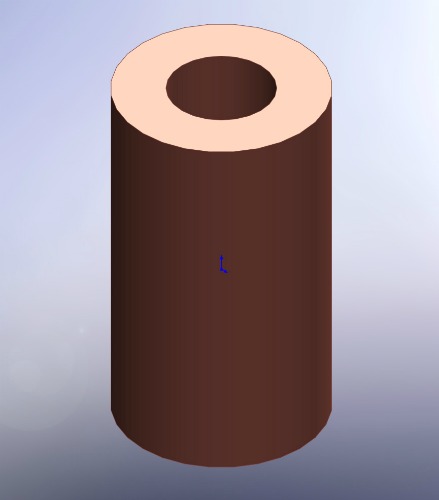
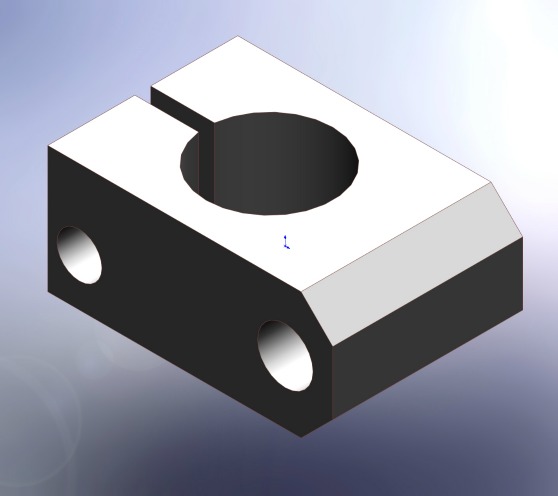
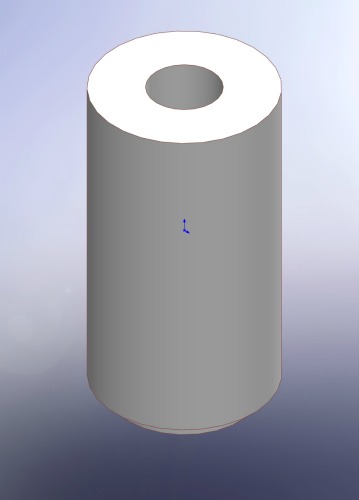
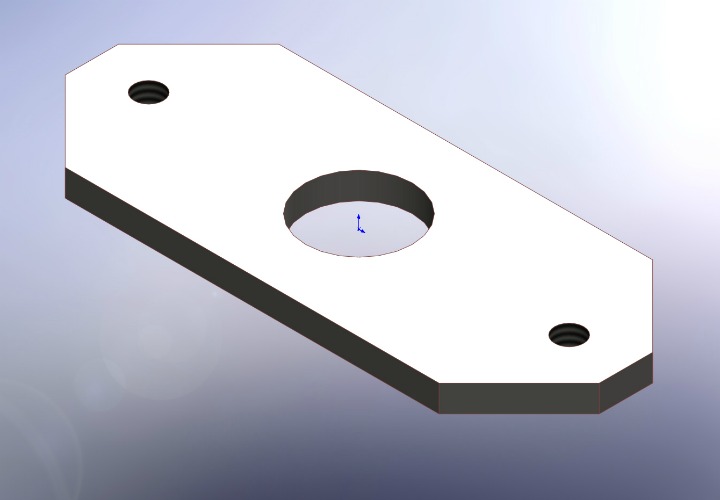
File:Nozzle v01.pdf
File:Heater v01.pdf
File:Insulator v01.pdf
File:Mount v01.pdf
Specs
- Power: 21.2 Watts (as tested)
- Thermal mass: 12.8 J/K
Test Results
Thinking back now - I have no idea why I selected a higher value resistor than the JHead - I must have seen 6.8 ohms somewhere. Anyway - steady state the highest temperature I can achieve is 180C and it took an hour or so to get there. It's a little cold in my garage - around 50F - and I didn't do anything to insulate the heater block. ABS seems to extrude out of it ok, but I don't think this is hot enough to get good bonding of the extrusion.
The normal heatshrink and wire insulation actually seems to be holding up ok, but that could just be because I'm not yet into the correct temperature range of 220-230C. I'm not too worried about the heatshrink now, but on the next design I'll probably use wire with higher temperature insulation for at least the first few inches next to the heater block.
My EE partner in crime has quite correctly pointed out that the thermal mass of this design is also significantly more than the JHead and thus will result in slower reaction times - ie., worse PID heater control. To say the least - I think I can do better...
V 0.2
My first design revision - the V0.2 represents a significant step up the learning curve. This could/should probably be built with a single, lower value resistor like 3ohms, but since I have some of these 6.8's still laying around - I used two in parallel for more power output. This does put less stress on each resistor though. I also significantly reduced the thermal mass of the heated components - from 12.8 J/K in V0.1 to 5.7 J/K - now very similar to the J-Head Mk4. This means cheaper starting materials can also be used - 3/8" copper rod for the nozzle and 3/8 x 3/4" aluminum bar for the heater block. 1/2" PEEK rod could be used, but the current Wade Extruder design has a 5/8" pocket so it would need to be redesigned to accept a smaller rod or the top of the insulator will not self-center in the base of the extruder correctly.Assembly was similar to V0.1 except I added some glass fabric insulation around the heater block - held in place with kapton tape. This should significantly reduce heating losses to the air and steel mounting bracket. I also used some high temp wire for the wire leads for the first 6" on the resistors & thermistor - it seemed like a reasonable precaution.
1/16 x 1/2" fiberglass fabric: http://www.mcmaster.com/#catalog/118/3509/=gjquvm
18G 842F braided wire: http://www.mcmaster.com/#catalog/118/802/=gjqvbo
26G 400F flexible wire: http://www.mcmaster.com/#catalog/118/802/=gjqvks
...awaiting completion...
Drawings
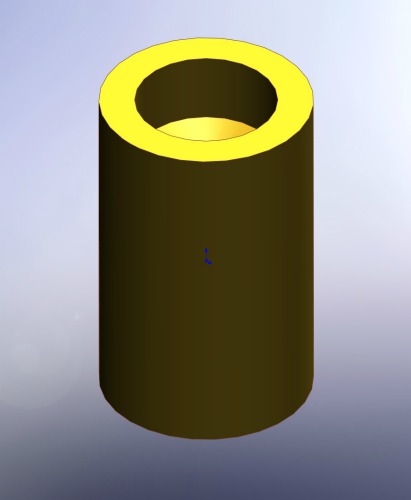
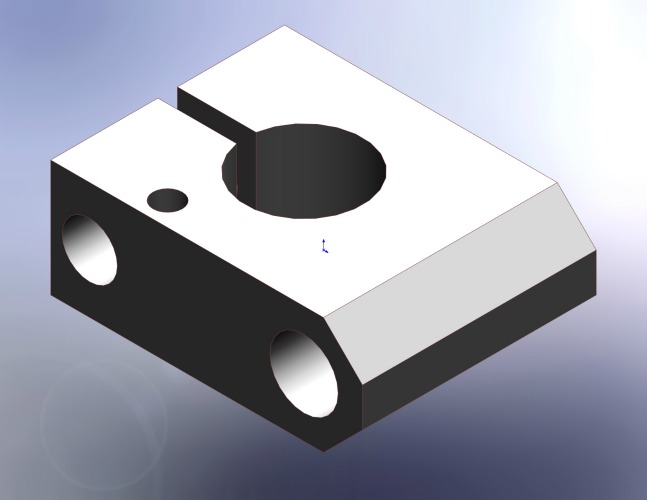
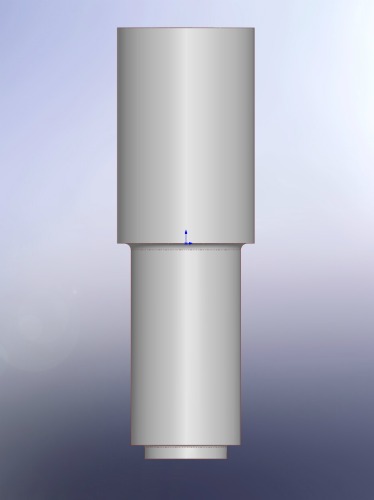
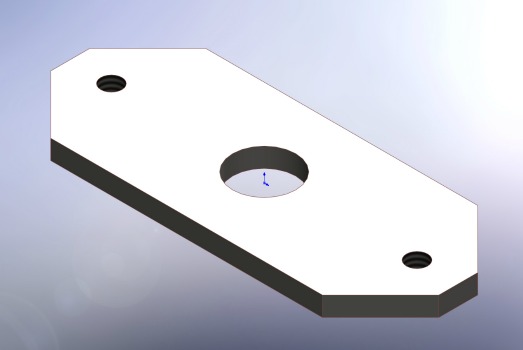
File:Nozzle v02.pdf
File:Heater v02.pdf
File:Insulator v02.pdf
File:Mount v02.pdf
Specs
- Power: 42.3 Watts (as tested)
- Thermal mass: 5.7 J/K
Test Results
Test results coming soon...
