RepRapPro Mendel z axis assembly
This page is under construction
Introduction | Frame assembly | Y axis assembly | X axis assembly | Z axis assembly | Heated bed assembly | Extruder drive assembly | Hot end assembly | Power supply | Wiring | Commissioning | Printing | Multi‑colour/multi‑materials | Colour Printing - Slic3r | Colour Printing - RepRapPro Slicer | Maintenance | Troubleshooting | Improvements
| A notice about these instructions! |
|
Since 1st April 2013, the RepRapPro Mendel has been superseded by the RepRapPro Tricolour and Mono Mendel. |
Goal
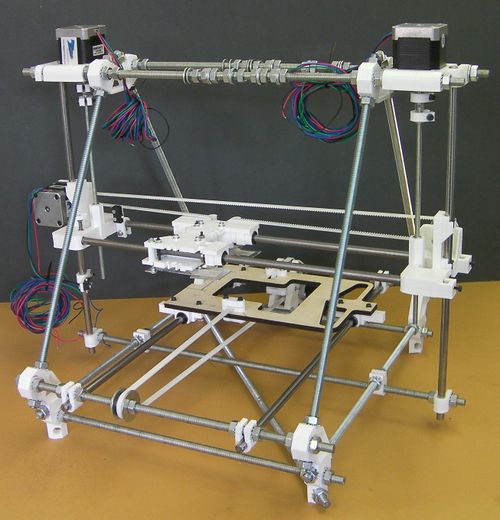
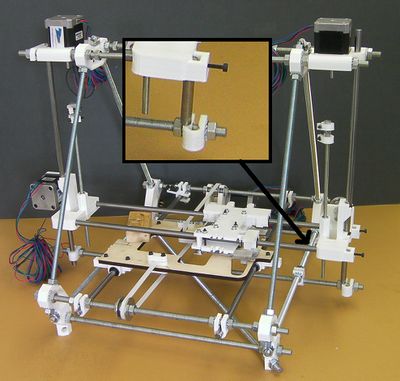
By the end of this stage, your RepRap should look like this:
Tools
You will need the following tools
- M3 Allen key
- M3 spanner/nut runner
- Small screwdriver
- M2.5 spanner
- M8 spanner
Step 1: Z axis screw drives
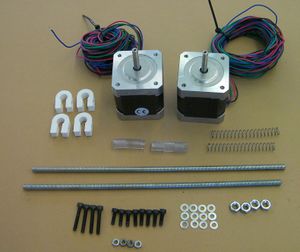
| |
| Item | Quantity |
| NEMA 17 motors | 2 |
| 60 mm springs | 2 |
| 215mm M5 studding | 2 |
| M5 nuts | 4 |
| 30mm x 5mm id poly tube | 2 |
| Printed U clamps | 4 |
| M3 x 20mm screws | 4 |
| M3 nuts | 4 |
| M3 x 10mm screws | 8 |
| M3 washers | 12 |
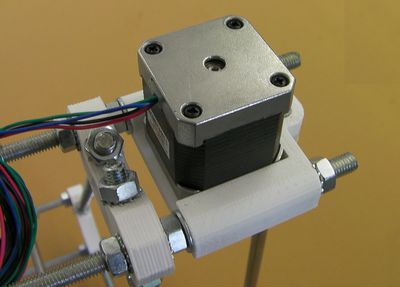
Start by using the short screws with washers to fit the Z motors to the frame:
Have the wires point towards the centre of the machine.
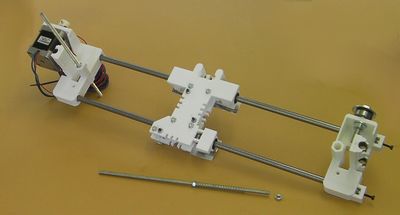
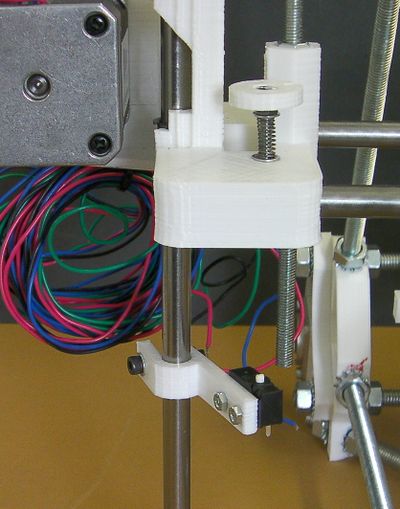
Next fit the M5 threaded rods, M5 nuts and springs to the X axis:
Screw a nut onto a rod and make sure that it fits down the hexagonal holes in the X-axis ends. It should be snug, but move up and down freely. If there are tight spots inside the hexagonal holes scrape them away with a screwdriver blade.
Now fit the nuts and rods. Put a nuts about half way along a bar, put a spring on, and push the spring down the top of a hexagonal hole.
Compress the spring and put another nut on the bottom of the thread. When the spring relaxes it should pull that nut into the hole in the bottom of the hexagonal hole to rest on the constriction about 10mm up inside. Adjust things so that the top nut is about flush with the top of its hole.
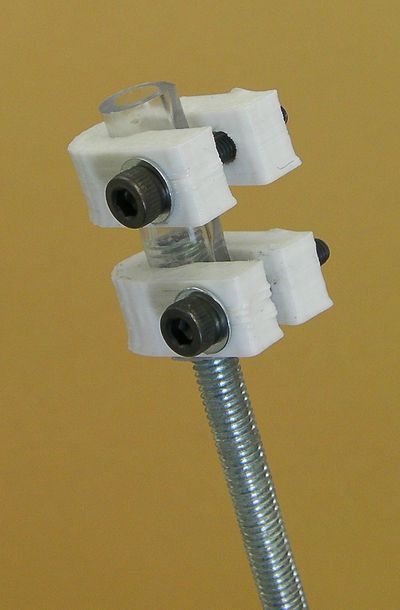
Next assemble the flexible couplings:
Put the U clips on the poly tube, then put the screws through. Don't tighten them. Screw the poly tube onto the ends of the M5 rods as shown. Then tighten the U clips that are on the threads but leave the others lose.
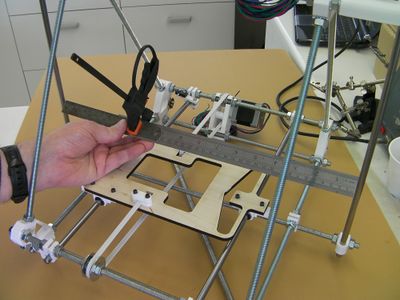
Now check that the Z rods are parallel:
A simple way to do this is with two rulers clamped together as shown. Check the gap bottom, middle and top. Make adjustments by slackening and tightening the M8 nuts that clamp the bottoms of the Z rods. Make the adjustments symmetrically - whatever you do on the left, also do on the right.
[[File:|400px]]
[[File:|400px]]
