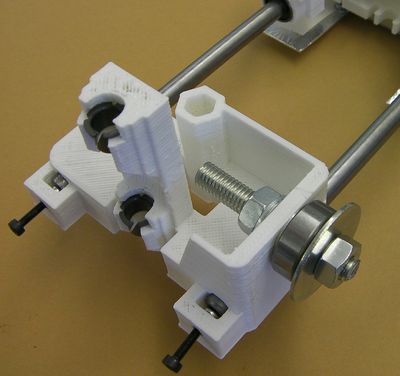
RepRapPro Mendel x axis assembly
|
English • العربية • български • català • čeština • Deutsch • Ελληνικά • español • فارسی • français • hrvatski • magyar • italiano • română • 日本語 • 한국어 • lietuvių • Nederlands • norsk • polski • português • русский • Türkçe • українська • 中文(中国大陆) • 中文(台灣) • עברית • azərbaycanca • |
Introduction | Frame assembly | Y axis assembly | X axis assembly | Z axis assembly | Heated bed assembly | Extruder drive assembly | Hot end assembly | Power supply | Wiring | Commissioning | Printing | Multi‑colour/multi‑materials | Colour Printing - Slic3r | Colour Printing - RepRapPro Slicer | Maintenance | Troubleshooting | Improvements
| A notice about these instructions! |
|
Since 1st April 2013, the RepRapPro Mendel has been superseded by the RepRapPro Tricolour and Mono Mendel. |
Contents
Goal
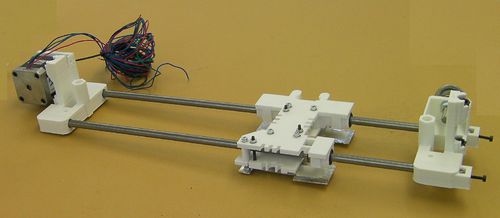
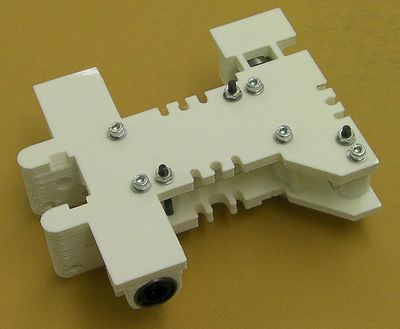
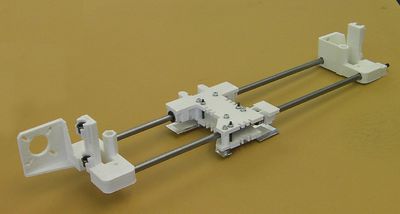
By the end of this stage, your X-axis should look like this:
(This picture, and several others on this page, show the heatshield already installed on the underside of the X carriage. The heatshield is not actually installed until the end of the Z-axis instructions on the next page.)
Tools
You will need the following tools
- M3 Allen key
- M3 set screw Allen key
- M3 spanner/nut runner
- Long-nosed pliers
- Tweezers
- M8 spanner
Step 1: X carriage assembly
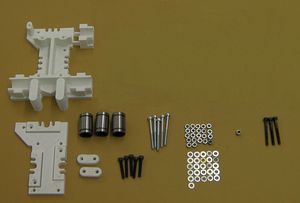
The Carriage
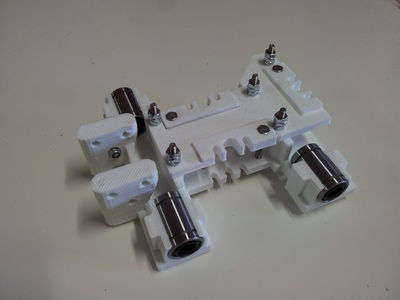
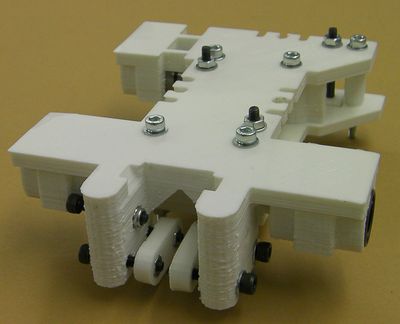
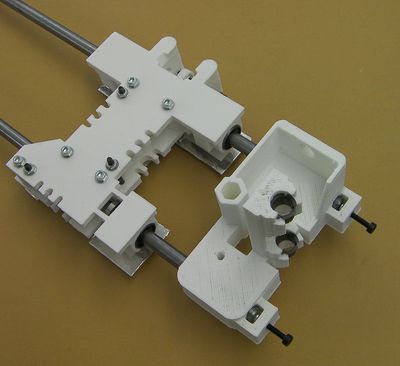
Next with the X carriage upside-down slide the LM8UU bearings into their holders sideways:
Don't try to fit the bearings by clipping them in from above - this will break the carriage. The bearings should be a snug fit. But if they are a bit lose, simply wrap a little Kapton tape two or three times round the lose bearing. Get it flat without wrinkles or bubbles.
Optional (not included in standard RepRapPro Mendel kit): Fit four 16mm M3 cap screws with four washers and nuts (not in the list above) to the carriage as shown. These are not needed at the moment, but will be used in future enhancements. If you fit them now, you will not need to take the carriage apart in the future.
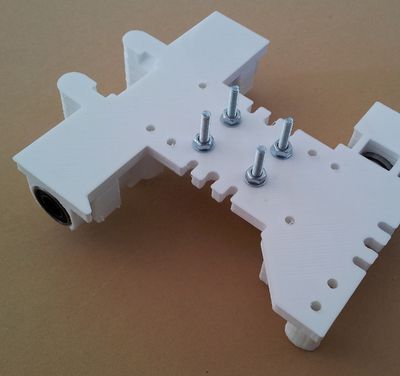
Fit the hex-headed screws in their recesses in the flat plate. You may find it easiest to draw the hex heads into their recesses with a nut and washer on the other side of the plate which you subsequently remove. Make sure the hex head and the hexagonal hole line up before you start applying force.
Use the 35mm screws with nuts and washers to secure the plate to the carriage. Have the ends of the screws projecting as shown in the bearing-fitting picture above. Fit two additional nuts to each screw (making three in total) with two washers between the outer pair (nut, nut, washer, washer, nut). These act as spacers for the heat shield (to be fitted later).
Put nuts and washers on the ends of the hex-headed screws.
Don't do these up tight. These screws allow you to adjust the relative heights of multiple extruders in the carriage.
Fit the belt clamps with screws nuts and washers.
Start by sinking the nuts into their recesses. You can do this most easily by pulling them through with a screw with a washer under its head. Make sure as you tighten the screw that the hexagon of the nut is aligned with its hexagonal hole.
The belt-gripping indentations on the clamps face the vertical pillars.
Fit the tensioning screw using the nylock nut as shown:
Step 2: Main X axis assembly
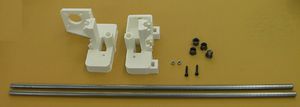
| |
| Item | Quantity |
| Printed X end (motor) | 1 |
| Printed X end (idler) | 1 |
| 428mm smooth 8mm rods (X) | 2 |
| 8mm IGUS bearings | 4 |
| M3 nylock nuts | 2 |
| M3x16mm screws | 2 |
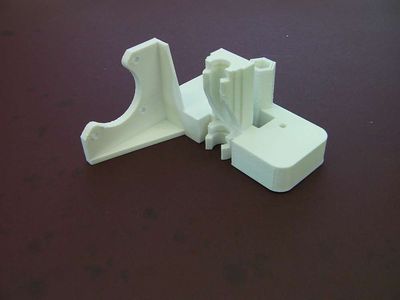
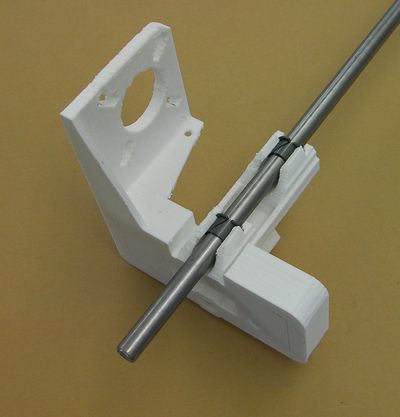
Please note that there is an improvement to the design of the X motor end. It looks like this:
Start by fitting the IGUS bearing inserts to both ends:
You can curl them up so their ends overlap to insert them. Be careful.
Check their internal diameter by running one of the 8mm rods down them. If the rod is too tight (don't force it) put a 9.5mm drill bit shank in a vice, take the bearing inserts out, and slide the printed part over the drill to clean out the hole. Again be careful - you don't want to remove too much material and make a sloppy fit.
Repeat this process until the rod just fits and slides smoothly. It should not wobble from side to side.
With the tweezers fit the nylock nuts into their recesses in the idler end:
Pull the nylock nuts into their recesses with a screw if needs be.
Screw the two screws in by just three or four turns. Slide the smooth rods in so that they abut the screws and nuts.
Put the X carriage on the rods. Make sure to get it the way round shown in the picture.
Insert the rods into bearings while watching the opposite end of each bearing to make sure none of its balls get pushed out of their tracks. If they do, they can be reseated by pressing them back into the track with the tip of a chopstick. As a precaution, cover the area under your work with a tissue to catch any balls that might fall out.
Put the motor end printed part on the other ends of the rods. Make sure they slide right up to the closed ends of their holes:
Step 3: Fit the X motor
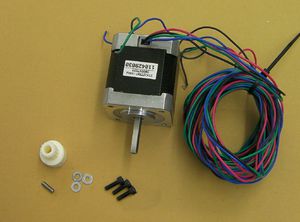
| |
| Item | Quantity |
| NEMA 17 motor | 1 |
| M3x10mm screws | 3 |
| M3 washers | 3 |
| Toothed belt pulley | 1 |
| M3 x 10mm set screw | 1 |
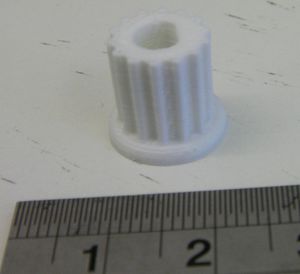
Later versions of Mendel have printed toothed-belt pulleys like this:
These simply push-fit onto the motor shaft - see below.
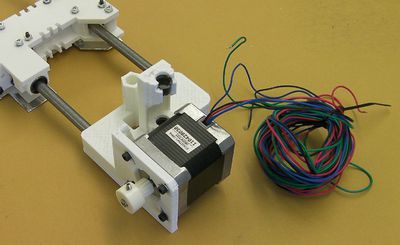
Use the screws and washers to mount the motor:
If you have a moulded pulley, screw the set screw into the toothed-belt pulley. Take care not to cross the threads - the plastic is not hard. Screw it in far enough to project into the hole down the middle, then back it off so it is no longer projecting. Blow any displaced pieces of plastic from the central hole. Put the pulley on the motor shaft with its hub outermost, as shown. Use the toothed belt to get it roughly the right distance along the shaft. Align the set screw with the flat on the shaft, and tighten it. Do not over tighten it - the pulley has an internal embedded nut, and over tightening will cause this to fracture the pulley.
If you have a printed pulley push it onto the shaft. It should be a tight fit, and you may have to tap it into place. Use a soft hammer, or a wood block. If you place an M8 nut against the pulley, you can tap the nut to place the pulley. Support the motor shaft, not the motor body, from the other end as you tap. You can secure it with a drop of superglue if you like (make sure the shaft is completely free of grease). Take care that no glue gets near the shaft's entry to the motor.
Step 4: The X belt idler
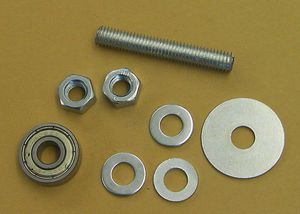
| |
| Item | Quantity |
| 35mm M8 threaded rod | 1 |
| M8 nuts | 2 |
| M8 mudguard washer | 1 |
| 8mm bearing | 1 |
| M8 washers | 3 |
Fit the idler:
From the right the sequence goes:
- Nut
- Mudguard washer
- Washer
- Bearing
- Washer
- Printed idler end
- Washer
- Nut
