RepRapPro Mendel y axis assembly
Contents
This page is under construction
Introduction | Frame assembly | Y axis assembly | X axis assembly | Z axis assembly | Heated bed assembly | Extruder drive assembly | Hot end assembly | Power supply | Wiring | Commissioning | Printing | Multi‑colour/multi‑materials | Colour Printing - Slic3r | Colour Printing - RepRapPro Slicer | Maintenance | Troubleshooting | Improvements
| A notice about these instructions! |
|
Since 1st April 2013, the RepRapPro Mendel has been superseded by the RepRapPro Tricolour and Mono Mendel. |
Goal
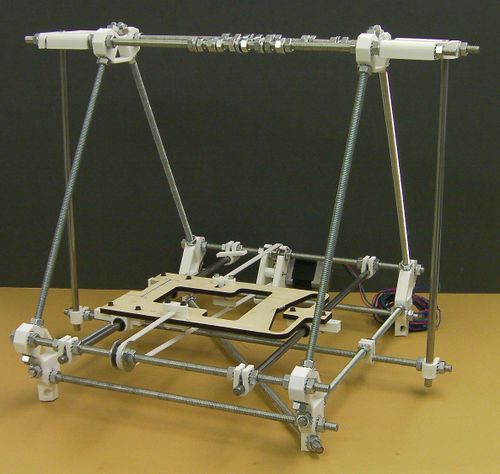
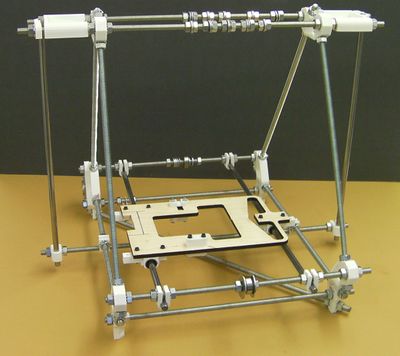
By the end of this stage, your machine should look like this:
Tools
You will need the following tools
- M8 (13mm) spanner
- Adjustable spanner
- M3 Allen key
- M3 set screw Allen key
- M3 spanner/nut runner
- Long-nosed pliers
- Side cutters
Step 1: Y motor and mount
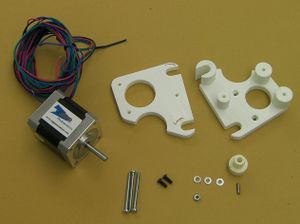
| |
| Item | Quantity |
| Printed Y motor mount | 1 |
| Printed Y motor lid | 1 |
| Nema 17 motor | 1 |
| M3 x 35mm screws | 3 |
| M3 x 10mm set screw | 1 |
| M3 nut | 1 |
| M3 x 8mm screws | 2 |
| M3 washers | 3 |
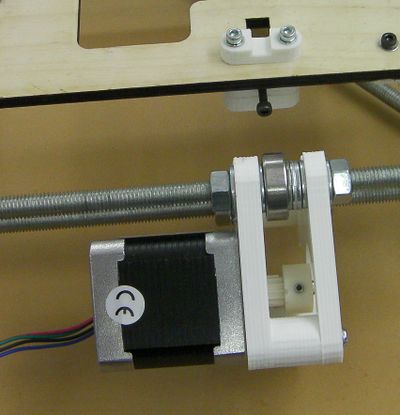
Use the two short screws to attach the motor to the half of its mount with the projections:
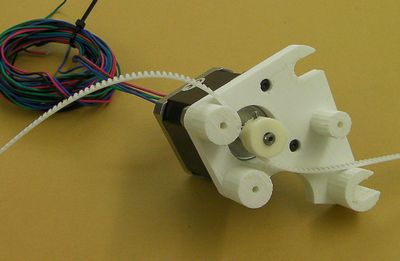
Screw the set screw into the toothed-belt pulley. Take care not to cross the threads - the plastic is not hard. Screw it in far enough to project into the hole down the middle, then back it off so it is no longer projecting. Blow any displaced pieces of plastic from the central hole.
Put the pulley on the motor shaft with its hub outermost, as shown. Use the toothed belt to get it roughly the right distance along the shaft. Align the set screw with the flat on the shaft, and tighten it. Do not over tighten it - the pulley has an internal embedded nut, and over tightening will cause this to fracture the pulley.
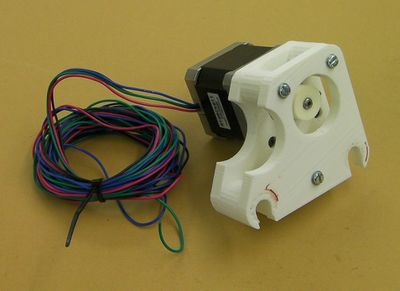
Use the remaining screws, washers and nut to attach the other half of the mount cage. There is a recess for the nut, which should be a tight fit. Take care when tightening to pull the nut into its recess that the hexagon of the nut is aligned with the hexagonal recess.
Step: 2 The Y frog
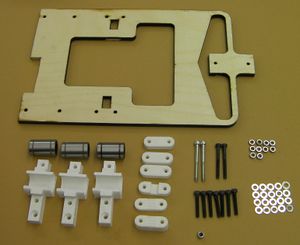
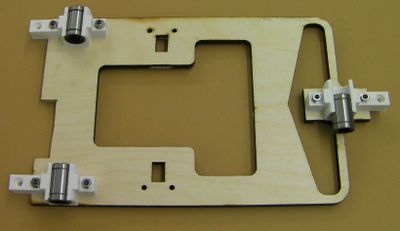
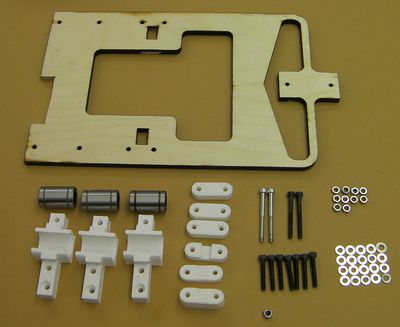
Attach the bearing holders to the lasercut part with 20mm screws, nuts and washers. Don't tighten the nuts:
Push the bearings into the bearing holders from the side as shown on the right. Do not try to clip them in from on top.
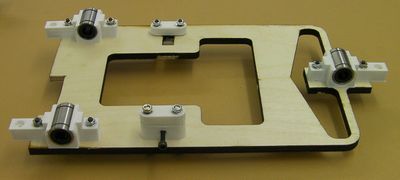
Attach the belt holders:
The far one in the picture uses the 35mm screws. From the top the order is:
- Belt guide (curved part towards you in the picture).
- Lasercut frog
- Tensioner (hexagonal cavity towards you in the picture; grip end pattern downwards).
- 7mm thick clamp
The near one in the picture uses the 30mm screws. From the top the order is:
- 7mm thick clamp.
- 4mm thick grip (grip on top).
- Lasercut frog
- 7mm thick clamp (just for load spreading).
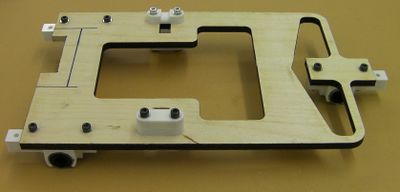
Here is a view from underneath to reveal some of the hidden detail:
Now to fit the frog to the machine.
With the front of the machine facing you, slacken the right-hand nuts only that hold the U clamps with the smooth Y rods. (If you leave the left-hand nuts alone you will be able to re-tighten the rods in exactly the same place - so make sure they don't turn.)
Slide the rods towards the back of the machine. Slide the Y frog over them.
Replace the rods in their U clamps and re-tighten the right-hand nuts on those.
Tighten the M3 screws and nuts that attach the bearing holders to the frog.
Check that the frog slides completely freely back and forth. If it is tight at one end and lose at the other, then the rods aren't parallel. If it is tight at both ends and lose in the middle, then the rods are too close or too far apart. In both cases, measure the rod gap (which should be 175 mm from before) at both ends and in the middle, and get things right by adjusting the right-hand rod only.
Step 3: The Y belt
