RepRapPro Mendel power supply
Contents
This page is under construction
Introduction | Frame assembly | Y axis assembly | X axis assembly | Z axis assembly | Heated bed assembly | Extruder drive assembly | Hot end assembly | Power supply | Wiring | Commissioning | Printing | Multi‑colour/multi‑materials | Colour Printing - Slic3r | Colour Printing - RepRapPro Slicer | Maintenance | Troubleshooting | Improvements
| A notice about these instructions! |
|
Since 1st April 2013, the RepRapPro Mendel has been superseded by the RepRapPro Tricolour and Mono Mendel. |
Goal
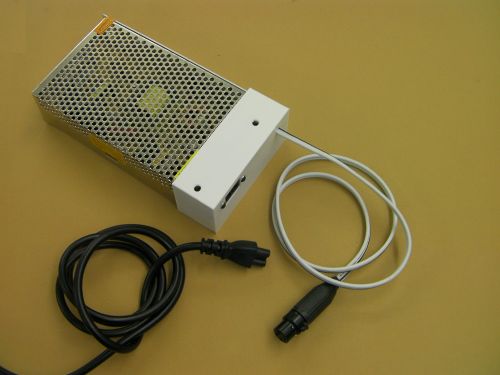
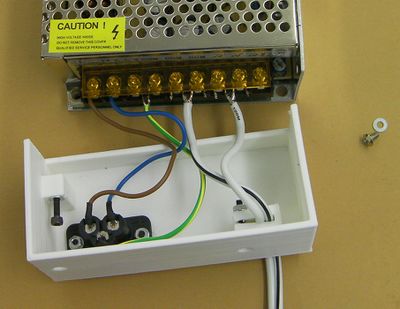
By the end of this step your power supply should look like this:
Safety
RepRapPro Mendel works entirely at low voltage, and there is no danger in touching an part of the circuitry on the machine itself (though remember some parts are hot).
But the power supply necessarily involves a few mains wires. Mains will kill you if you touch it. So don't.
There are six soldered mains connections in the power supply. If you are not sure about mains wiring, or your soldering is blobby, prone to dry joints, or in any way un-neat, then get someone who knows what they are doing to help you with the work on this page.
When doing all wiring make sure that connections have no stray wire filaments that may short on neighbouring parts.
Bare the ends of wires, twist them, check for a neat twist with no strays, and then finally tin them.
This is important on the next page (wiring up the machine), but it is really important for wiring the power supply here. The power supply works with both large voltages and large currents, and so careful, tidy work is essential.
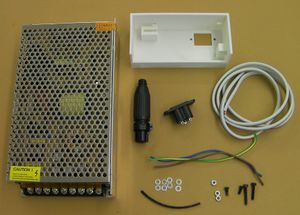
Parts
Construction
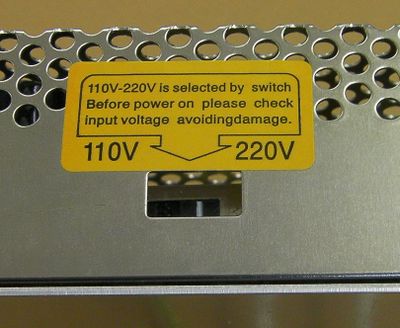
Start by setting the mains voltage for your country. The switch, shown above, is set to 220 volts when the power supply is shipped. This is the fail-safe setting: if you plug the supply into a lower mains voltage it won't work properly, but it will do no harm.
If your country has mains at 110 volts, flip the switch.
Initial wiring
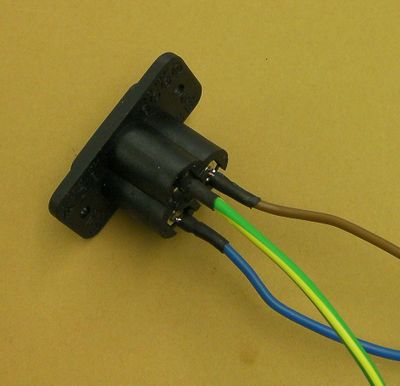
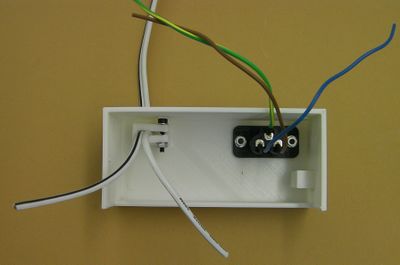
Start by soldering the mains wires onto the panel-mounting plug. The picture above shows European-convention wiring colours: Brown=Live, Blue=Neutral, and Green-yellow=Ground-Earth. The back of the plug has L, N and the symbol for Ground embossed next to the appropriate connection.
Insulate your joints with short lengths of heatshrink.
