RepRapPro Mendel power supply

From RepRap
Revision as of 12:57, 3 May 2012 by Adrianbowyer (talk | contribs) (Parts)
Jump to: navigation, search

This page is under construction

Introduction | Frame assembly | Y axis assembly | X axis assembly | Z axis assembly | Heated bed assembly | Extruder drive assembly | Hot end assembly | Power supply | Wiring | Commissioning | Printing | Multi‑colour/multi‑materials | Colour Printing - Slic3r | Colour Printing - RepRapPro Slicer | Maintenance | Troubleshooting | Improvements

A notice about these instructions!

Since 1st April 2013, the RepRapPro Mendel has been superseded by the RepRapPro Tricolour and Mono Mendel.
If you are building the new machine, use the official, and most up to date, instructions on the RepRapPro wiki here


Goal

By the end of this step your power supply should look like this:
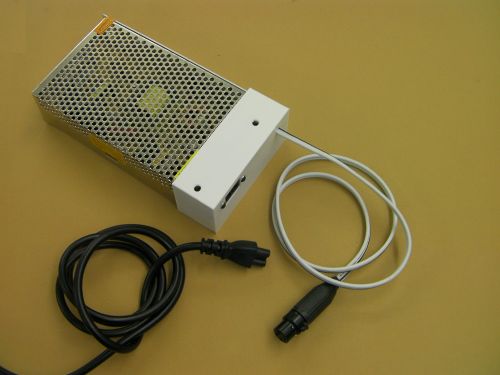
Reprappro-mendel-ps-finished.jpg

Parts

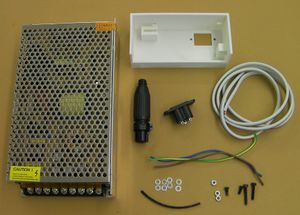
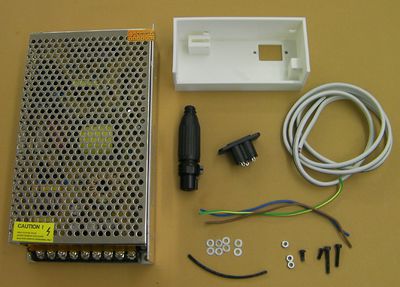
Hardware Quantity Reprappro-mendel-ps-parts.jpg
12v Power supply 1
20A wire 1m
Mains cable (not shown) 1
XLR socket 1
Printed PS cover 1
Mains panel plug 1
LEN mains wires 100mm
M3 washers 8
M3 nuts 3
heatshrink 50mm
M3 x 8mm screws] 2
M3 x 20mm screw 1
M3 x 16mm screw 1

Reprappro-mendel-ps-parts.jpg

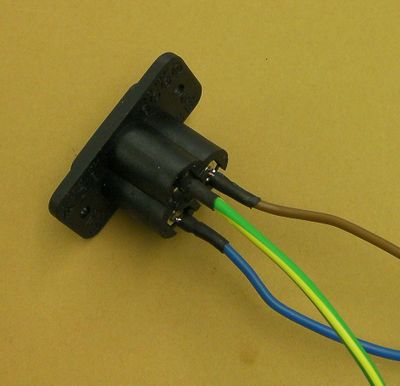
Reprappro-mendel-ps-panel-plug.jpg

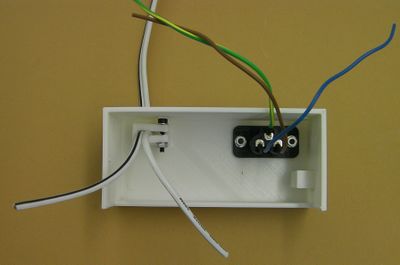
Reprappro-mendel-ps-panel.jpg

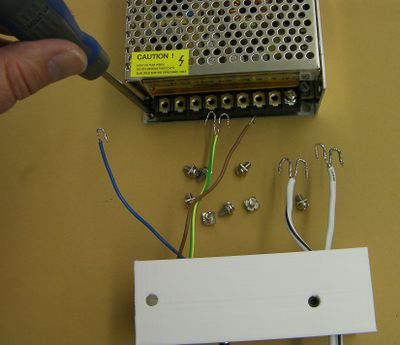
Reprappro-mendel-ps-contacts.jpg

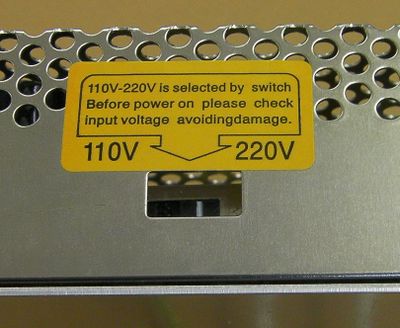
Reprappro-mendel-ps-mains-voltage.jpg

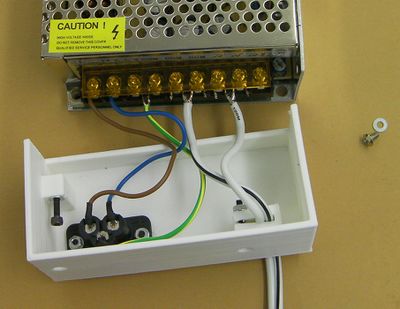
Reprappro-mendel-ps-wired.jpg

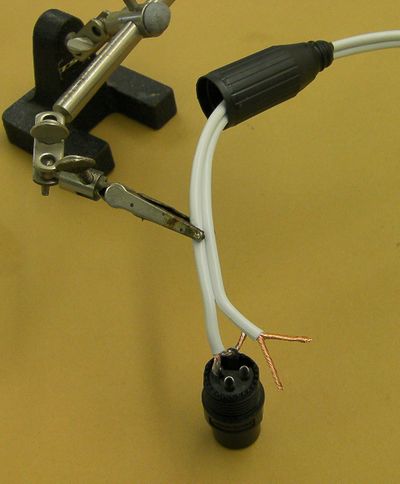
Reprappro-mendel-ps-xlr-wiring.jpg

Next step

Wiring