RepRapPro Mendel heatbed assembly
Contents
This page is under construction
Introduction | Frame assembly | Y axis assembly | X axis assembly | Z axis assembly | Heated bed assembly | Extruder drive assembly | Hot end assembly | Power supply | Wiring | Commissioning | Printing | Multi‑colour/multi‑materials | Colour Printing - Slic3r | Colour Printing - RepRapPro Slicer | Maintenance | Troubleshooting | Improvements
| A notice about these instructions! |
|
Since 1st April 2013, the RepRapPro Mendel has been superseded by the RepRapPro Tricolour and Mono Mendel. |
Goal
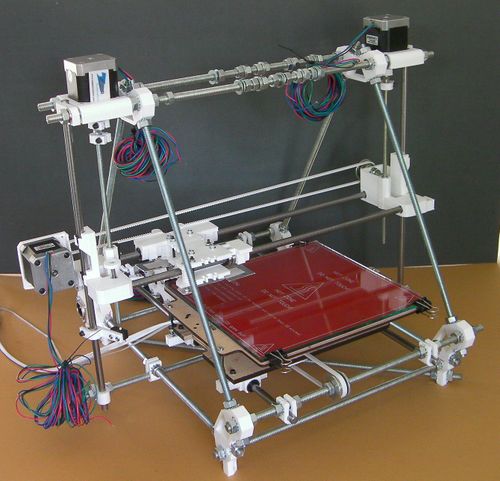
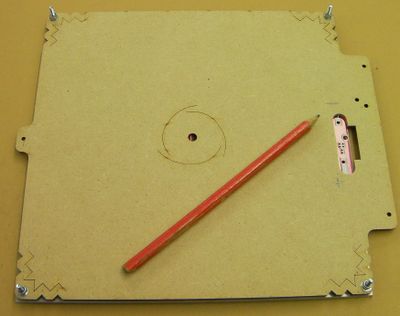
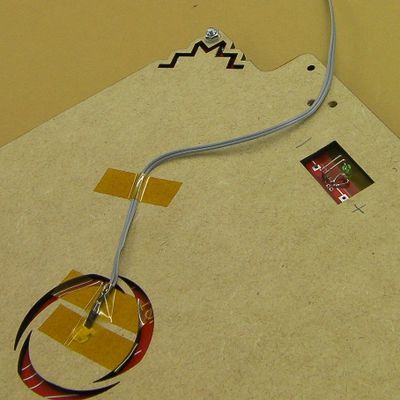
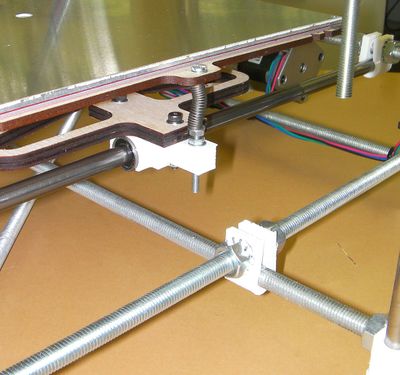
By the end of this step your RepRap machine should look like this:
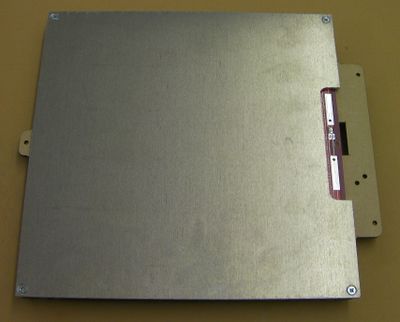
And in addition it will have an aluminium plate on top of the red circuit board.
Tools
You will need the following tools:
- M3 Allen key
- Cross-head screwdriver
- Multimeter
- Soldering iron and solder
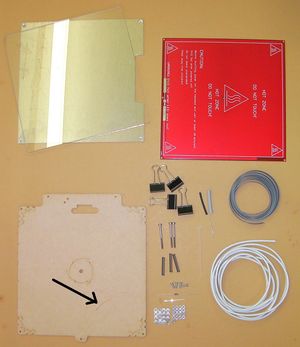
Parts
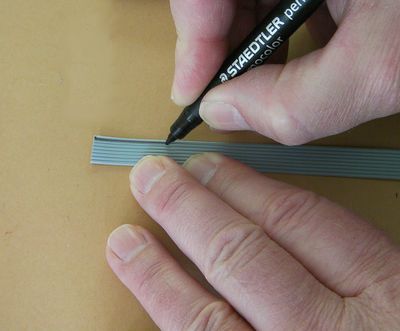
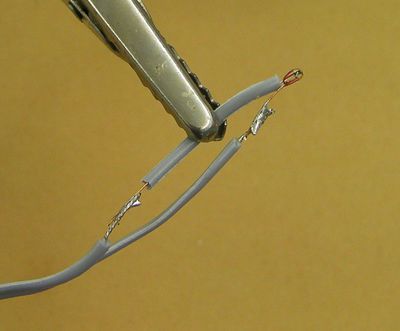
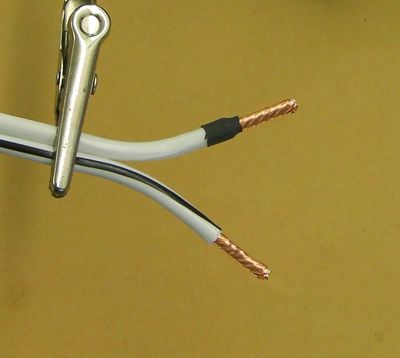
Get the twin ribbon wires by stripping them off the 10-way ribbon cable supplied with the kit. If that ribbon cable has a colored stripe down one side, strip the two wires furthest from it. If it has no coloured stripe, strip from one side, then put the remaining 8-way ribbon flat on the bench and run a felt-tipped marker down one side:
This will make the wires in it easier to identify later. Set the 8-way ribbon aside for later use.
