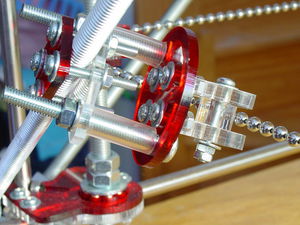
PonokoZAxisTensioner
Ponoko RepRap - Installing the Z Axis Tensioner
| [PonokoRepRap Main Ponoko Page] | ||
| Prev Step | Next Step | |
| BOM for this page |
UNDER CONSTRUCTION
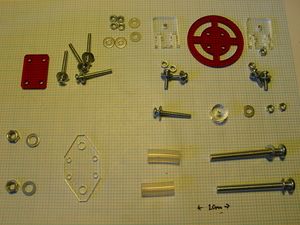
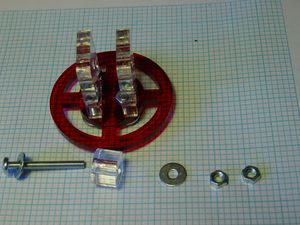
Here are the parts needed to build the Z Axis Tensioner. Actual thicknesses of these parts are not critical and tend to vary from kit to kit depending on where the free cutting space is. Later kits also have notches in the two brackets (clear parts, top right) to accommodate washers.
DO NOT cut the tubing yet. The tubing serves as a combined spacer and shock-absorber. If you have a lot of slop in your Z chain you will need longer pieces of tubing. If everything is nice & tight, you may need less or no Tensioner at all! Measure it up first.
Parts include:
- 5 off M3 25mm machine screw
- 4 off M3 12mm machine screw
- 10 off M3 nuts
- 14 off M3 washers
- 2 off M5 50mm machine screw
- 2 off M5 nut
- 4 off M5 washers
- 2 off 5mm i/d soft plastic tubing, approx 22mm long
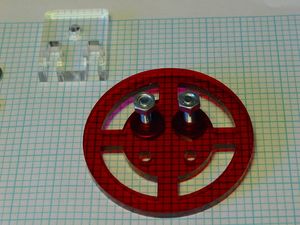
Put washers on two of the 12mm M3 screws and put them into the circular plate. The holes are symmetrically placed. Put an M3 nut on the end of each of the screws.
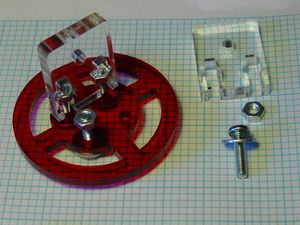
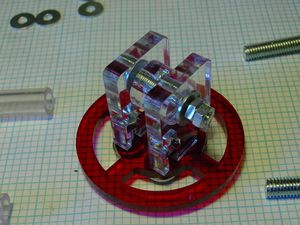
Attach the first Z Tensioner Bracket to the round plate using the by now familiar captive nut principle. Do not fully tighten - you will need to manoeuvre the Brackets to accommodate the idler.
Attach the second bracket, and prepare a 25mm M3 screw for use as the axle of the Idler by slipping a washer onto it. Adjust the gap between the Brackets so that the 8mm-thick Idler will be able to rotate freely and then tighten the four screws holding the Brackets.
Slip the 25mm M3 screw through the two Brackets and the Idler. Follow it up with a washer and lock two M3 nuts off after it (use an M3 nylock nut instead if the fancy takes you). Ensure that there is plenty of slack and the Idler rotates freely.
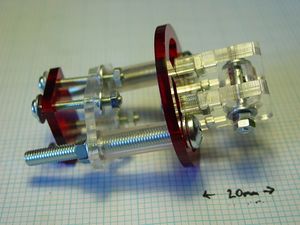
When finished, the Tensioner looks like this. Do not over-tension the chain! If the Tensioner stops the chain skipping and vibrating madly on your Z axis it is tight enough. Over-tensioning will increase chain and Z axis wear leading to far too much slop, and then you'll have to cut a link out of the chain.
| [PonokoRepRap Main Ponoko Page] | ||
| Prev Step | Next Step | |
| BOM for this page |
-- Main.RussNelson - 30 Dec 2008 -- Main.VikOlliver - 30 Dec 2008
