PonokoRepRapXAxisAssembly
Ponoko RepRap X Axis Assembly
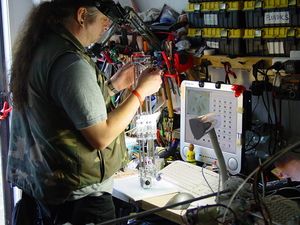
When you're building the X Axis Assembly, assemble the pieces vertically as shown. This makes it easier to keep bits that should stay out of the way out of the way, particularly when fitting the 8mm rods:
You will need the X Motor Assembly, X Idler Bracket Assembly and X Carriage assembly. You will also need 4 pieces of 8mm diameter bright steel rod, each 500mm long. There is also an X opto flag to be fitted, with an attendant M5 nut and M5 8mm grub screw.
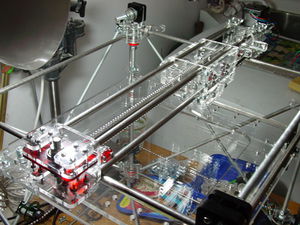
And here's one I've done earlier:
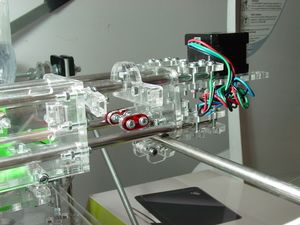
This shows how to fit the Y Saddles onto the Y axis. Make sure both sets of Y saddles are square before you do up the nuts connecting them to the End Spacers, their bearing face resting neatly on the Y axis slide rails.
The green stuff in the left of the photo is a reflection from a Darwin Paste Extruder fitted into the Extruder Socket.
Now you can construct the X Motor Assembly.
Back to the "Ponoko" RepRap index page
-- Main.VikOlliver - 26 Oct 2008


