PonokoFrameBracing
Ponoko RepRap - Bracing The Frame
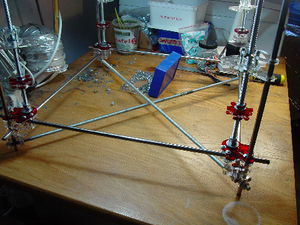
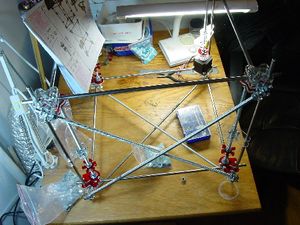
The framework needs to be braced to stop it shaking, and also to keep the drive chains in tension. This is done with pieces of studding (that's threaded rod) that have clamps on the ends. We brace the framework on 5 sides, starting with the bottom. The Deposition Bed itself provides some rigidity to the structure.
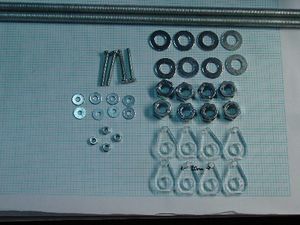
Get 8 of the teardrop-shaped clamps from the 5mm sheet together with the following:
- 2 off 650mm M8 studding
- 8 off M8 nuts
- 8 off M8 washers
- 4 off M3 25mm machine screws
- 4 off M3 nuts
- 8 off M3 washers
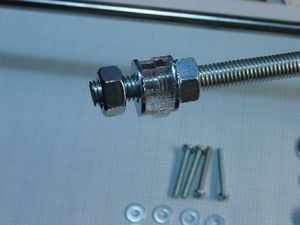
Wind an M8 nut onto the studding about 25mm. Slip on a washer, two of the Clamps, another washer and finally a nut. You'll want an oversized 8mm gap between the Clamps.
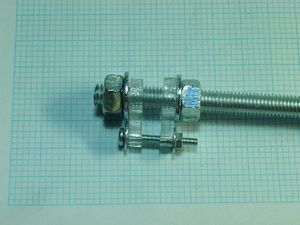
Put the washer on an M3 25mm machine screw and join the two holes in the clamps. Secure with washer and nut, leaving the generous 8mm gap. Note the gap on this one is a couple of mm or so too small.
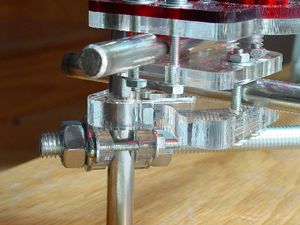
Fit the Diagonal Brace across the bottom of the RepRap frame, as high up the stubs of the legs as you can. Do not tighten the nuts with pliers or a spanner. Use your fingers or you run the risk of breaking the little Clamps.
If you do break one and run out of spares, drill 3mm and 8mm holes in an acrylic offcut using a Clamp as a template.
Fit the other Diagonal Brace. Try not to let them touch or they will rattle when the RepRap is operating.
Remove cats from workshop to limit carnage.
Make 4 more pairs of Diagonal Braces from 600mm M8 studding and fit them to the sides in the same way. This will need:
- 8 off 600mm M8 studding
- 32 off M8 nuts
- 32 off M8 washers
- 16 off M3 25mm machine screws
- 16 off M3 nuts
- 32 off M3 washers
Now you are all set to install the Y axis.
-- Main.VikOlliver - 28 Nov 2008
