Pick and Place ToolHead
Revision as of 17:24, 5 February 2010 by TheOtherRob (talk | contribs)
Release status: Experimental

| Description | A new toolhead to allow RepRaps to manipulate surface mount components.
|
| License | unknown
|
| Author | |
| Contributors | |
| Based-on | [[]]
|
| Categories | |
| CAD Models | |
| External Link |
This new toolhead allow RepRap to manipulate surface mount components. If a milling head and solder paste dispenser could be added to RepRap then production of the required PCBs could be fully automated(except you'll still have to solder on the non SMT components).
Contents
How it works
a small vacuum pump creates suction in the blunt tip needle to pick up SMT components and the gear motor rotates the component into the proper position.
Materials
- 6 20 mm M3 cap screws
- 3 35 mm M3 cap screws
- 1 10 mm M2 screw, or whatever screw will couple with the shaft on the GM3 gear motor
- 1 18 gauge blunt tip dispenser needle
- 1 magnetic rotary encoder and magnet retrofitted GM3 gear motor
- 1 meter of 4 mm diameter aquarium tubing $0.43
- a low vacuum pump, possibly a reversed aquarium air pump
Instructions
- connect the part named pnpdisk2 to the motor drive shaft
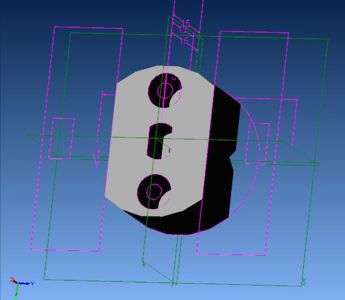
- stick the 4 mm aquarium tubing into the blunt tip dispenser needle and put this into the part called pnpdisk1
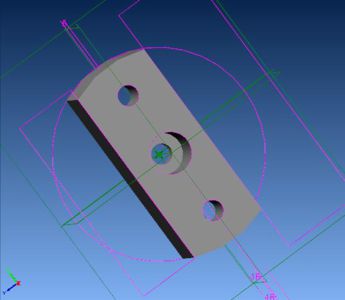
- attach pnpdisk1 to pnpdisk2 with the 20 mm M3 cap screws
- attach the magnetic rotary encoder to the part called pnpclamp with 20 mm M3 cap screws
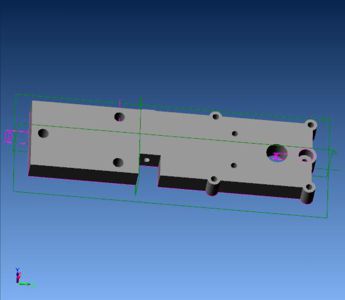
- attach gear motor to clamp with 35 mm M3 cap screws
- attach clamp to x carriage


