Metamaquina 3D/Instruções de montagem/Eixo X
Contents
X axis Idler assembly
Components
Instructions
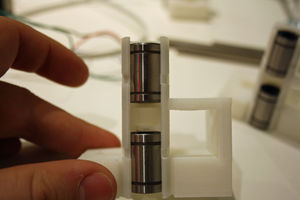
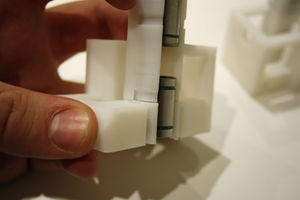
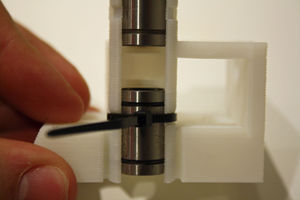
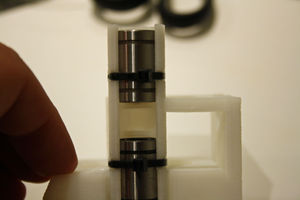
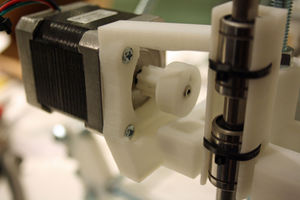
Take the four LM8UU bearings and push them in to the X-end idler and X-end motor plastic parts.
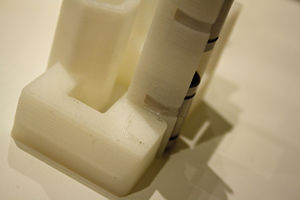
When snapping in the LM8UU bearings occasionally the plastic part around the base can crack, however this is easily fixable with super glue and does not effect the operation of the part.
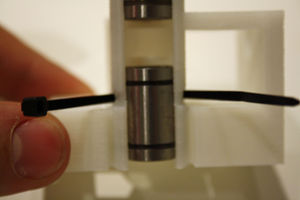
Use the supplied cable ties to fix in place.
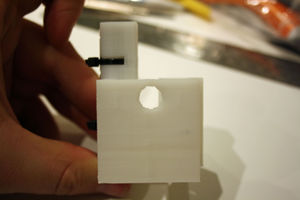
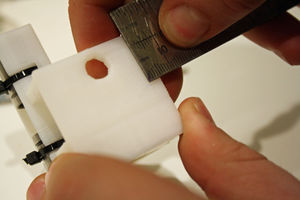
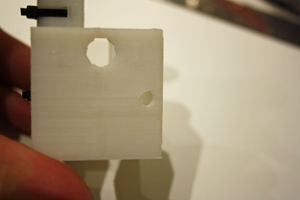
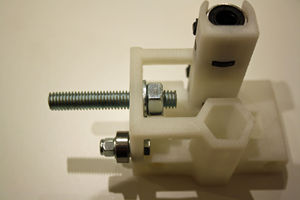
The X-end idler bracket may need a 4mm hole drilling in for attaching the 624zz bearing, this hole was added after some machines shipped.
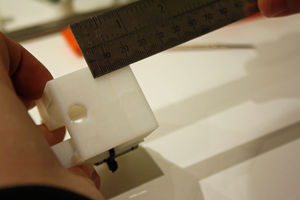
Looking at the piece as orientated in the photo measure up from the bottom 19mm and then in 5mm this will give you the centre of the 4mm hole, drill this slowly.
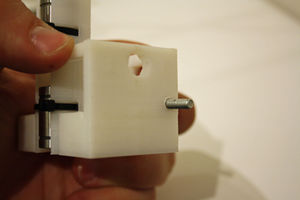
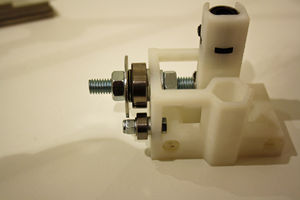
Place the M4 16mm bolt through the hole. Add two M4 washer followed by the 624zz bearing followed by a M4 washer and secure in place with a M4 nyloc nut.
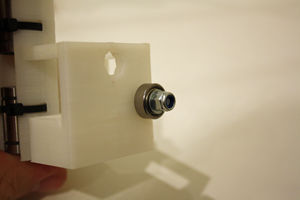
Attach the M8 50mm threaded length of rod through the large hole attach to the inside with a M8 washer and M8 nut.
On the outside add a M8 washer followed by a 608zz bearing followed by a M8 washer, M8 mudguard washer, held in place with a M8 nut.
I found that the M8 washers pushed the large bearing out too far and left too big a gap before the mudguard washer, with the result that the belt did not stay on the smaller bearing. I replaced the M8 washers with washer-shaped pieces cut from thin plastic.
I then found that the two bearings were too close together for the thickness of the drive belt. The X axis wouldn't move smoothly and steps were skipped. Perhaps I drilled the hole in slightly the wrong place, or perhaps there just isn't enough space. As a temporary solution I have removed the small (624zz) bearing and added a bunch of M4 washers instead; this seems to have cured the skipping.
X axis sub assembly
Components
Instructions
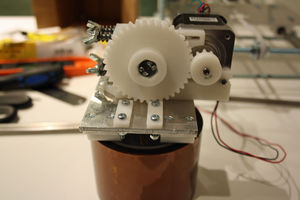
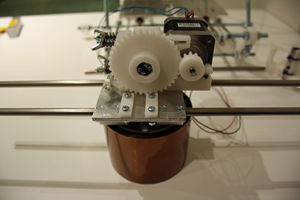
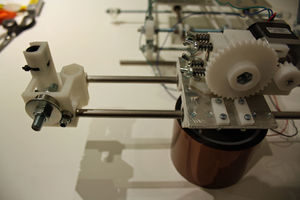
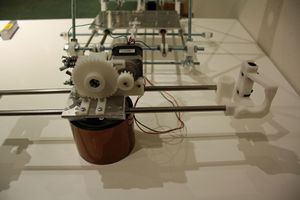
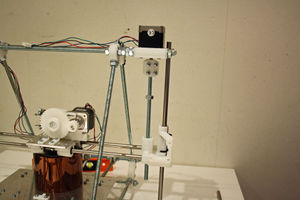
Stand the Extruder assembly in the roll of Kapton tape as shown in the photo so that the large gear is facing you.
Attach the two 410mm smooth rods through the LM8UU bearings.
Slacken off the screws holding the LM8UU holders then re tighten this makes sure they are correctly aligned on the rods.
Attach the X-end idler assembly to the left end of the rods ensuring they slide all the way to the end.
Attach the X-end motor holder to the right side.
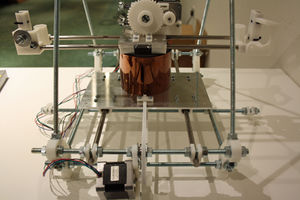
Stand this hole assembly on the middle of the Y-axis plate as shown in the photo.
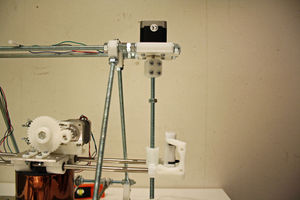
Attach the other end of the coupler to the Z motor shaft, making sure the other end of the threaded rod has located through the X ends. Do this to both sides.
Take the 350mm stainless steel slide down through the rod clamp in the Z motor mount, through the LM8UU bearings in the X ends and down to the rod clamp. Do this on both sides.
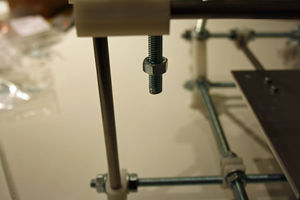
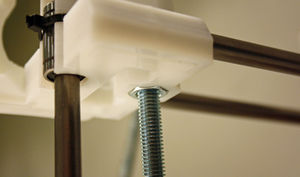
Add a nut to the bottom of the 210mm lengths of threaded rod thread up until this sits in side the nut shaped gap on the bottom of the X end idler and the X end motor side. You can now remove the role of Kapton tape.
Attach a belt pulley to the motor shaft as shown in the photo below and attach the to the X end motor holder, with three M3 10mm screws.
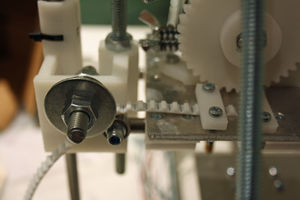
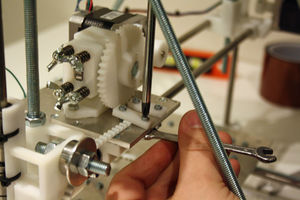
With the geared side of the extruder now facing you slide the extruder to the same side as the idler X end. Attach the 900mm length of T5 belting to the left side belt clamp on the X chassis plate. Remove the M8 nut and mudguard washer from the X end idler so that you can pass the belt over the 624zz bearing and under the 609zz bearing, and then reattach the mudguard washer and M8 nut. Tighten down the belt holder with a screw driver while holder the nut still with a spanner.
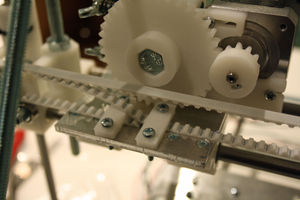
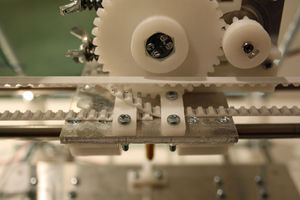
Feed the belt over the pulley on the motor shaft and attach to the x chassis with the right side belt clamp, the belt needs to be reasonably tight. NOTE there will be several centimetres of excess belt that will need to be trimmed.
