Haeckel
|
English • العربية • български • català • čeština • Deutsch • Ελληνικά • español • فارسی • français • hrvatski • magyar • italiano • română • 日本語 • 한국어 • lietuvių • Nederlands • norsk • polski • português • русский • Türkçe • українська • 中文(中国大陆) • 中文(台灣) • עברית • azərbaycanca • |
Release status: working
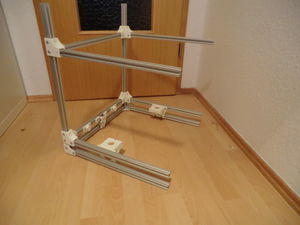
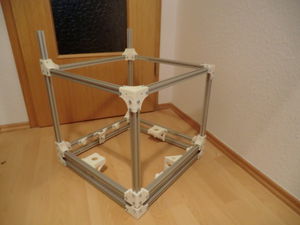
| Description | Haeckel is a variation of MendelMax.
|
| License | |
| Author | |
| Contributors | |
| Based-on | |
| Categories | |
| CAD Models | |
| External Link |
Contents
Introduction
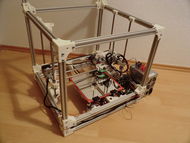
The RepRap Haeckel is an open source 3D printer that uses fused deposition modeling (FDM).
Ernst Heinrich Philipp August Haeckel (* 16. February 1834, † 9. August 1919) was a German biologist who promoted and popularized Charles Darwin's work in Germany.
The Reprap Haeckel is based on a generic Mendel. Its goal is to be a self contained unit, that can easily be upgrade to have a Heated Build Chamber. The idea is to have a very rigid frame and x assembly that can withstand light milling, such as PCB Milling or wood engraving. The Haeckel has two integrated spool holder, each holds up to 4 filament spools (9cm wide each).
Specifications
- Printed Parts:
- Non-Printed Parts:
- Material Cost: 500€~
- Cost: not for sale, yet
- Printing Size: 200mm x 200mm x 350mm (can be extended)
- Precision: ??? (position), ??? (printing)
- Speed: ??? (position), ??? (printing)
- Footprint: 470mm x 470mm x 570mm
Frame Parts
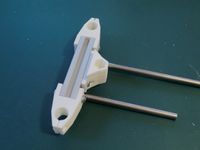
| Quantity | Length | Part Type | Used Where | Comment | Looks like | 2 | 550mm | 20x20mm aluminum extrusion | back struts. The spool holders get attached to these, depending on your filament spool diameter, you might want to use longer back struts. | 2 | 420mm | 20x20mm aluminum extrusion | front struts | 12 | 430mm | 20x20mm aluminum extrusion | rest of the frame | 2 | 270mm | 20x20mm aluminum extrusion | spool holders. can be extended or shortened | 2 | 90mm | 20x20mm aluminum extrusion | Needed for x end and x idler. Soon to be available fully printed. Minimum length is 90mm. Can be up to 410mm (not recommended). |
|---|
Smooth rods
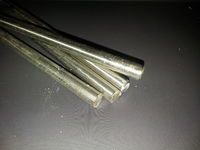
| Part | Used Where | Quantity | Length. | Comment | Looks like | X-smooth rods | 2 | 370mm | Can without problems be longer than recommended minimum lengths. Length shouldnt exceed 390mm. | Y-smooth rods | 2 | 430mm | These lengths can not be longer. 5mm shorter will still be okay, but 1mm longer can not be mounted | Z-smooth rods | 4 | 370mm | Can without problems be longer than recommended minimum lengths.Length shouldnt exceed 390mm |
|---|
Printed parts
Front Frame Assembly
This chapter shows how to assemble the front rectangle of the Haeckel's frame. You'll need:
- 2x 420mm Extrusions
- 3x 430mm Extrusions
- 1x y_motor_mount.stl
- 2x y_rod_clamp.stl
- 2x three_way_connector
- 2x corner_small.stl
- 2x corner.stl
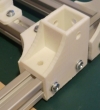
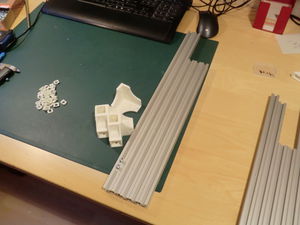
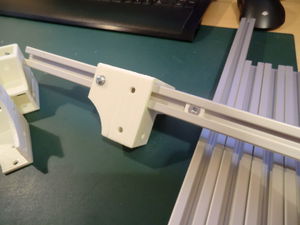
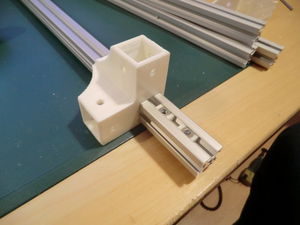
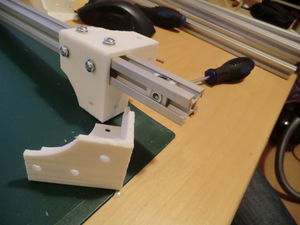
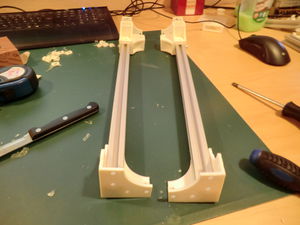
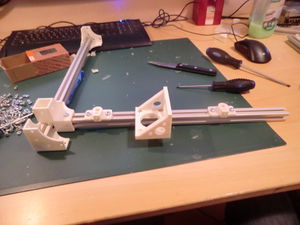
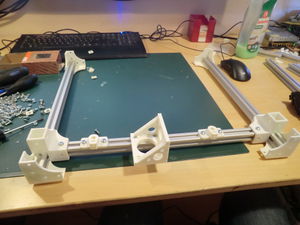
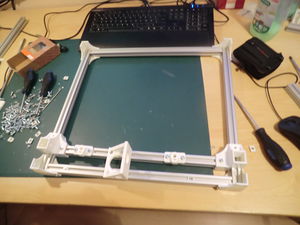
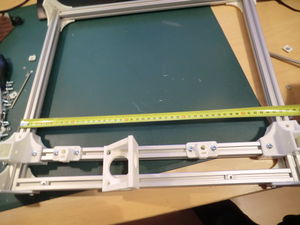
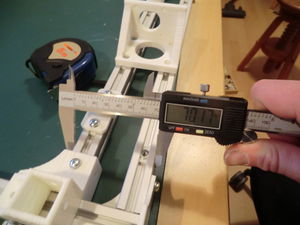
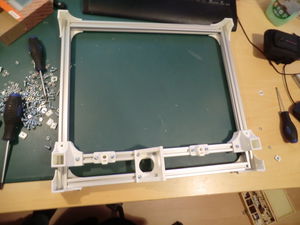
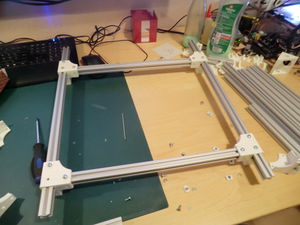
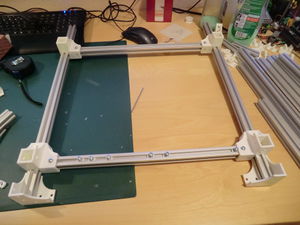
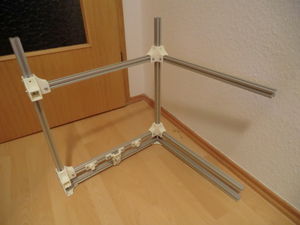
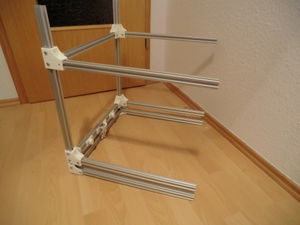
| 1. Overview | 2. Begin by sliding a three way connector on a 420mm extrusion | 3. Slide the connector down and tighten it | 4. Take a small corner and attach it | 5. Take a second small corner and attach it to the other side. Repeat Steps 2 - 5. You should now have two of these front struts. | 6. Attach one 430mm Extrusion to one of the three way connectors. Attach Y-Motor mount and two bar clamps as pictured. | 7. Attach the other strut to the horizontal bar. Make sure the Motormount and bar clamps are correctly attached. You will not be able to insert nuts into the t-slot afterwards | 8. Take two 430mm extrusions and attach them to the top and bottom corners. The motor mount gets attatched to the bottom extrusion | 9. Make sure the frame is rectangular. The measurements can differ by the type of extrusion you are using. This measurement is 470mm and needs to be exact on all points | 10. The distance between the lower extrusions needs to be 50mm (center to center). For 20mm wide extrusions its 70mm (outside to outside) | 11. The front side of the Haeckel is now done and square | 12. The back side is very similar to the front side. Assemble a frame as pictured. Vertical struts are 550mm (longer because they carry the spoolholders). Horizontal struts are 430mm. Check steps 2 - 5 for details | 13. Insert nuts into the lower extrusions. You'll need 5. 2 for each bar clamp. One for the belt tensioner. Assemble small corners at the bottom. Check the measurements on this part aswell | 14. Assemble bar clamps and belt tensioner to the backside. Attach 3x 430mm extrusions as pictured | 15. Attach 3x 430mm extrusions to the other side aswell | 16. Attach Z motor mounts to the bottom. NOTICE: if you wish to mount any electronics to the inside of the printer, you will need to insert the nuts now. You will not be able to install any nuts into the t-slot lateron. If you forget this, you will have to disassemble the whole printer lateron | 17. Attach the front frame. The overall frame of the printer is now finished. Check if its square |
Printer at work
<videoflash>ZgHDDmB_RSs</videoflash>
