Cartesio
Release status: working
| Description | Printed CNC machine
|
| License | GPL v2
|
| Author | |
| Contributors | |
| Based-on | [[]]
|
| Categories | |
| CAD Models | see files
|
| External Link |
This page is under development
Description
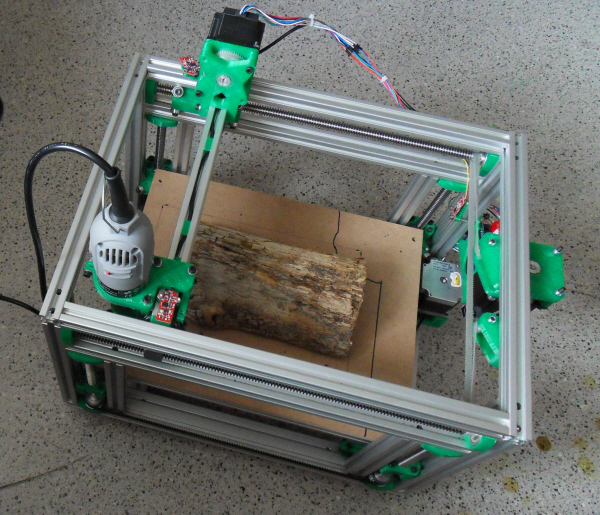
Cartesio is a 3 axis printed Carthesian CNC machine.
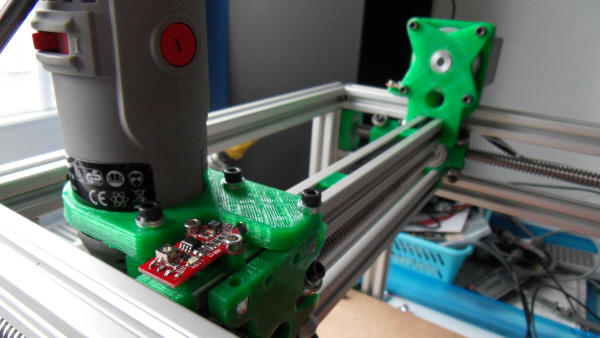
The machine is designed to hold multiple tools at its toolhead.
This way one could connect a mill and/or a 3Dprint extruder and/or....
The axis are powered by 3 NEMA23 steppers, which are about the smallest in the lineup.
The max feedrates, with these small motors, are for X and Y 2400mm/min, and for Z 660mm-min.
Which are reasonable speeds for 3D printing.
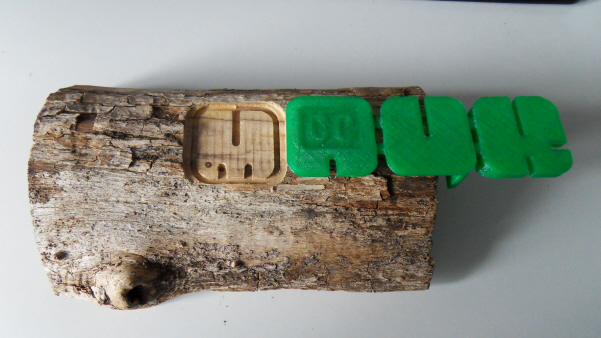
When milling the block of wood (below on this page) I set the feedrate to 100, and the depth of the layer to 0.6mm.
Travel speeds were 2400and 660.
This gave nice results.
Rather then having one long (endless) page here, I divided the assembly instructions in to separate pages in the wiki.
Please follow the links
Cartesio images
It is not exactly "Hello world" but it`s still the first milling experience for Cartesio.
The G-code was made with Skeinforge41. I`m still tweaking.
Cartesio uses 3 Hall-Θ endstop sensors
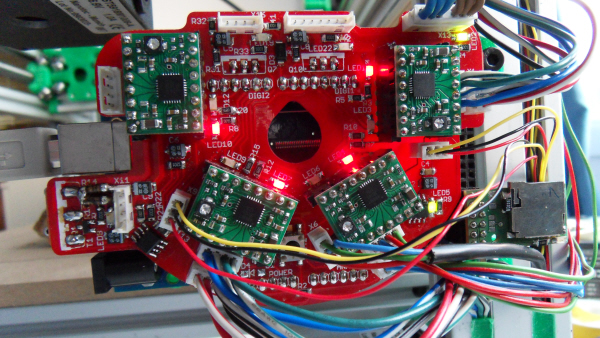
Cartesio uses a CNC arduino shield that can connect to a uno or a Mega.
It is still in prototype state, but information can be found here [2]
Files
I will add the files at the appropriate pages of the assembly instructions.
Parts List
Assembly Instructions
Assembling the Cartesio is a relative easy process.
There are however a couple of things that have to be done in a certain sequence, otherwise you will be dis-assembling again and again.
So we will begin our journey at the Cartesio Base.
After that we will go to the Cartesio Z-axis.
Then straight to the Cartesio X-axis.
And finish at the Cartesio Y-axis
Setup
So now that you have setup the individual base and axis, now it is time to connect them all together.
