I3 Y axis assembly
|
English • العربية • български • català • čeština • Deutsch • Ελληνικά • español • فارسی • français • hrvatski • magyar • italiano • română • 日本語 • 한국어 • lietuvių • Nederlands • norsk • polski • português • русский • Türkçe • українська • 中文(中国大陆) • 中文(台灣) • עברית • azərbaycanca • |
Y-axis rear side parts assembly
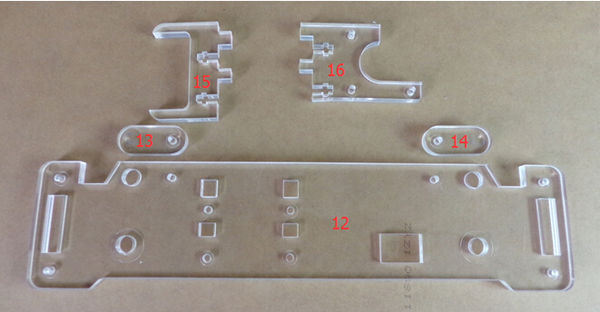
Need parts:
- 12,13,14 Y axis,back side thread rod fixed sheet
- 15,16 Y axis motor sea
- 10×M3 * 16 screw
- 10×M3 nut
- 10×M3 flat gasket
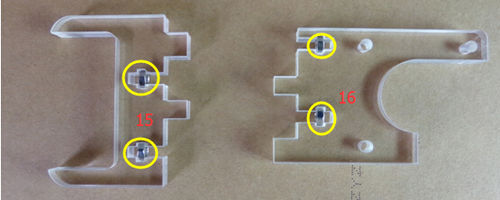
Step 1
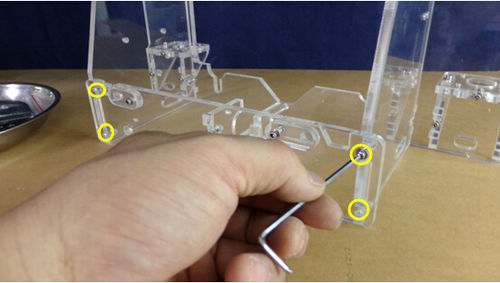
Put the 4×M3 Nut into the 15,16parts(yellow mark),look at the picture.
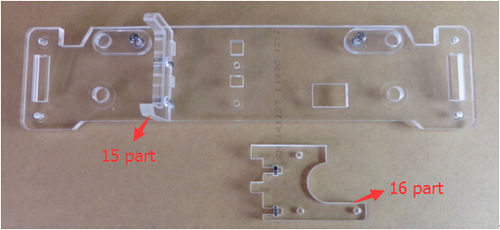
Step 2
Please put 13,14 parts fixed to 12 parts. (M3*16 screws×2,M3 NUT×2,M3 flat gasket×2)
Step 3
Please install 15,16 parts to 12 parts.(M3*16 screws×4,M3 flat gasket×4)
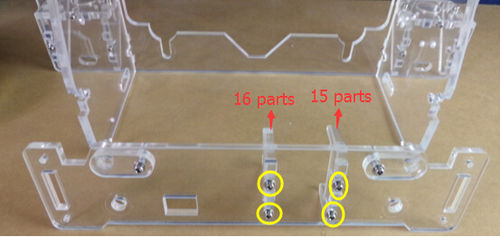
Step 4
Inserted in the left side of the plate and the lower right side of the plate.( M3 * 16 screws×4, M3 flat gasket×4)
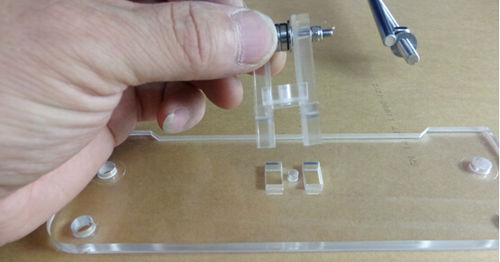
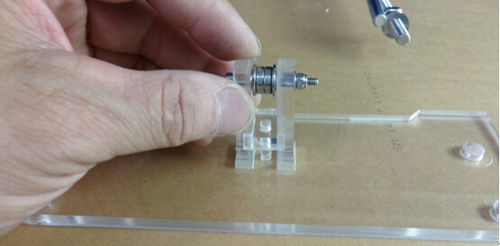
Y-axis front side parts assembly
Need parts:
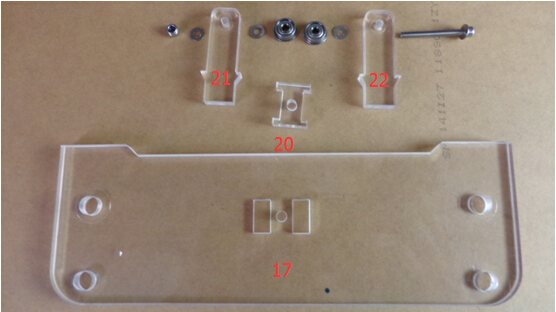
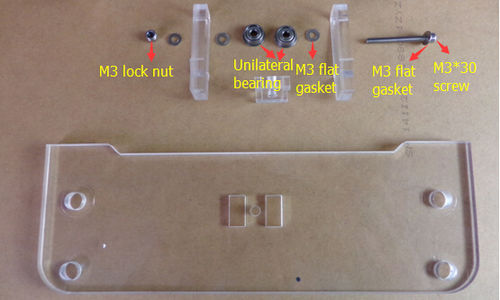
- 17,20,21,22 Y-axis front side fixed plate.
- 1×M3*30 screw
- 1×M3 Lock nut
- 4×M3 flat gasket
- 2×Unilateral bearing
Step 1
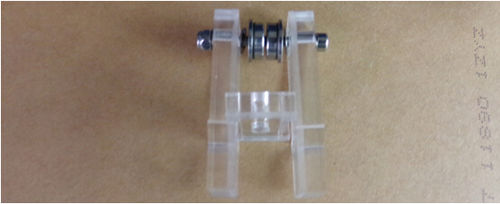
Please assemble 20,21,22 parts.
Step 2
Put the assembled parts inserted to the 17 parts.
Step 3
Fix the two parts use M4*30 screw× and Installed dish ×1.(look at the picture)
Assembly with the longitudinal parts
Need parts:
- 2×M8*380mm threaded rods
- 2×M8*350mm smooth rod
- 12×M8 NUT
- 12×M8 flat gasket
- 6×M8 spring gasket
