File list
This special page shows all uploaded files.
| Date | Name | Thumbnail | Size | Description | Versions |
|---|---|---|---|---|---|
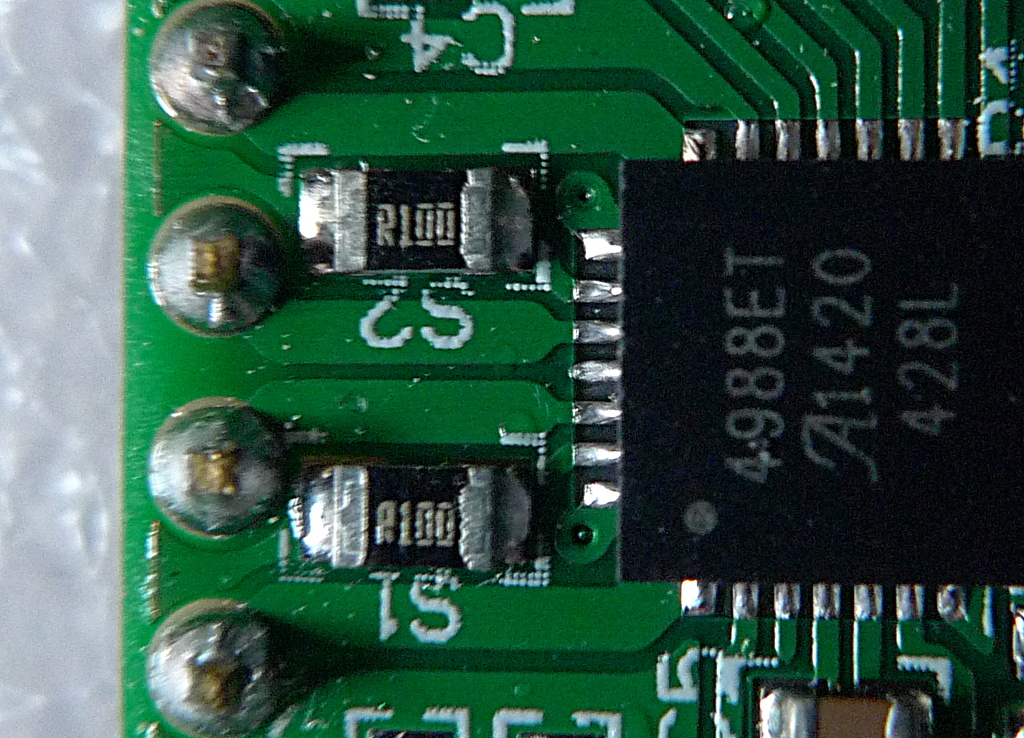
| 07:40, 11 January 2015 | A4988 detail current sense r 1a.jpg (file) |  |
369 KB | A4988 clone board 0.1 Ohm current sense resistors detail. | 1 |
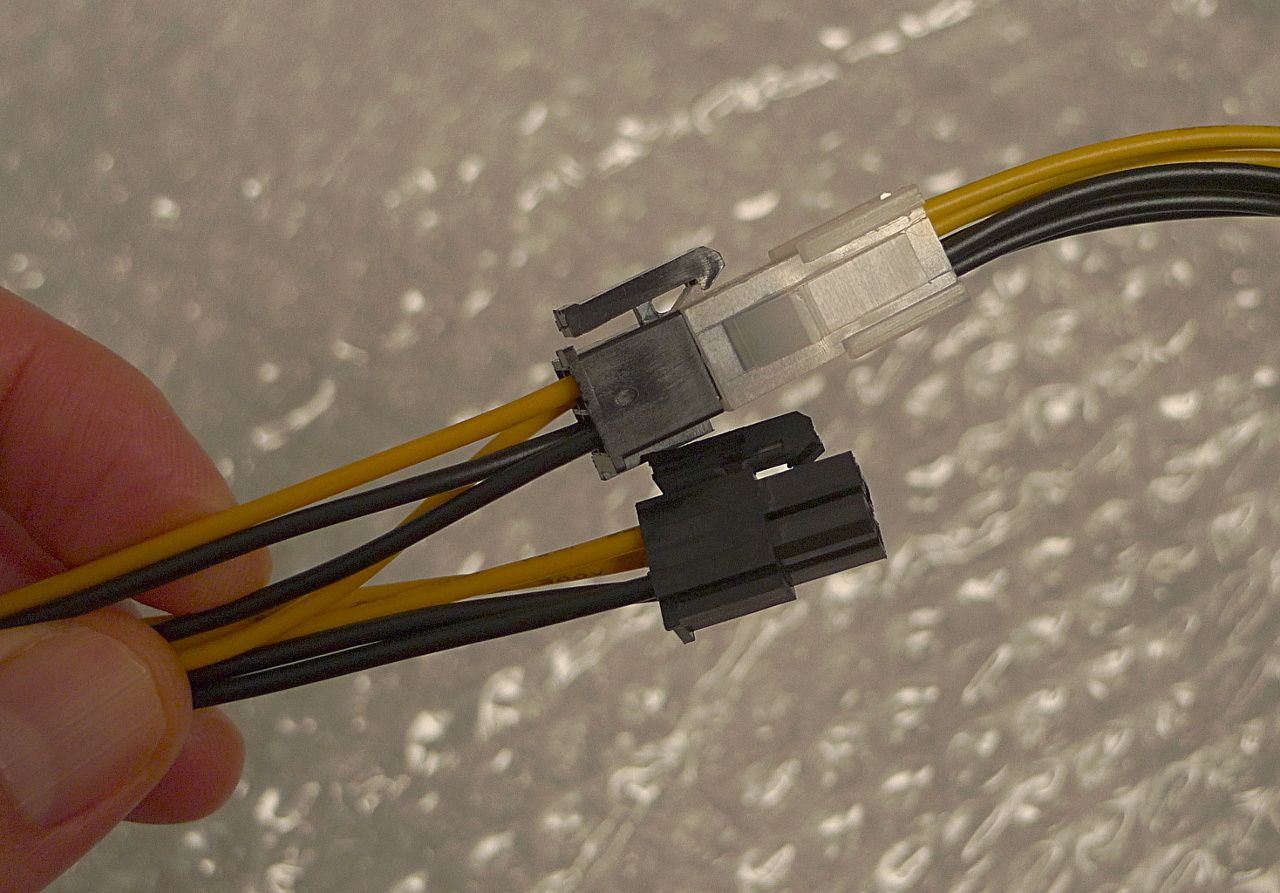
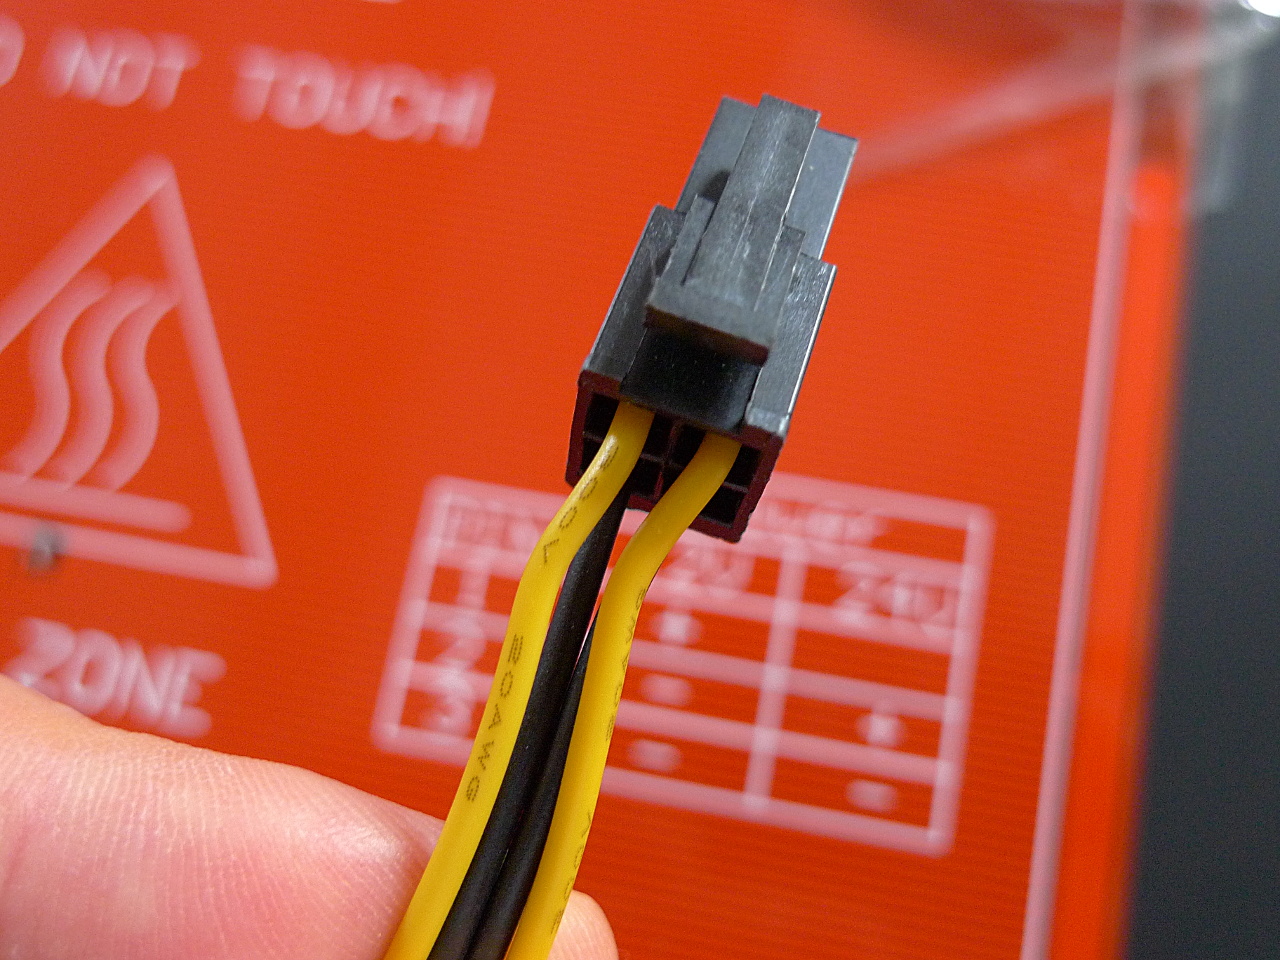
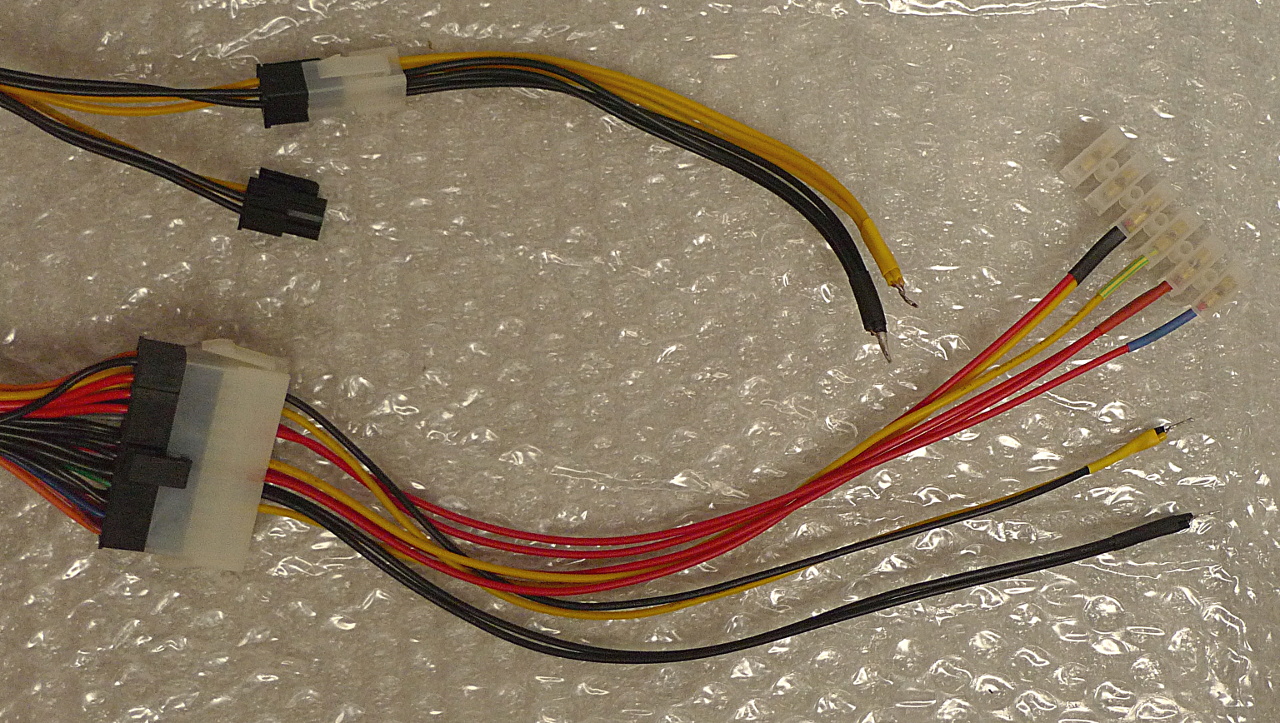
| 06:50, 26 December 2014 | ATX 4to8pin adapter cable 1a.jpg (file) |  |
409 KB | The ATX PSU female 4 pin to male 8 pin adapter cable. We only use the female connector. | 1 |
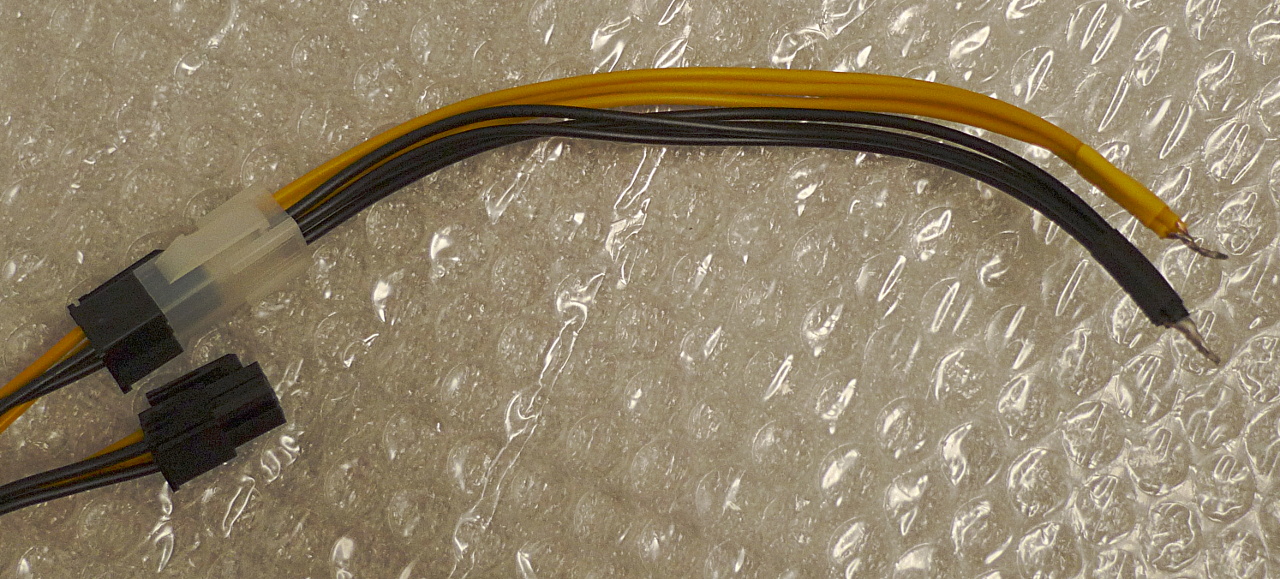
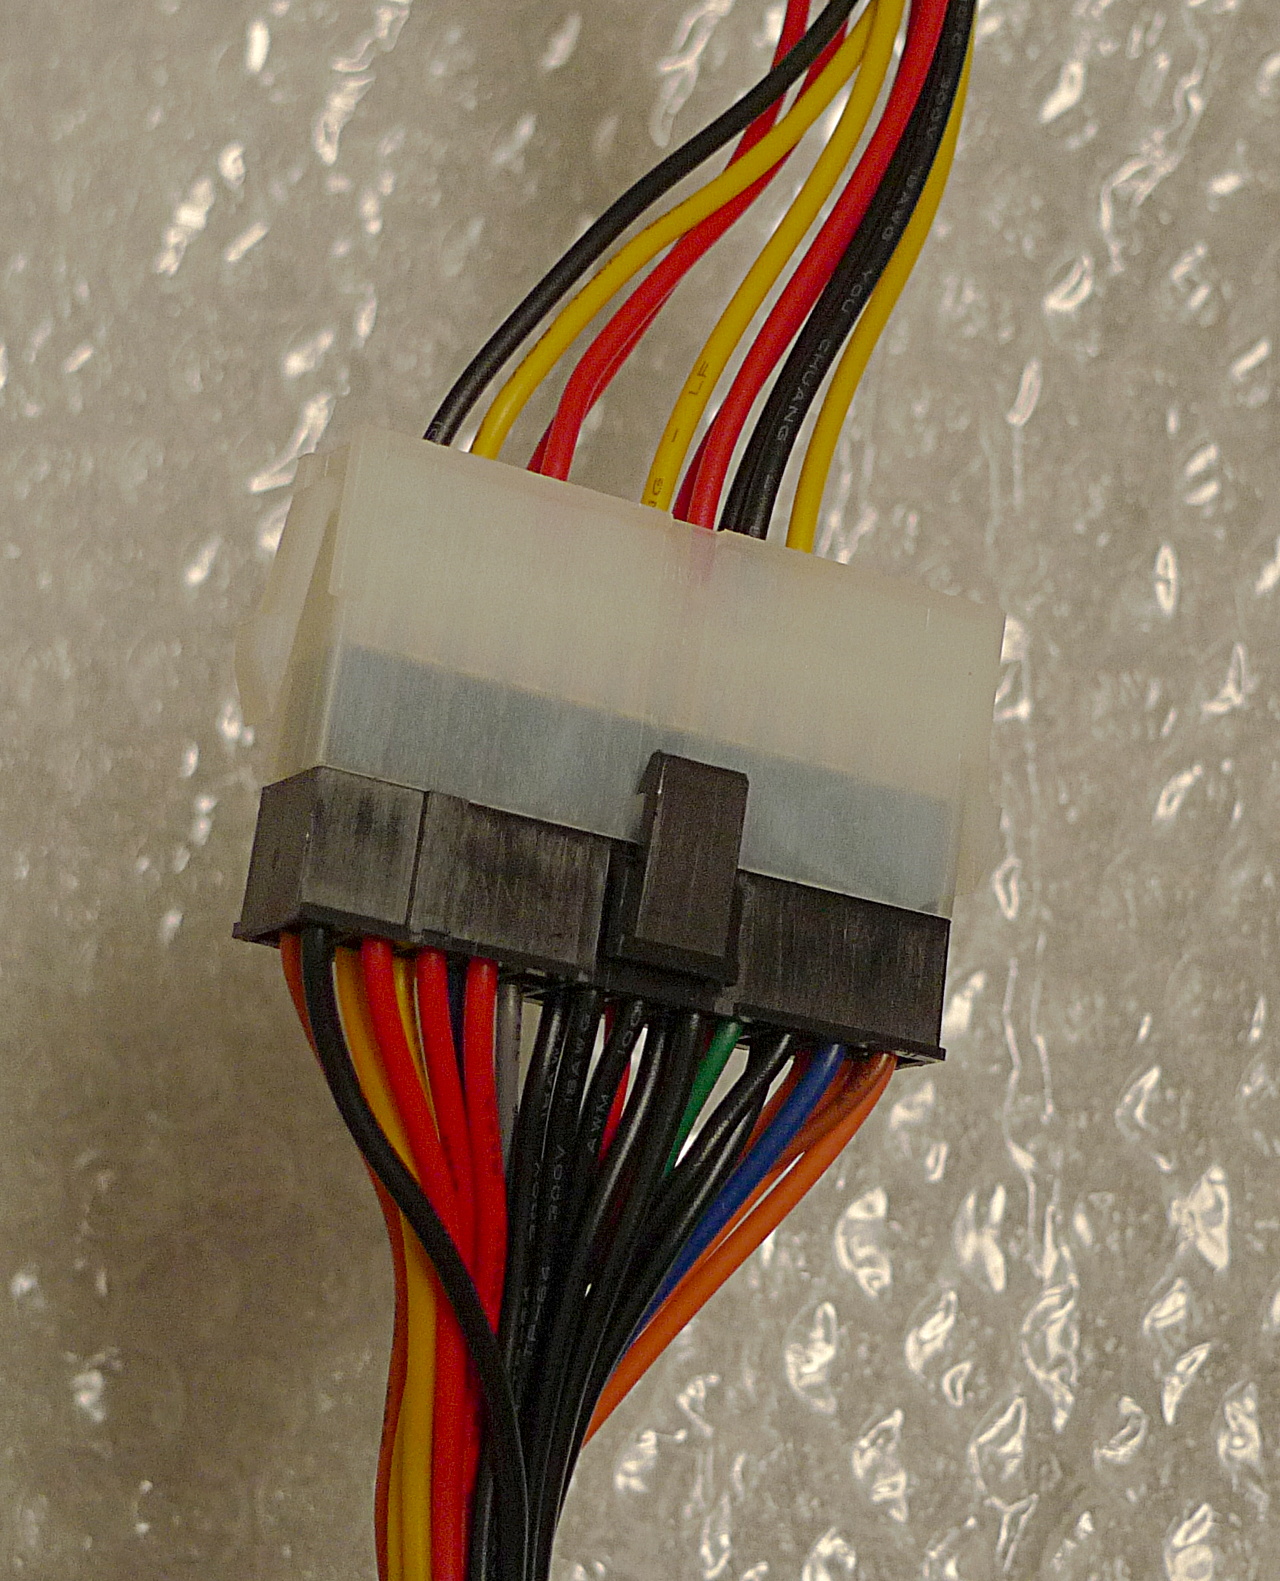
| 06:59, 26 December 2014 | ATX 4to8pin adapter cable 2a.jpg (file) |  |
383 KB | The ATX PSU female 4 pin to male 8 pin adapter cable, prepared for use. I just yanked the cables out of the male end, bunched respectively the +12V and GND lines together, and soldered the ends. | 1 |
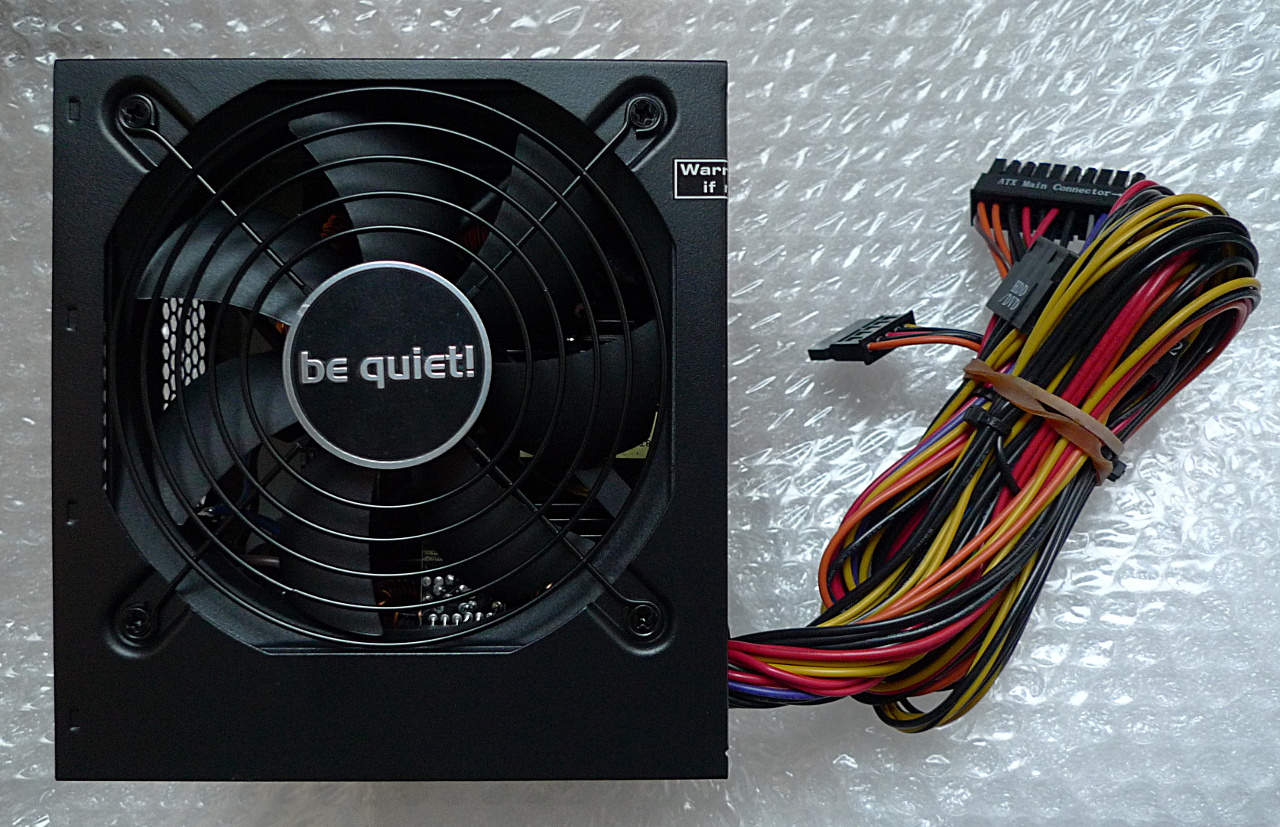
| 04:38, 25 October 2014 | ATX PSU bequiet 1.jpg (file) |  |
472 KB | A be quiet! ATX PSU from their value line. | 1 |
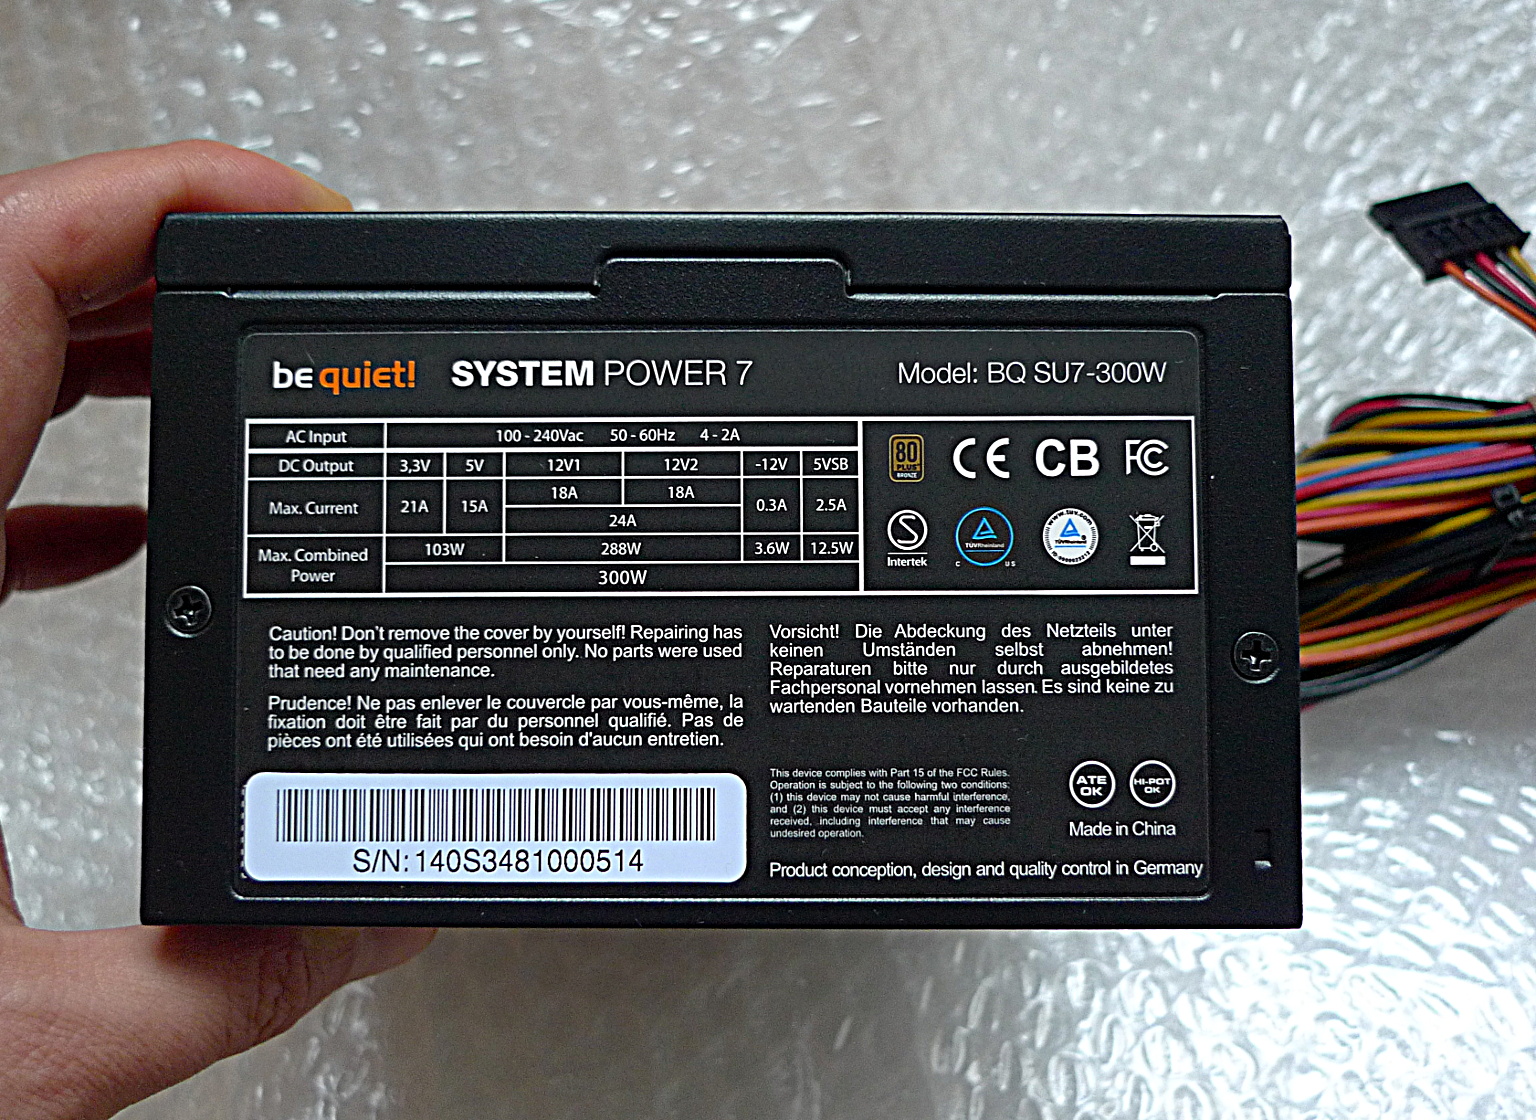
| 04:46, 25 October 2014 | ATX PSU bequiet 2.jpg (file) |  |
797 KB | Power ratings of the be quiet! ATX PSU. | 1 |
| 04:21, 25 October 2014 | ATX PSU block 1.jpg (file) |  |
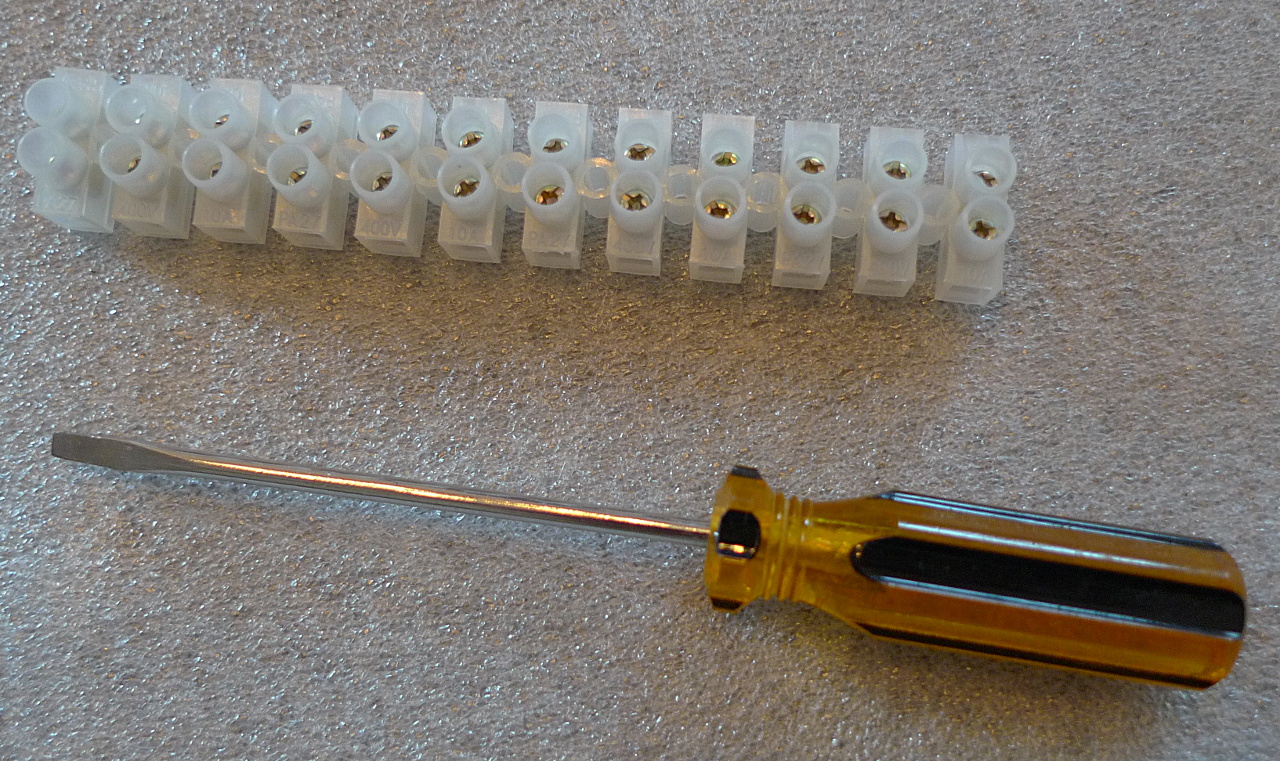
511 KB | 12 position terminal block strip and correct size screwdriver. | 1 |
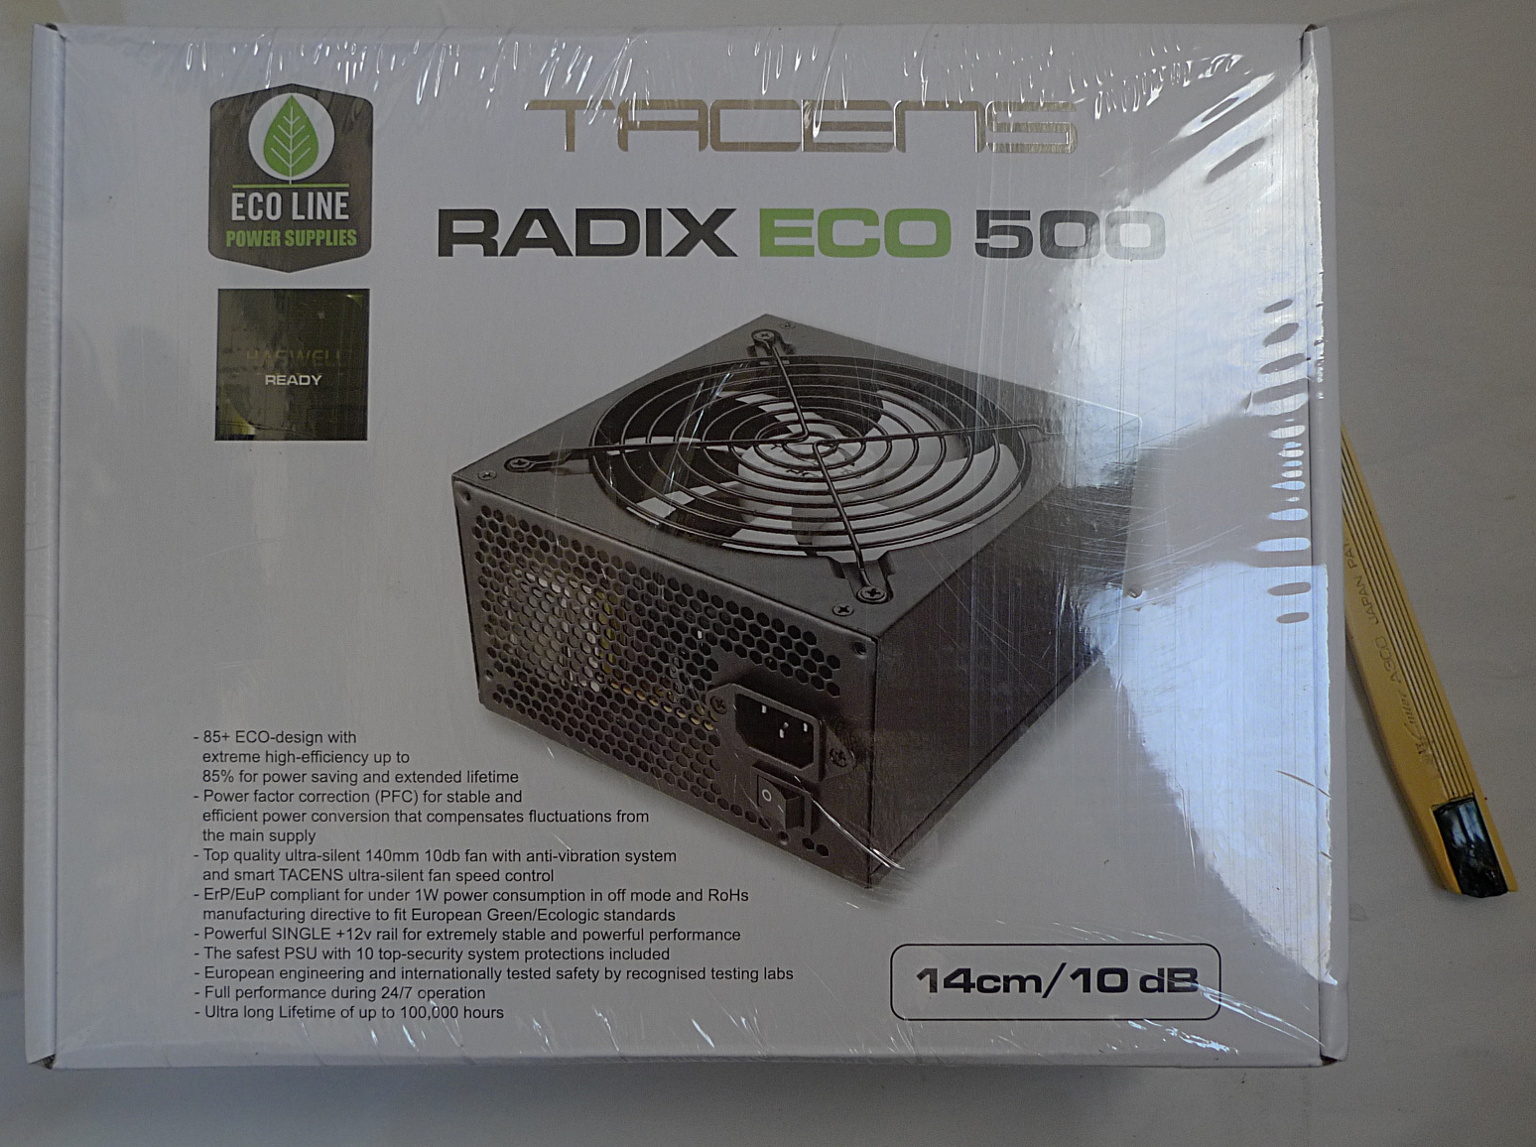
| 15:14, 20 October 2014 | ATX PSU box back 1.jpg (file) |  |
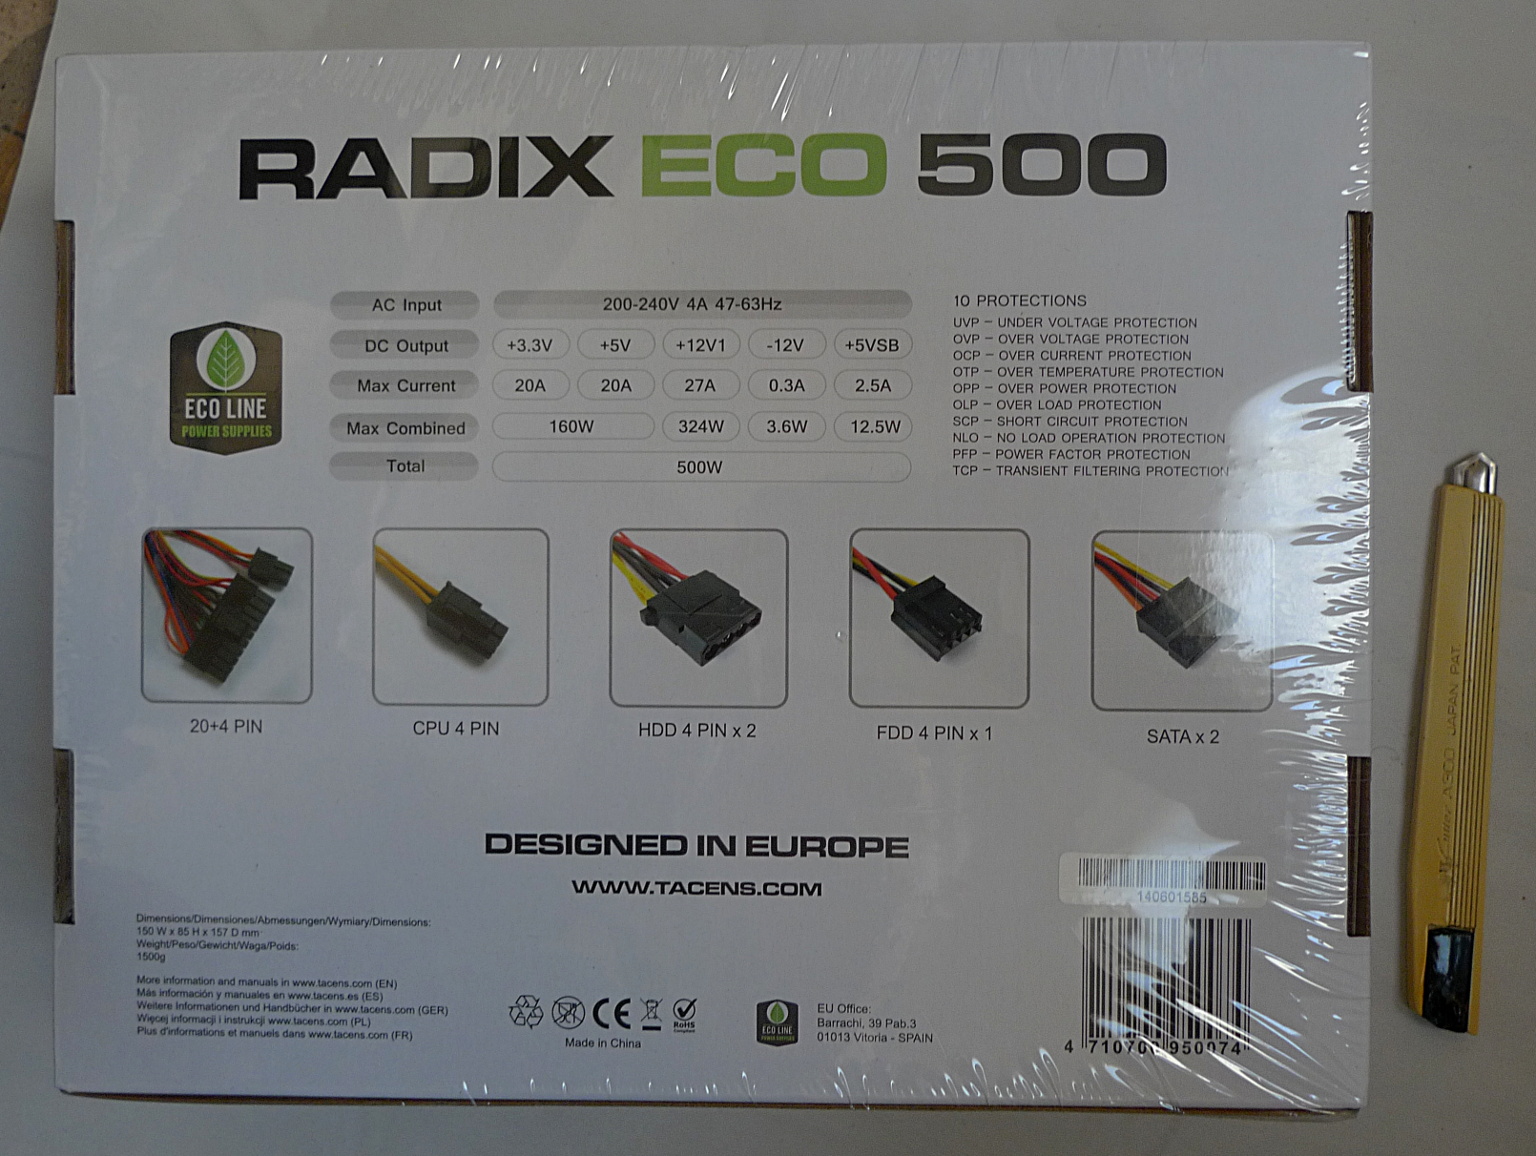
538 KB | The back of the box listing the technical specifications and features for this ATX PSU. | 1 |
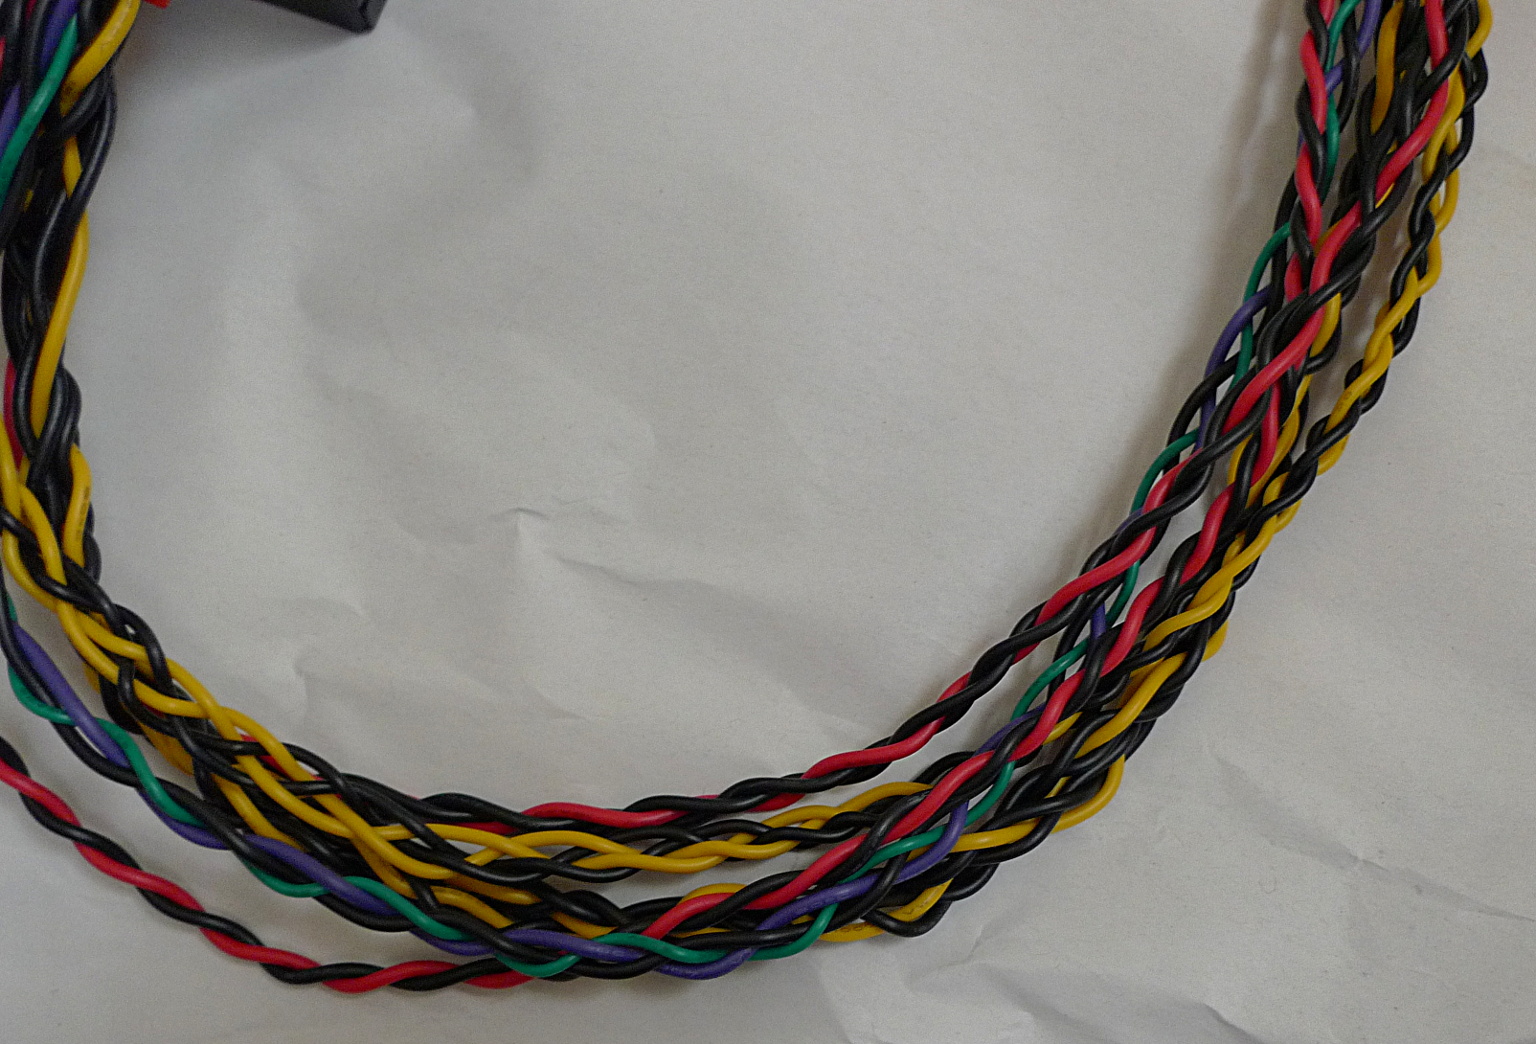
| 20:58, 21 October 2014 | ATX PSU braids 1.jpg (file) |  |
594 KB | Braided cables of an ATX PSU. | 1 |
| 20:58, 21 October 2014 | ATX PSU braids 2.jpg (file) |  |
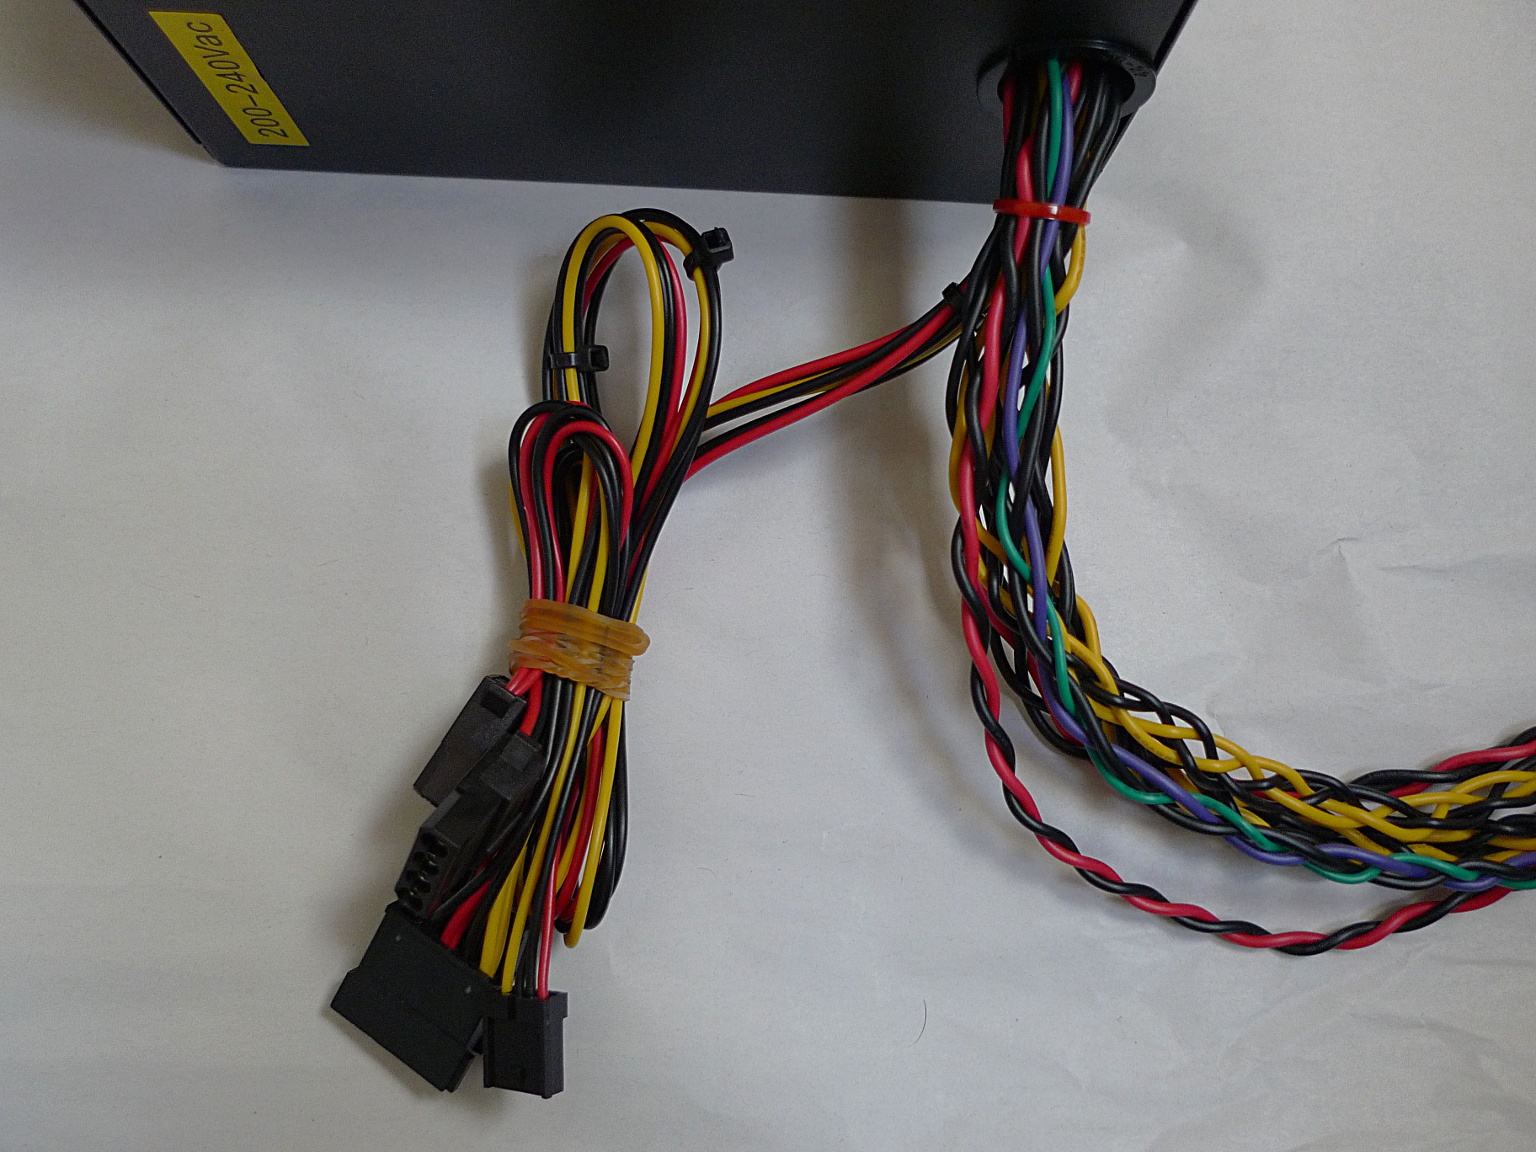
694 KB | Braided cables (various styles) of an ATX PSU. | 1 |
| 20:59, 21 October 2014 | ATX PSU braids 3.jpg (file) |  |
550 KB | Braided cables: no tangles of loose wires! | 1 |
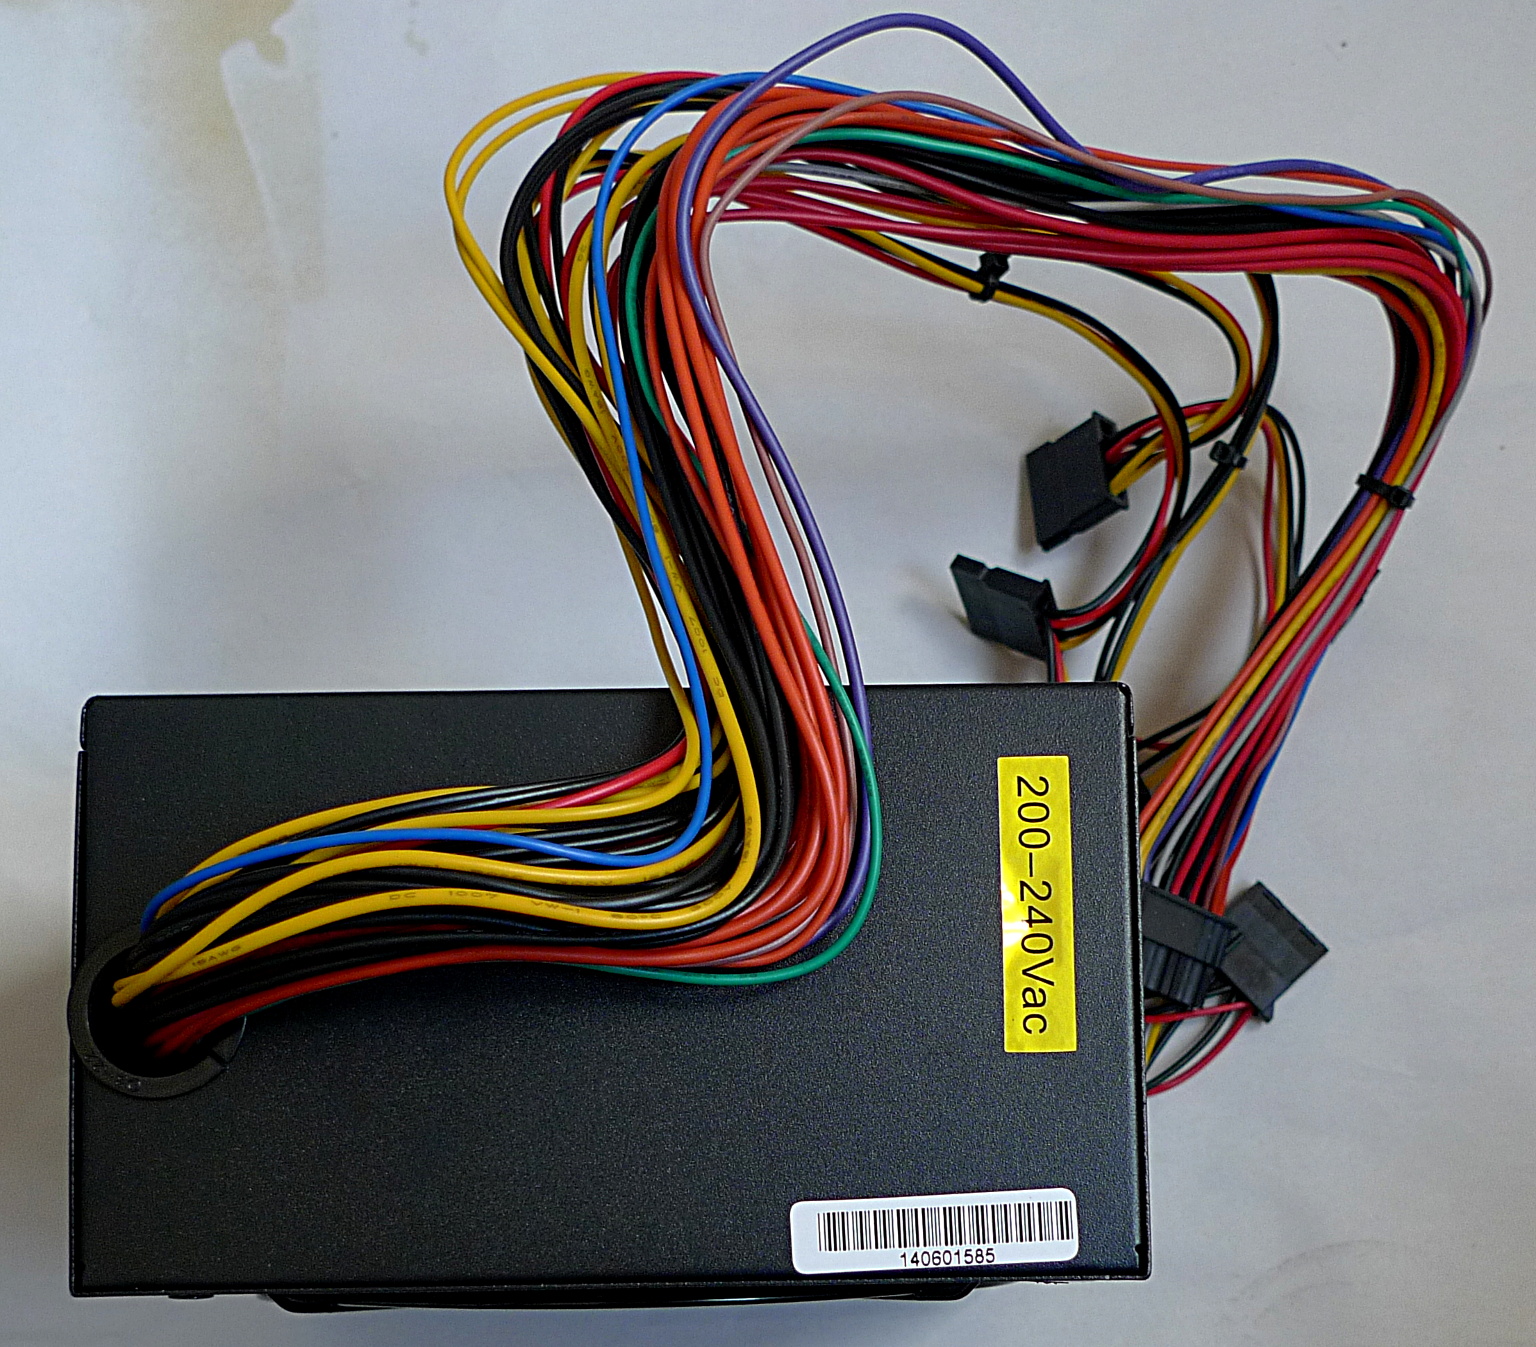
| 16:46, 20 October 2014 | ATX PSU cables 1.jpg (file) |  |
828 KB | The cables are not sleeved, and 200-240V AC input only. | 1 |
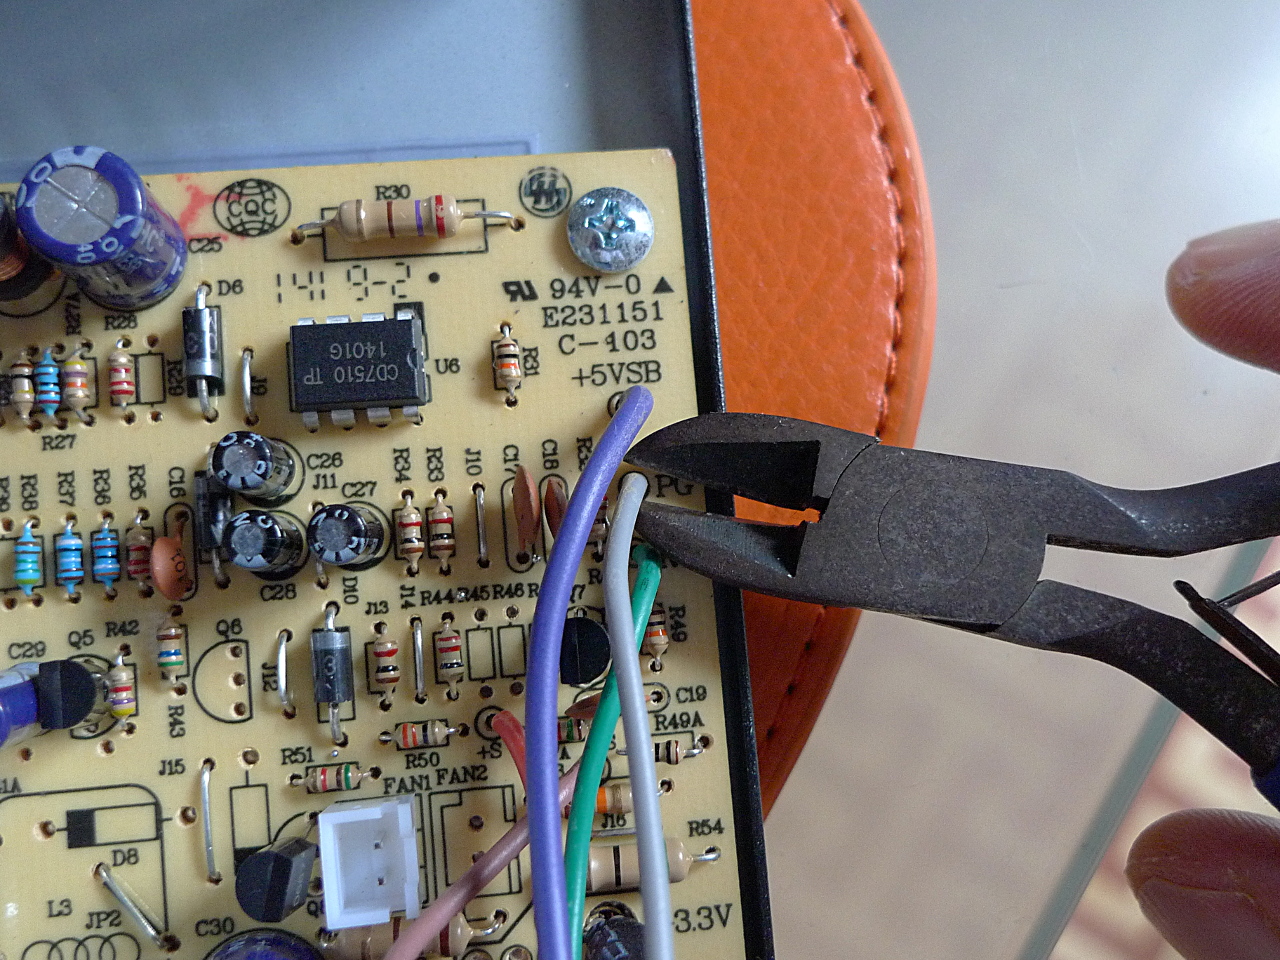
| 16:41, 23 October 2014 | ATX PSU cutting 1.jpg (file) |  |
688 KB | Cables should be cut right at the PCB level. | 1 |
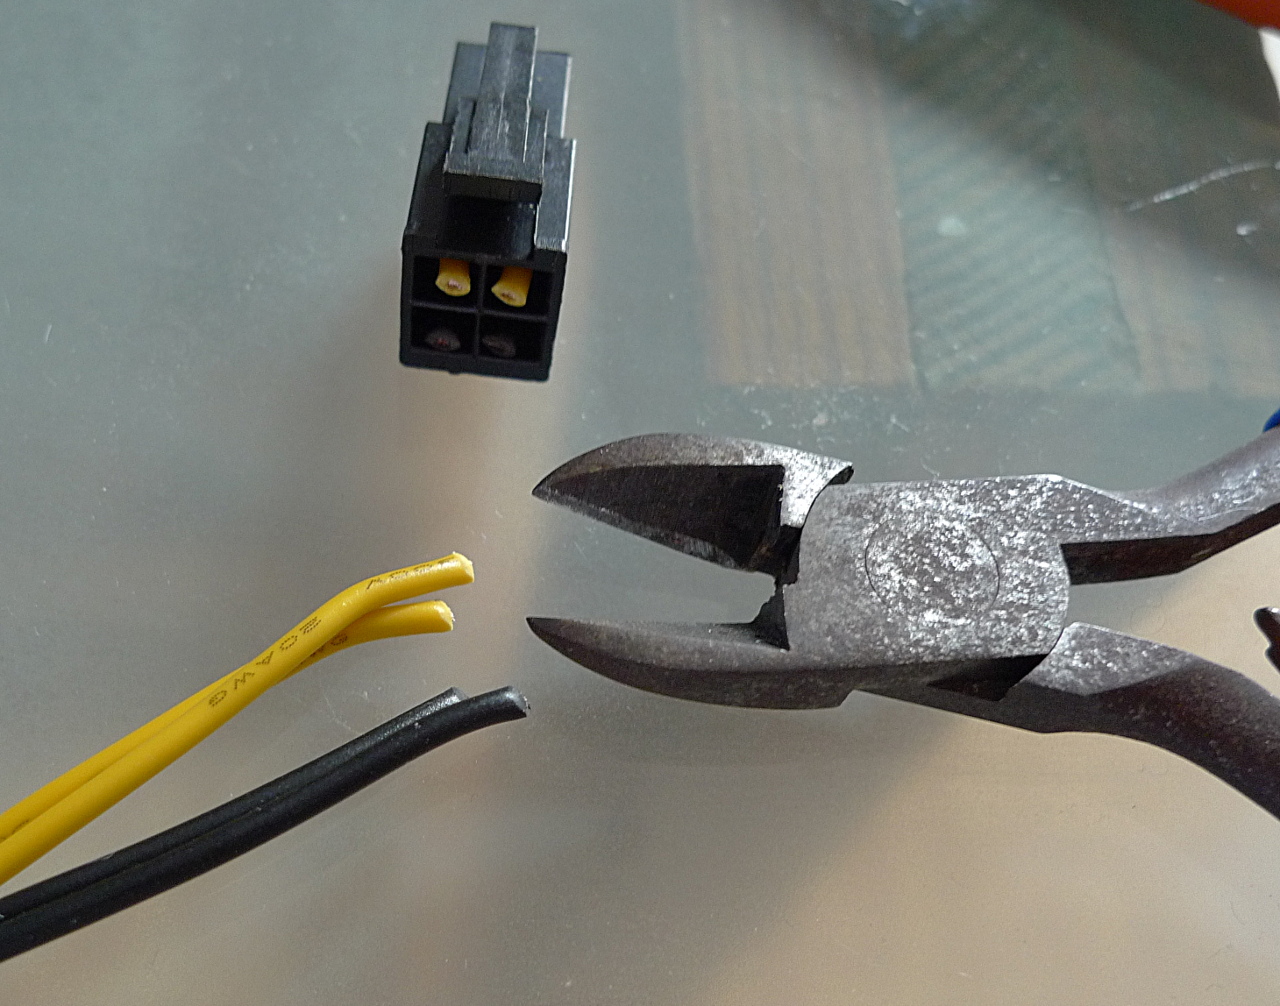
| 16:54, 23 October 2014 | ATX PSU cutting 2.jpg (file) |  |
453 KB | We also cut away the motherboard 12V CPU connector. | 1 |
| 17:02, 23 October 2014 | ATX PSU cutting 3.jpg (file) |  |
588 KB | We keep the cabling we cut out for later. | 1 |
| 20:47, 23 October 2014 | ATX PSU cutting 4.jpg (file) |  |
447 KB | We also cut away all the cables to the main motherboard connector. | 1 |
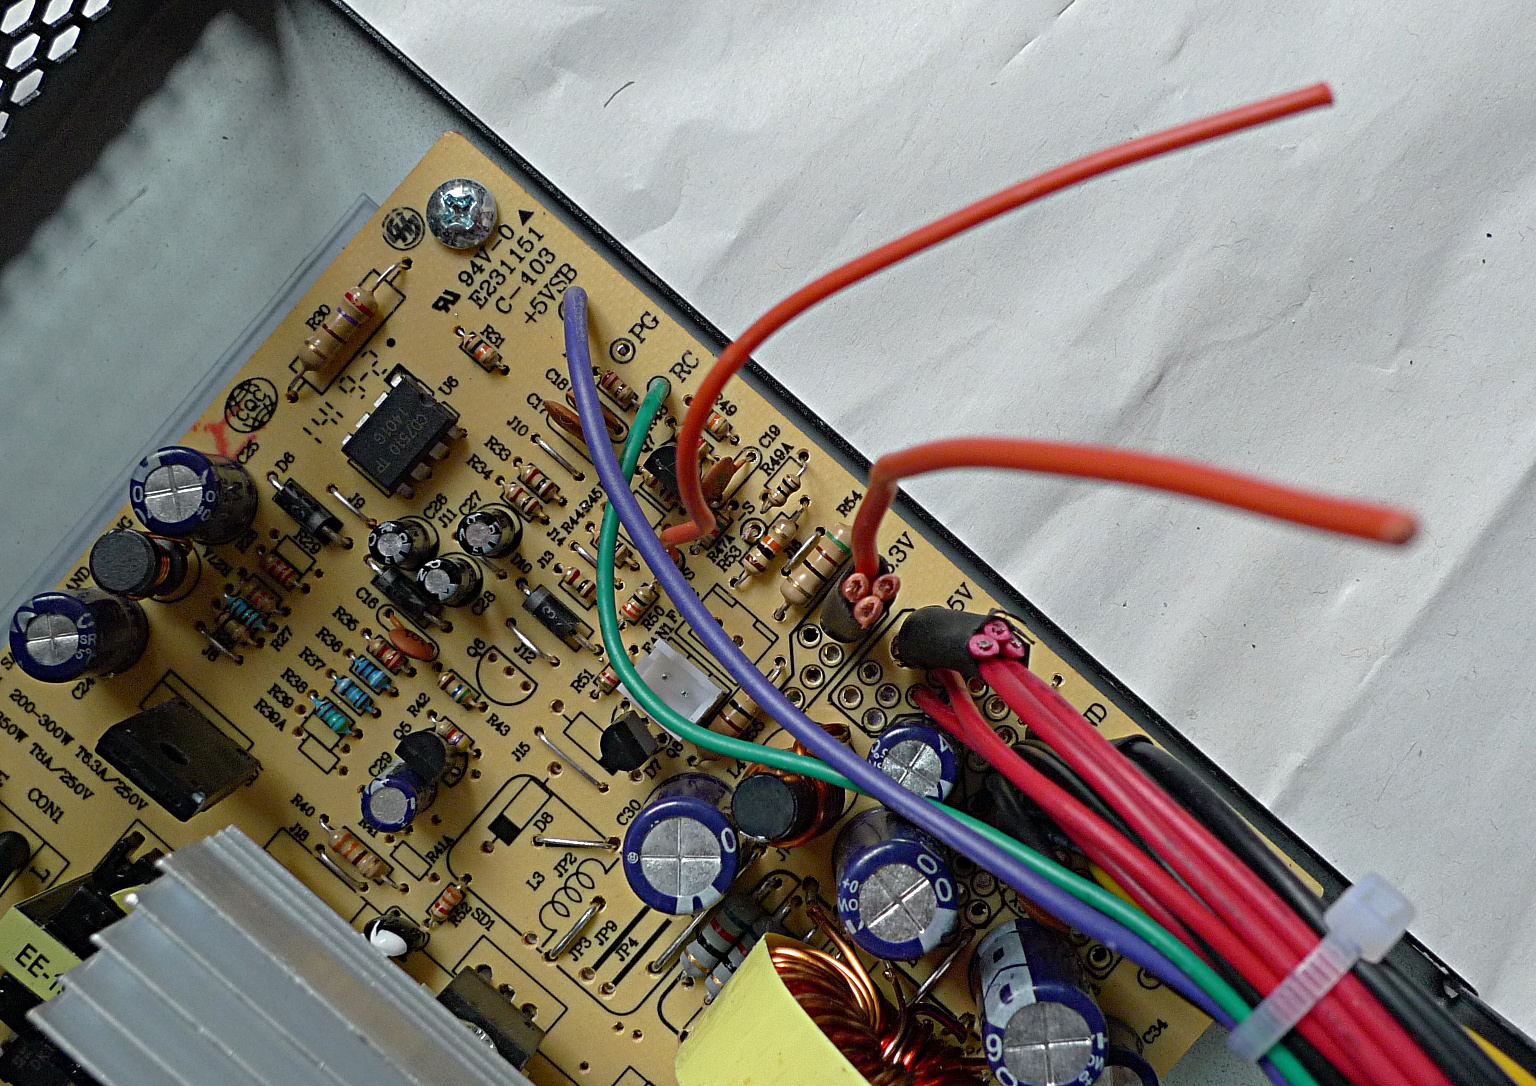
| 20:45, 24 October 2014 | ATX PSU cutting sense 1.jpg (file) |  |
810 KB | The 3.3V_Sense lead and a 3.3V lead which we are going to solder together. | 1 |
| 20:54, 24 October 2014 | ATX PSU cutting sense 2.jpg (file) |  |
361 KB | The 3.3V_Sense lead and a 3.3V lead soldered together and insulated with heatshrink tubing. | 1 |
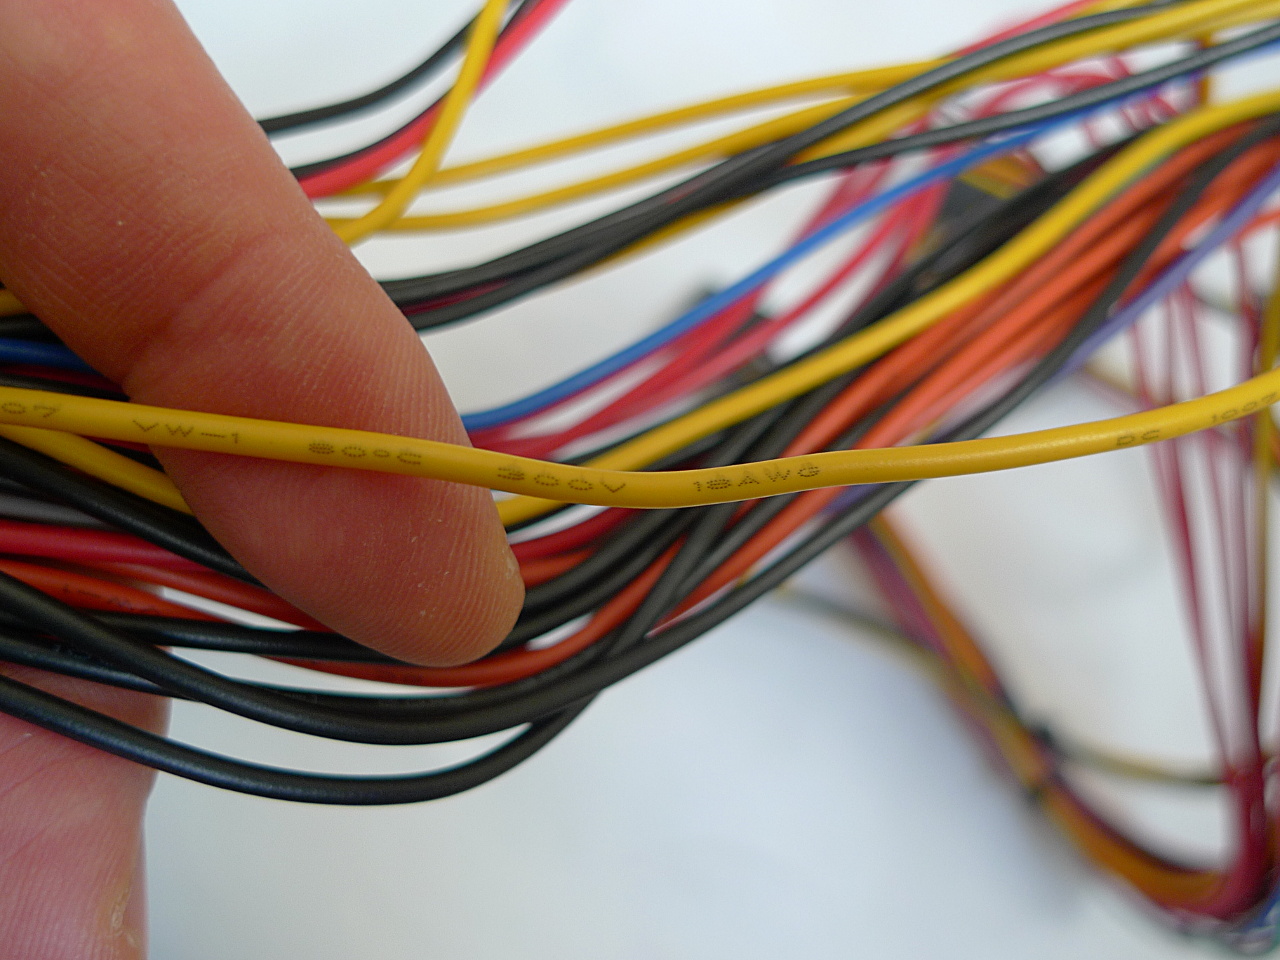
| 01:28, 25 October 2014 | ATX PSU gauge 1.jpg (file) |  |
374 KB | 18AWG wire. | 1 |
| 01:28, 25 October 2014 | ATX PSU gauge 2.jpg (file) |  |
473 KB | 20AWG wire. | 1 |
| 14:30, 20 October 2014 | ATX PSU in the box 1.jpg (file) |  |
565 KB | An ATX PSU for my RepRap project, in its box, still with the shrink wrap. | 1 |
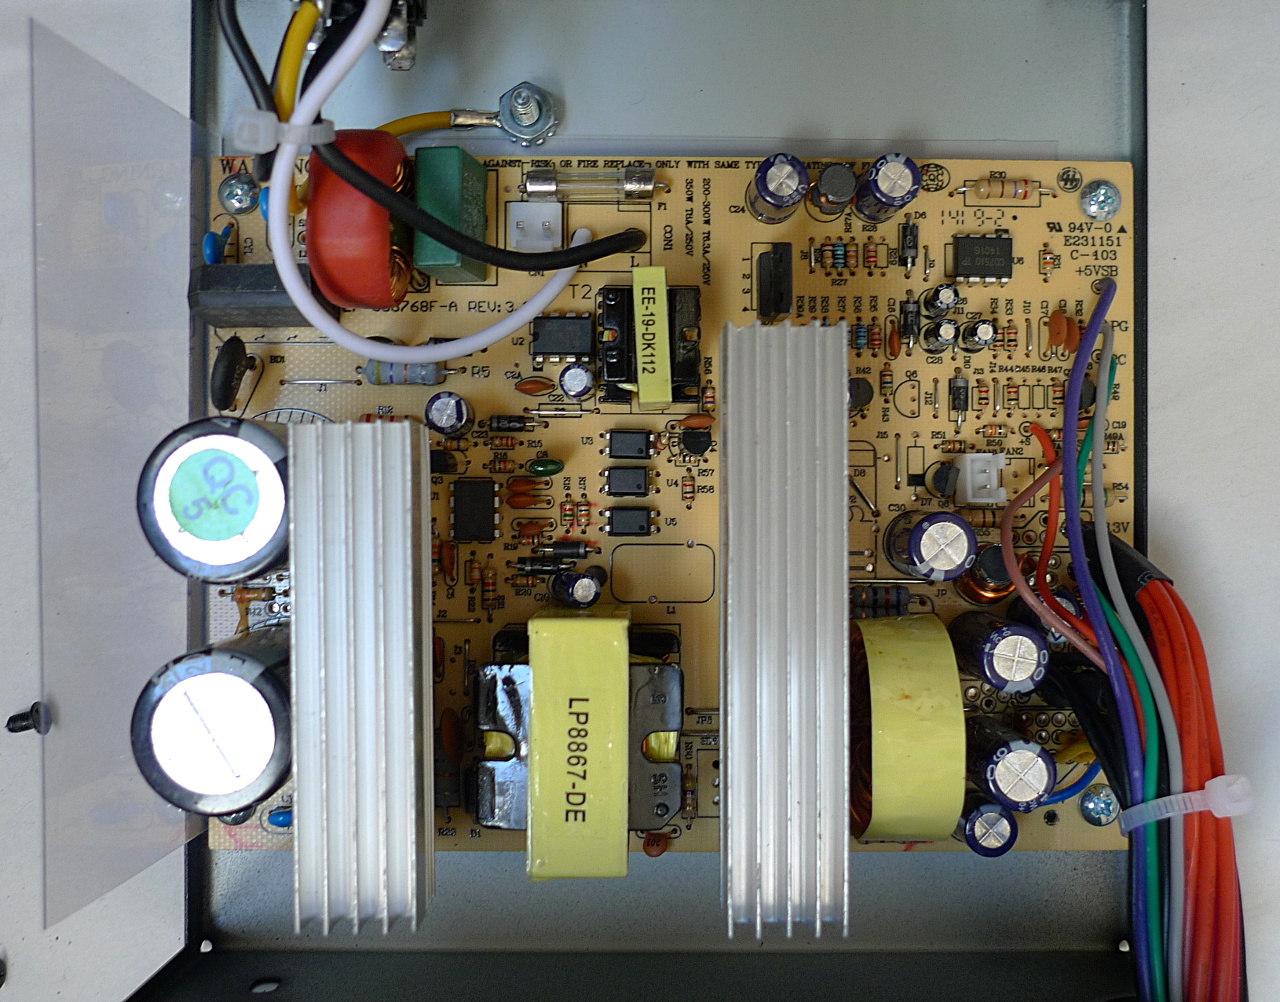
| 16:39, 22 October 2014 | ATX PSU innards 1.jpg (file) |  |
685 KB | The guts of our ATX PSU. | 1 |
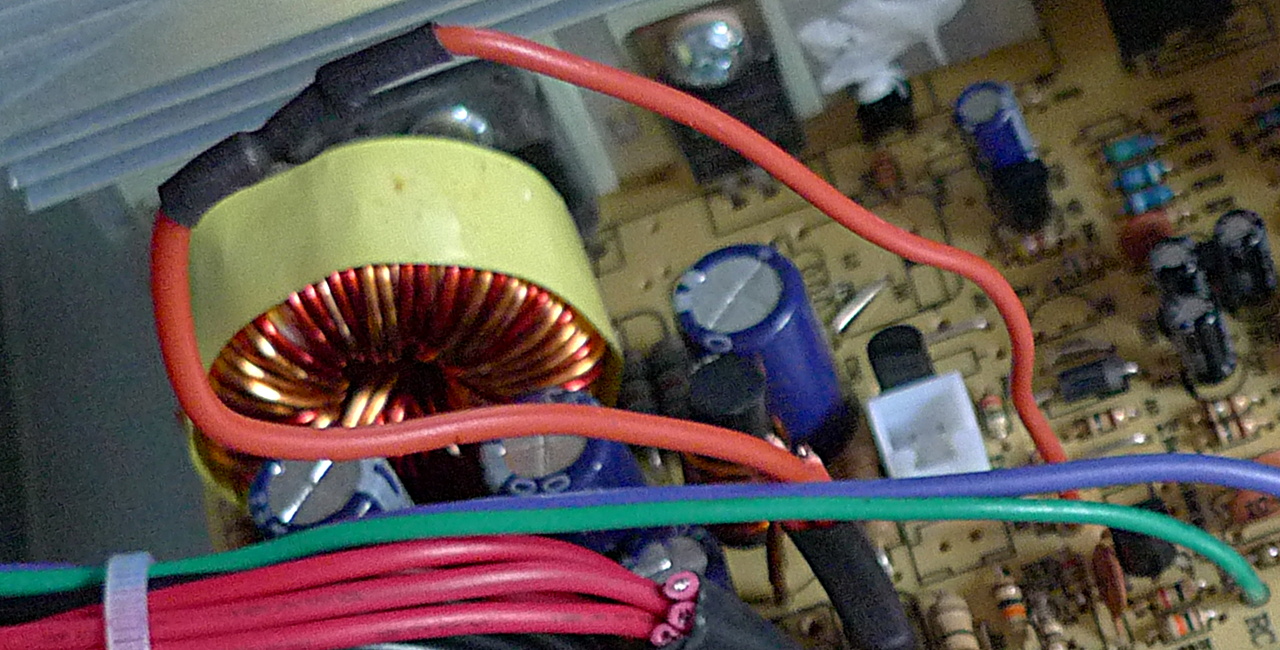
| 21:20, 23 October 2014 | ATX PSU innards 2.jpg (file) |  |
521 KB | Another view of the innards of our ATX PSU, with the PFC coil connector and the fan connector disconnected. | 1 |
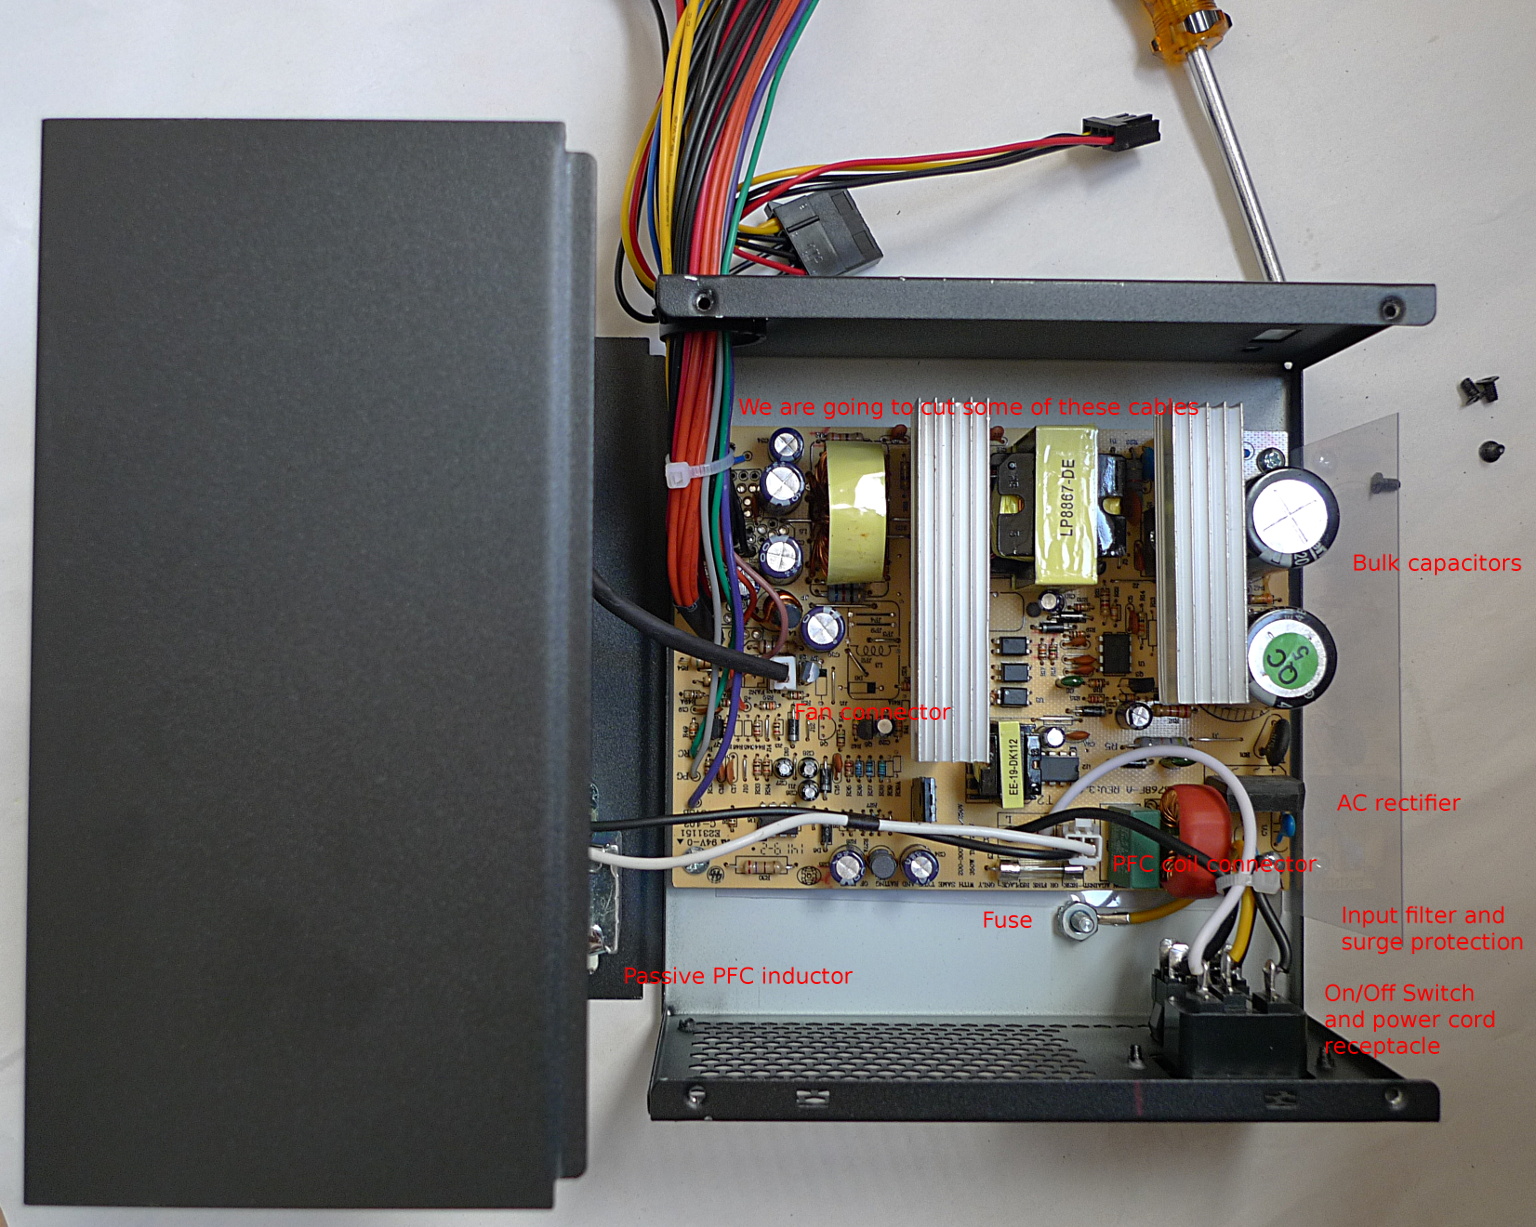
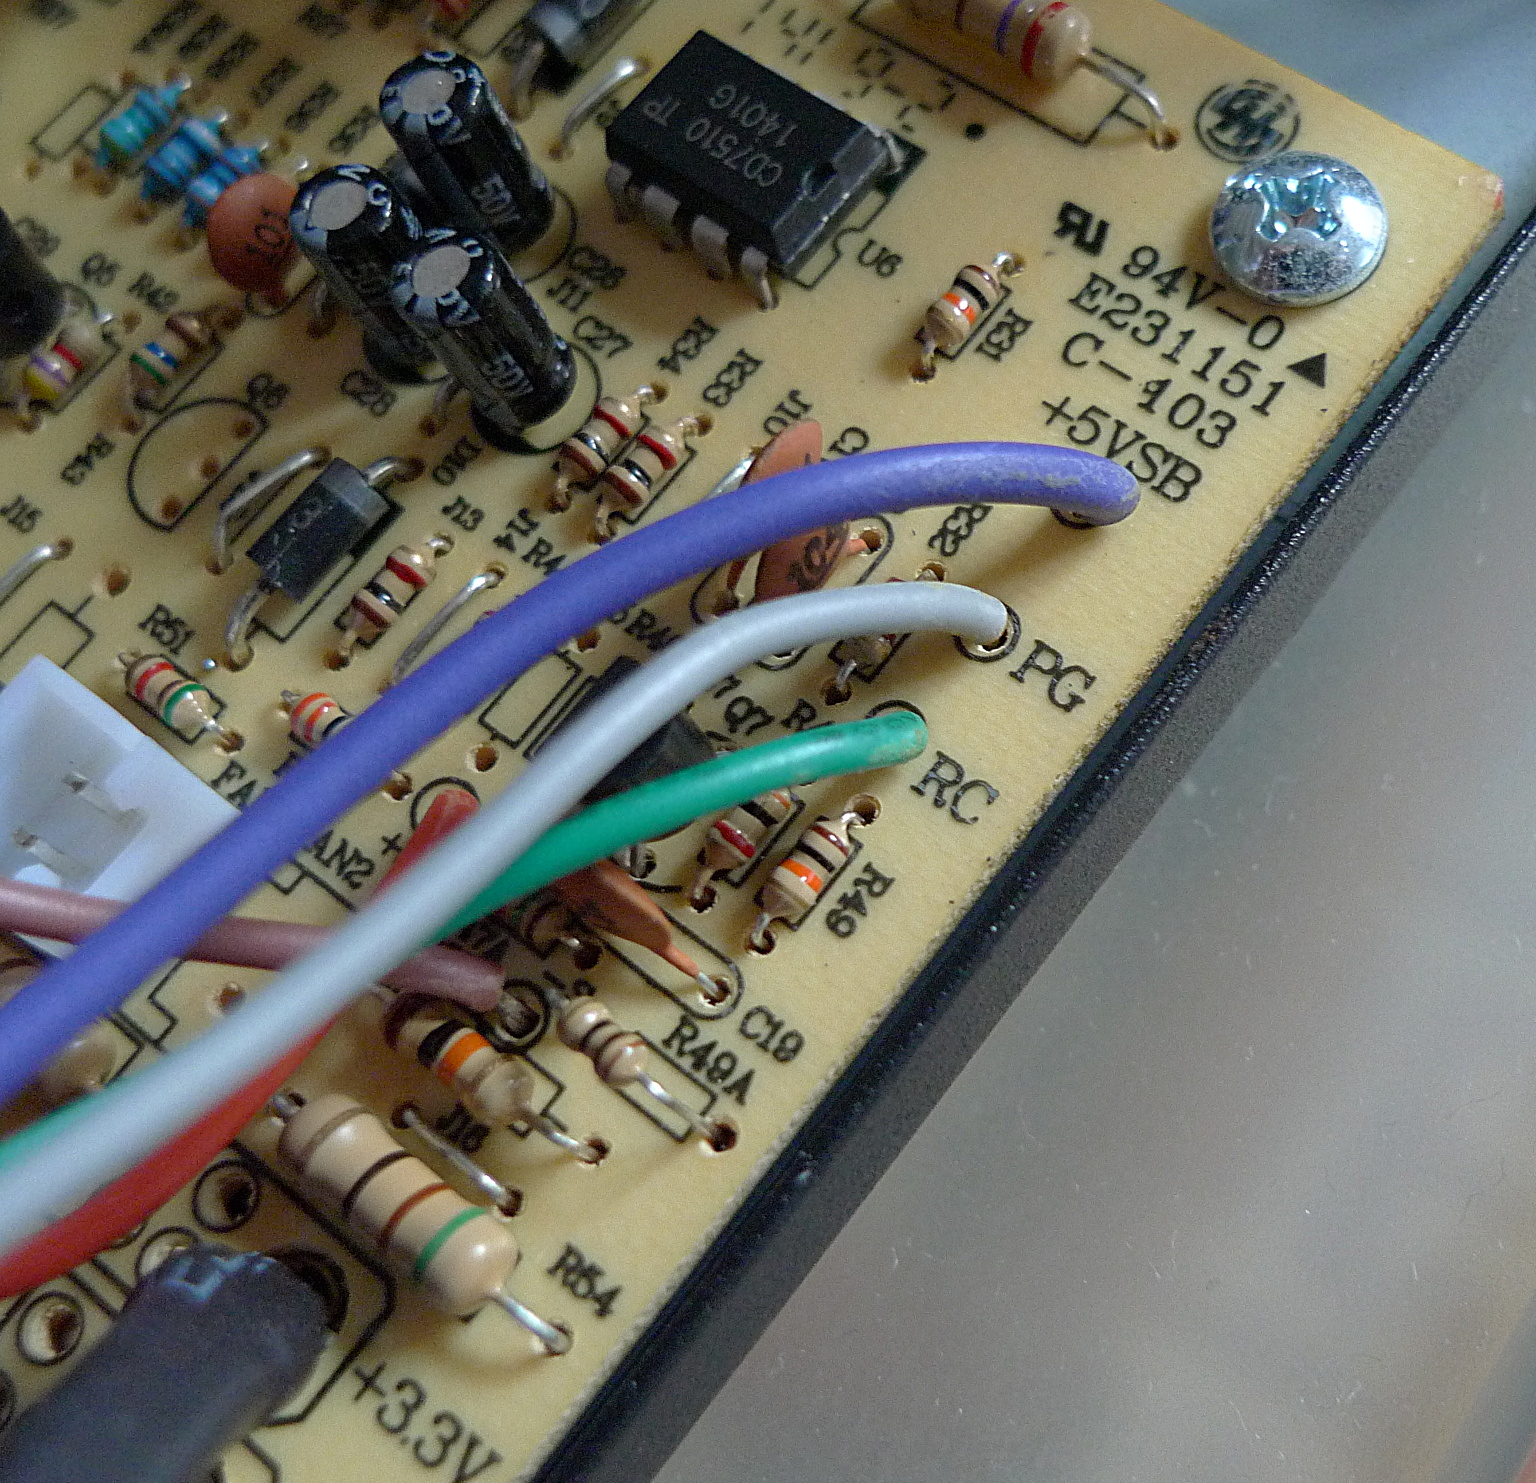
| 21:00, 23 October 2014 | ATX PSU innards 3.jpg (file) |  |
974 KB | Shows some of the wires we are going to cut. | 1 |
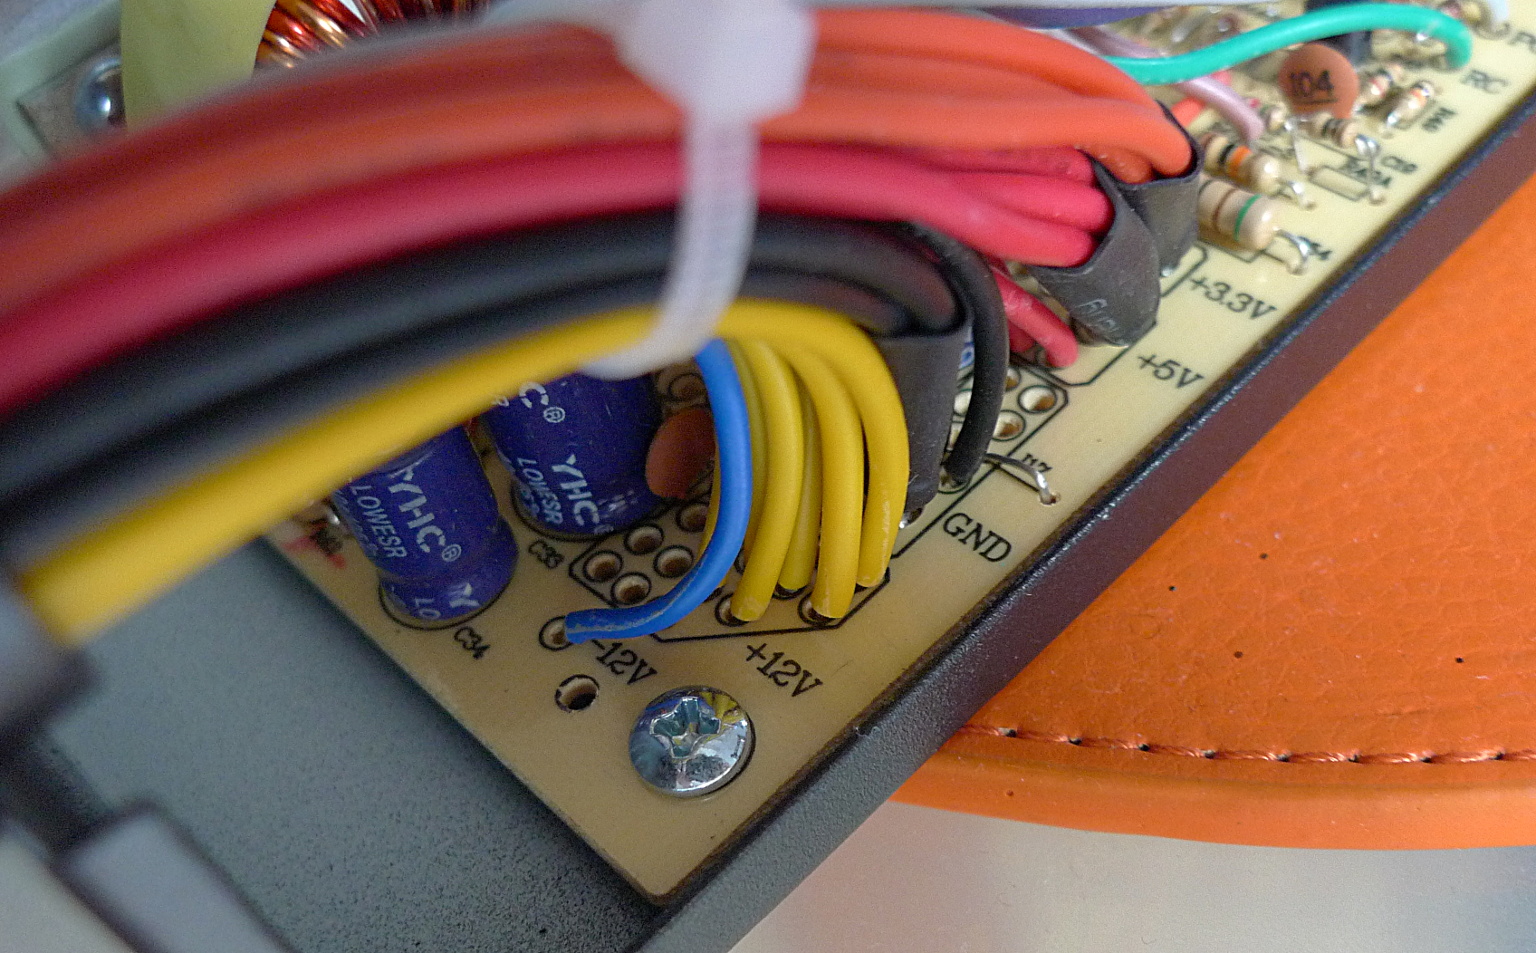
| 21:29, 23 October 2014 | ATX PSU innards 4.jpg (file) |  |
559 KB | More cable to cut or keep! | 1 |
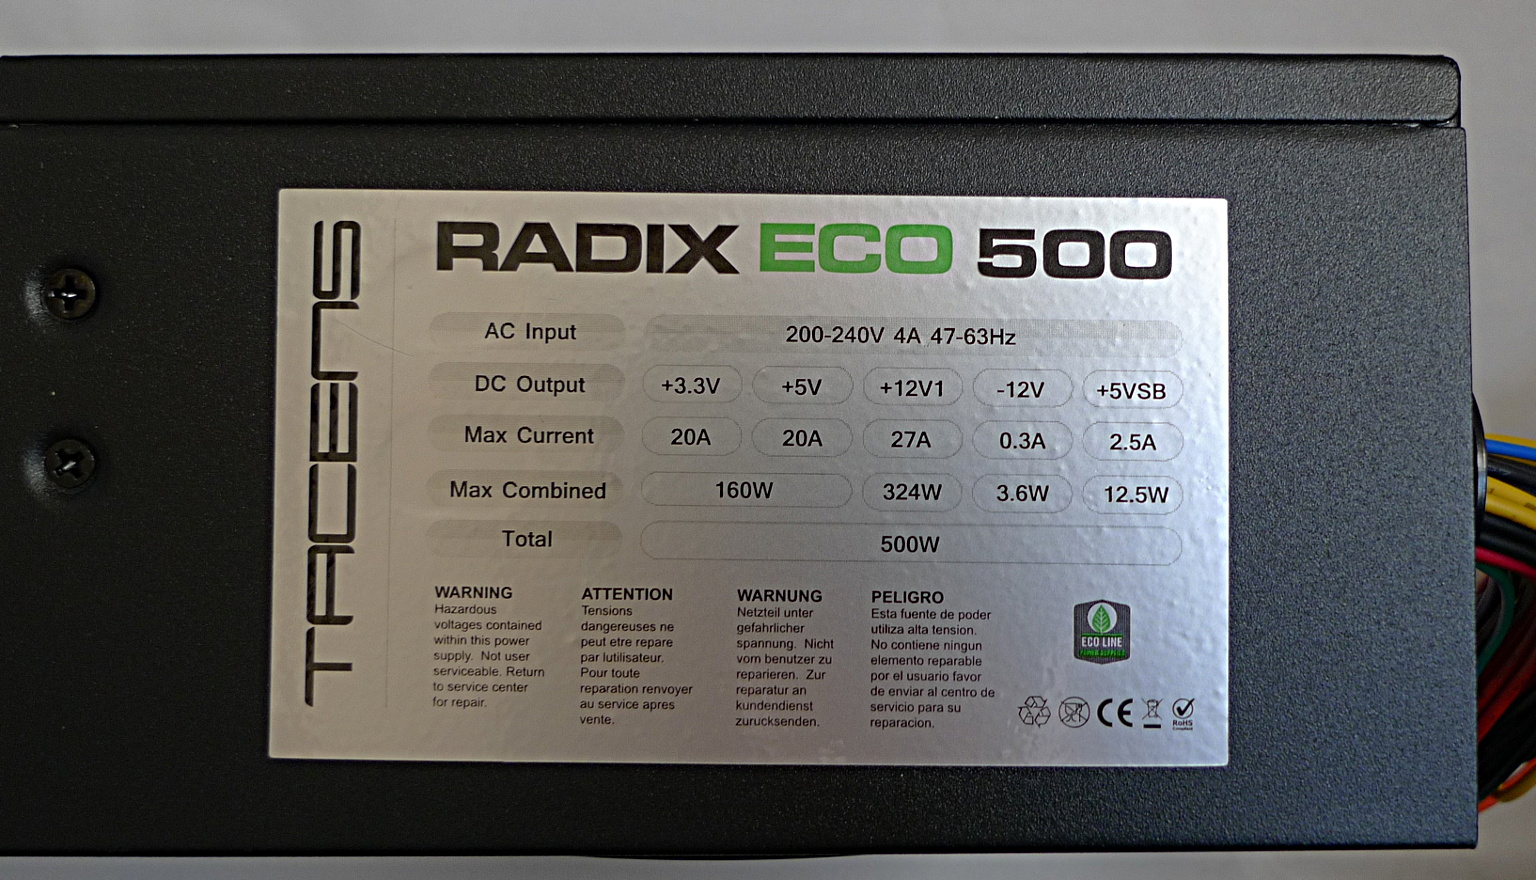
| 14:56, 20 October 2014 | ATX PSU label 1.jpg (file) |  |
531 KB | Almost every ATX PSU has a label on the side with its power ratings. | 1 |
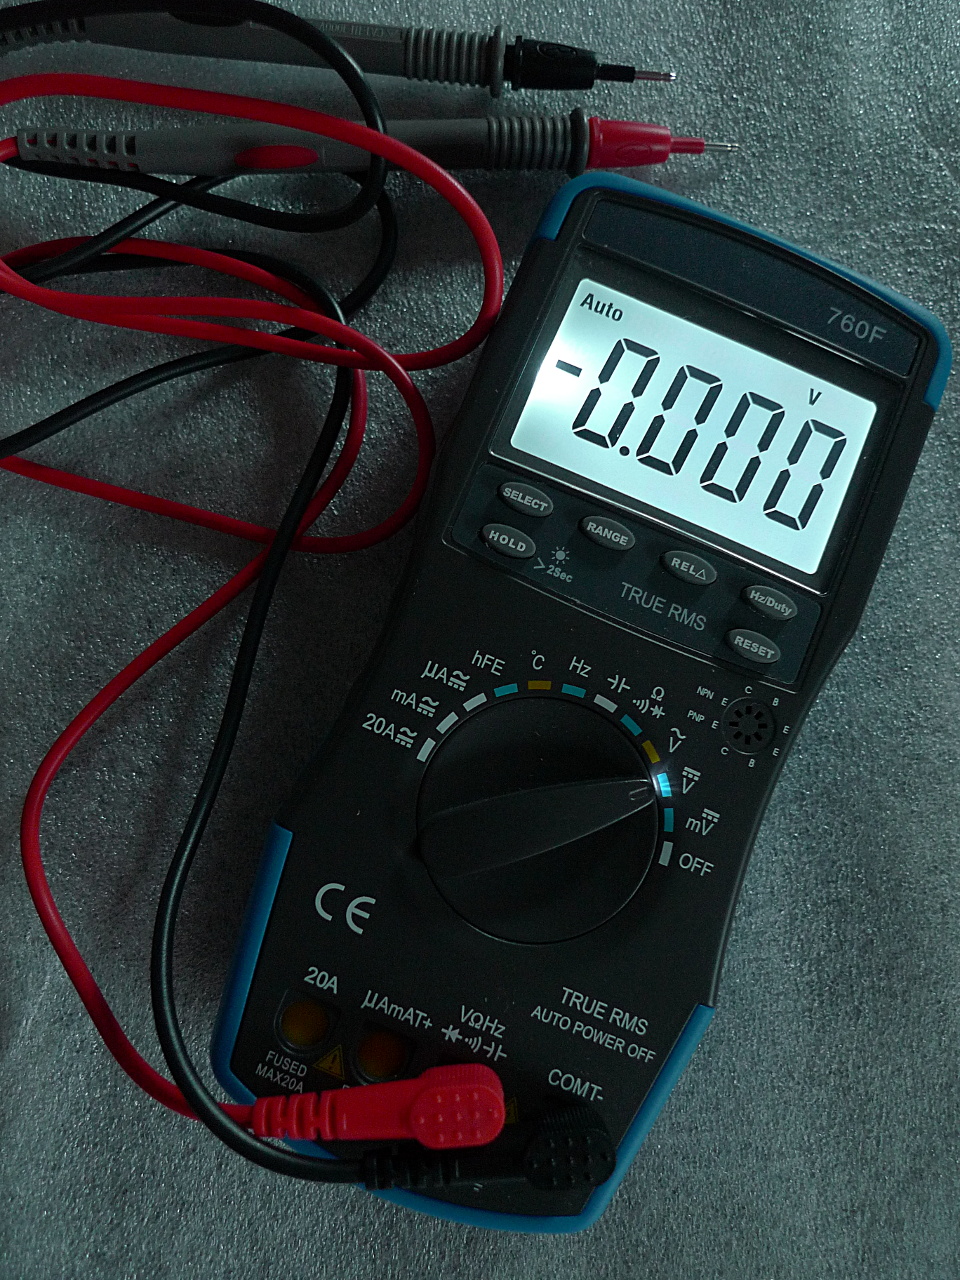
| 04:29, 25 October 2014 | ATX PSU meter 1.jpg (file) |  |
580 KB | Autorange digital multimeter with 20A DC measuring capability. | 1 |
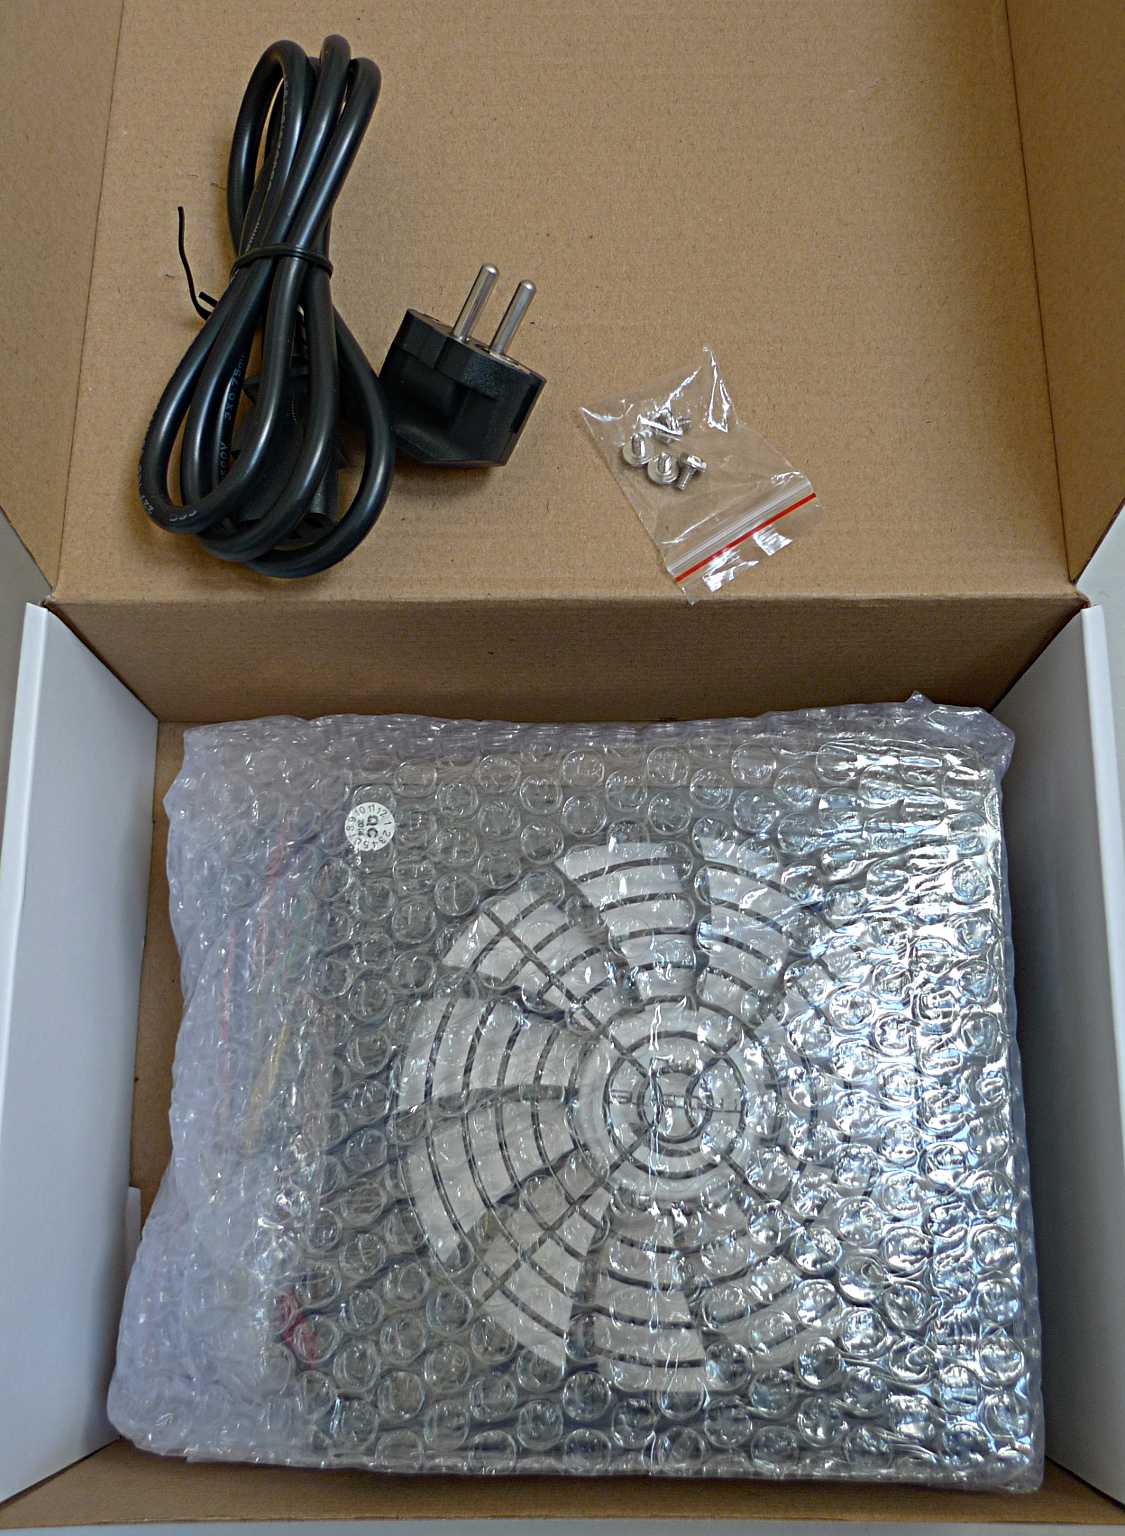
| 14:44, 20 October 2014 | ATX PSU open box 1.jpg (file) |  |
843 KB | Box contents: the PSU in bubble wrap, power cable, small plastic bag with four screws and... no manual! | 1 |
| 15:07, 20 October 2014 | ATX PSU out of box 1.jpg (file) |  |
846 KB | Just the ATX PSU out of its box. | 1 |
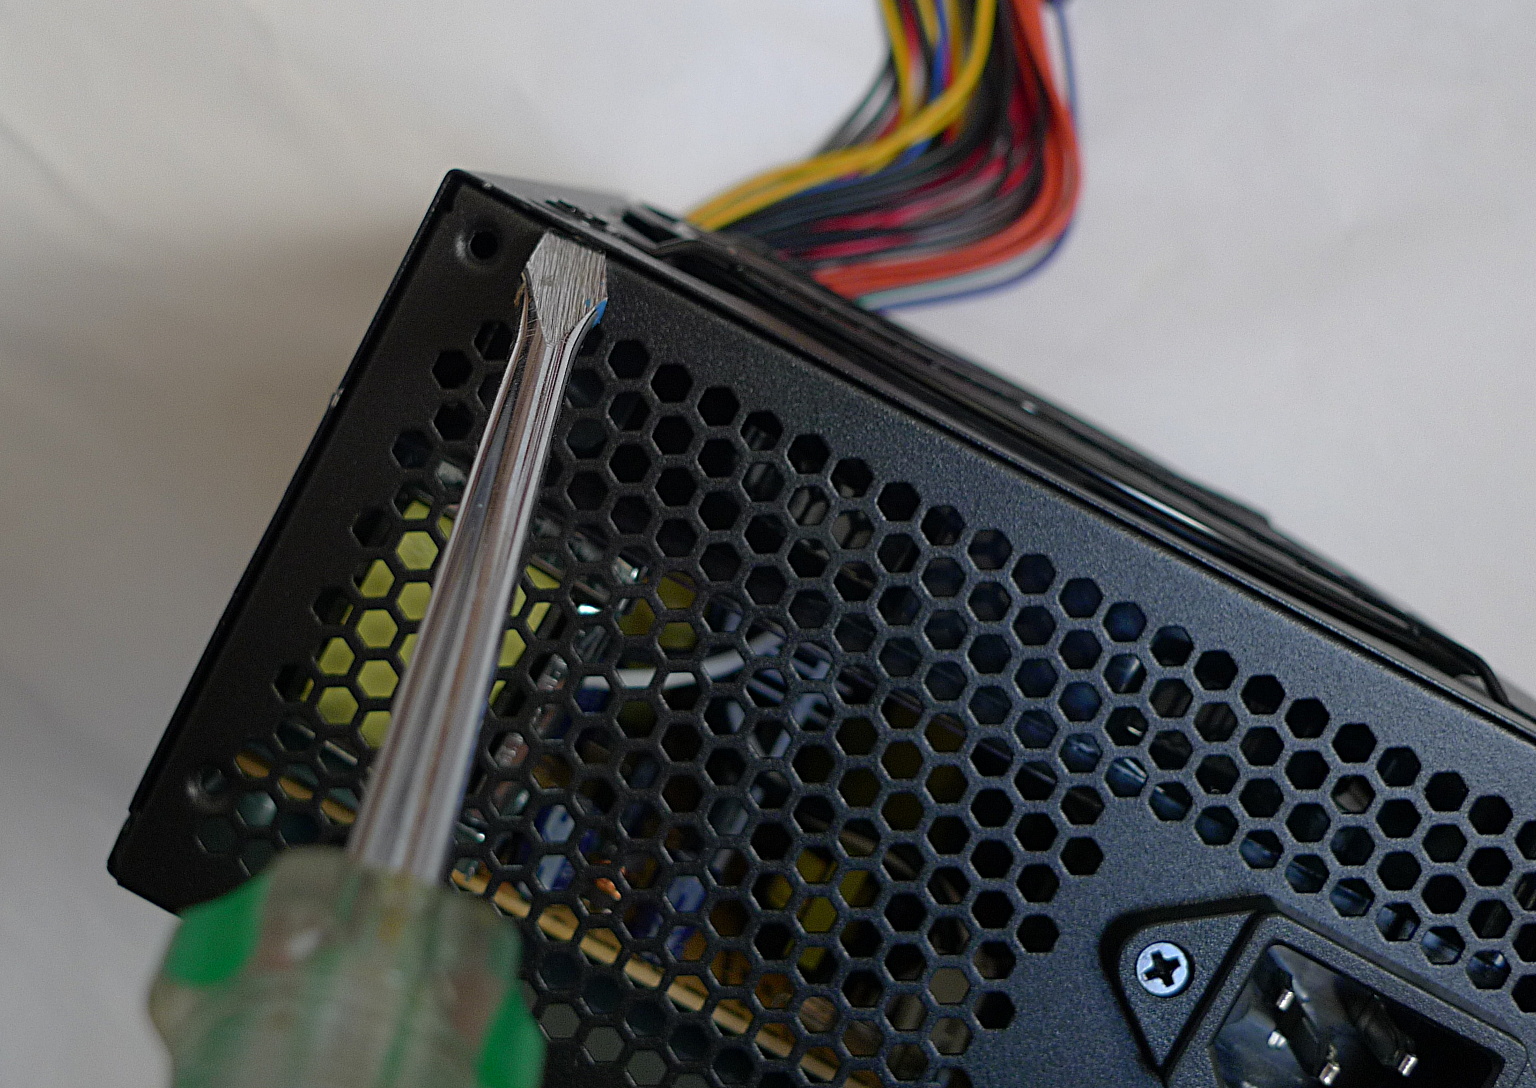
| 10:00, 23 October 2014 | ATX PSU pry open 1.jpg (file) |  |
618 KB | Gently push apart the two case halves with a flat screwdriver. | 1 |
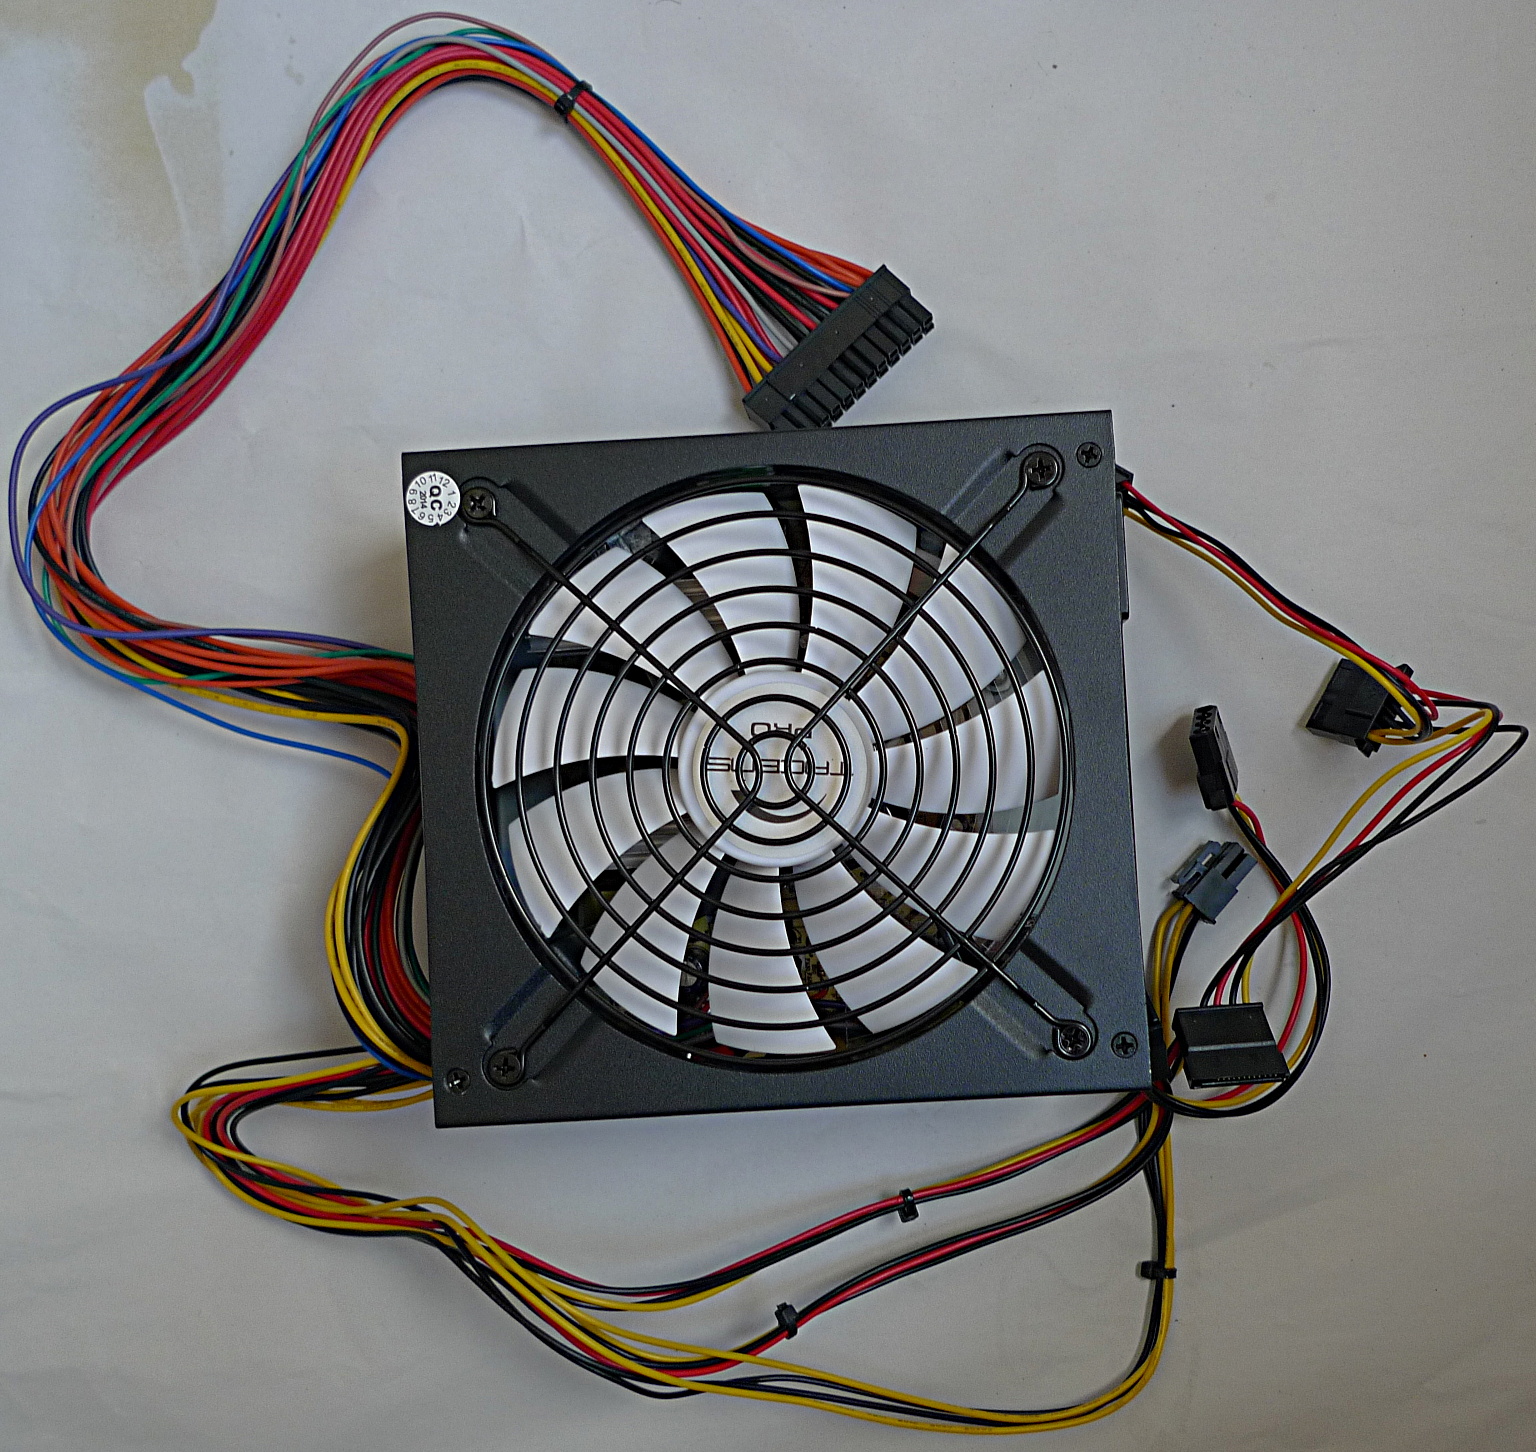
| 23:53, 21 October 2014 | ATX PSU ready 1.jpg (file) |  |
914 KB | Our ATX PSU is now ready to be connected to our RepRap electronics. | 1 |
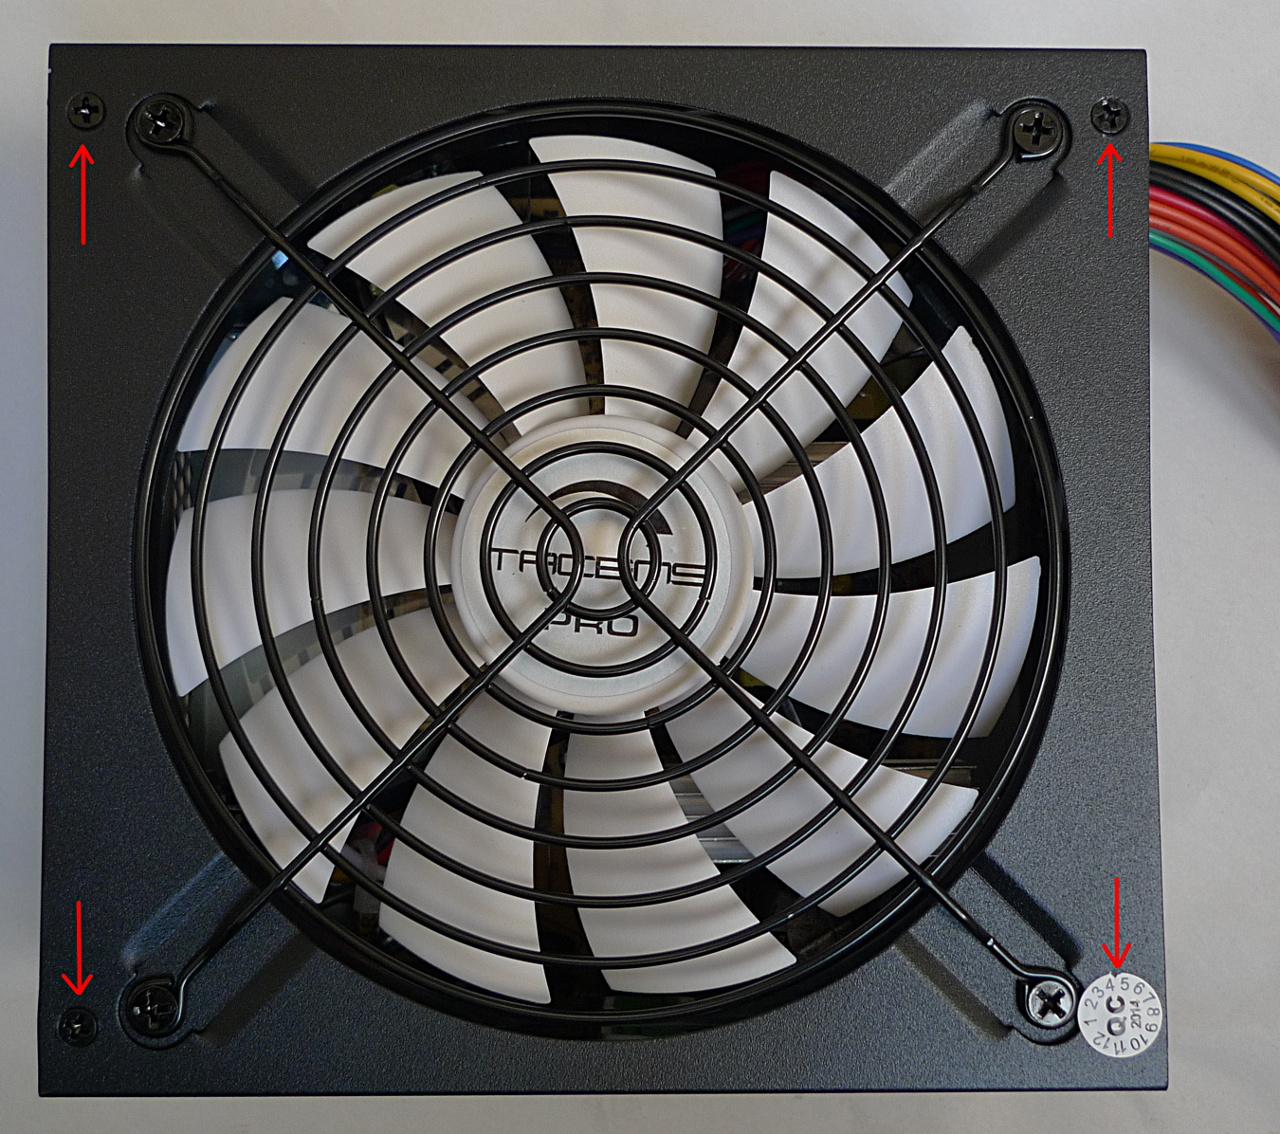
| 16:14, 22 October 2014 | ATX PSU screws 1.jpg (file) |  |
597 KB | The screws holding together the ATX PSU case. | 1 |
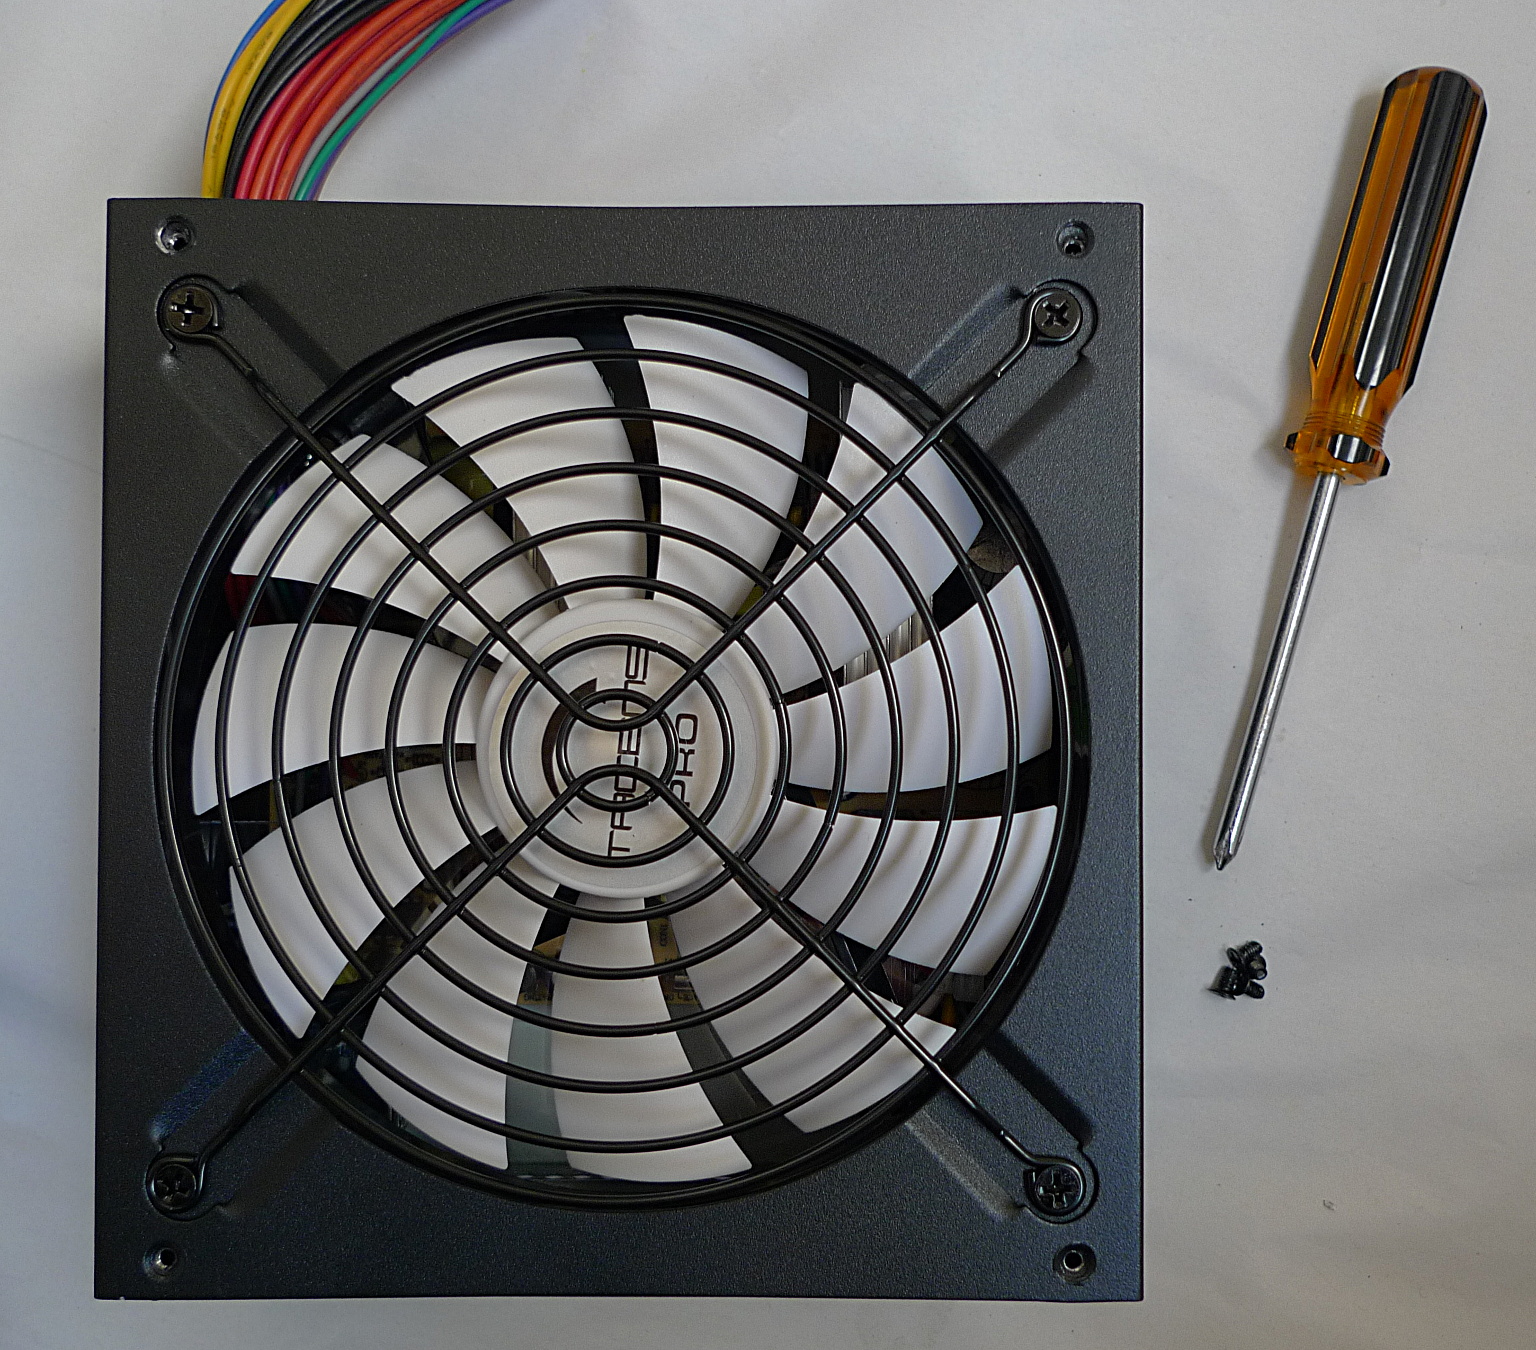
| 09:54, 23 October 2014 | ATX PSU screws removed 1.jpg (file) |  |
839 KB | We now have removed the four screws, but the case still won't come apart! | 1 |
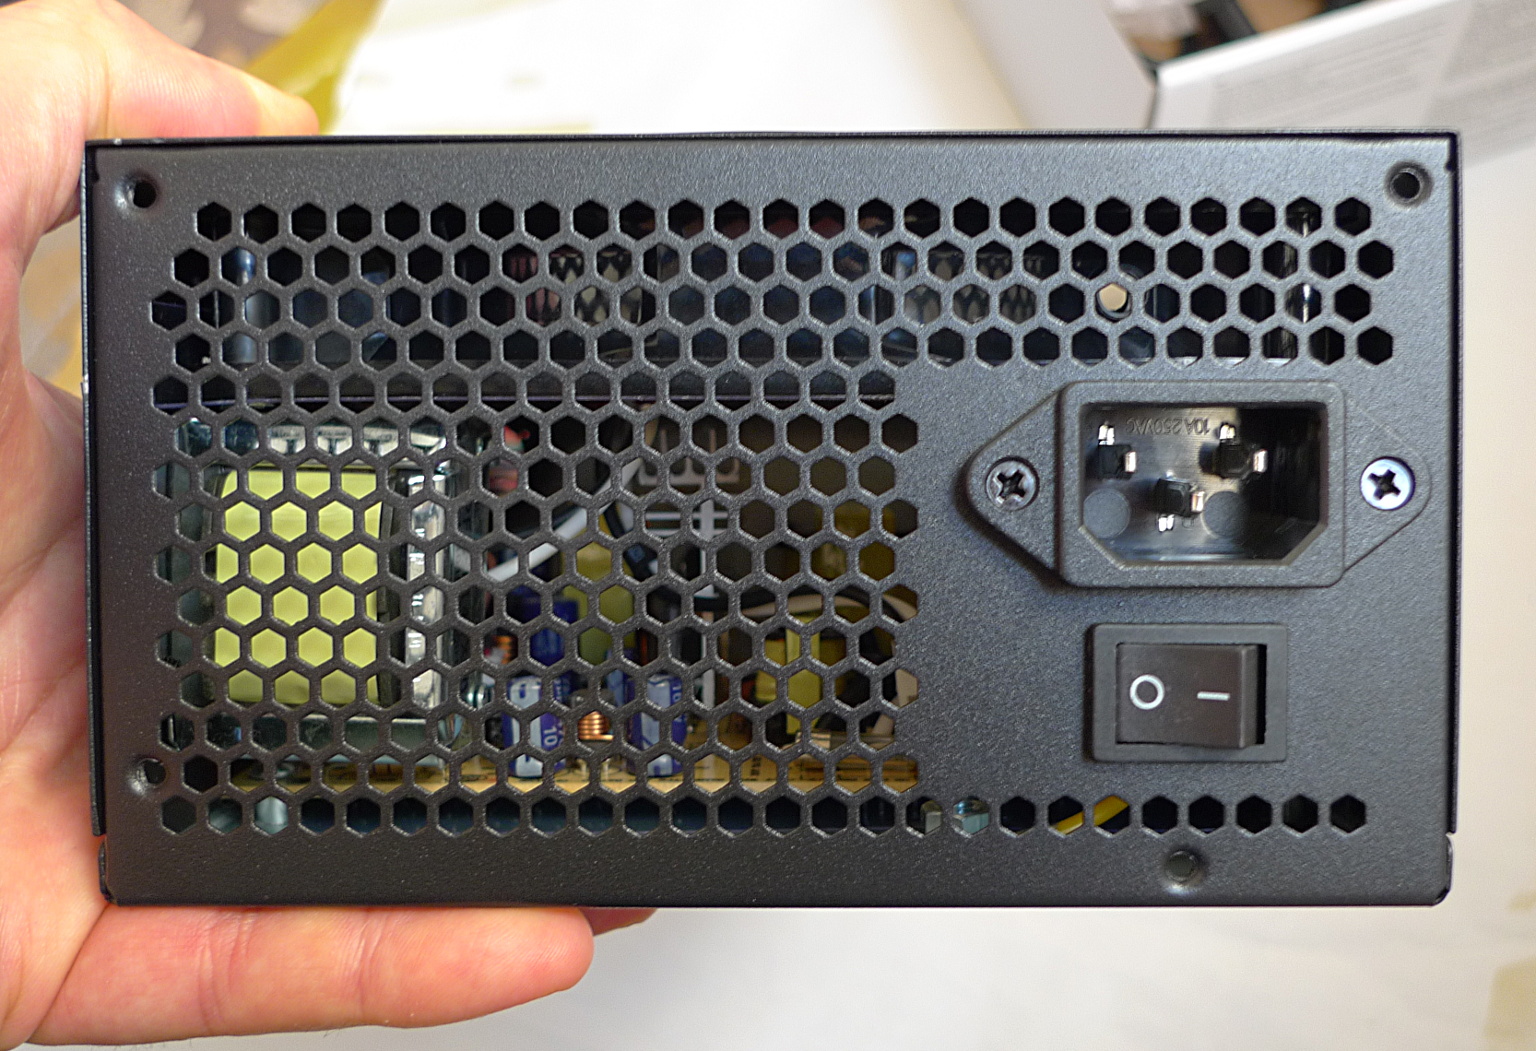
| 16:55, 20 October 2014 | ATX PSU switch 1.jpg (file) |  |
614 KB | The back of the ATX PSU with a proper O/Off switch. | 1 |
| 22:14, 21 October 2014 | ATX PSU test 1.jpg (file) |  |
620 KB | No load test of an ATX PSU. | 1 |
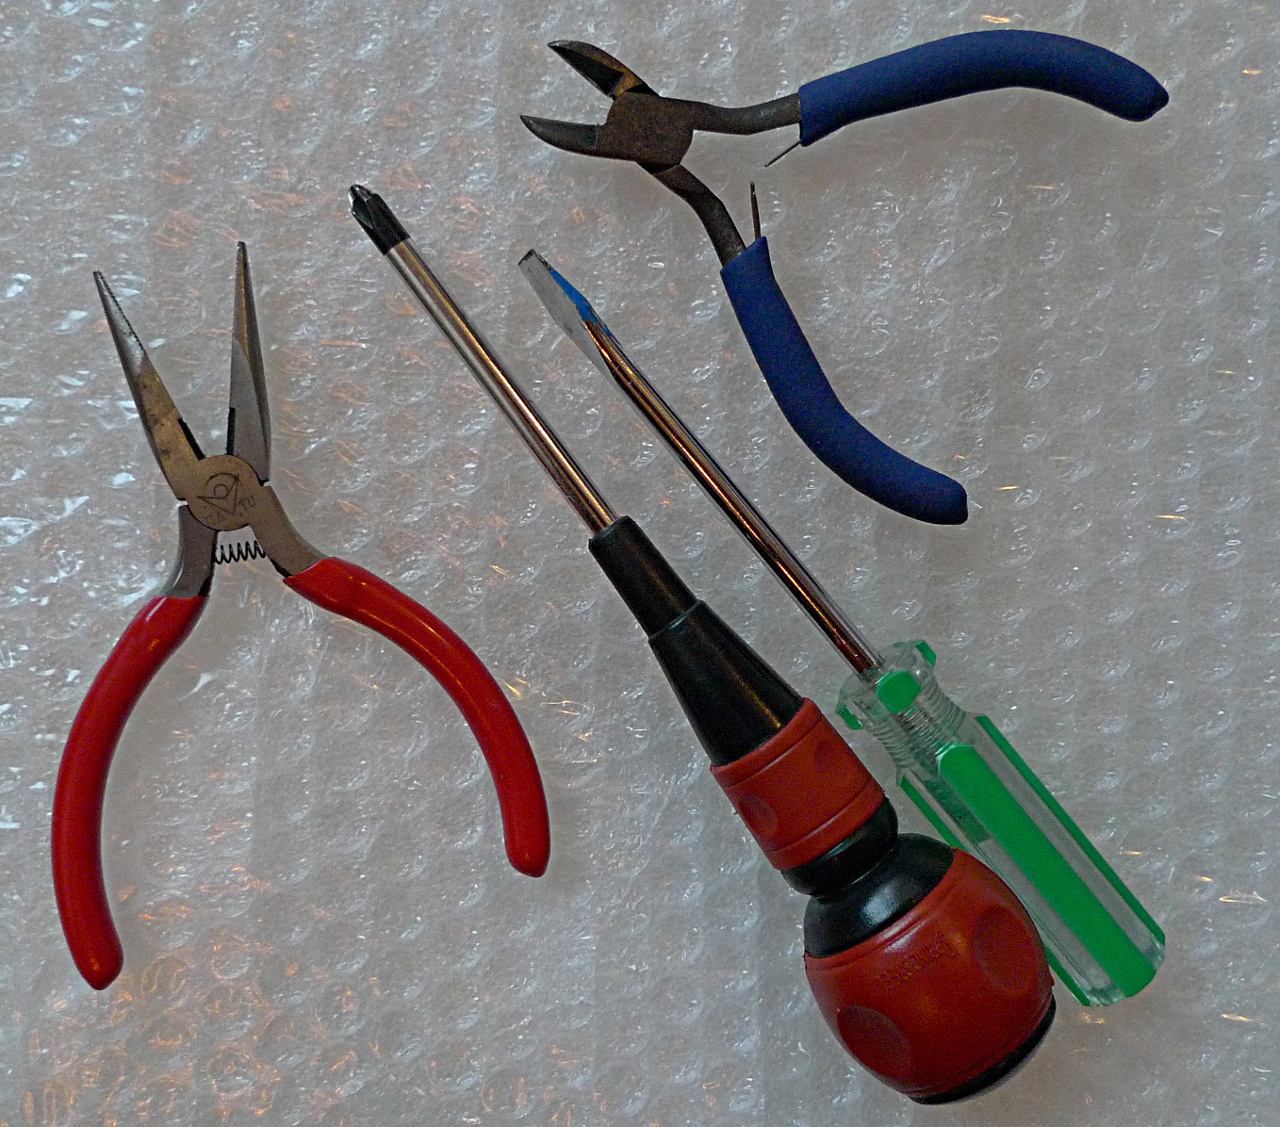
| 13:04, 23 October 2014 | ATX PSU tools 1.jpg (file) |  |
602 KB | Pliers and screwdrivers generally needed to modify ax ATX PSU. | 1 |
| 10:42, 2 December 2014 | ATX cable extension 24 fem to male 1a.jpg (file) |  |
557 KB | ATX PSU 24 pin motherboard cable extension required to connect to our 3D printer without modifying the ATX PSU. | 1 |
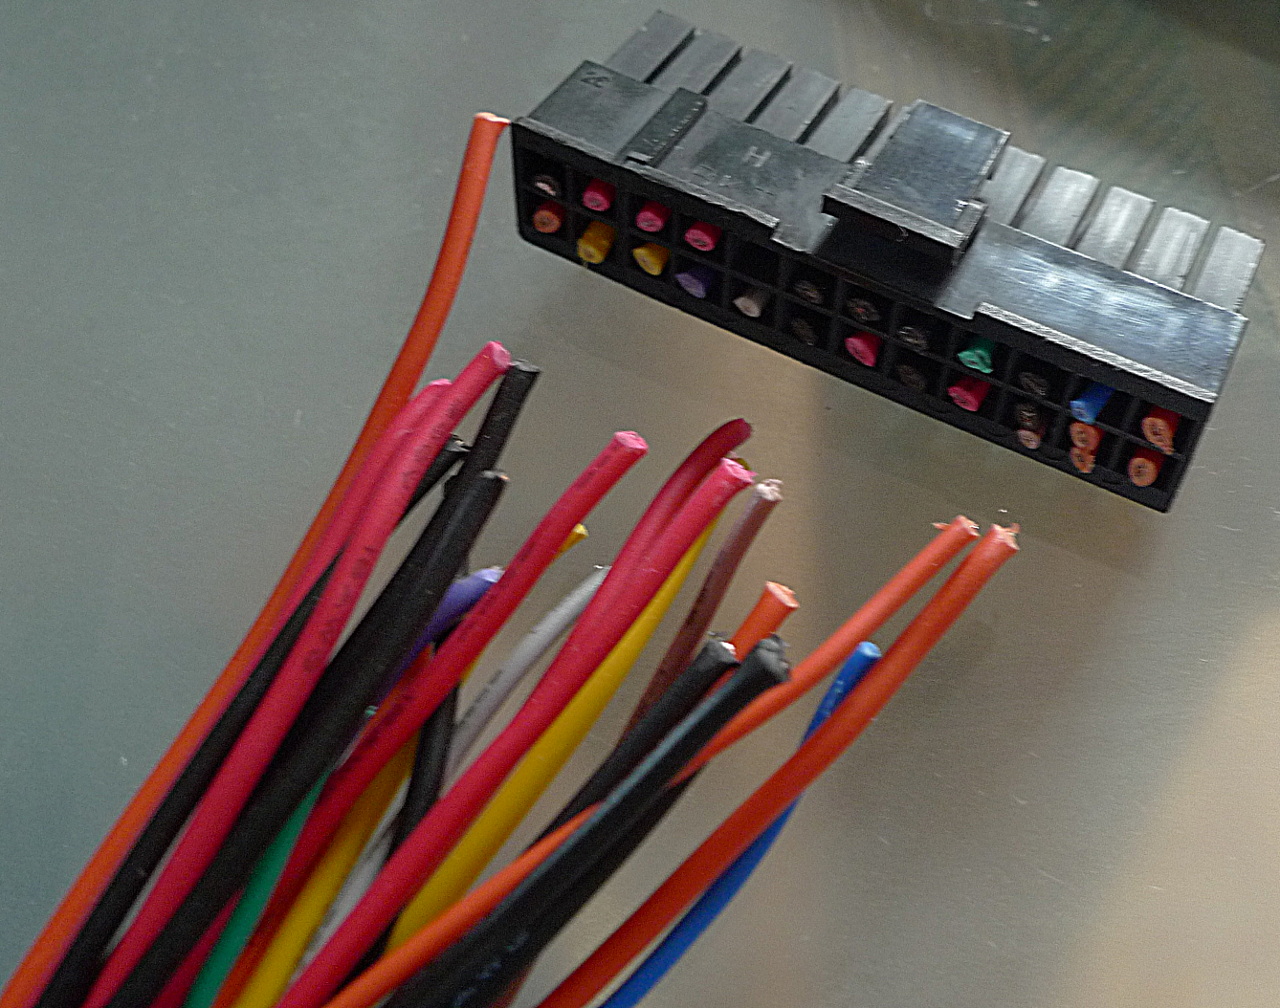
| 07:49, 26 December 2014 | ATX cable extension 24 fem to male 2a.jpg (file) |  |
752 KB | The female connector of our 24-pin ATX extension cable plugged into the ATX PSU's male connector, after I yanked out all the lines that are not going to be used. | 1 |
| 08:01, 26 December 2014 | ATX cable extension 24 fem to male 3a.jpg (file) |  |
634 KB | Our 24-pin ATX extension cable prepared for use, the remaining lines carry the signals/voltages required to properly connect the ATX PSU to our RAMPS board. | 1 |
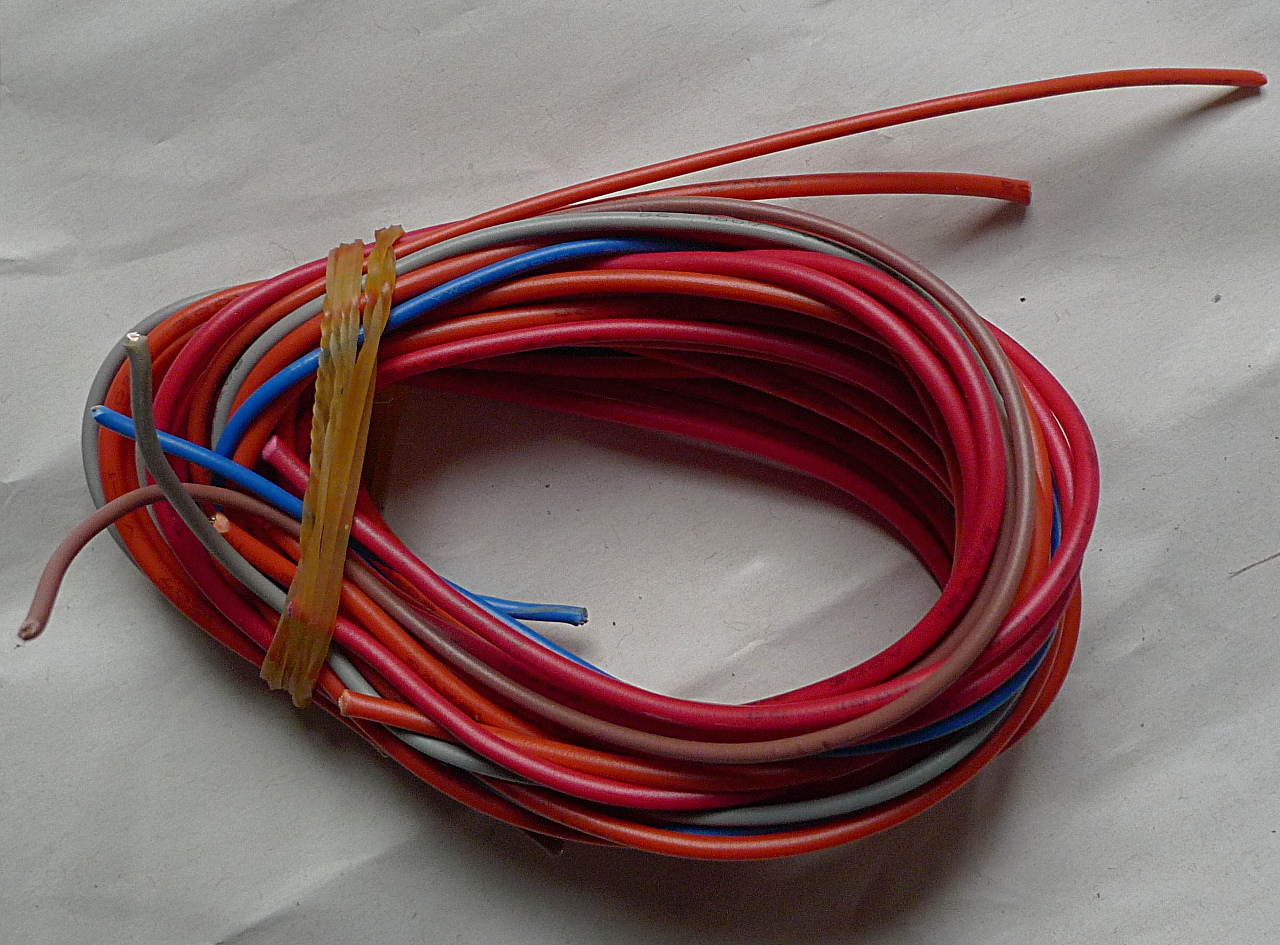
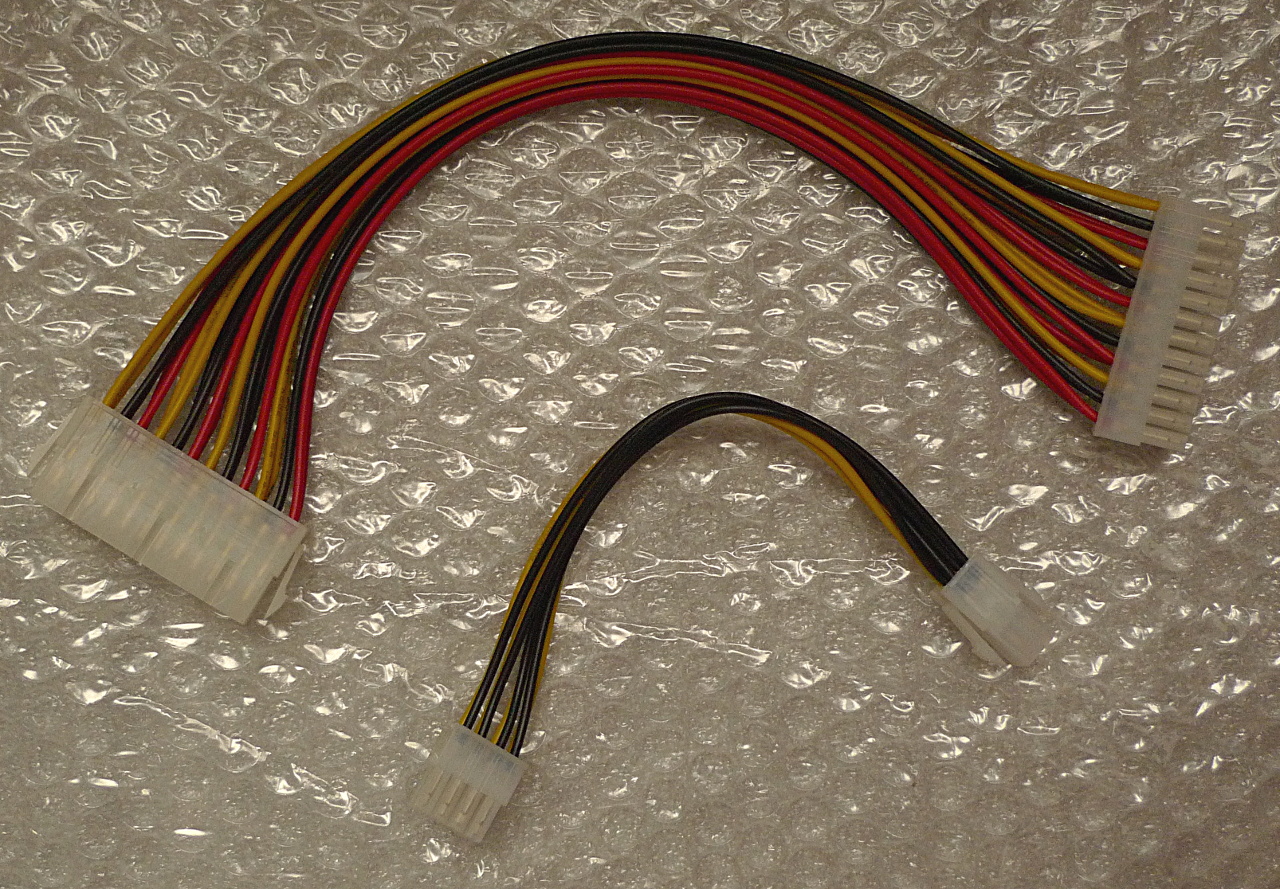
| 06:23, 26 December 2014 | ATX extension adapter cables 1a.jpg (file) |  |
621 KB | A pair of cables needed to adapt an ATX PSU for Reprap use. | 1 |
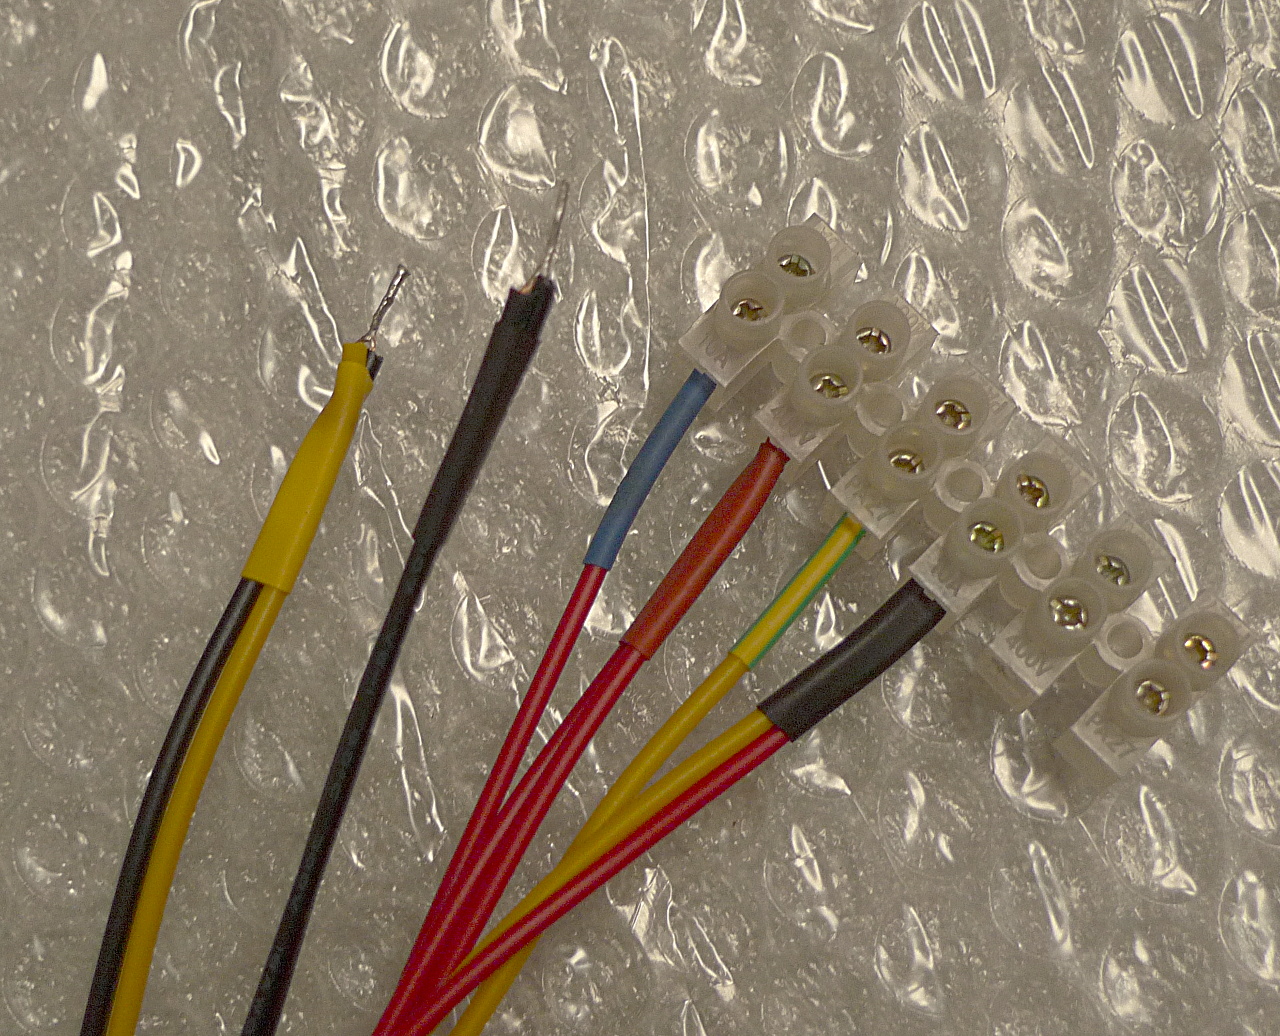
| 06:42, 26 December 2014 | ATX extension adapter cables ready 1a.jpg (file) |  |
486 KB | The pair of cables needed to adapt an ATX PSU for Reprap use, ready for use! | 1 |
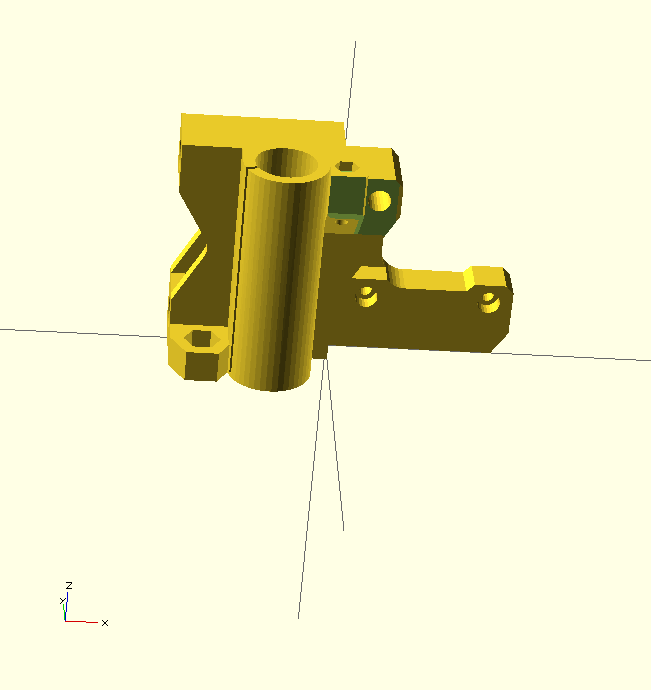
| 17:40, 17 December 2014 | AndrewBCN-X-motor-end-1a.png (file) |  |
11 KB | Reverse-engineered, improved Prusa i3 X motor end by AndrewBCN. | 1 |
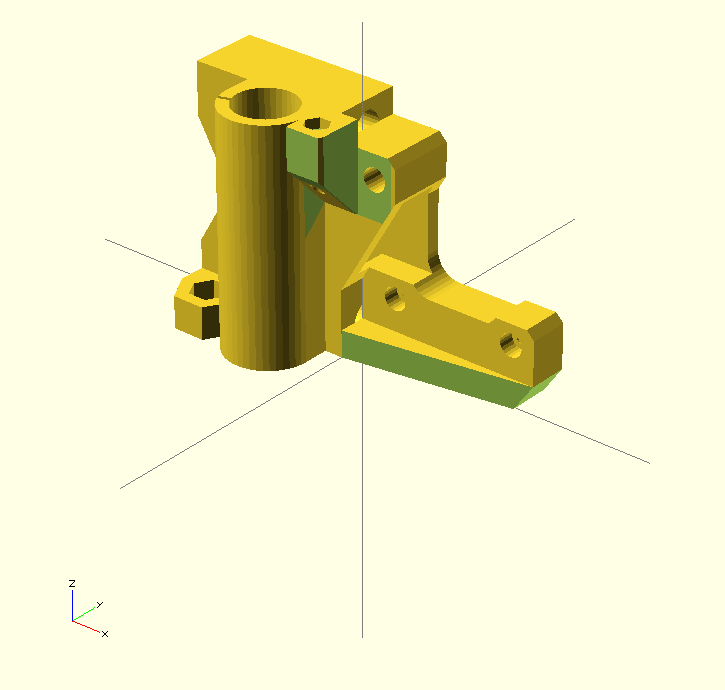
| 12:49, 24 December 2014 | AndrewBCN-X-motor-end-3a.png (file) |  |
13 KB | Prusa i3 X motor end improved by yours truly. | 1 |
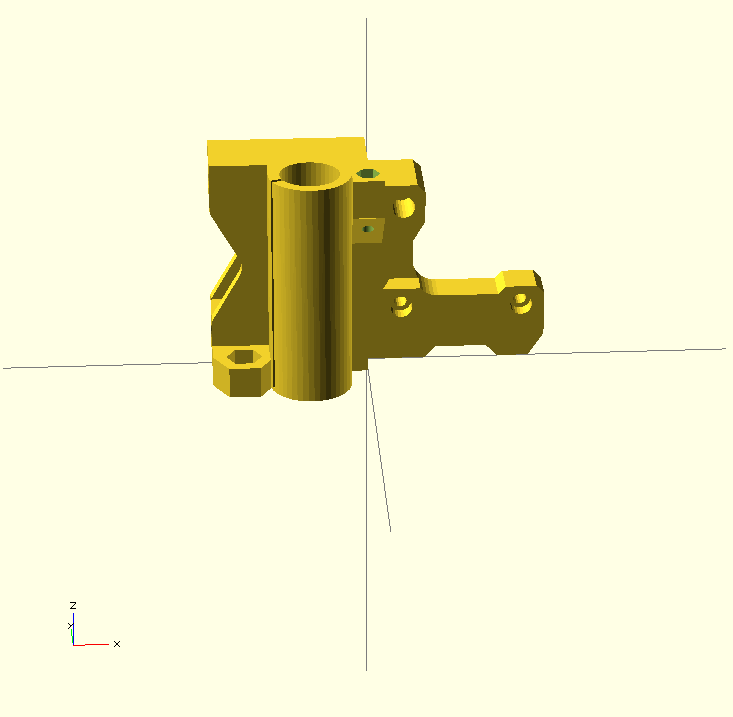
| 12:51, 24 December 2014 | AndrewBCN-X-motor-end-4a.png (file) |  |
12 KB | Prusa i3 X motor end improved by yours truly. | 1 |
| 16:48, 17 December 2014 | BQ-X-motor-end-1a.png (file) |  |
8 KB | This is bq's version of the Prusa i3 X motor end for their Prusa i3 Hephestos. | 1 |
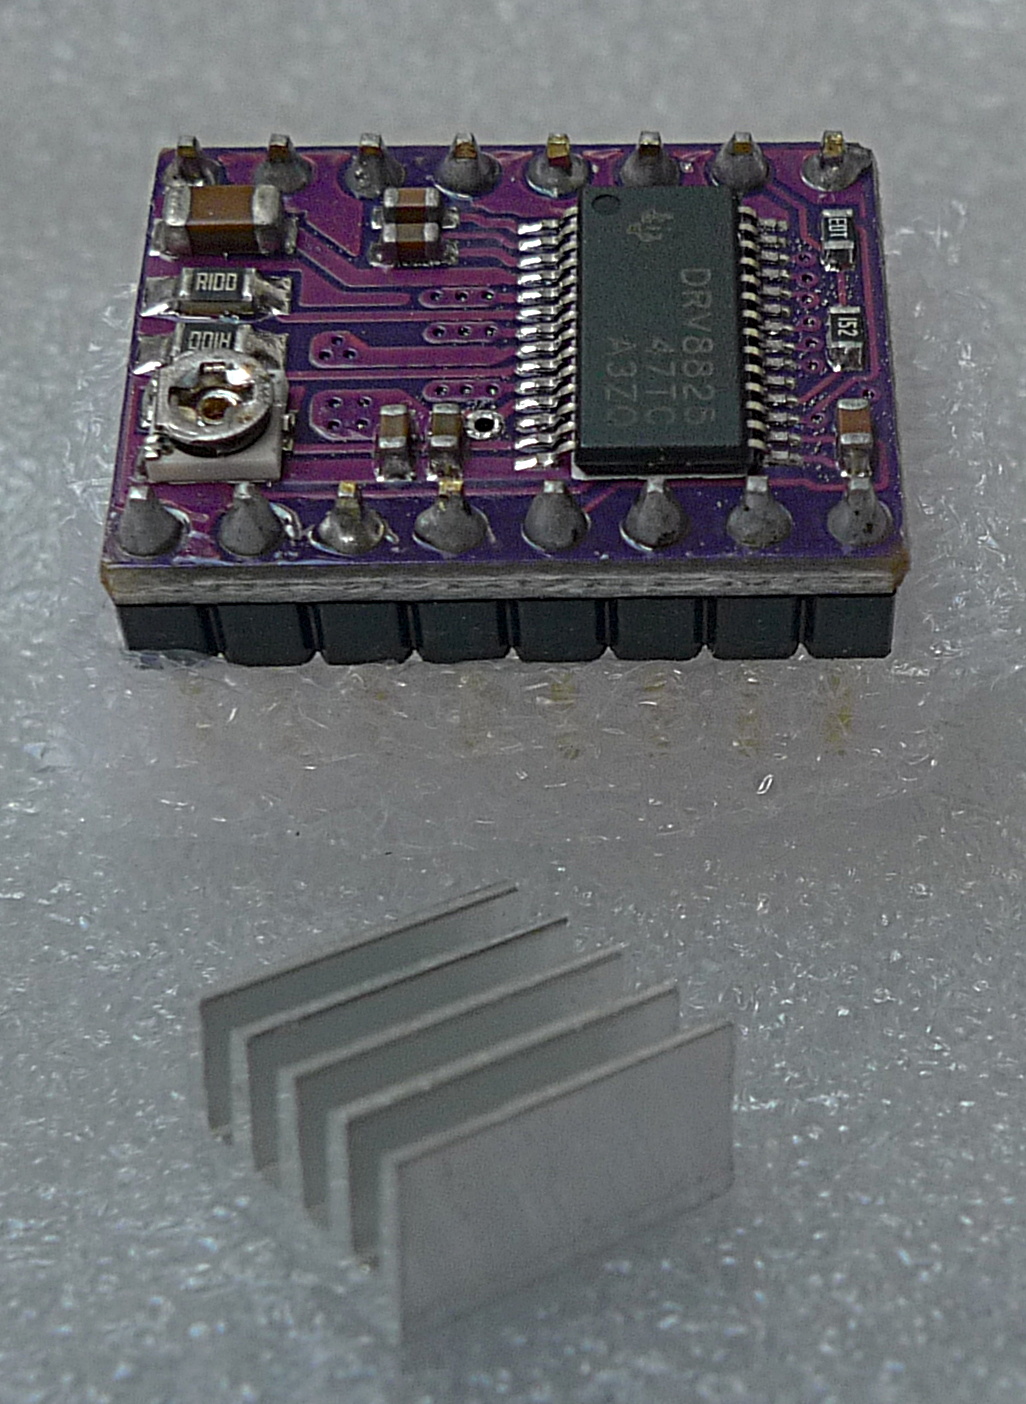
| 14:06, 19 December 2014 | DRV8825 stepper driver module 1a.jpg (file) |  |
461 KB | DRV8825-based inexpensive stepper driver board. | 1 |
| 00:49, 7 March 2015 | Fishbone gears 1a.jpg (file) |  |
122 KB | Greg's Wade's reloaded fishbone gears. | 1 |
| 19:35, 7 March 2015 | GearsGregs 1b.jpg (file) |  |
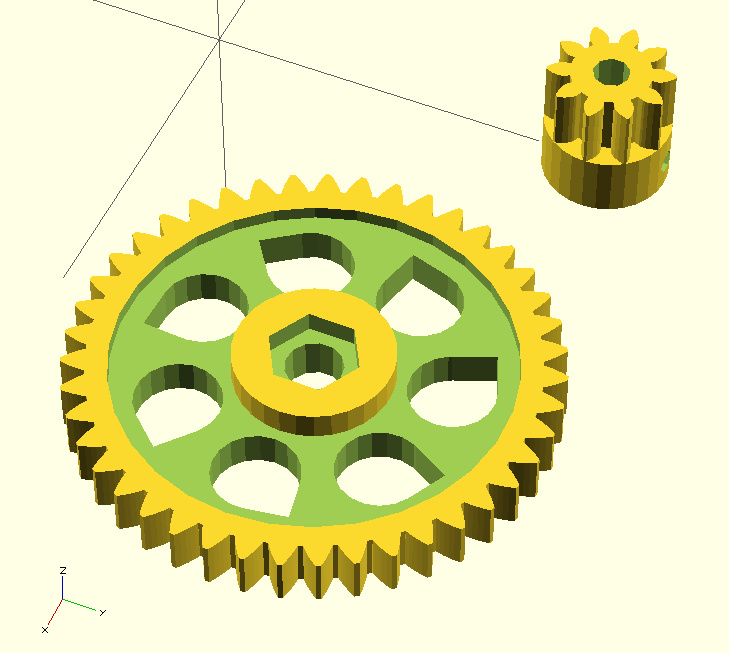
115 KB | Greg's gears for his Accessible Extruder. Gear ratio is 10:43. | 1 |
| 10:15, 6 August 2015 | GregFrost Wade Gears.jpg (file) |  |
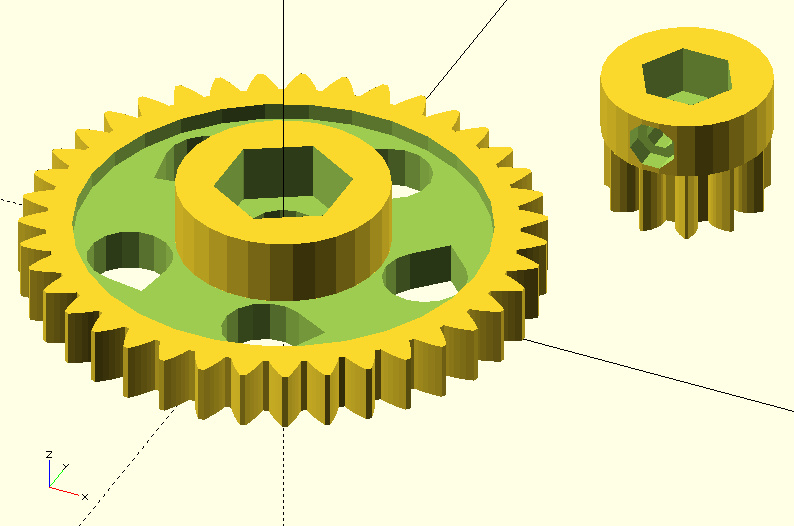
101 KB | Straight gears for Wade's geared extruder by Greg Frost, december 2010. | 1 |
| 22:26, 7 March 2015 | GregsGuidler 1b.jpg (file) |  |
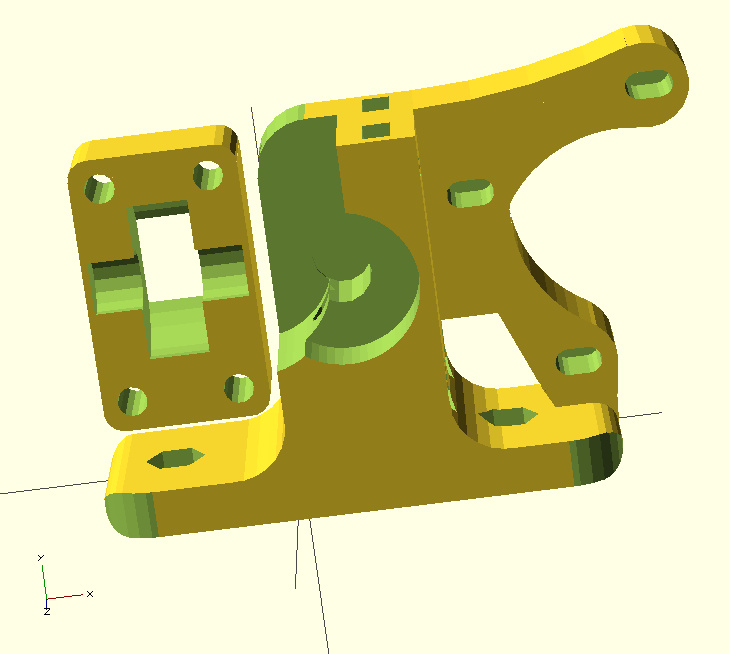
90 KB | Wade's Greg's Geared Extruder with a Guidler. And what is a guidler, you may ask? | 1 |
| 18:59, 7 March 2015 | GregsWadeV2 1a.jpg (file) |  |
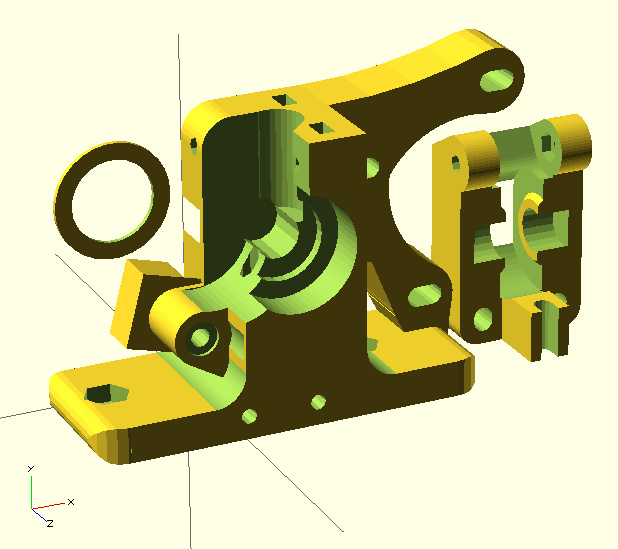
80 KB | Greg's Wade's Accessible Extruder, version 2. | 1 |