File list
This special page shows all uploaded files.
| Date | Name | Thumbnail | Size | Description | Versions |
|---|---|---|---|---|---|
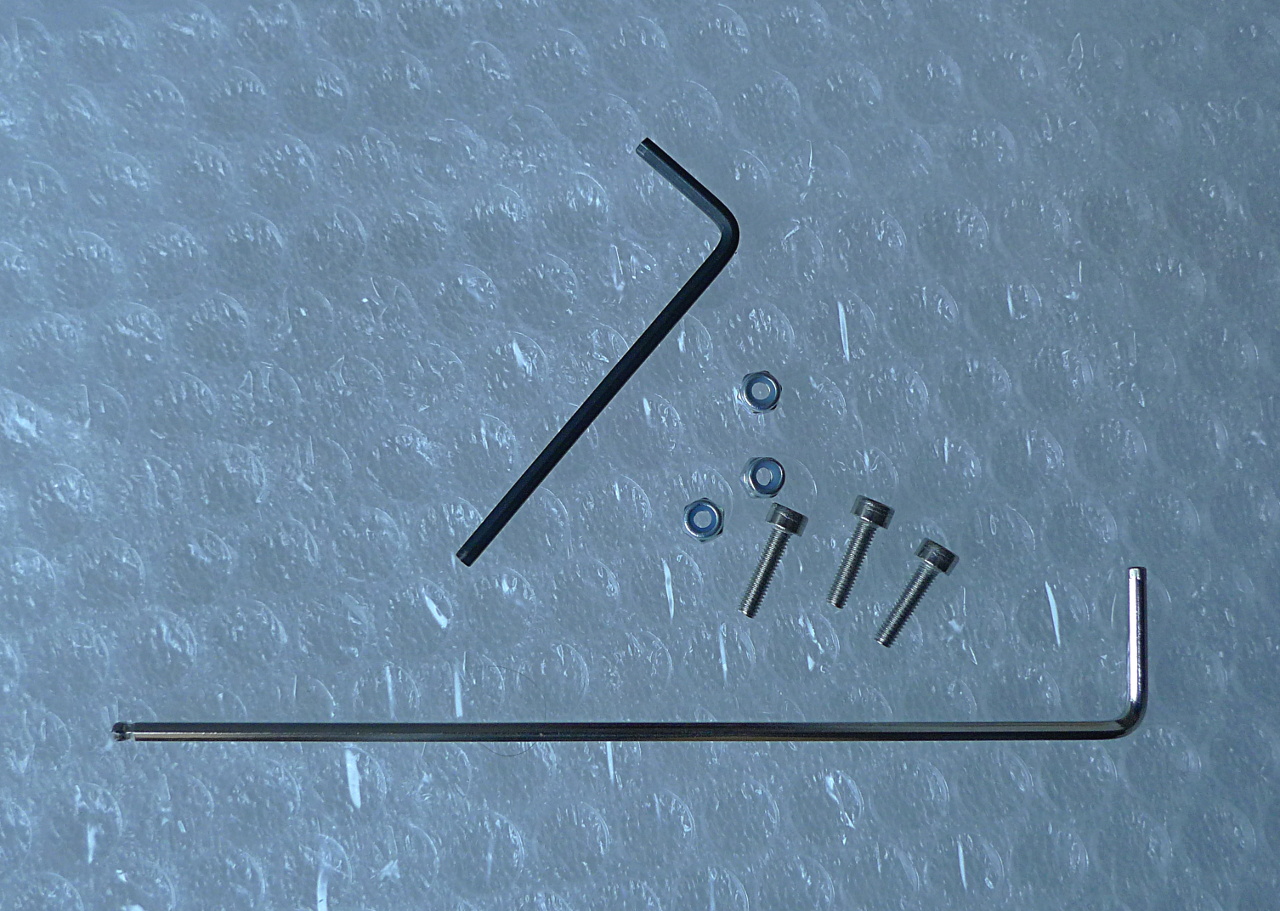
| 08:47, 19 November 2014 | P3Steel-tools screws nuts 1a.jpg (file) |  |
426 KB | M3 hex keys (a.k.a. Allen keys, Allen wrenches, hex wrenches), M3 12mm bolts, M3 nyloc nuts. All that is required to assemble the P3Steel frame! | 1 |
| 22:46, 13 December 2014 | P3Steel Y-axis belt holder Lahuerta 1a.jpg (file) |  |
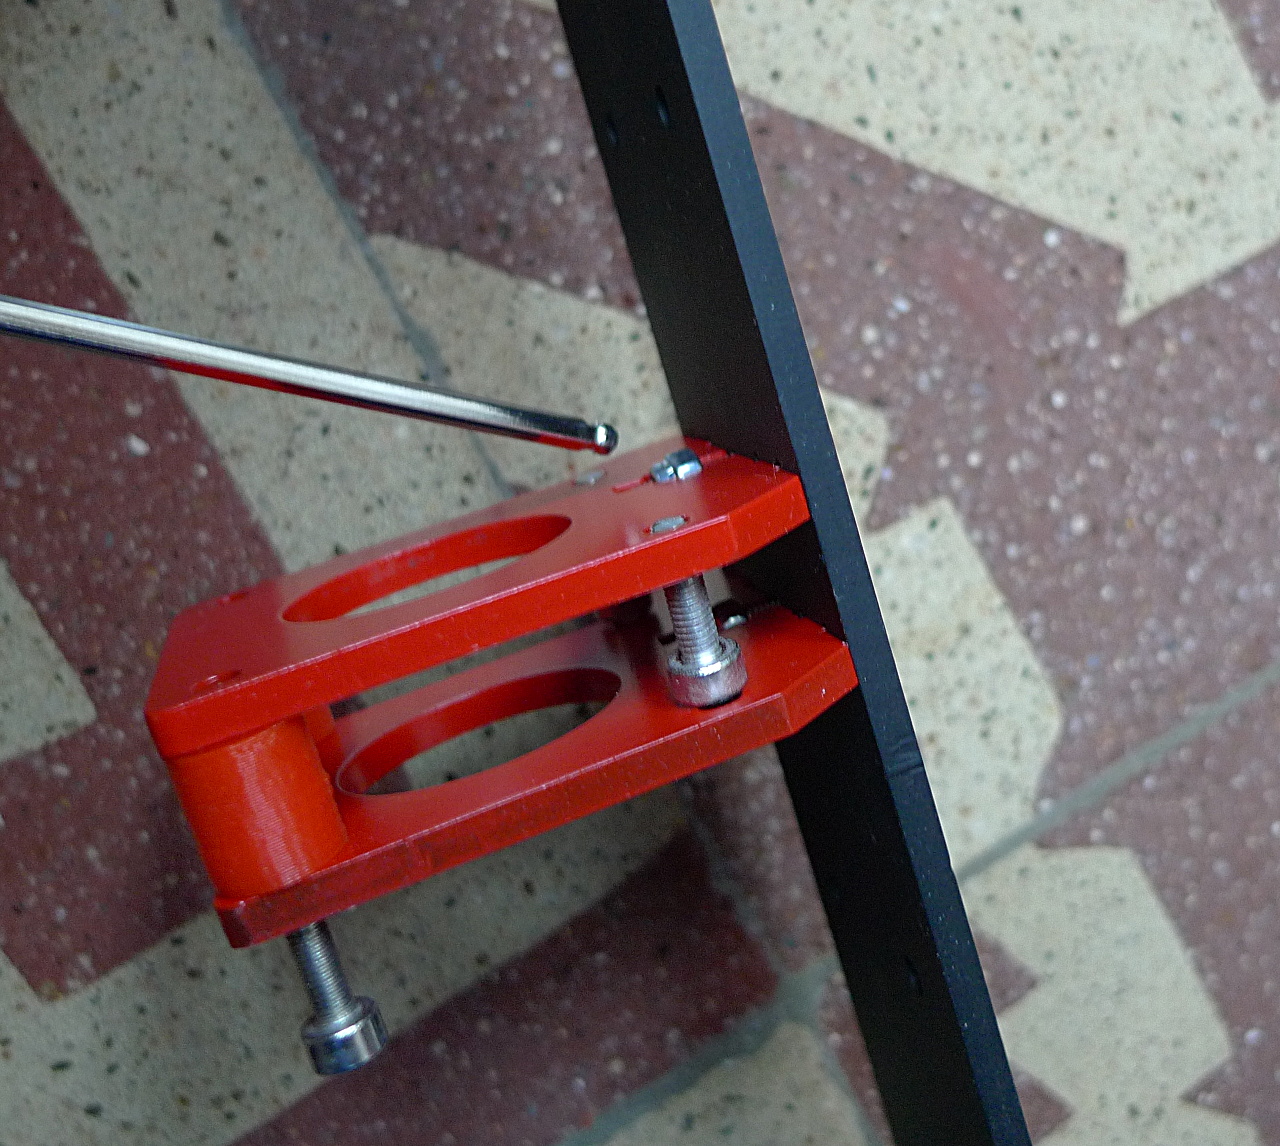
429 KB | Simple Y-axis GT2 Belt Holder for the P3Steel designed by Pedro Lahuerta which is easy to print, easy to install and works very well. | 1 |
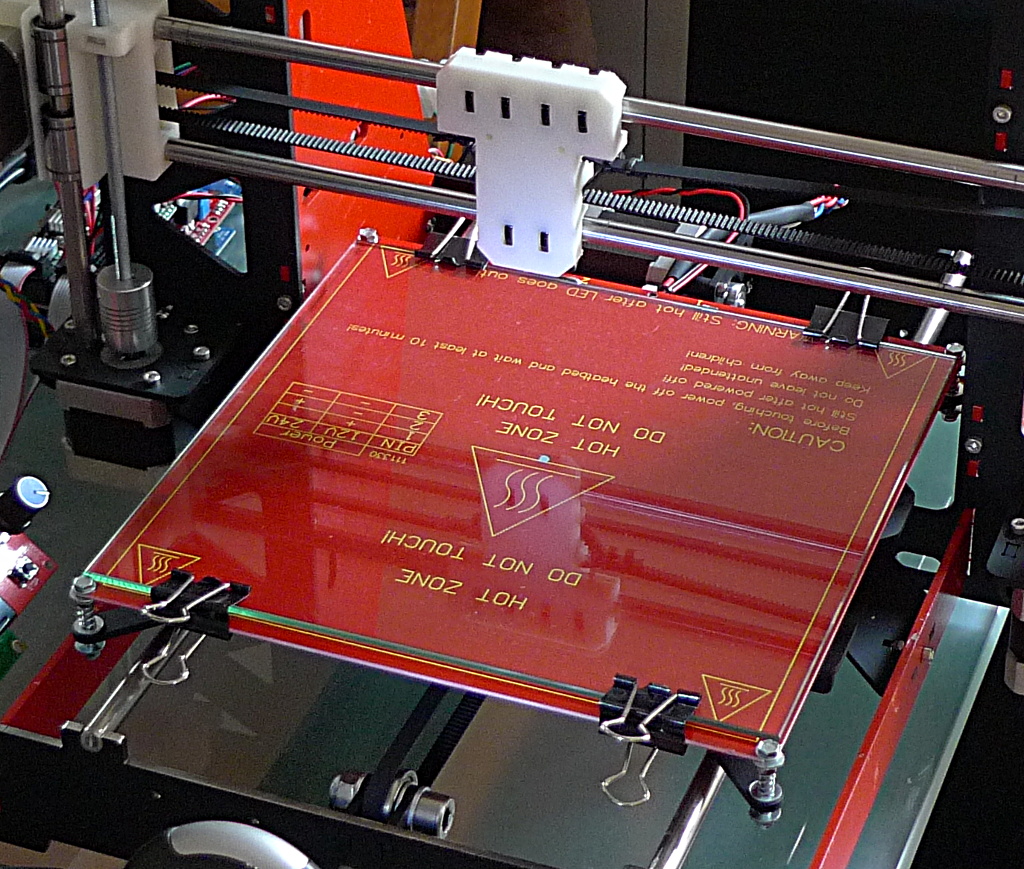
| 18:47, 13 January 2015 | Heatbed glass clips 1a.jpg (file) |  |
441 KB | PCB heatbed mounted on P3Steel (Prusa i3 variant) with glass and bulldog clips. | 1 |
| 22:32, 13 December 2014 | P3Steel useless part 1a.jpg (file) |  |
441 KB | Useless part removed in version 2.01 of the P3Steel frame. | 1 |
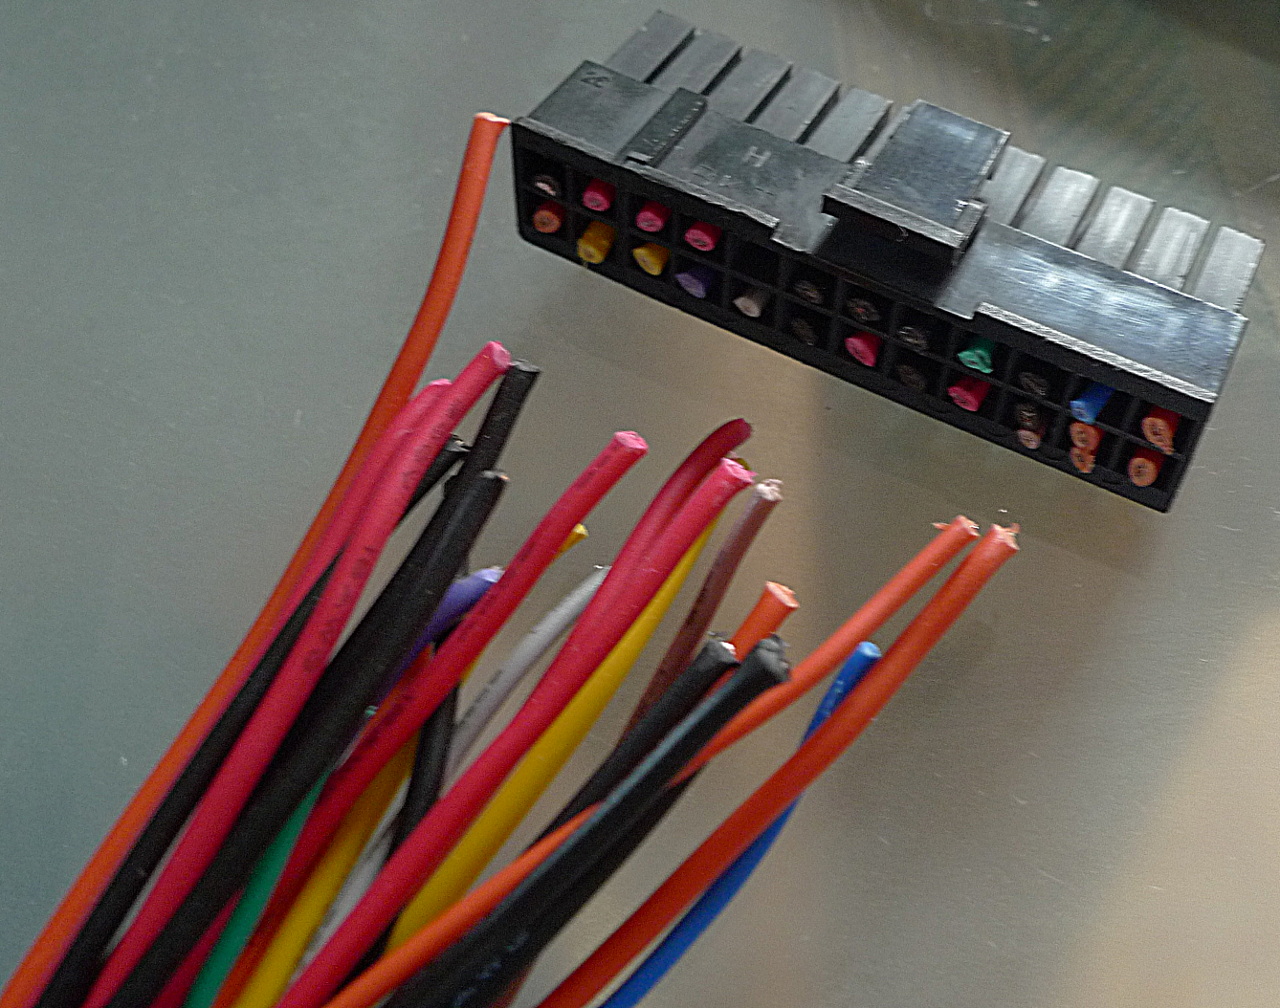
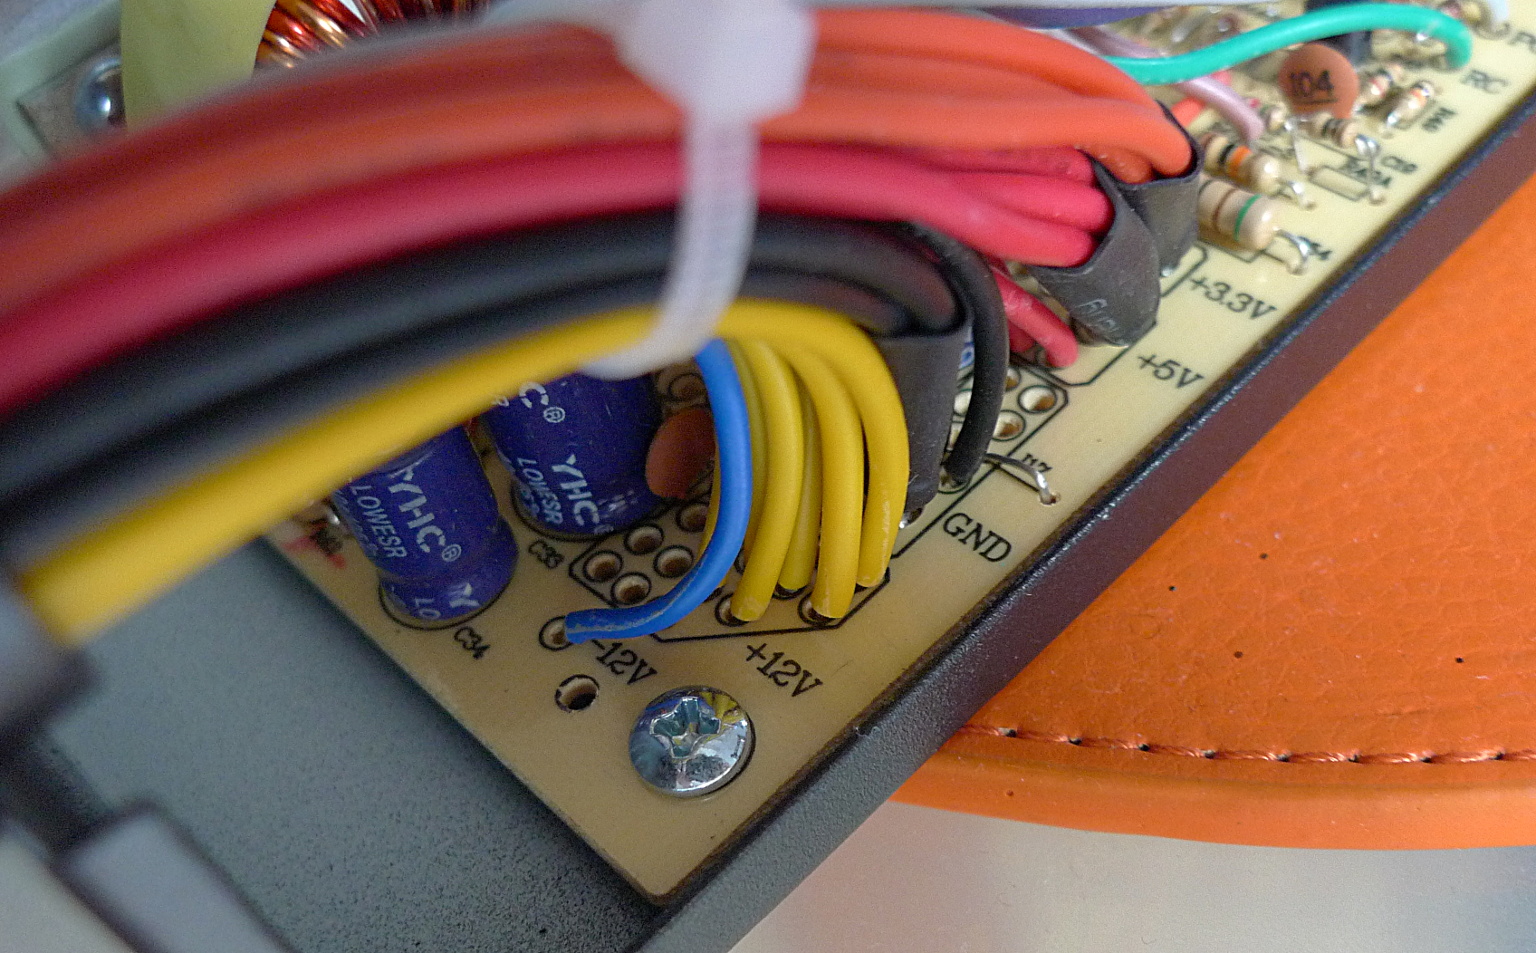
| 20:47, 23 October 2014 | ATX PSU cutting 4.jpg (file) |  |
447 KB | We also cut away all the cables to the main motherboard connector. | 1 |
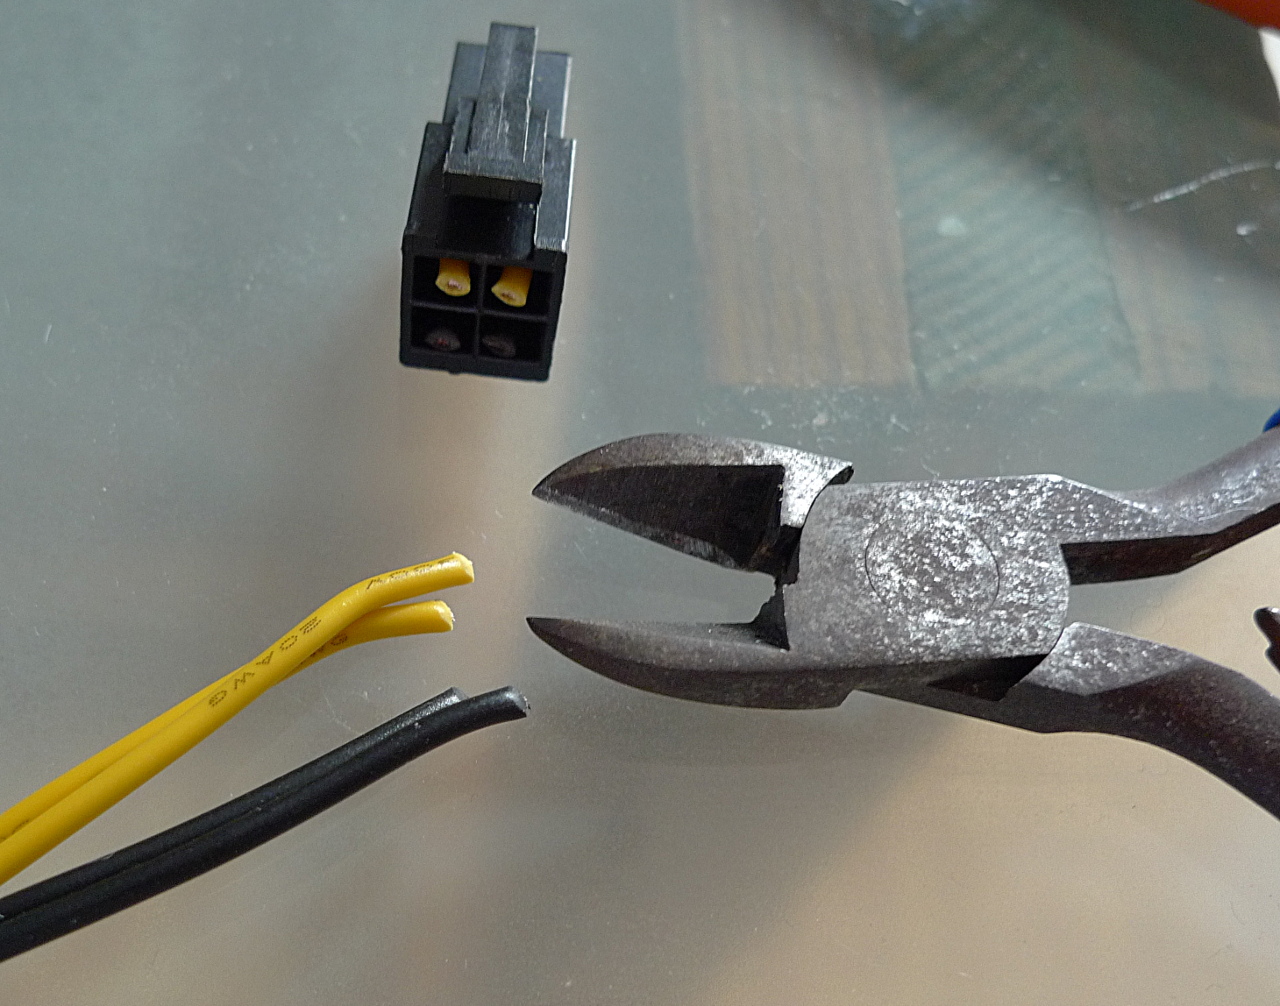
| 16:54, 23 October 2014 | ATX PSU cutting 2.jpg (file) |  |
453 KB | We also cut away the motherboard 12V CPU connector. | 1 |
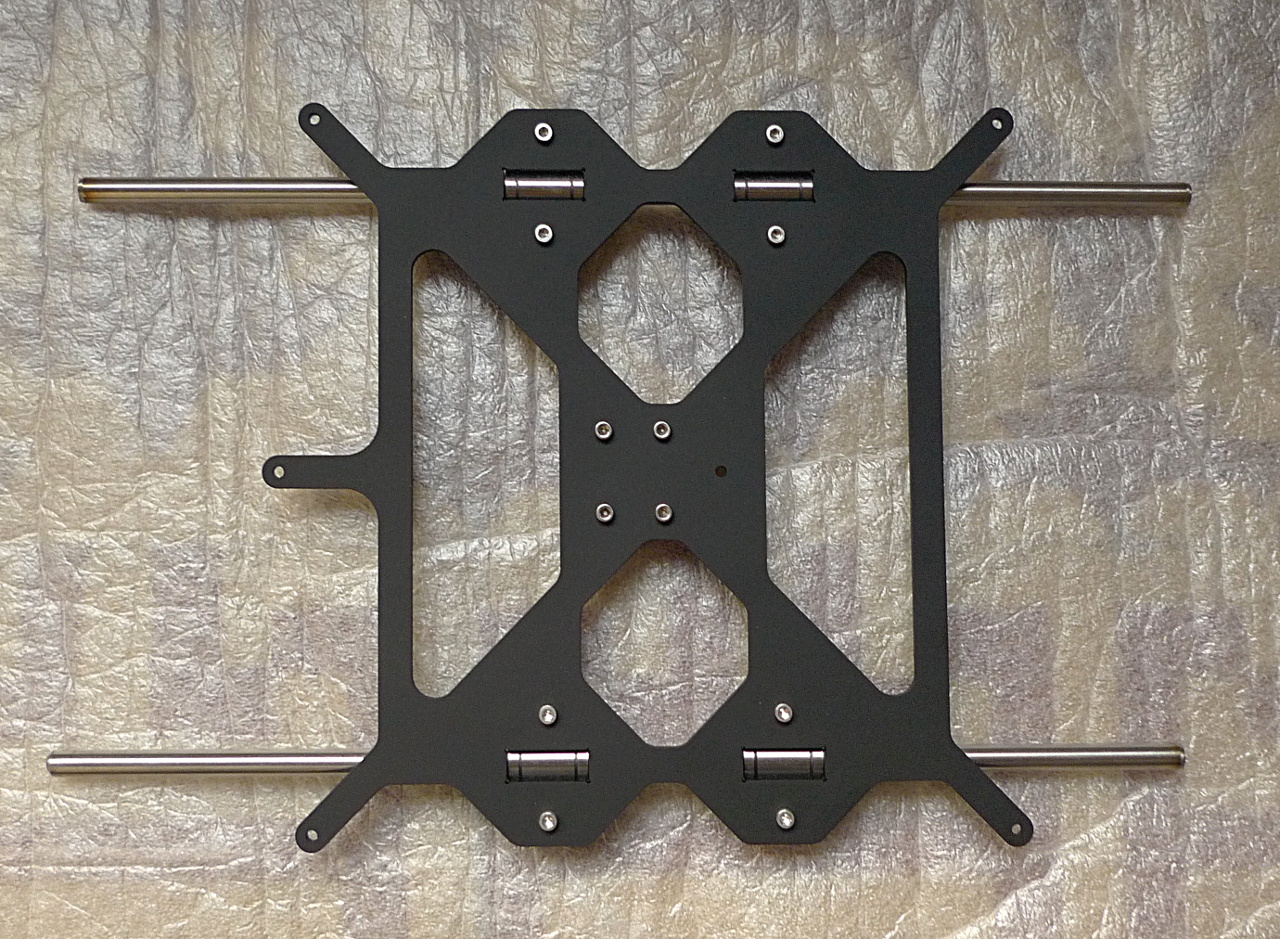
| 14:51, 26 October 2014 | P3Steel frame assembled 2.jpg (file) |  |
454 KB | All the steel parts fit perfectly together, thanks to the highly accurate laser cutting process. | 1 |
| 14:19, 11 December 2014 | Y-axis carriage 13a.jpg (file) |  |
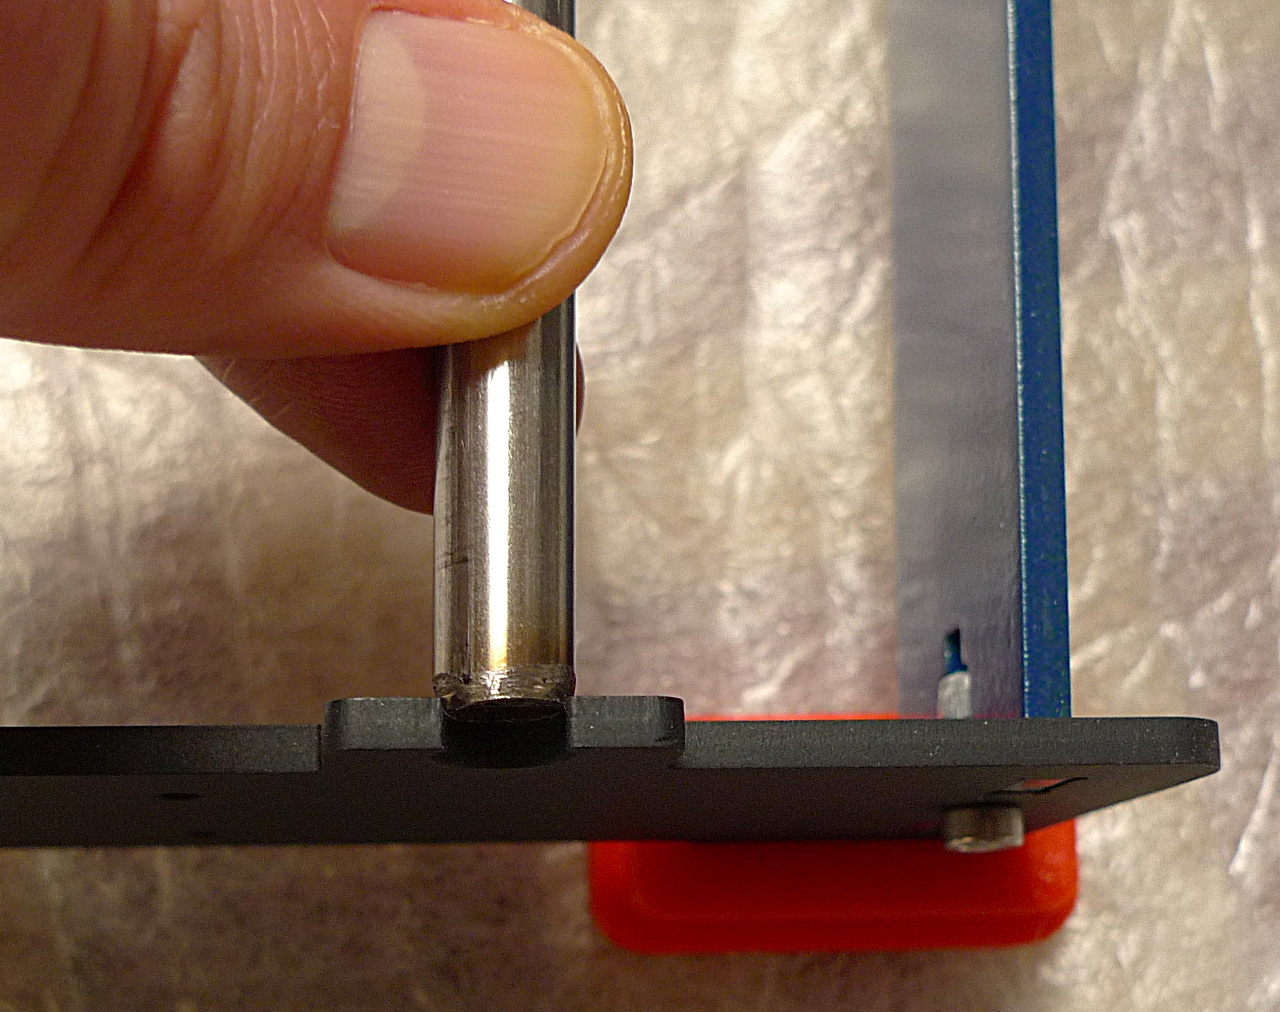
457 KB | Only 3mm left for this rod. M-u-s-t--t-a-p--m-o-r-e... | 1 |
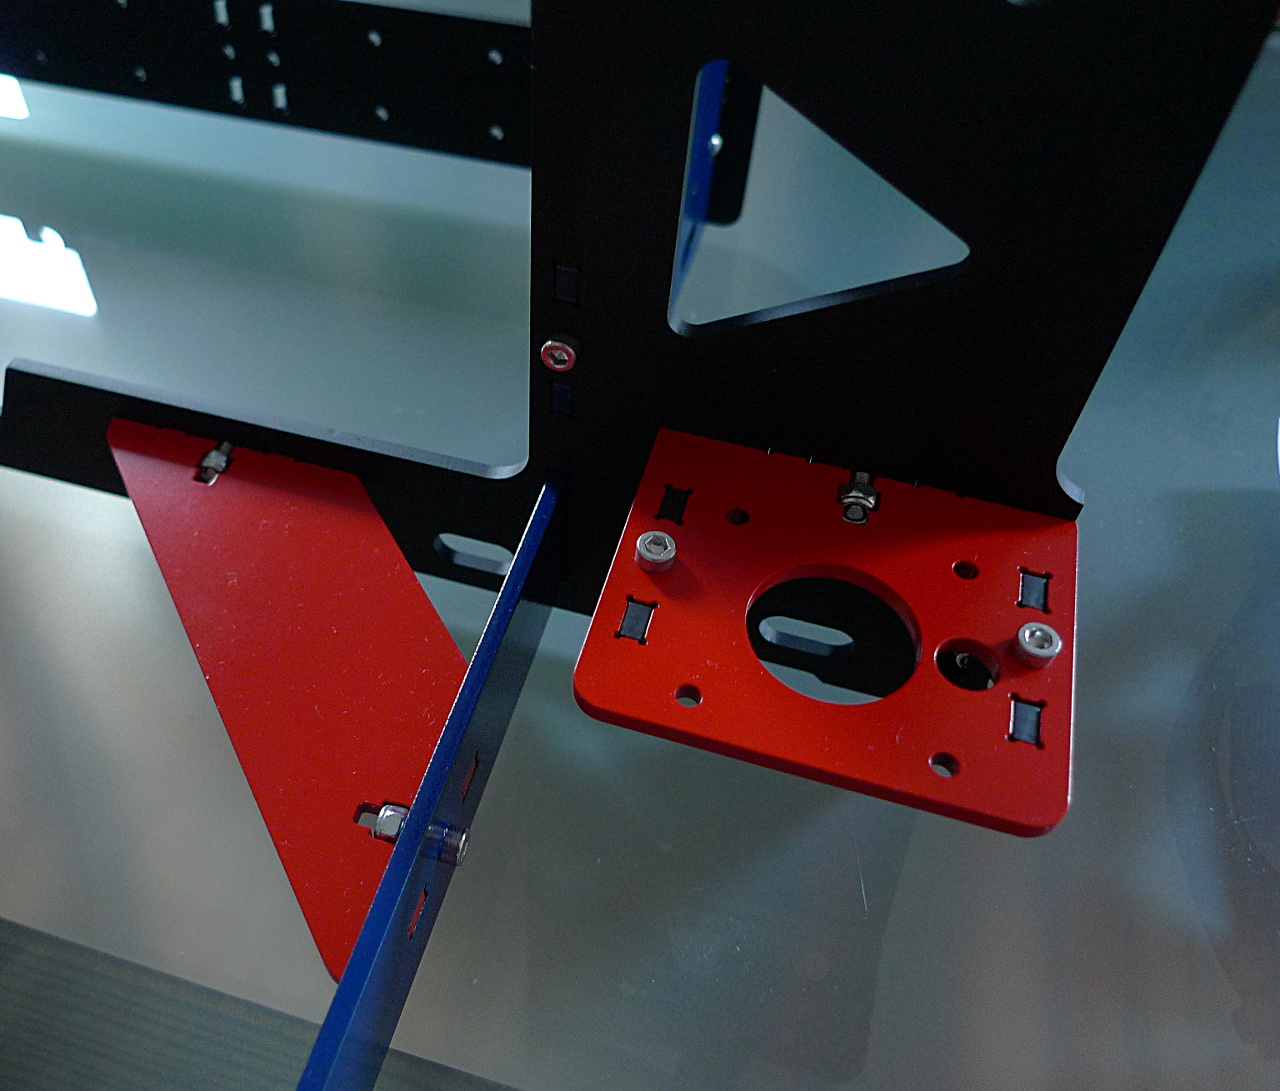
| 02:19, 11 December 2014 | Y-axis motor end 7a.JPG (file) |  |
458 KB | The Y-axis stepper and GT2 pulley installed. | 1 |
| 17:18, 21 November 2014 | Tools 3a.JPG (file) |  |
459 KB | A small hammer. | 1 |
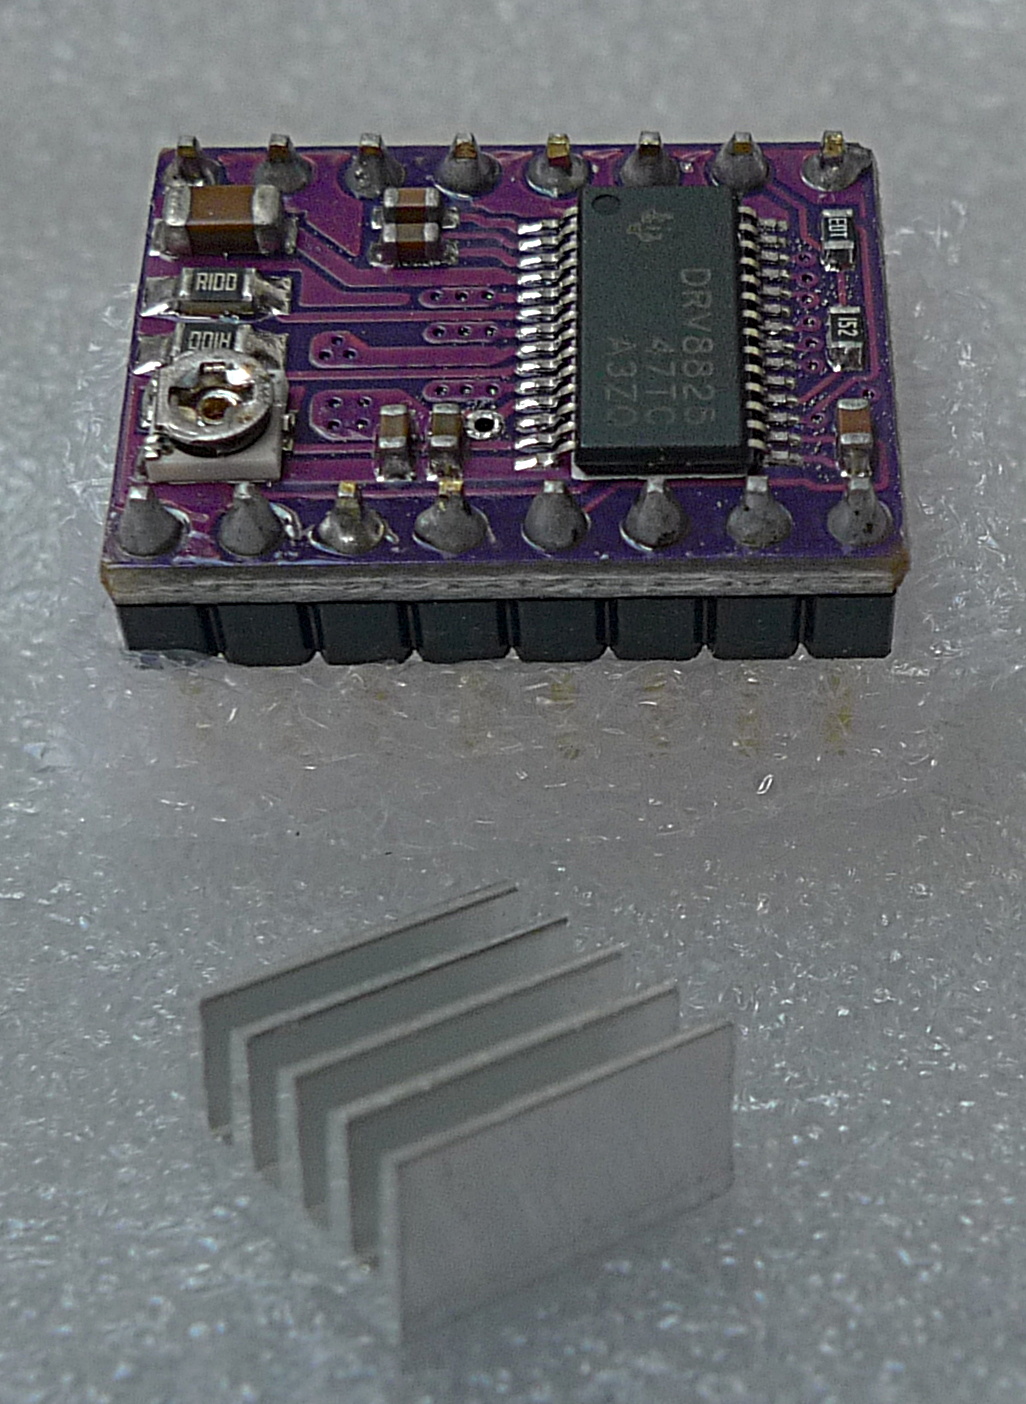
| 14:06, 19 December 2014 | DRV8825 stepper driver module 1a.jpg (file) |  |
461 KB | DRV8825-based inexpensive stepper driver board. | 1 |
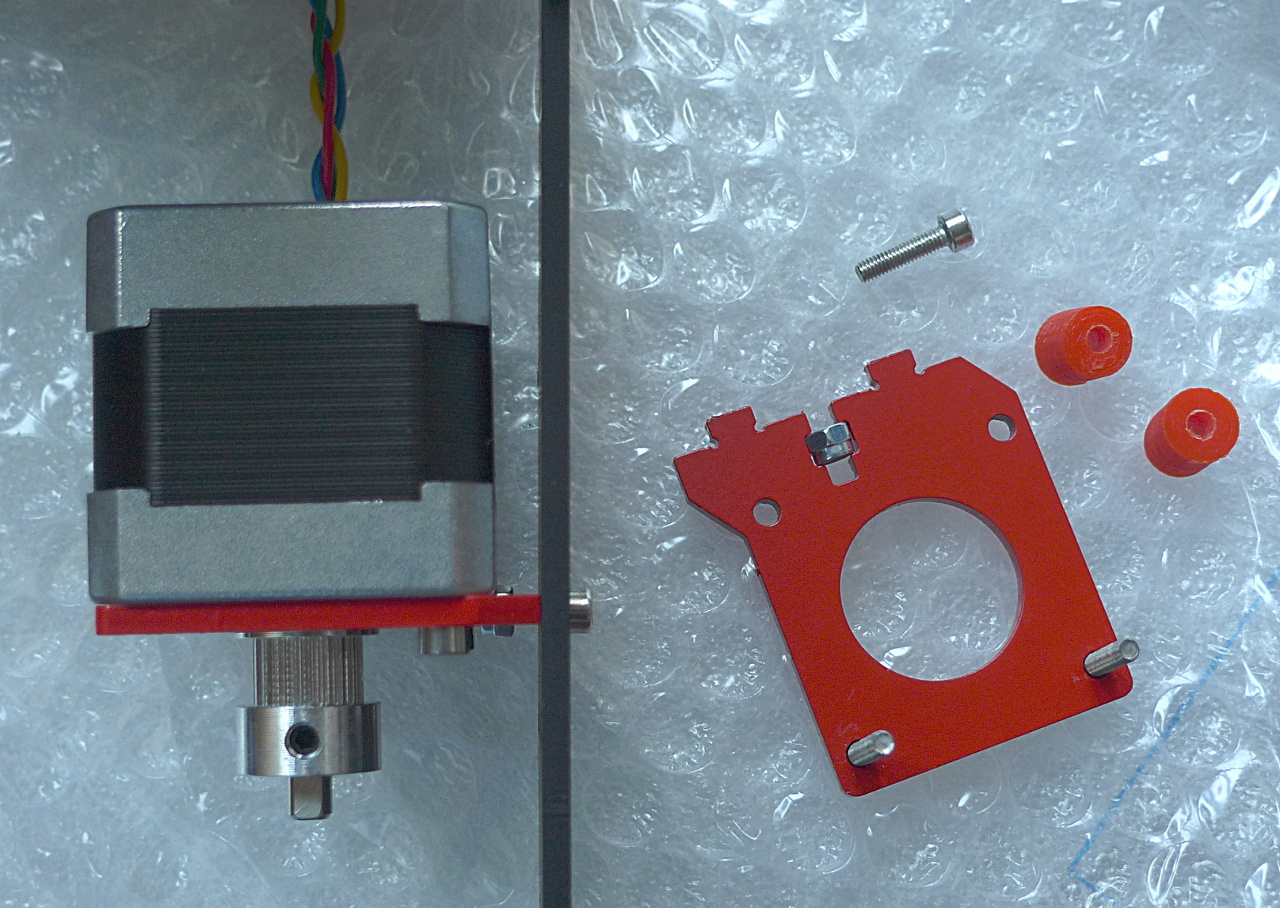
| 07:18, 22 November 2014 | Y-axis motor end 4a.JPG (file) |  |
462 KB | Use 2 x 8mm M3 screws to attach the stepper to the support part. Insert the pulley oriented as shown but do not screw it yet. | 1 |
| 11:02, 7 January 2015 | Octogoatbox hardware Banana Pi 2a.jpg (file) |  |
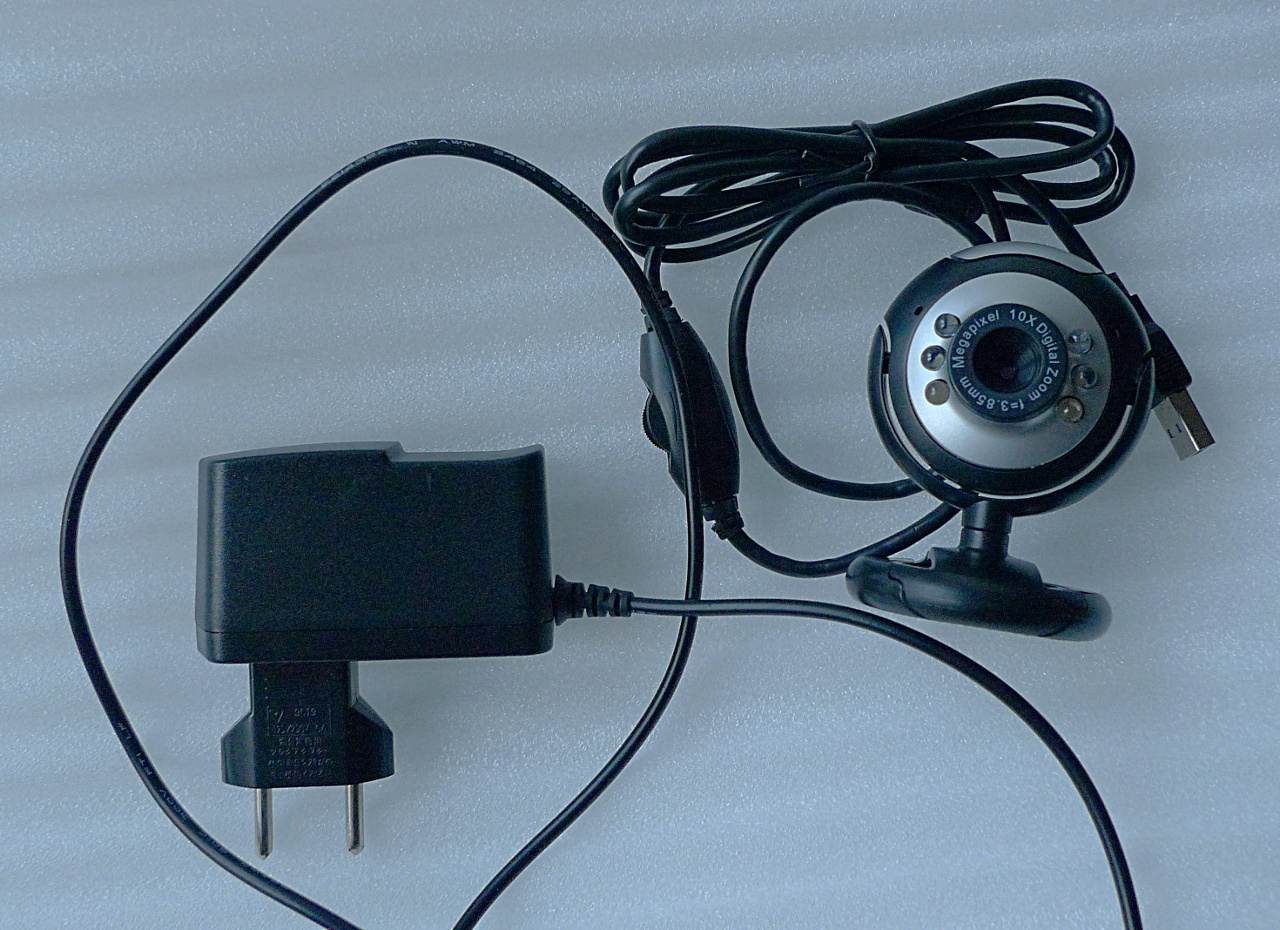
465 KB | Power supply (5V@2A) and inexpensive 640x480 USB webcam. | 1 |
| 07:05, 21 December 2014 | Stepper drivers a4988 drv8825 4a.jpg (file) |  |
467 KB | A4988 and DRV8825 stepper driver boards, underside. | 1 |
| 17:14, 21 November 2014 | Tools 1a.JPG (file) |  |
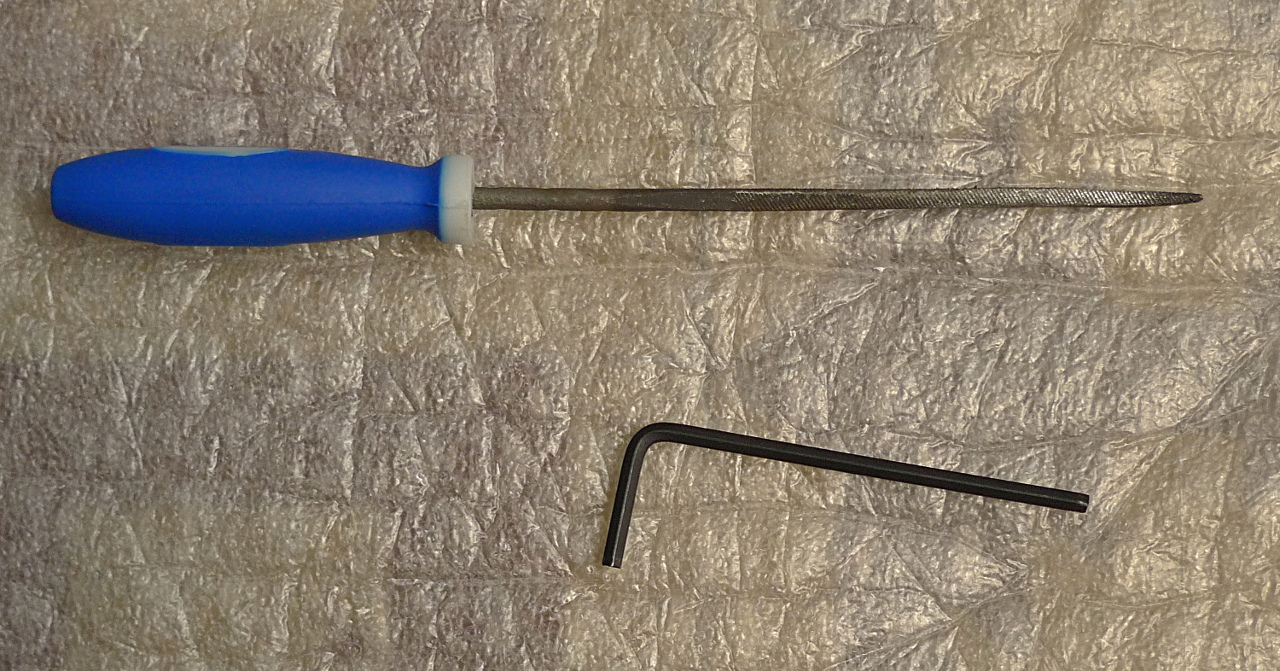
470 KB | A small metal file and M3 hex key. | 1 |
| 04:38, 25 October 2014 | ATX PSU bequiet 1.jpg (file) |  |
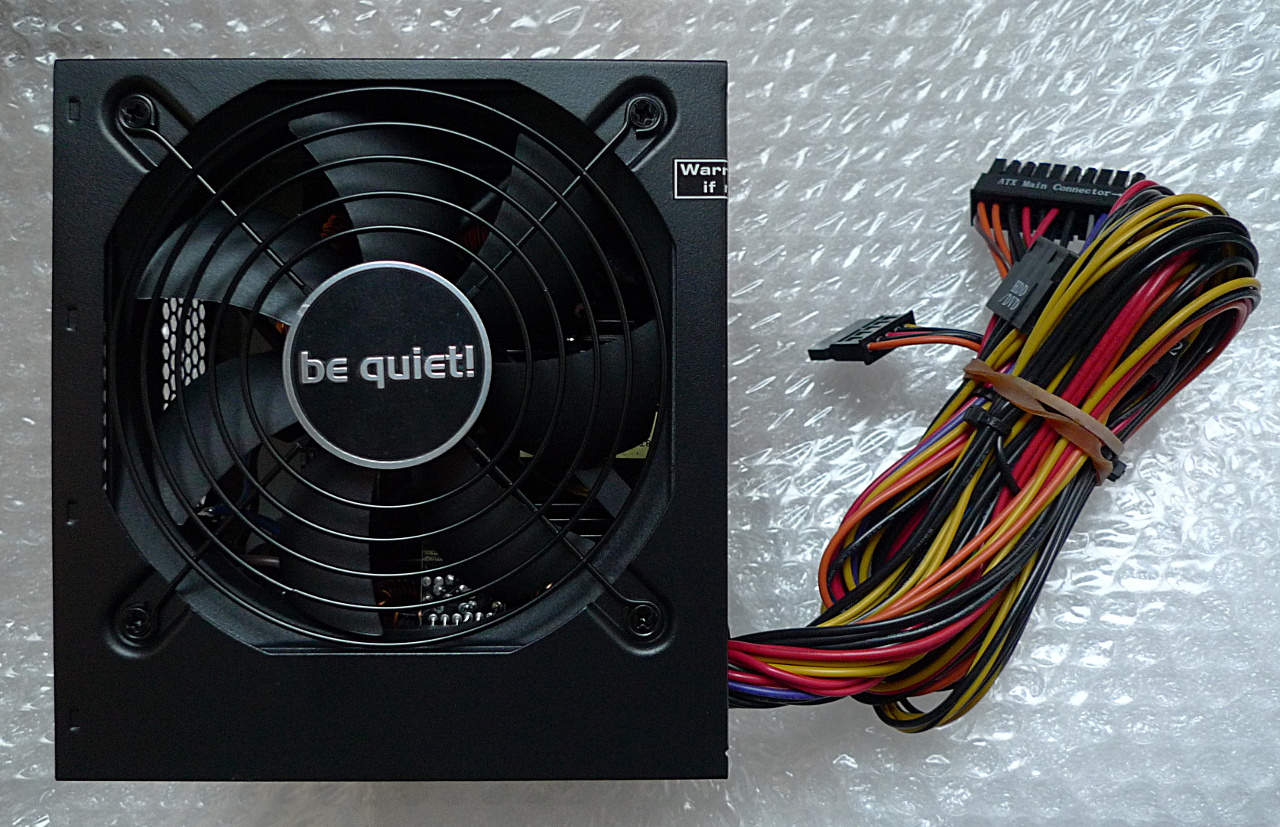
472 KB | A be quiet! ATX PSU from their value line. | 1 |
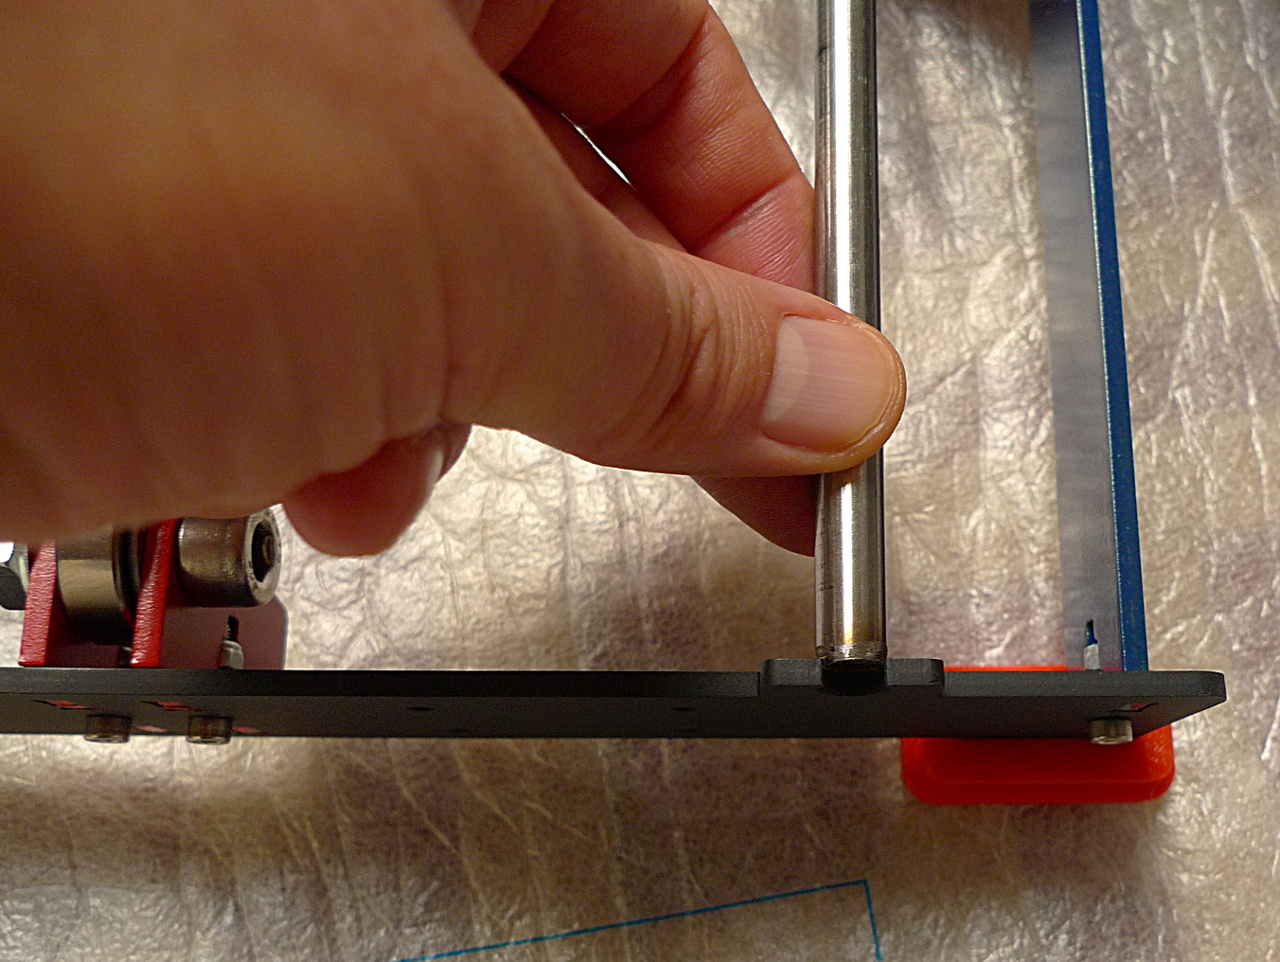
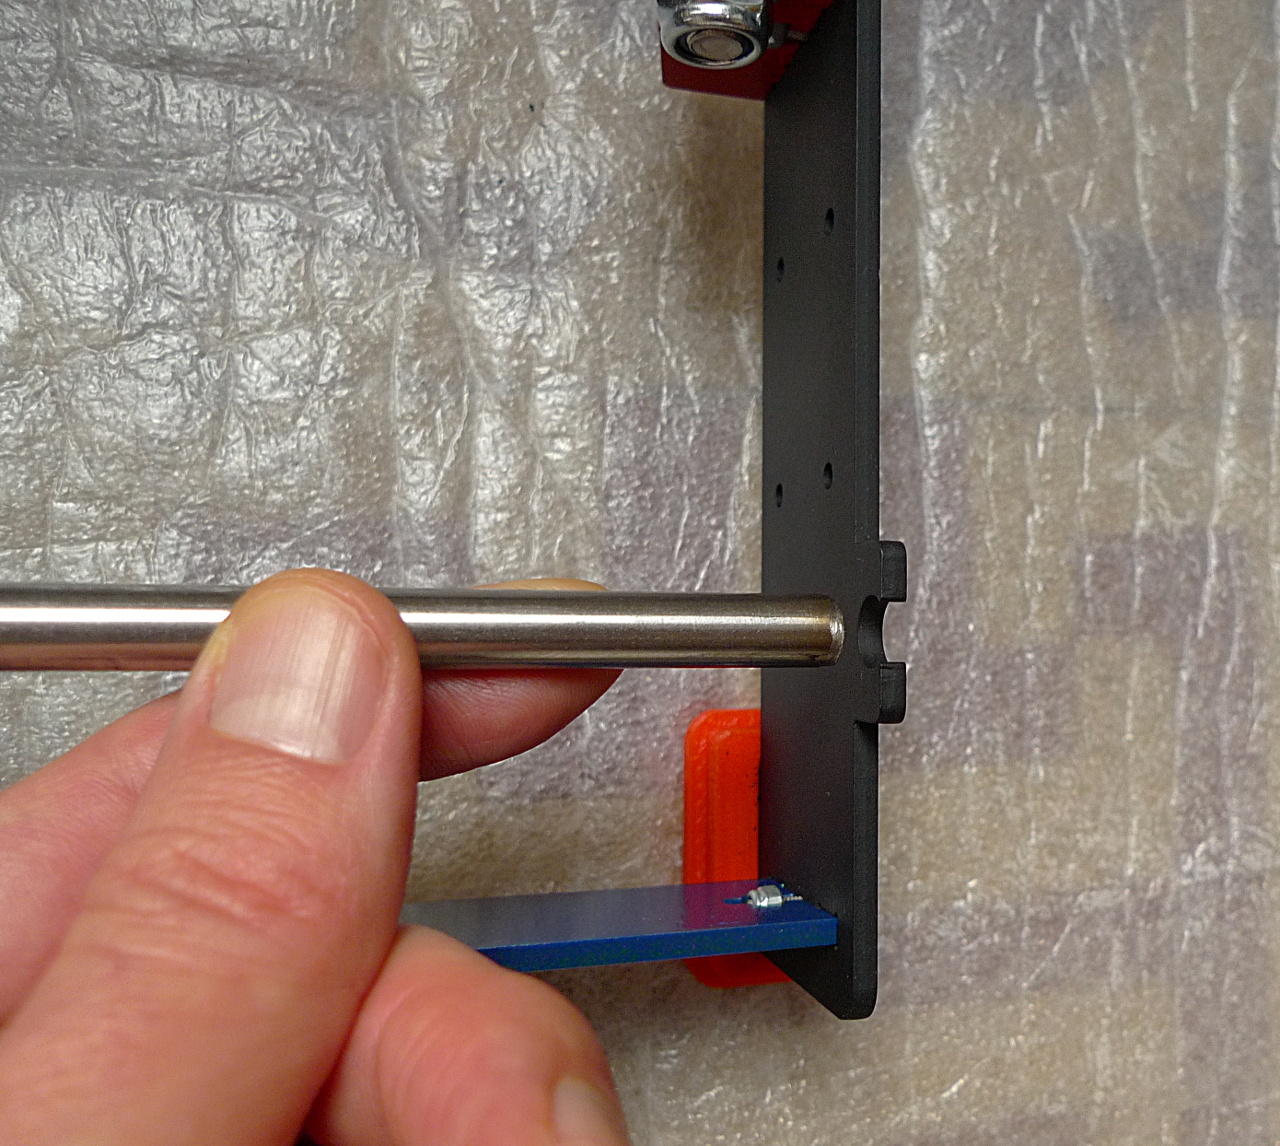
| 14:52, 11 December 2014 | Y-axis carriage 13b.jpg (file) |  |
472 KB | Guiding the smooth rod into the frame support, detail. | 1 |
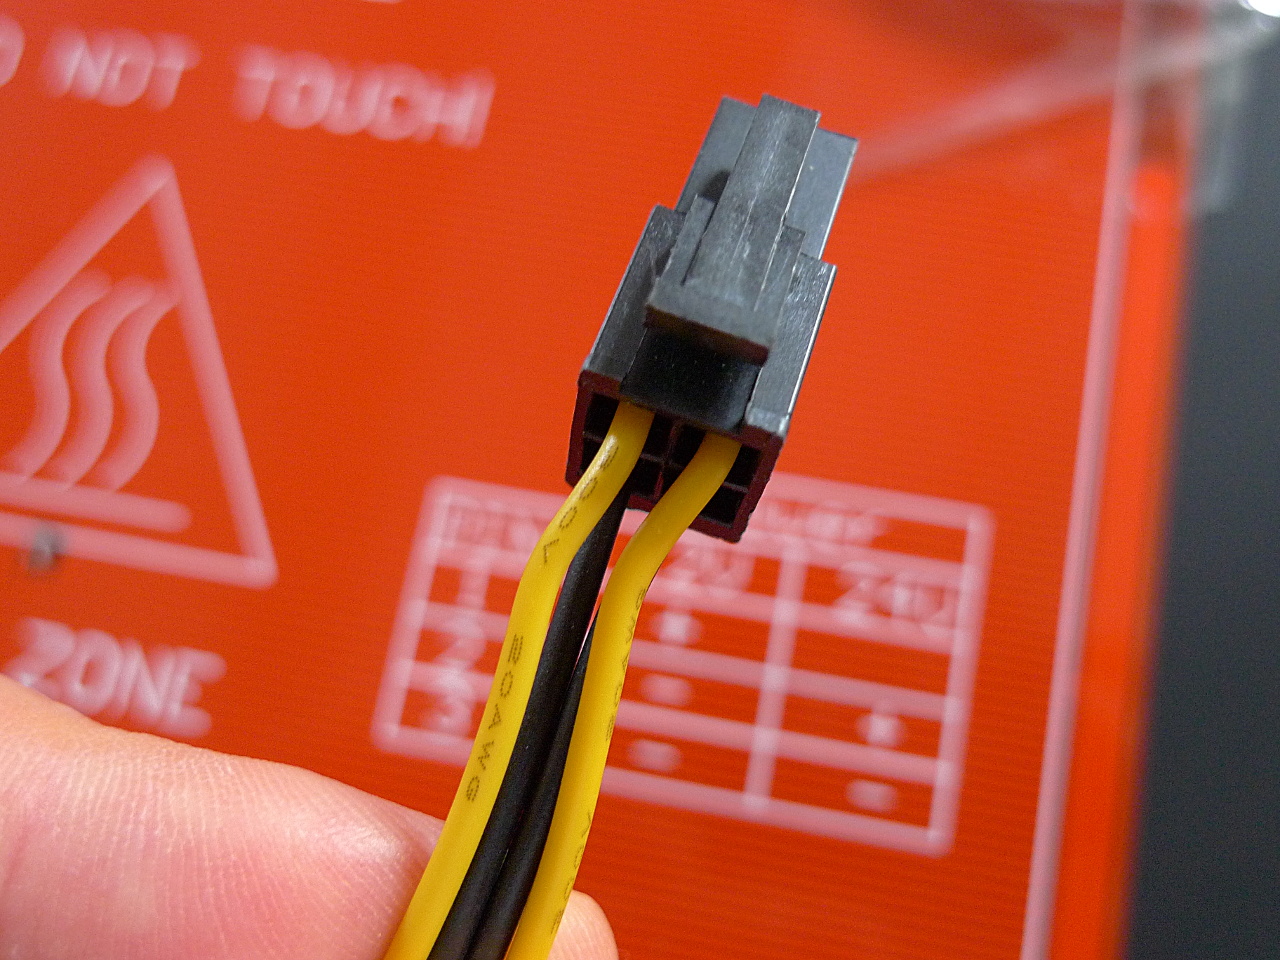
| 01:28, 25 October 2014 | ATX PSU gauge 2.jpg (file) |  |
473 KB | 20AWG wire. | 1 |
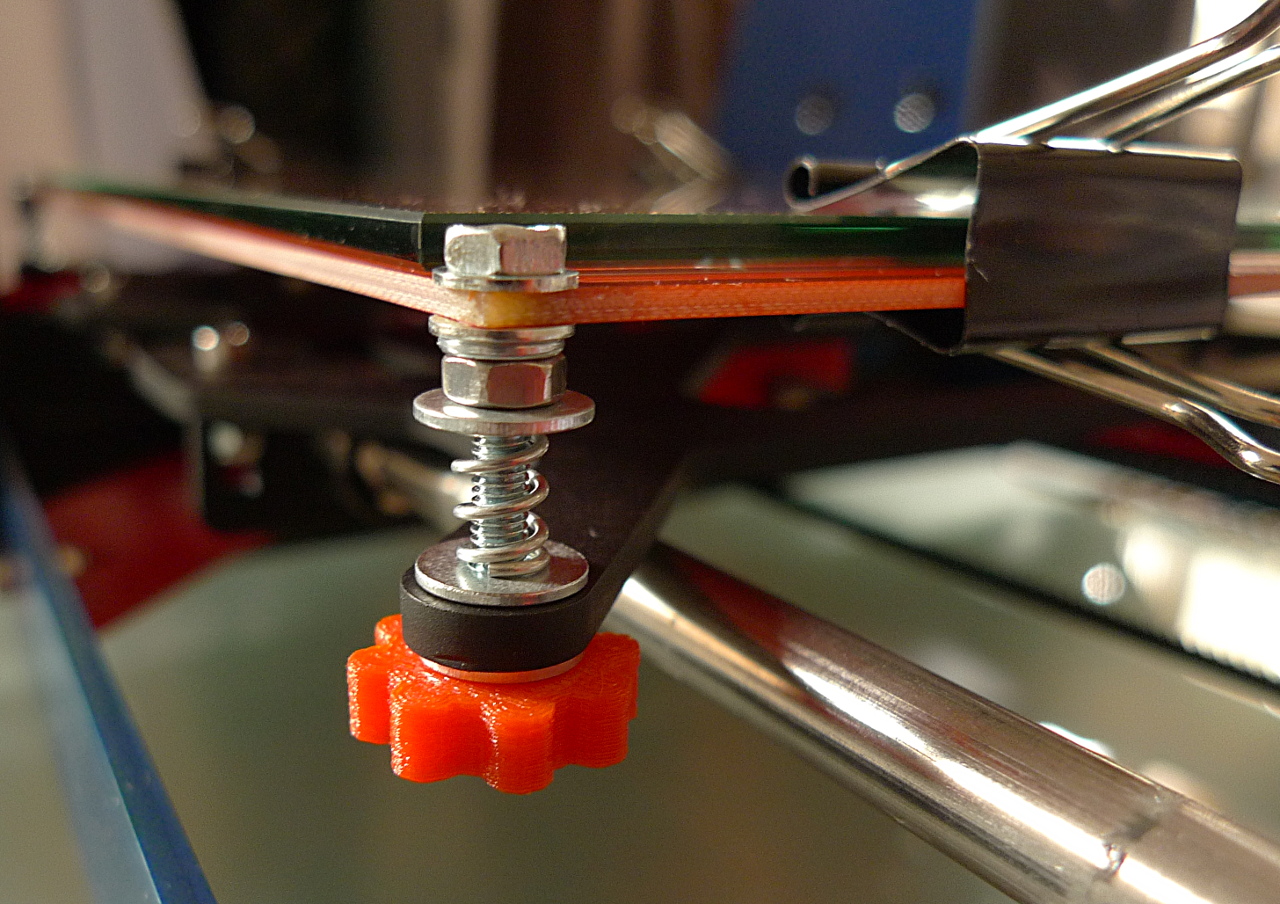
| 13:41, 23 November 2014 | P3Steel heatbed adjust thumbwheel 1a.jpg (file) |  |
485 KB | The essential heatbed leveling thumbwheel here shown installed. | 1 |
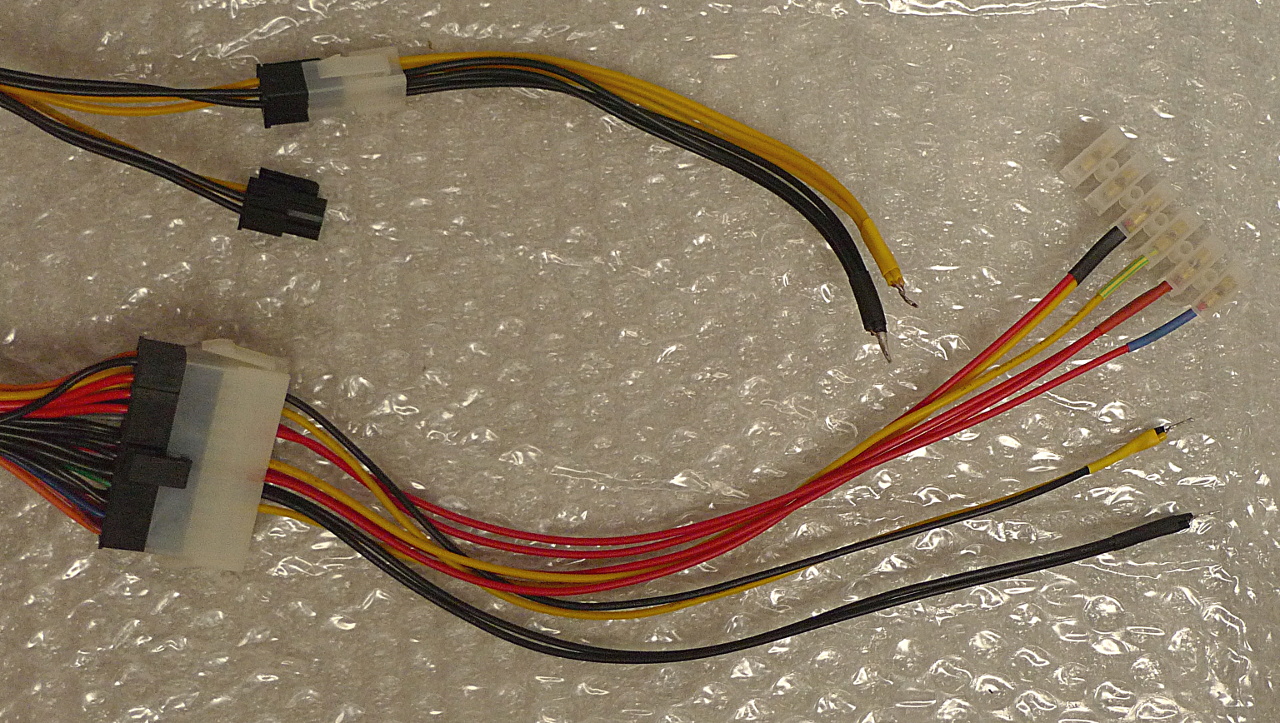
| 06:42, 26 December 2014 | ATX extension adapter cables ready 1a.jpg (file) |  |
486 KB | The pair of cables needed to adapt an ATX PSU for Reprap use, ready for use! | 1 |
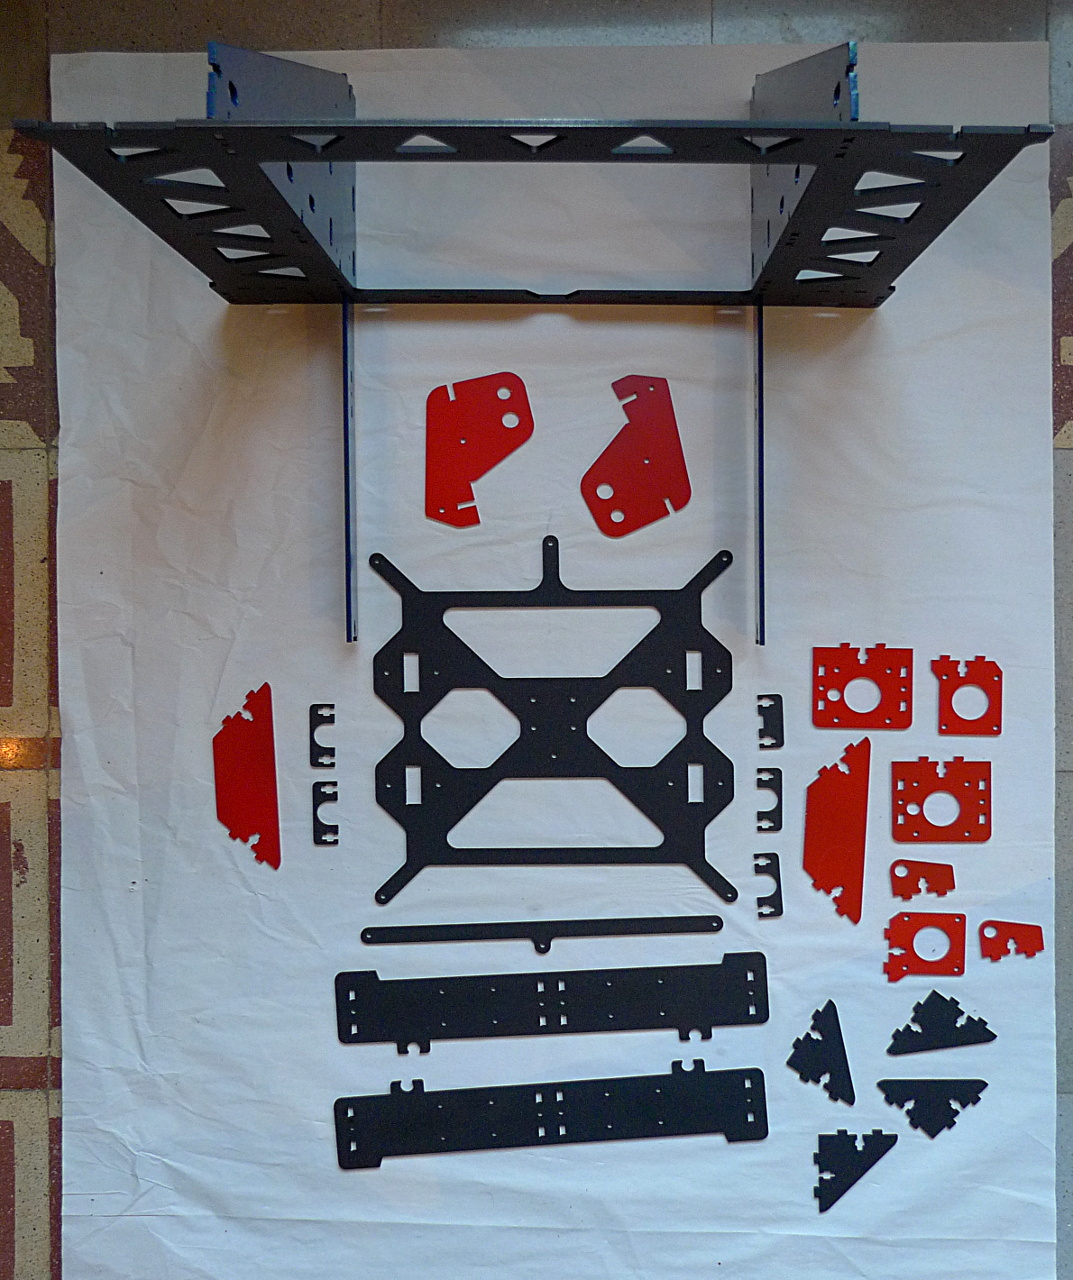
| 14:32, 26 October 2014 | P3Steel frame parts ready 1.jpg (file) |  |
503 KB | All the steel parts have been painted and the paint is now dry. We are ready to start the assembly of a new P3Steel! | 1 |
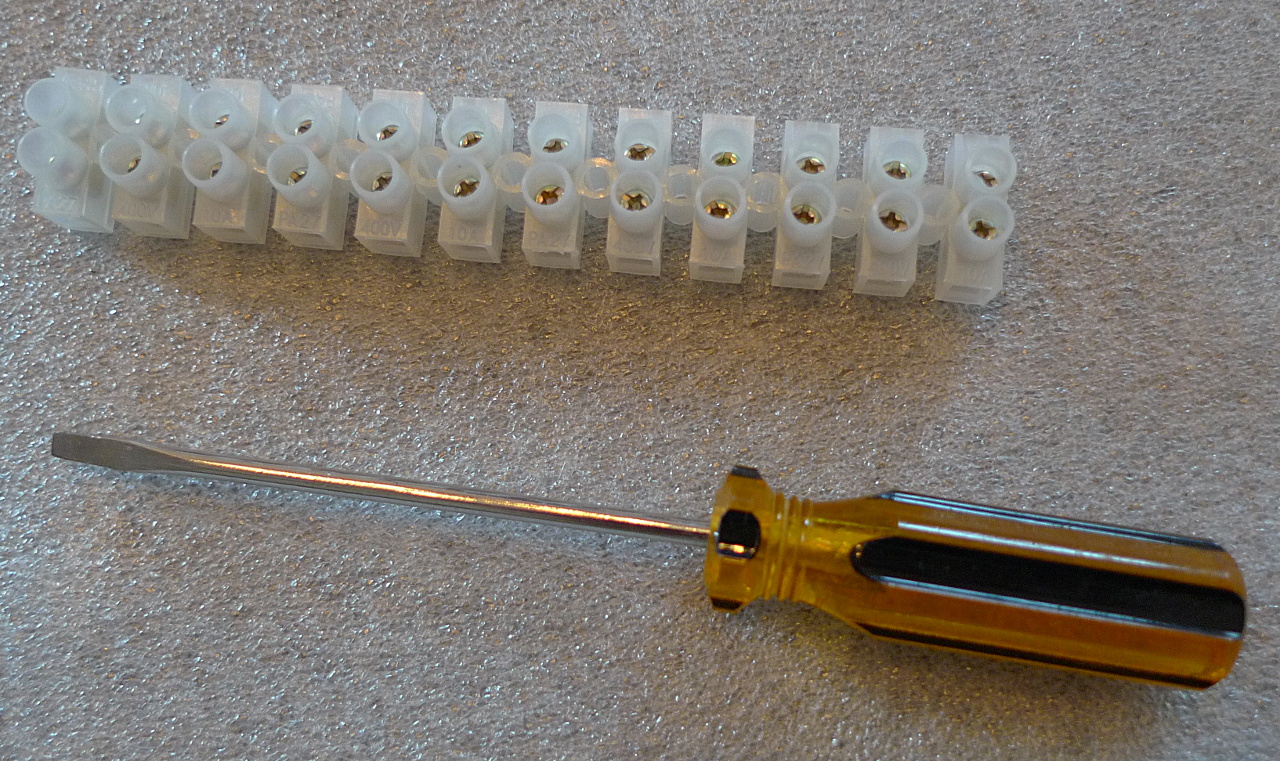
| 04:21, 25 October 2014 | ATX PSU block 1.jpg (file) |  |
511 KB | 12 position terminal block strip and correct size screwdriver. | 1 |
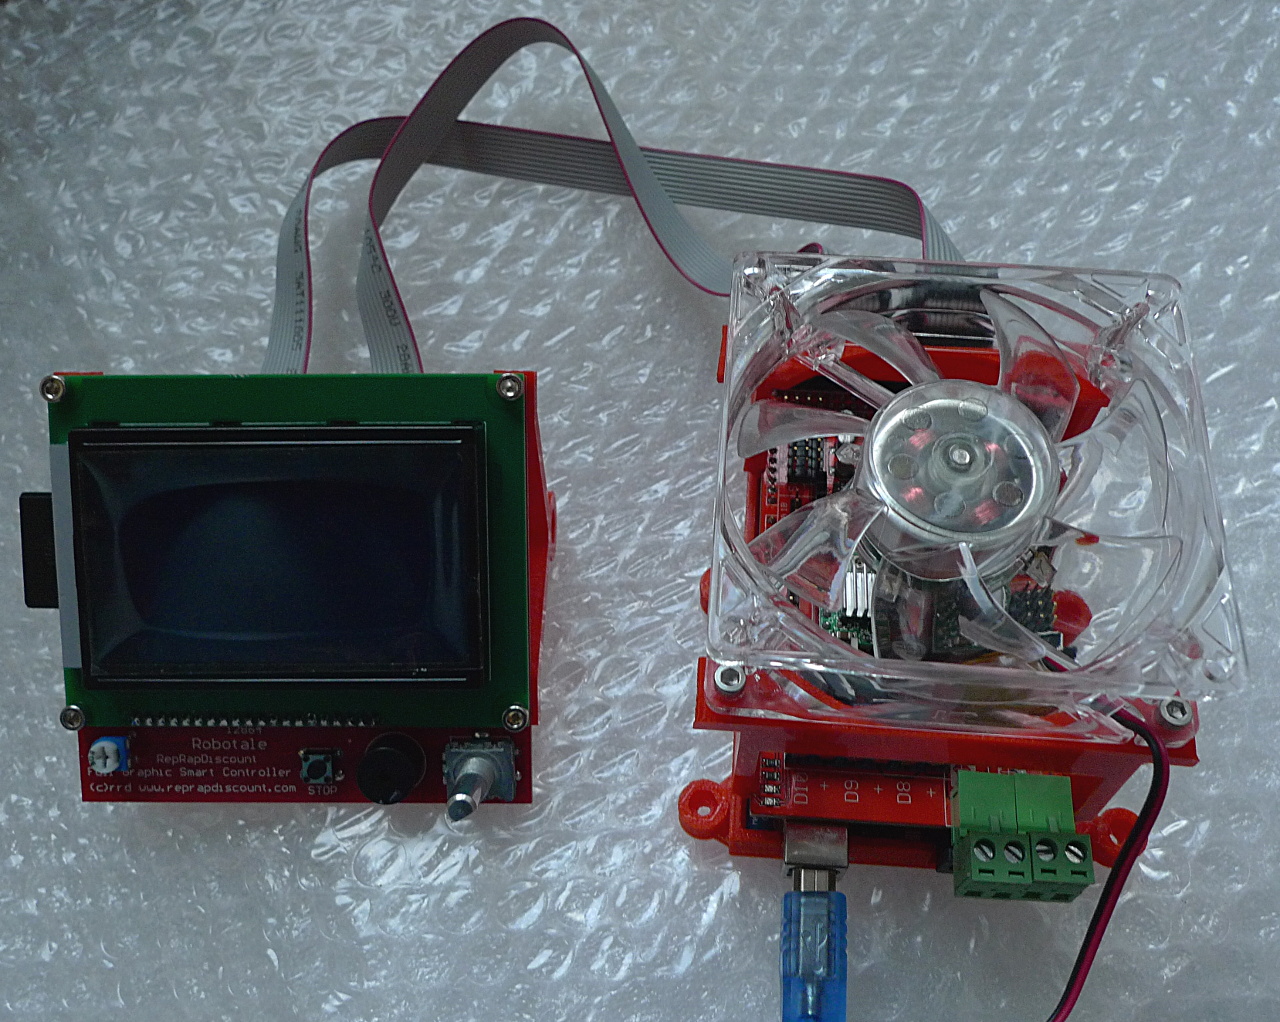
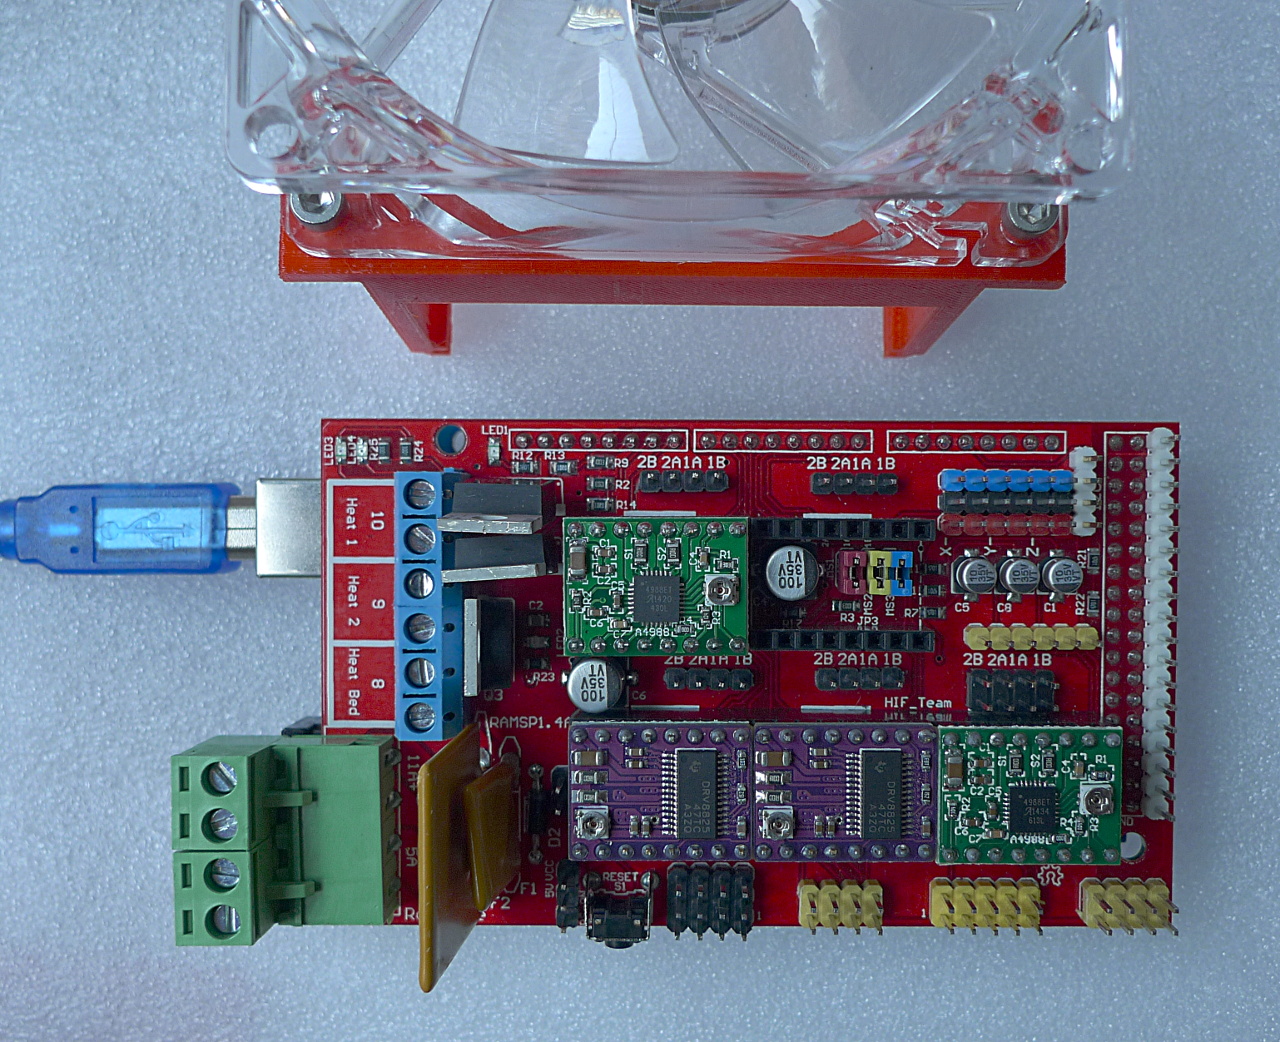
| 16:23, 22 November 2014 | P3Steel electronics 1a.JPG (file) |  |
513 KB | Arduino Mega 2560 + Ramps 1.4 + A4998 drivers + 80mm fan + 12864 graphics LCD controller. | 1 |
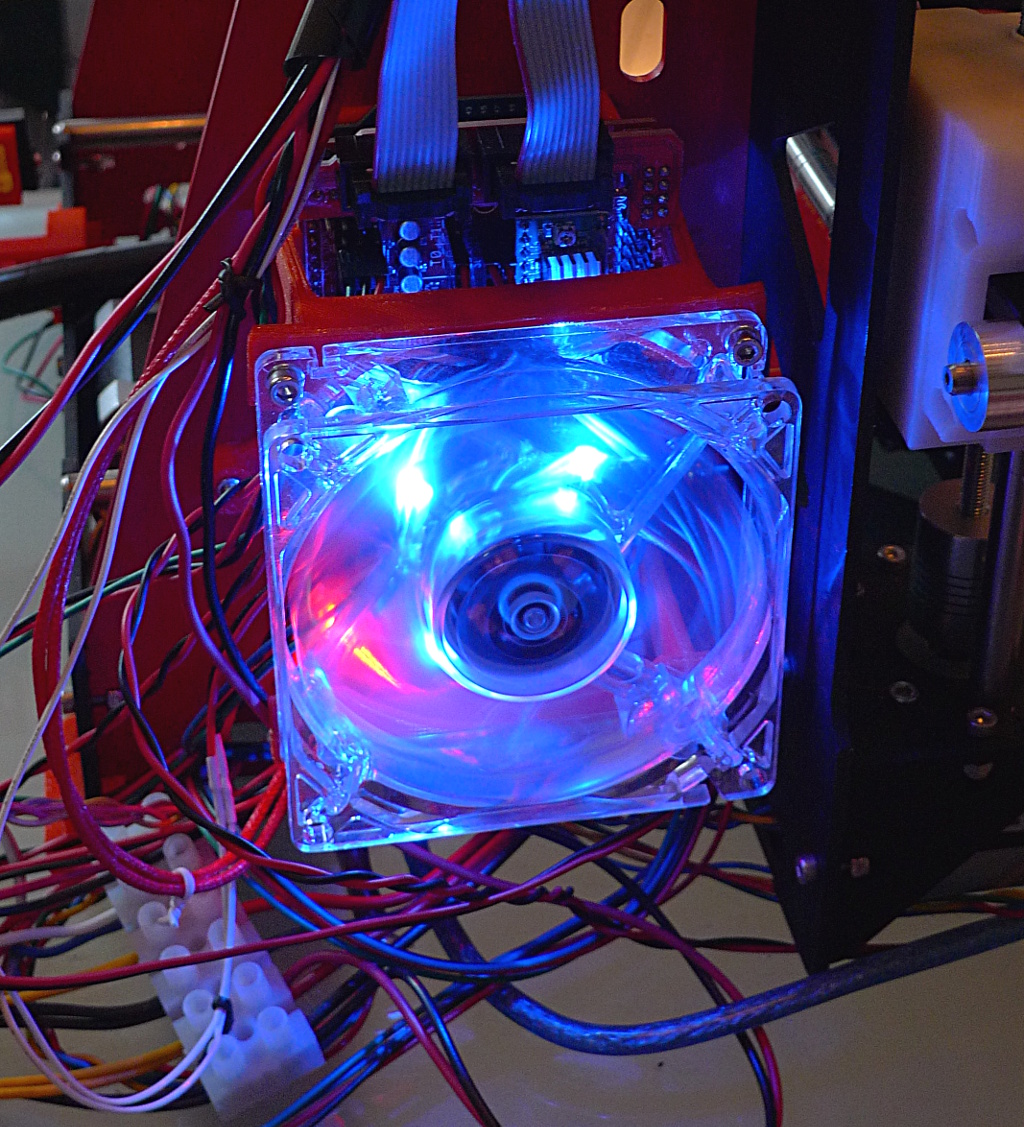
| 07:31, 21 December 2014 | P3Steel ramps printing 2a.jpg (file) |  |
515 KB | Arduino Mega 2560 + RAMPS 1.4 + 4 x A4988 stepper drivers + 80mm fan stack, during a print. | 1 |
| 01:54, 11 December 2014 | P3Steel Y Motor End Spacer 3a.jpg (file) | 518 KB | Spacers for M3 screws, 10mm tall, bought at an electronics shop nearby. Shown here with a 20mm hex screw. | 1 | |
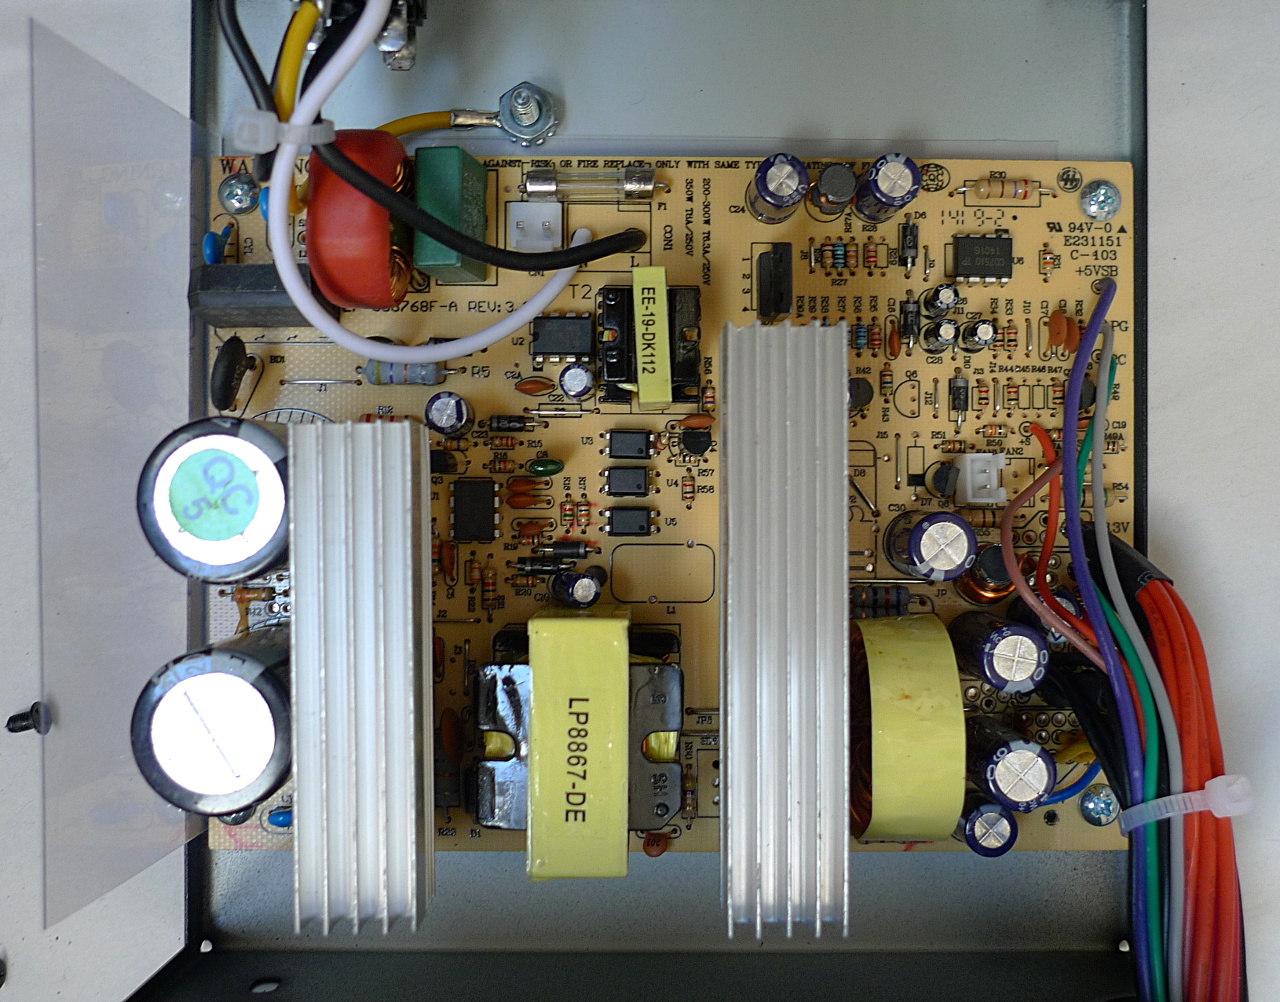
| 21:20, 23 October 2014 | ATX PSU innards 2.jpg (file) |  |
521 KB | Another view of the innards of our ATX PSU, with the PFC coil connector and the fan connector disconnected. | 1 |
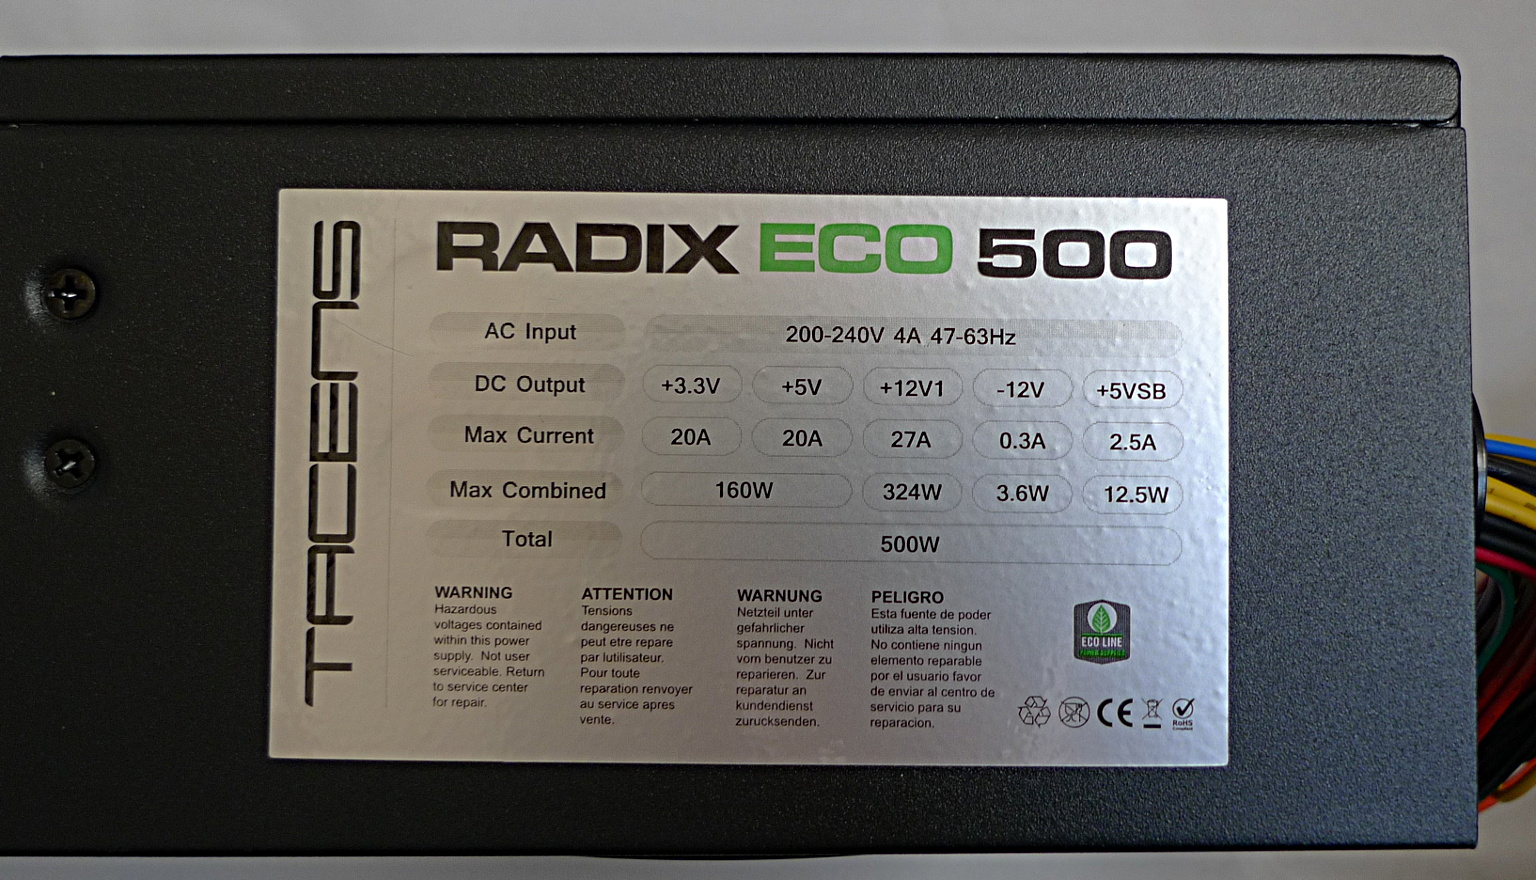
| 14:56, 20 October 2014 | ATX PSU label 1.jpg (file) |  |
531 KB | Almost every ATX PSU has a label on the side with its power ratings. | 1 |
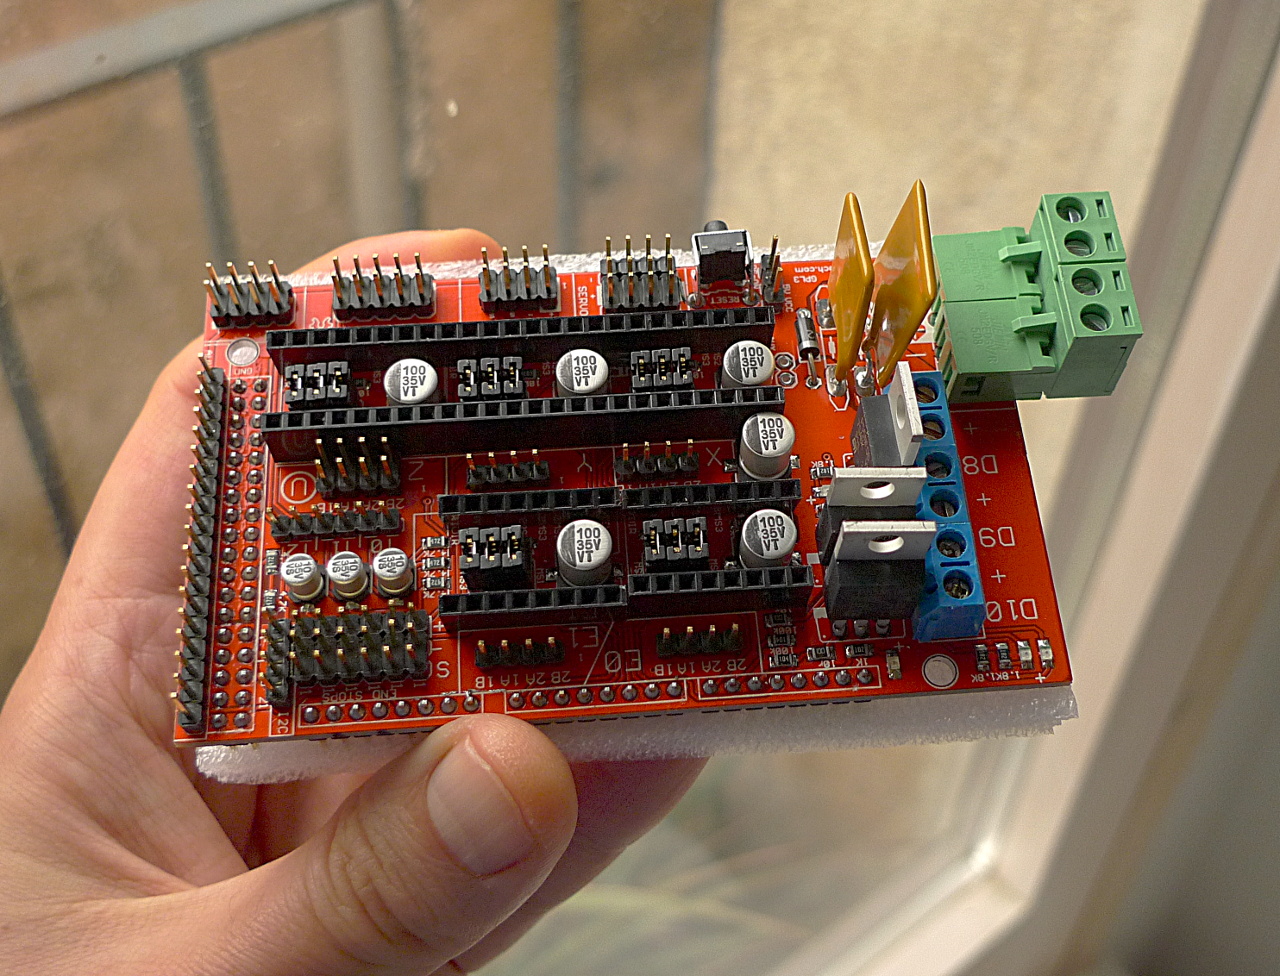
| 20:57, 19 December 2014 | RAMPS 1.4 1b.jpg (file) |  |
535 KB | Inexpensive "Made in China" RAMPS 1.4 board without stepper driver boards. | 1 |
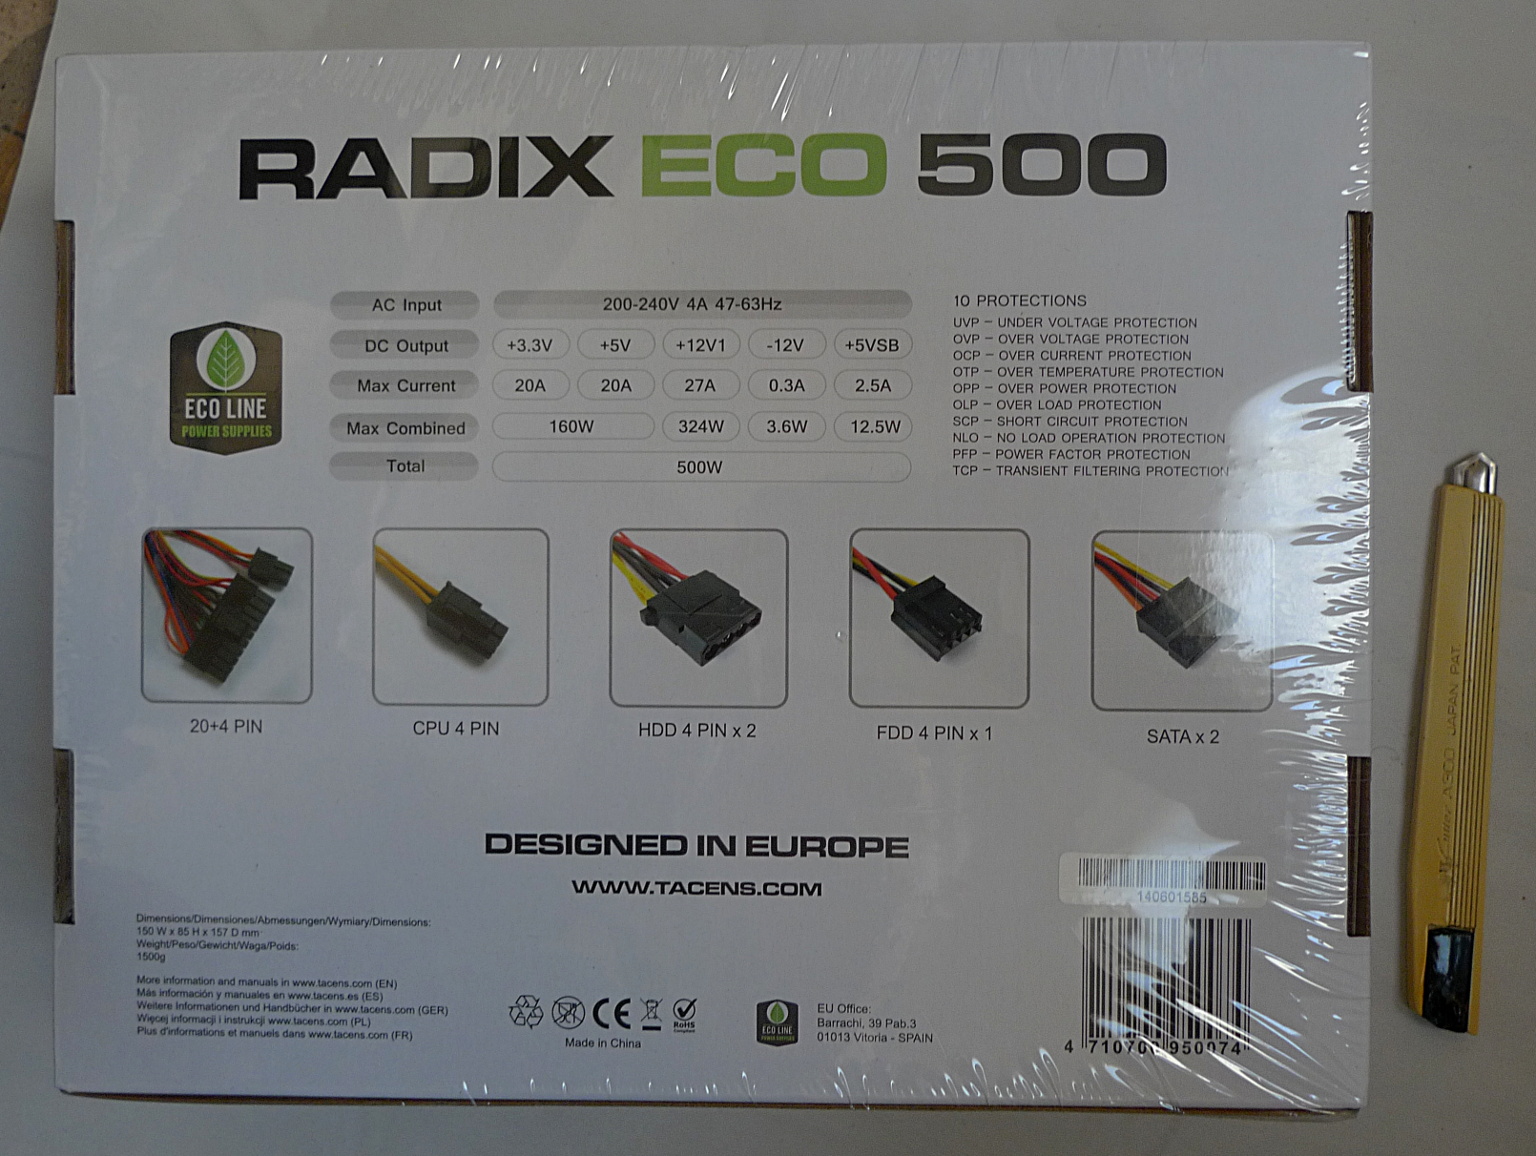
| 15:14, 20 October 2014 | ATX PSU box back 1.jpg (file) |  |
538 KB | The back of the box listing the technical specifications and features for this ATX PSU. | 1 |
| 13:51, 11 December 2014 | Y-axis carriage 12a.jpg (file) |  |
541 KB | We must guide the smooth rods into their corresponding slots manually as we tap them in for the last few millimeters. | 1 |
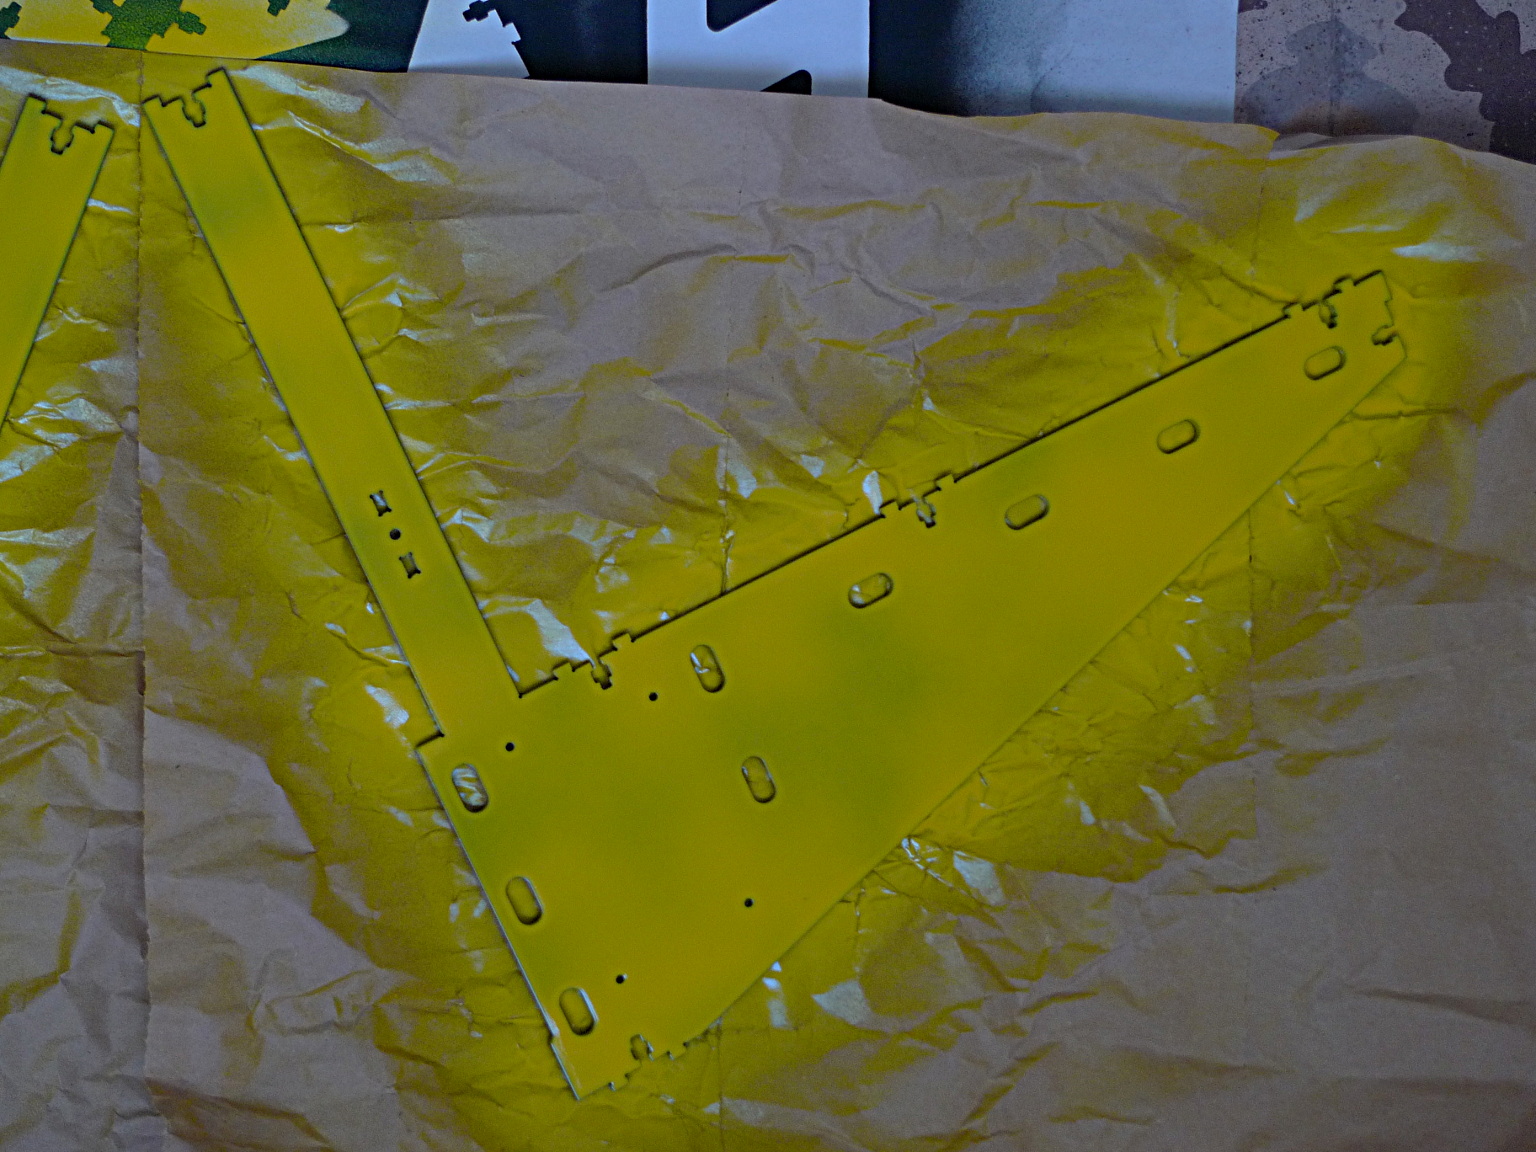
| 07:43, 13 October 2014 | P3Steel-painting6a.jpg (file) |  |
548 KB | Yellow requires two coats, as the first coat by itself does not result in uniform coverage. | 1 |
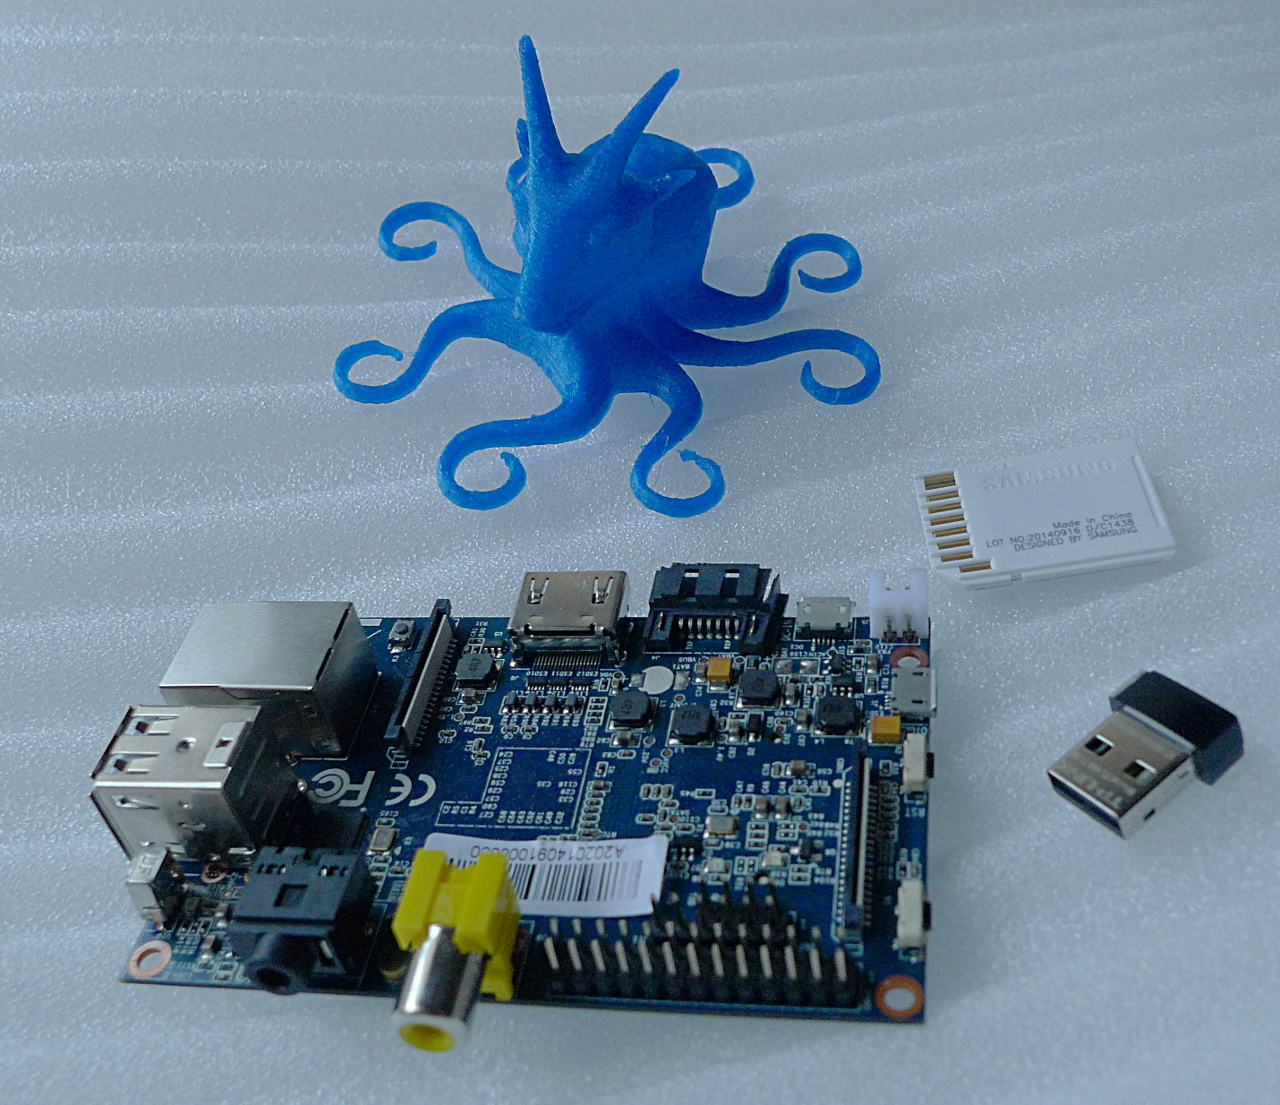
| 10:41, 7 January 2015 | Octogoatbox hardware Banana Pi 1a.jpg (file) |  |
548 KB | Banana Pi, WiFi dongle, SD card and Octogoat. | 1 |
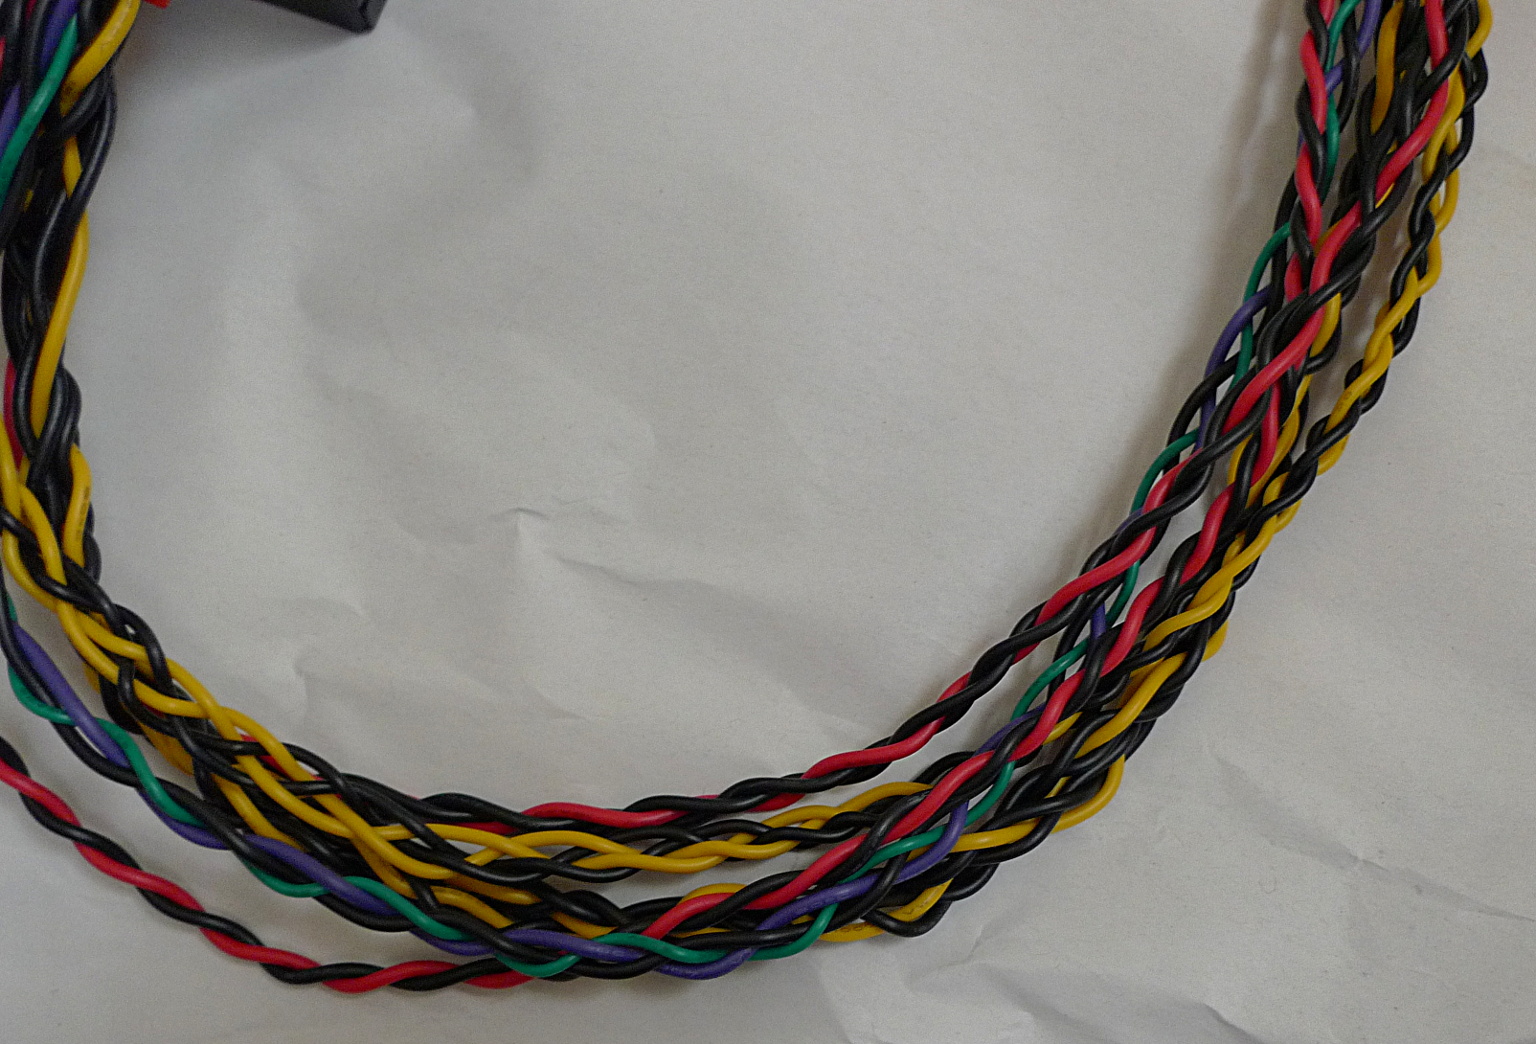
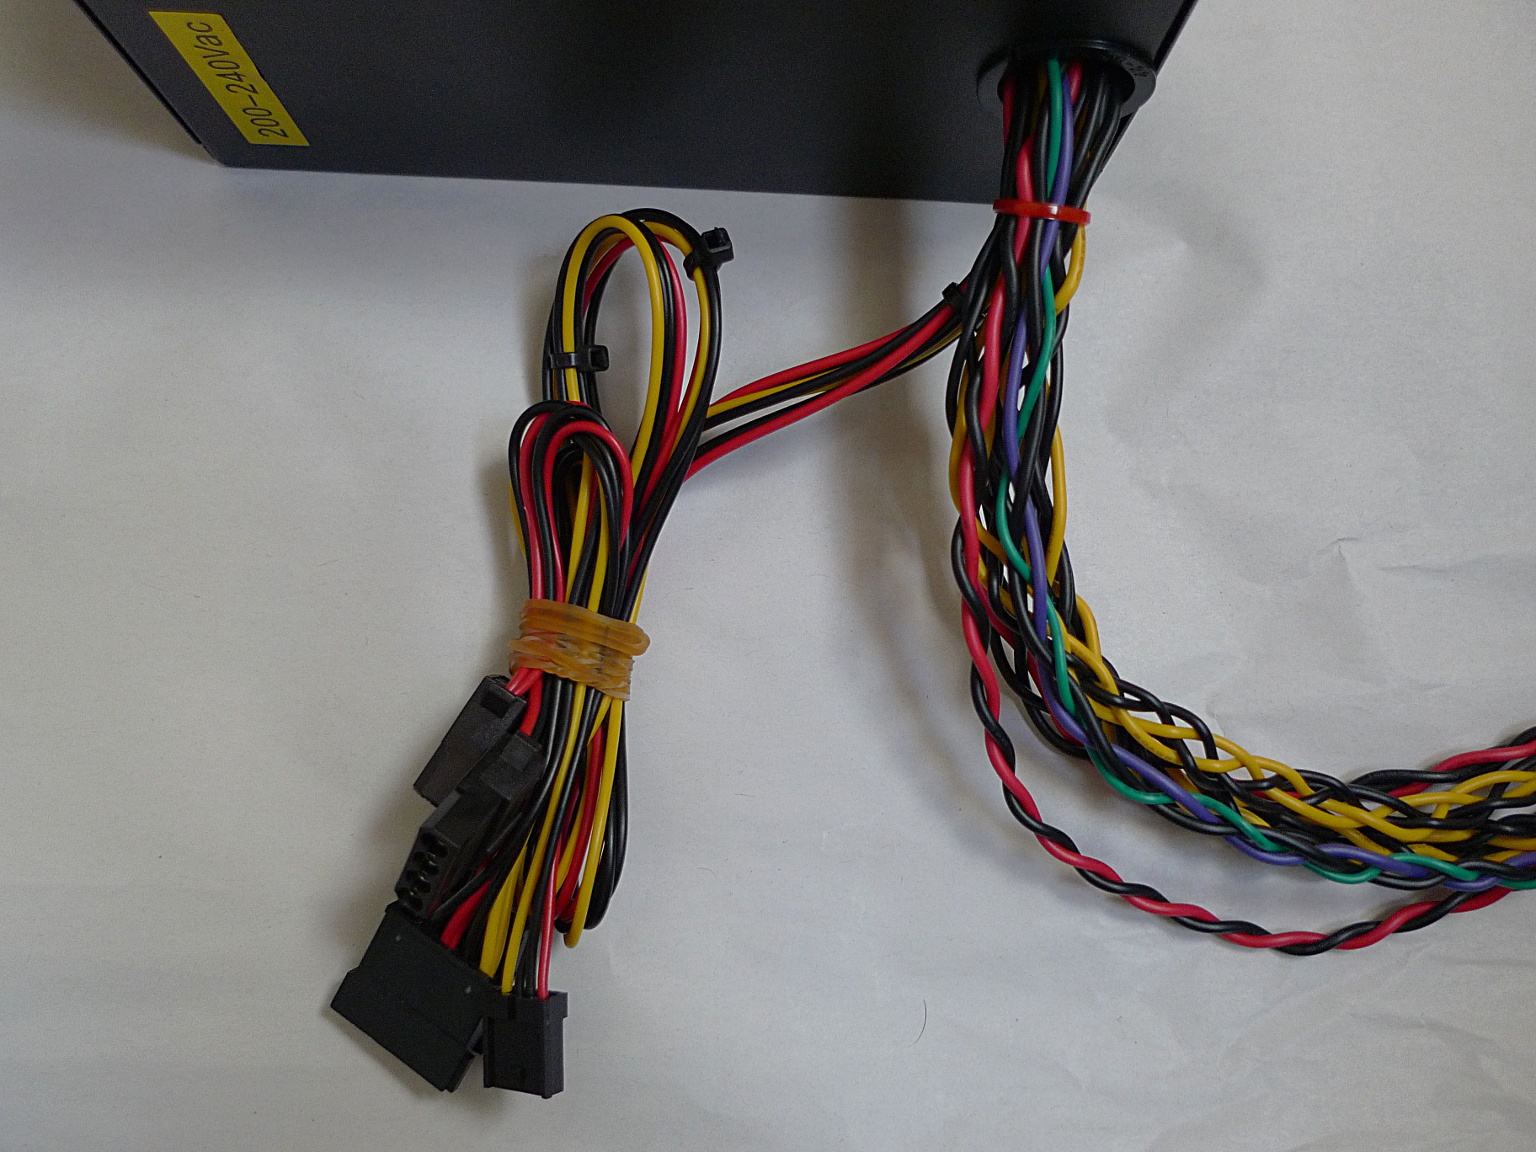
| 20:59, 21 October 2014 | ATX PSU braids 3.jpg (file) |  |
550 KB | Braided cables: no tangles of loose wires! | 1 |
| 08:34, 11 December 2014 | Y-axis carriage 11a.jpg (file) |  |
553 KB | We can slide the Y-carriage back in place once the smooth rods have been pushed in far enough. | 1 |
| 10:42, 2 December 2014 | ATX cable extension 24 fem to male 1a.jpg (file) |  |
557 KB | ATX PSU 24 pin motherboard cable extension required to connect to our 3D printer without modifying the ATX PSU. | 1 |
| 21:29, 23 October 2014 | ATX PSU innards 4.jpg (file) |  |
559 KB | More cable to cut or keep! | 1 |
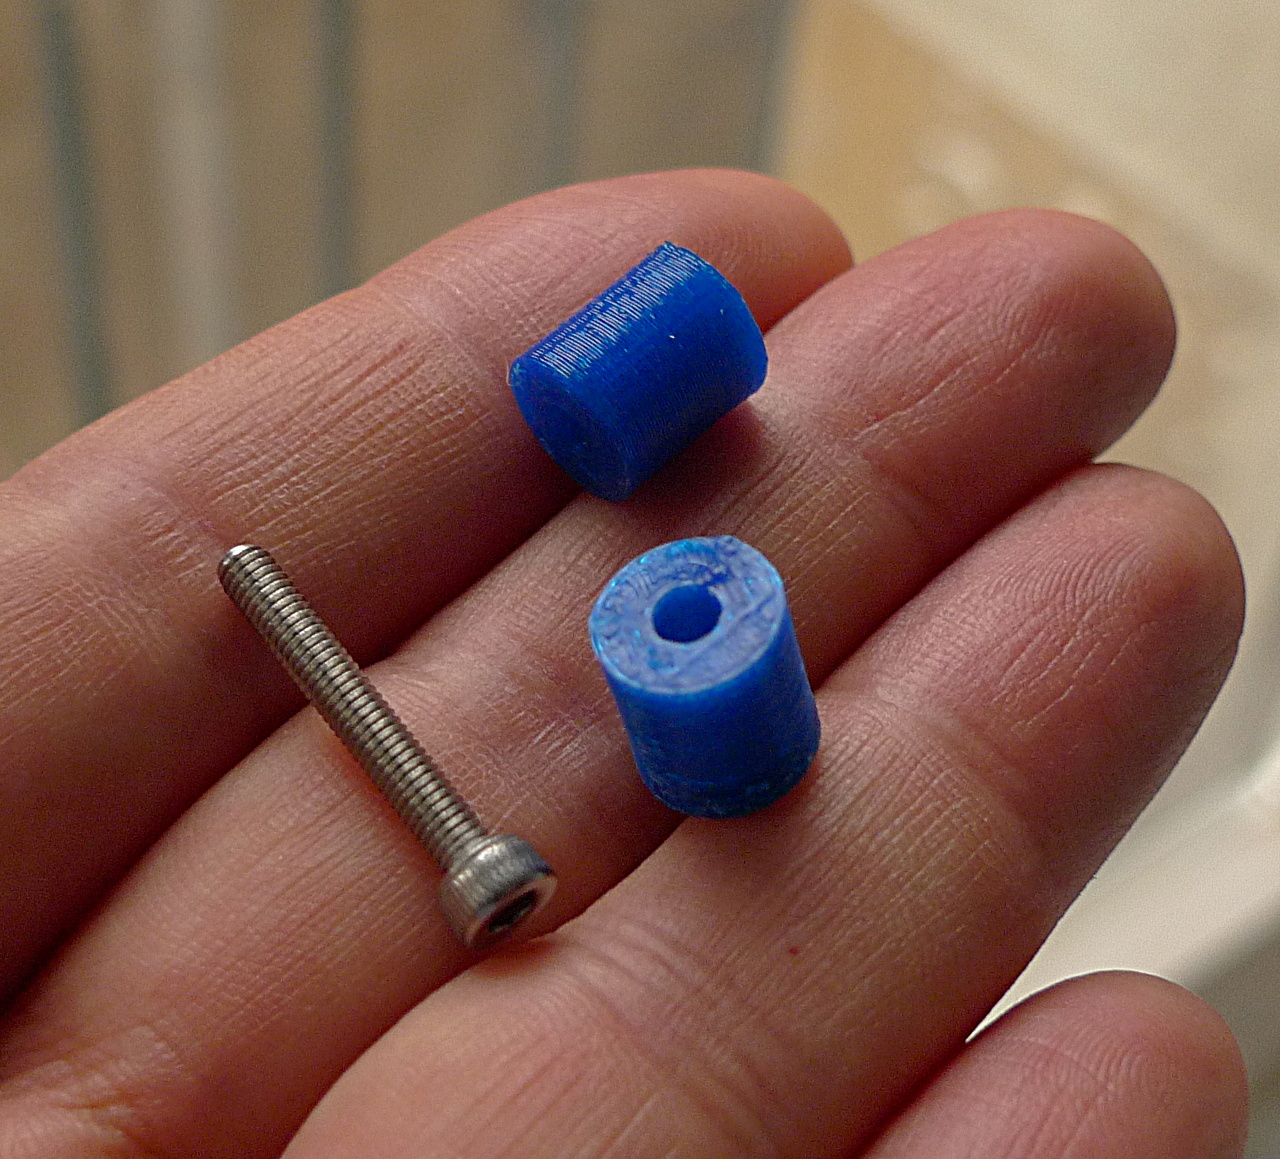
| 01:55, 11 December 2014 | P3Steel Y Motor End Spacer 1a.jpg (file) | 564 KB | These spacers have been printed in PLA. | 1 | |
| 14:30, 20 October 2014 | ATX PSU in the box 1.jpg (file) |  |
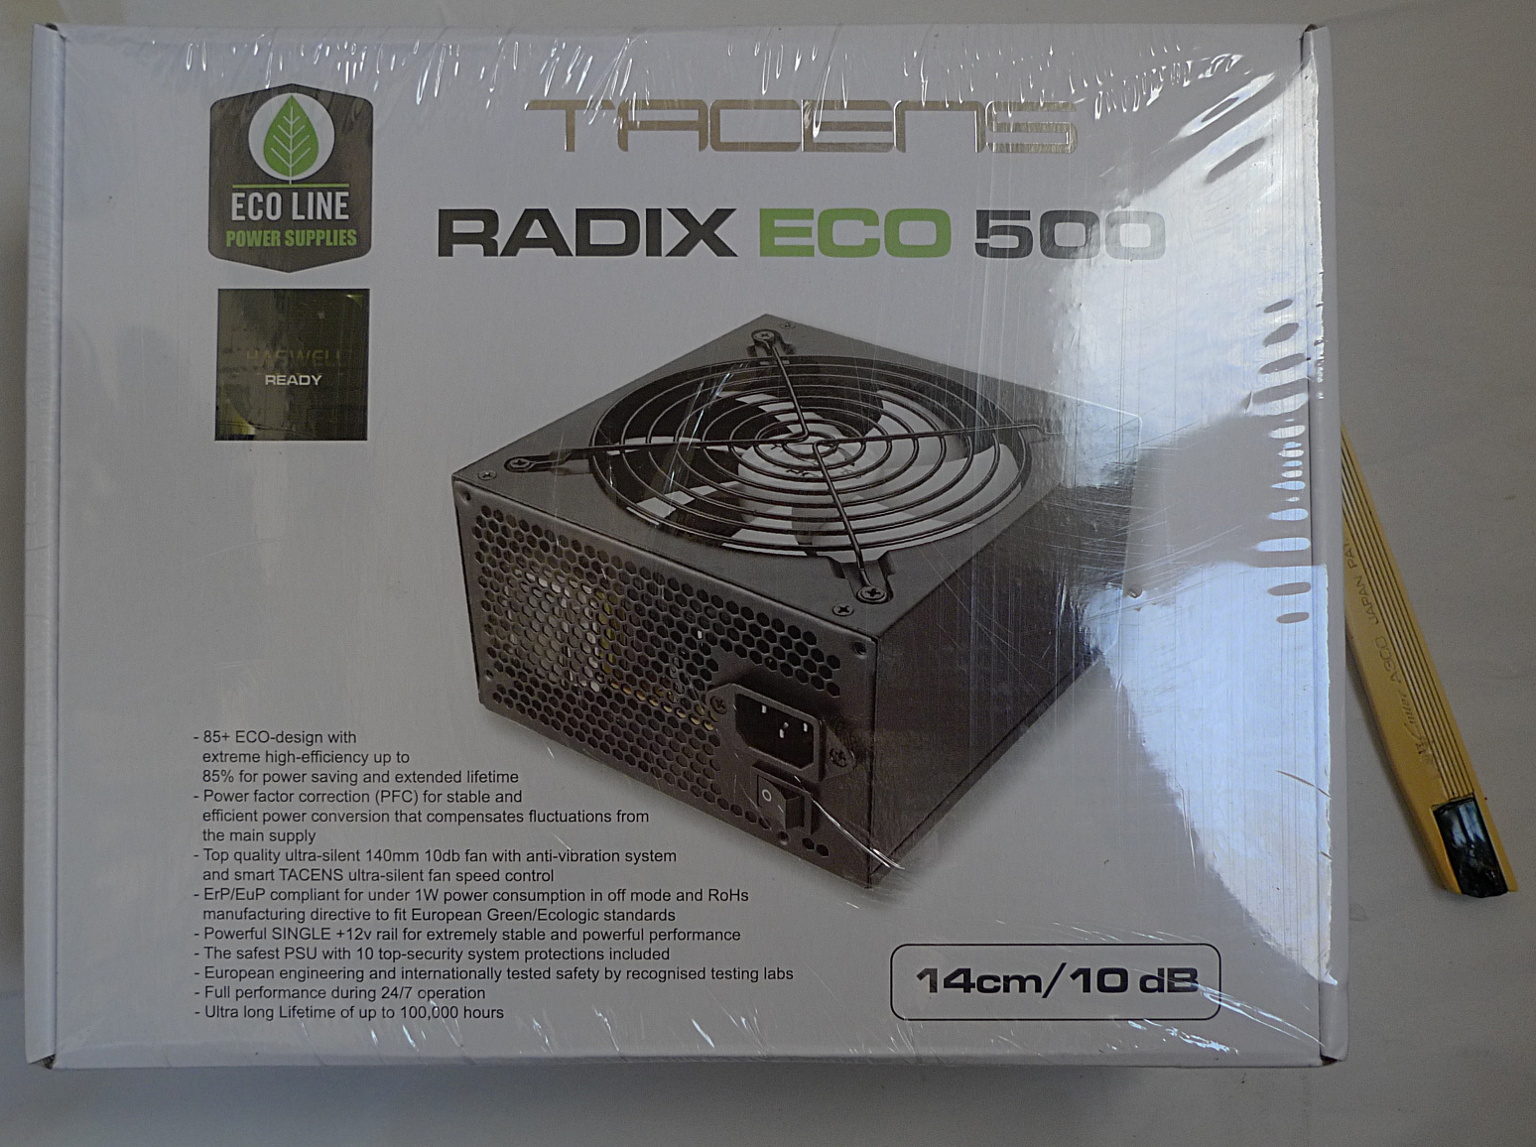
565 KB | An ATX PSU for my RepRap project, in its box, still with the shrink wrap. | 1 |
| 18:48, 21 November 2014 | Y-axis motor end 2a.JPG (file) |  |
577 KB | This nut interferes with the stepper. | 1 |
| 04:29, 25 October 2014 | ATX PSU meter 1.jpg (file) |  |
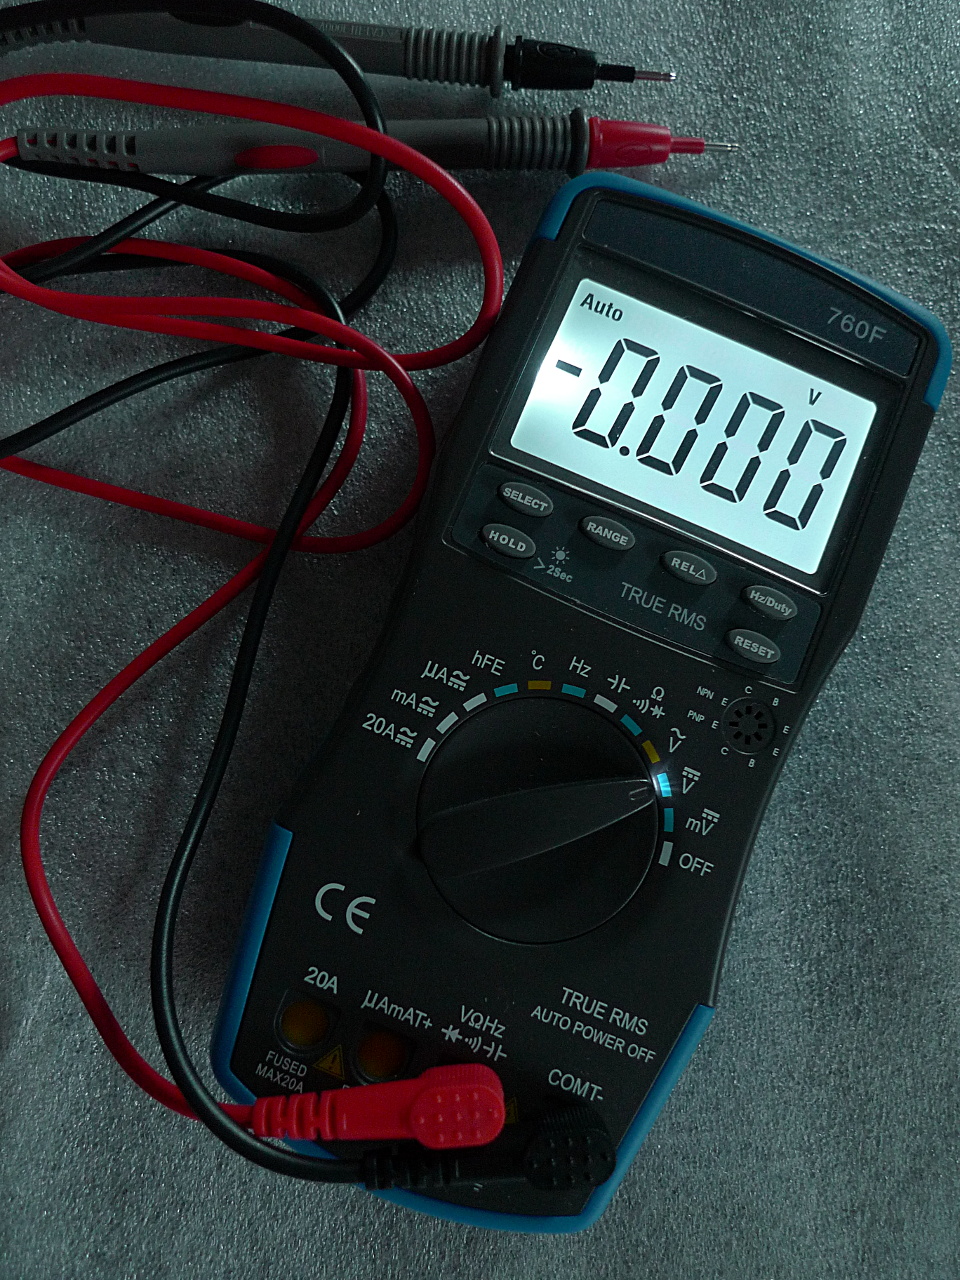
580 KB | Autorange digital multimeter with 20A DC measuring capability. | 1 |
| 16:05, 11 December 2014 | Y-axis carriage 3a.jpg (file) |  |
581 KB | Y-axis carriage assembled, top view. | 1 |
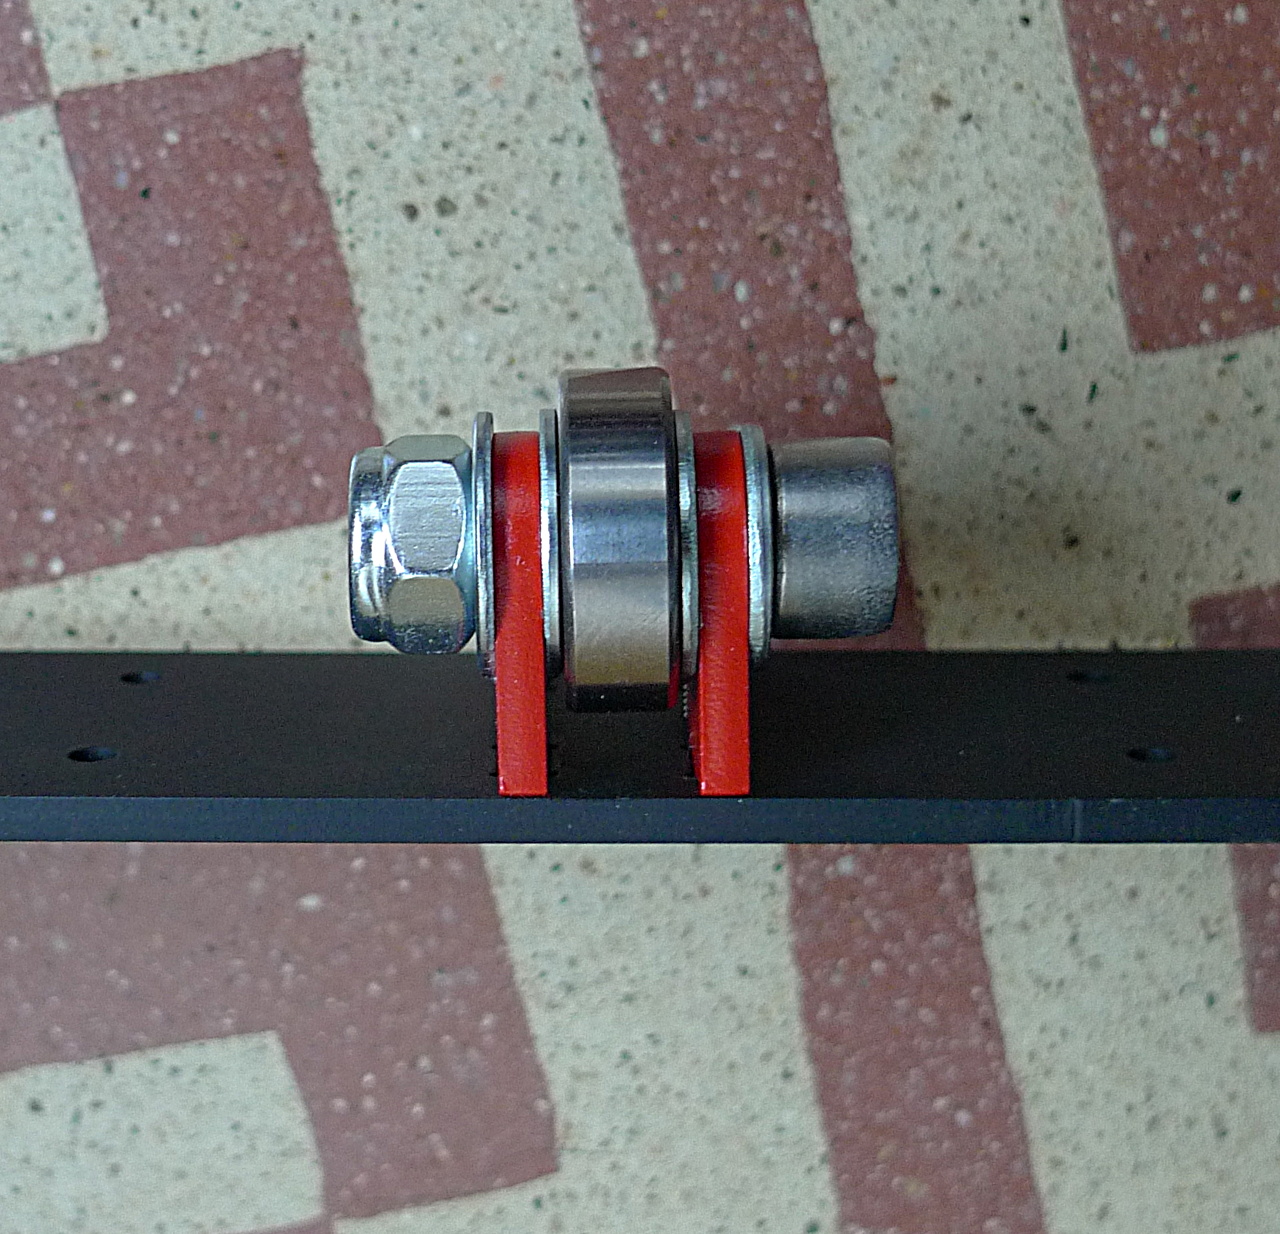
| 03:47, 8 December 2014 | Y-axis idler end 1a.JPG (file) |  |
582 KB | The P3Steel Y-axis idler assembly. | 1 |
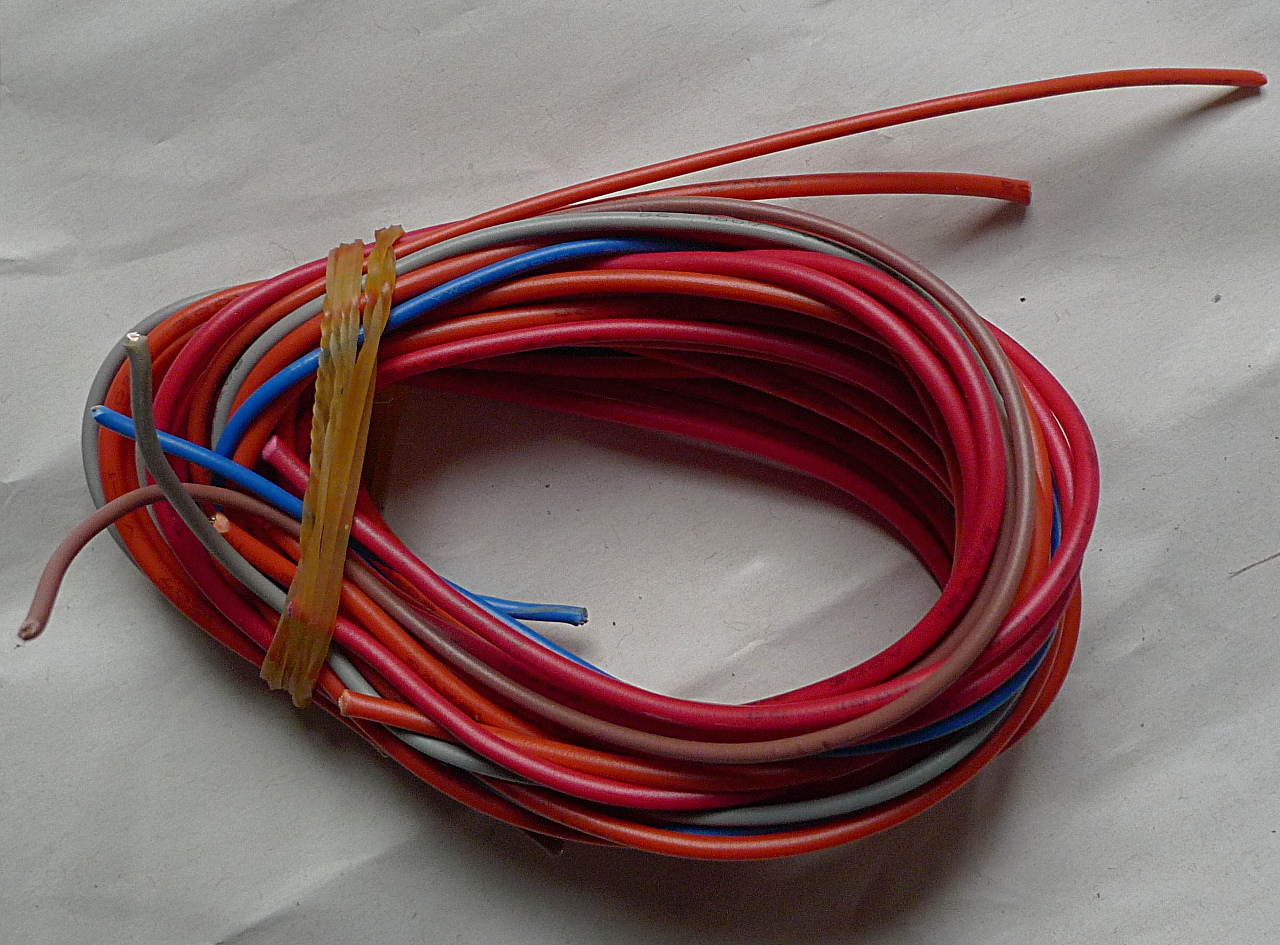
| 17:02, 23 October 2014 | ATX PSU cutting 3.jpg (file) |  |
588 KB | We keep the cabling we cut out for later. | 1 |
| 20:58, 21 October 2014 | ATX PSU braids 1.jpg (file) |  |
594 KB | Braided cables of an ATX PSU. | 1 |
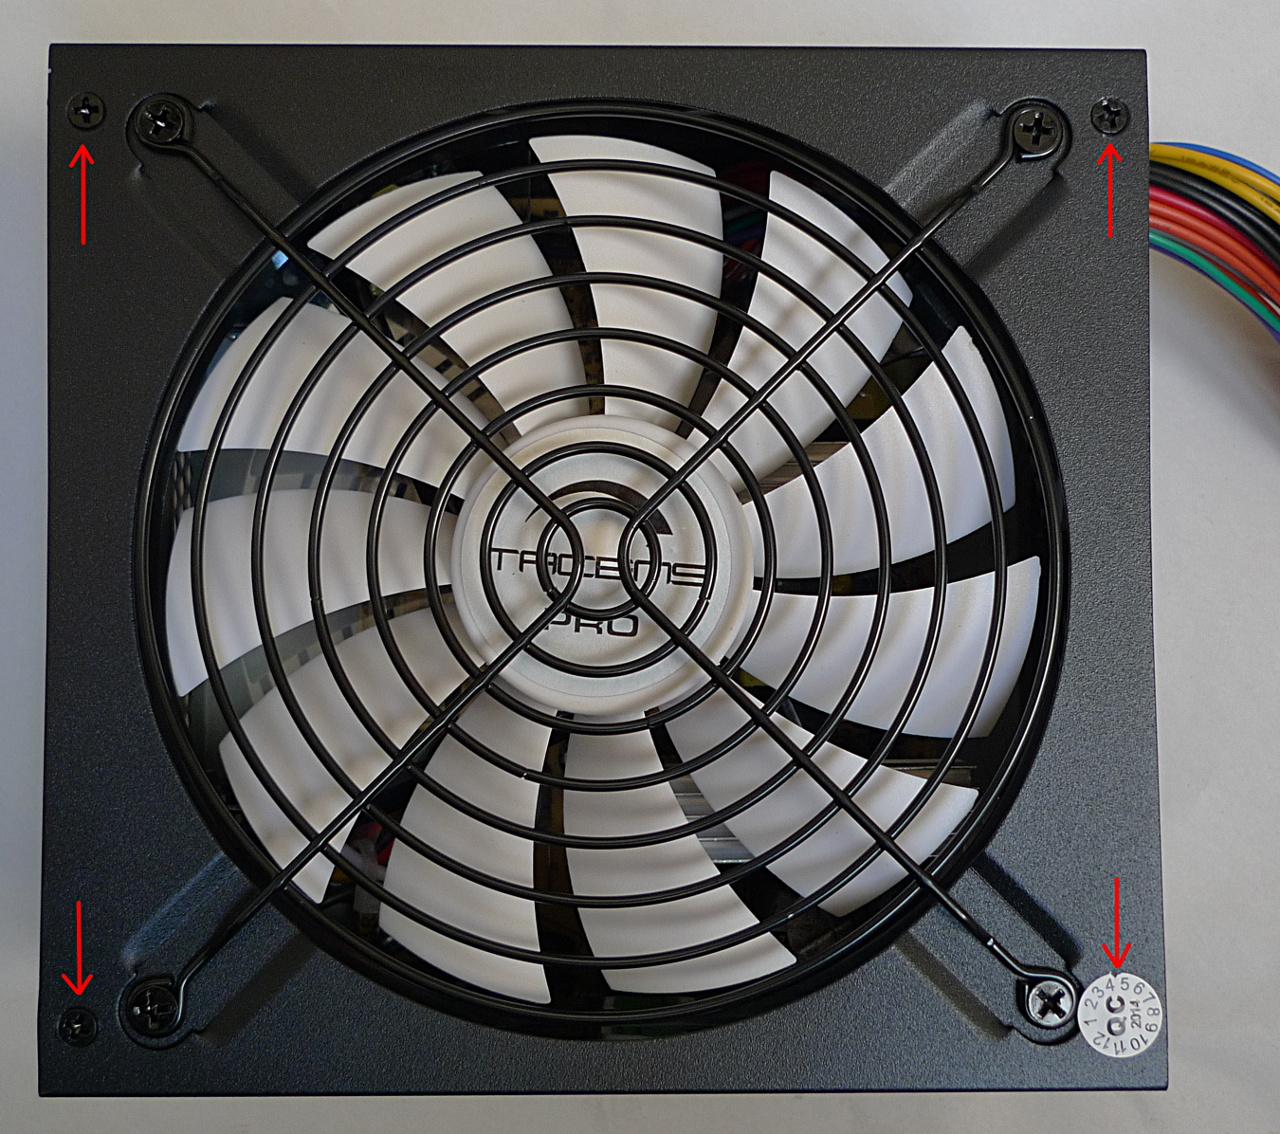
| 16:14, 22 October 2014 | ATX PSU screws 1.jpg (file) |  |
597 KB | The screws holding together the ATX PSU case. | 1 |
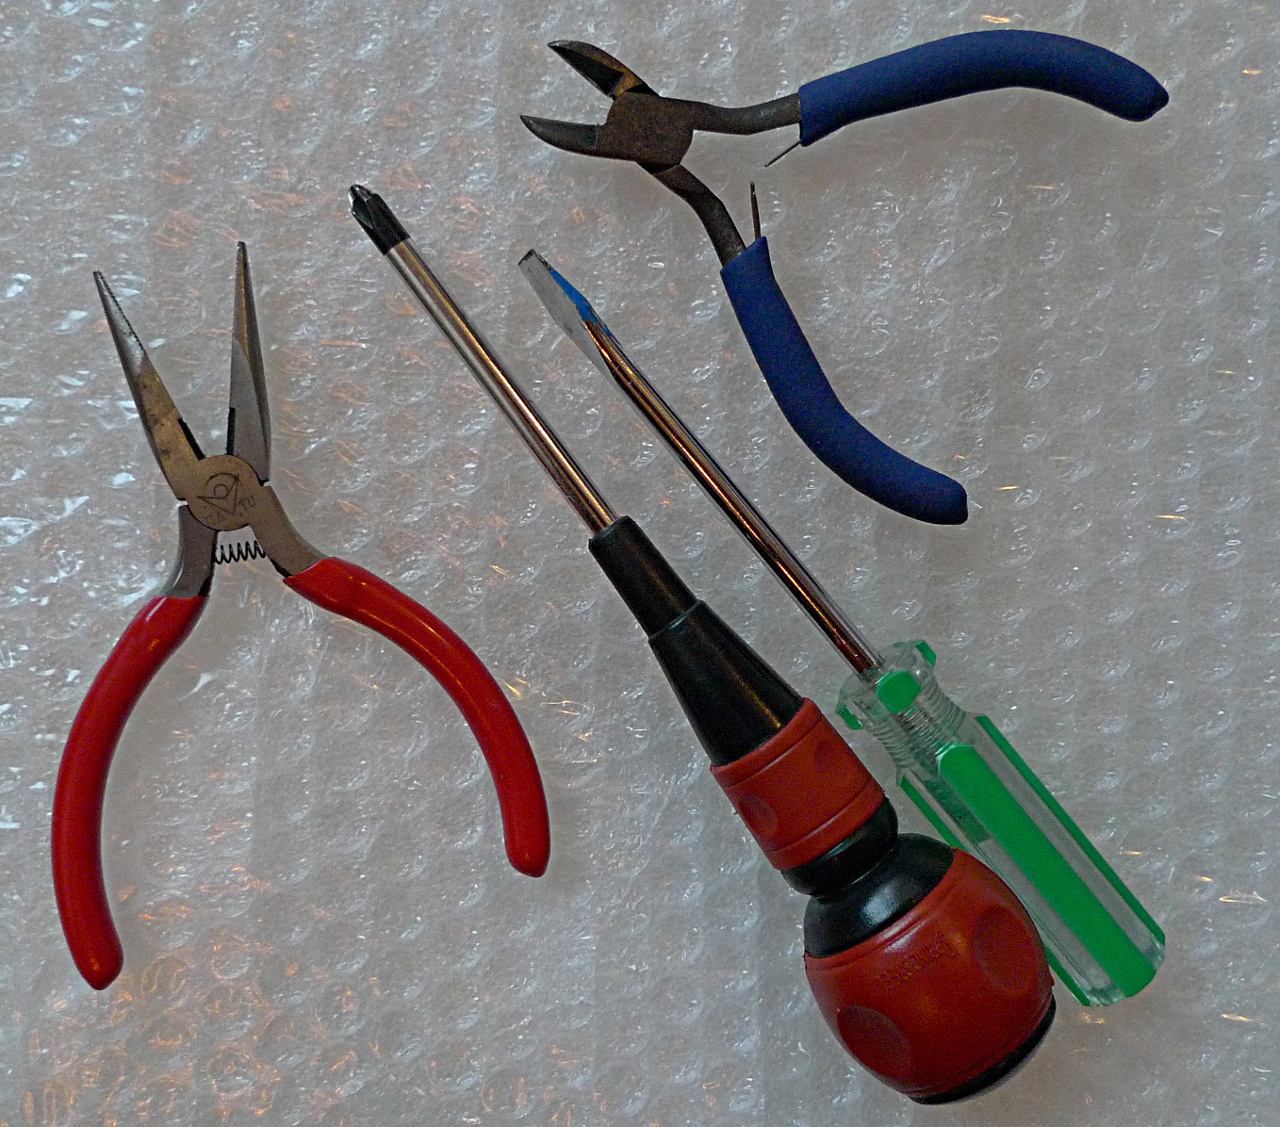
| 13:04, 23 October 2014 | ATX PSU tools 1.jpg (file) |  |
602 KB | Pliers and screwdrivers generally needed to modify ax ATX PSU. | 1 |
| 09:40, 22 December 2014 | Stepper drivers mixed a4988 drv8825 RAMPS 1a.jpg (file) |  |
612 KB | Mixing A4988 and DRV8825 stepper drivers on the same RAMPS 1.4? Yes, you can! | 1 |
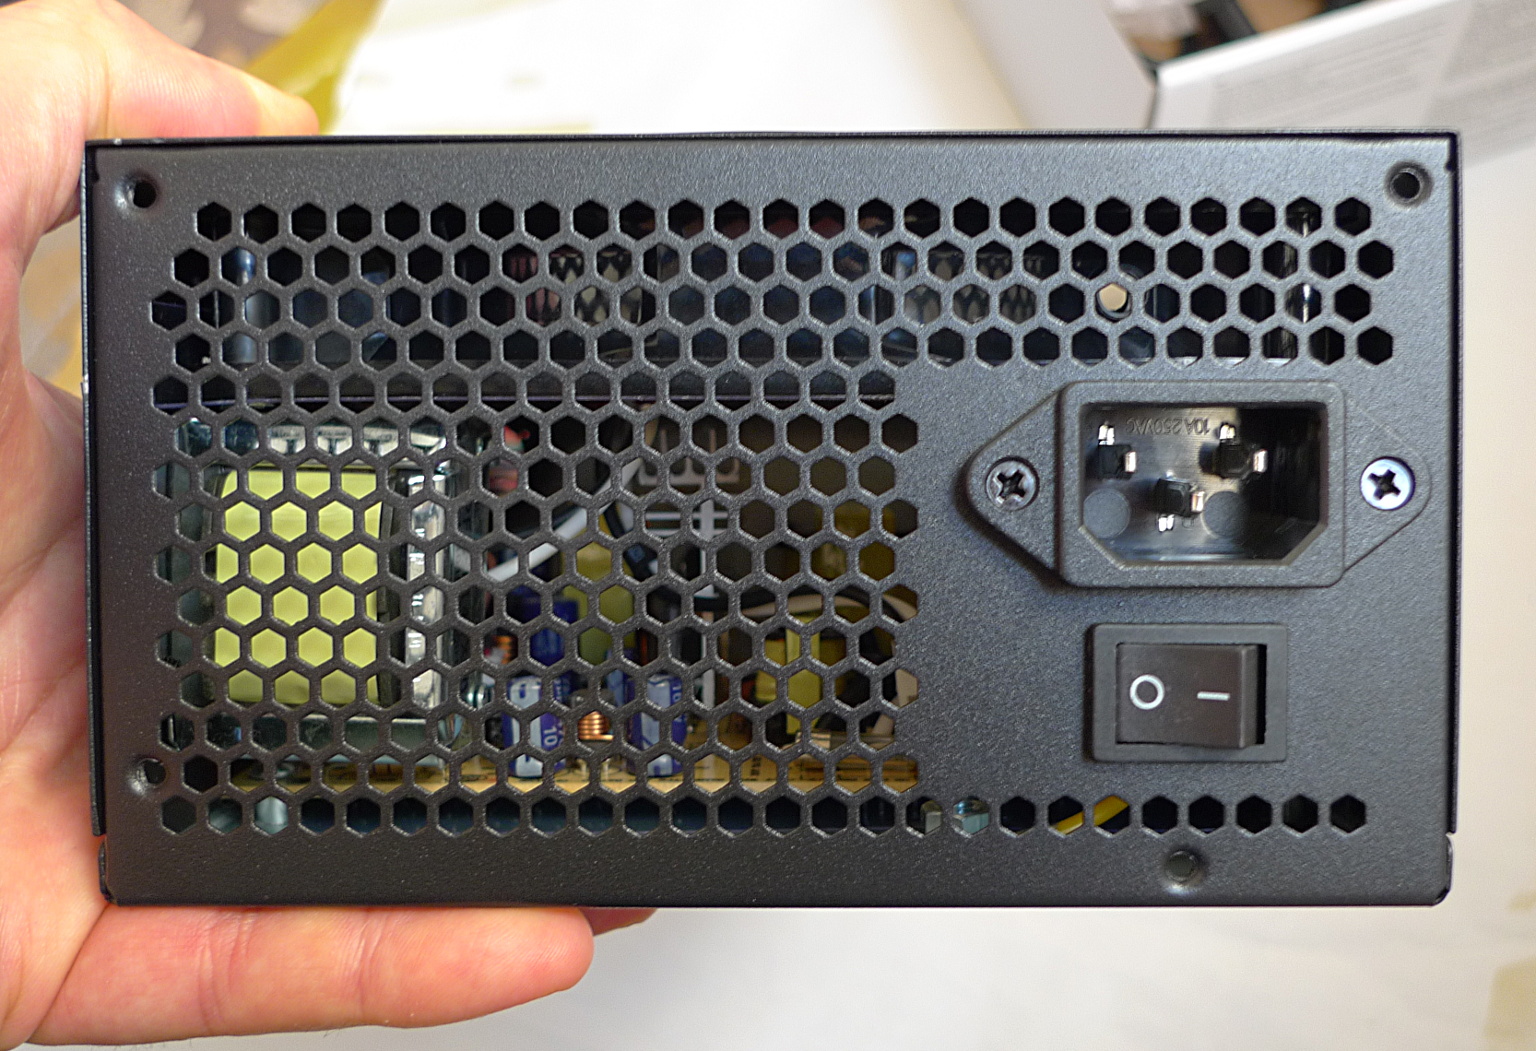
| 16:55, 20 October 2014 | ATX PSU switch 1.jpg (file) |  |
614 KB | The back of the ATX PSU with a proper O/Off switch. | 1 |
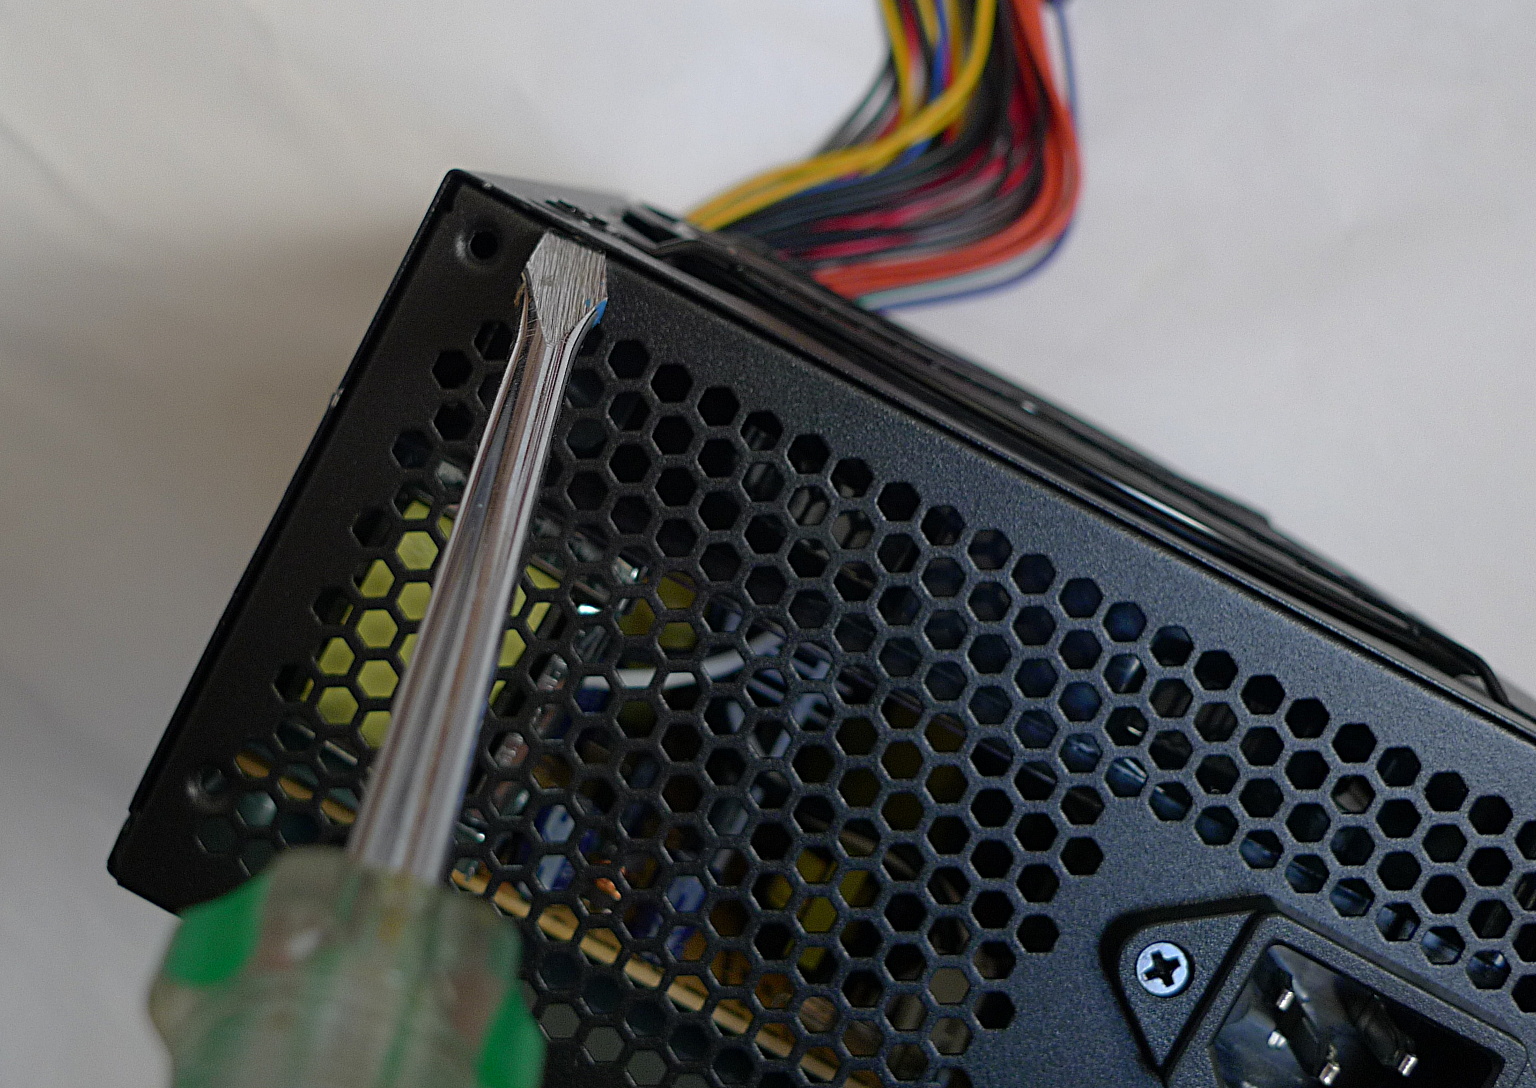
| 10:00, 23 October 2014 | ATX PSU pry open 1.jpg (file) |  |
618 KB | Gently push apart the two case halves with a flat screwdriver. | 1 |
| 22:14, 21 October 2014 | ATX PSU test 1.jpg (file) |  |
620 KB | No load test of an ATX PSU. | 1 |