File list
This special page shows all uploaded files.
| Date | Name | Thumbnail | Size | Description | Versions |
|---|---|---|---|---|---|
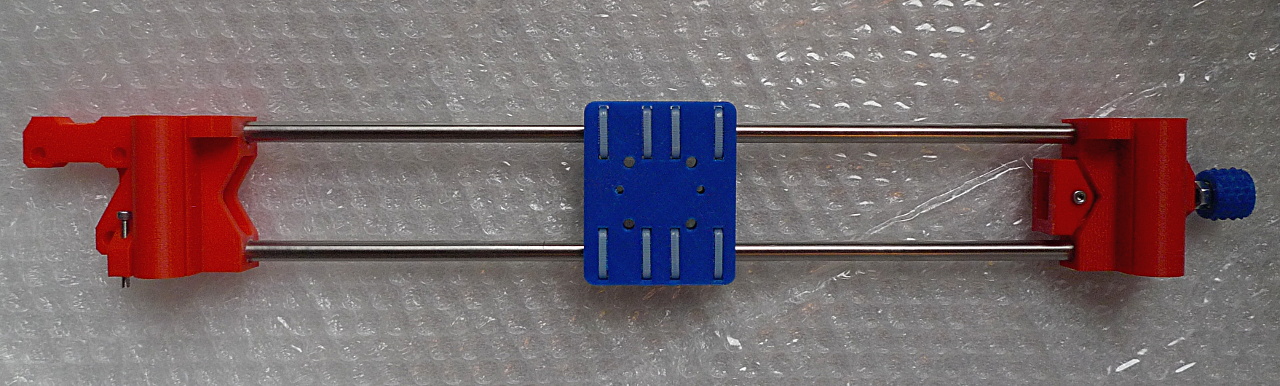
| 19:03, 13 December 2014 | P3Steel x-axis 1a.jpg (file) |  |
244 KB | The P3Steel X-axis assembly with a specific combination of Vitamins (the printed parts). | 1 |
| 08:16, 13 December 2014 | Y-axis belt holder 5a.JPG (file) |  |
396 KB | The GT2 belt and holder properly installed under the heatbed and Y-carriage. | 1 |
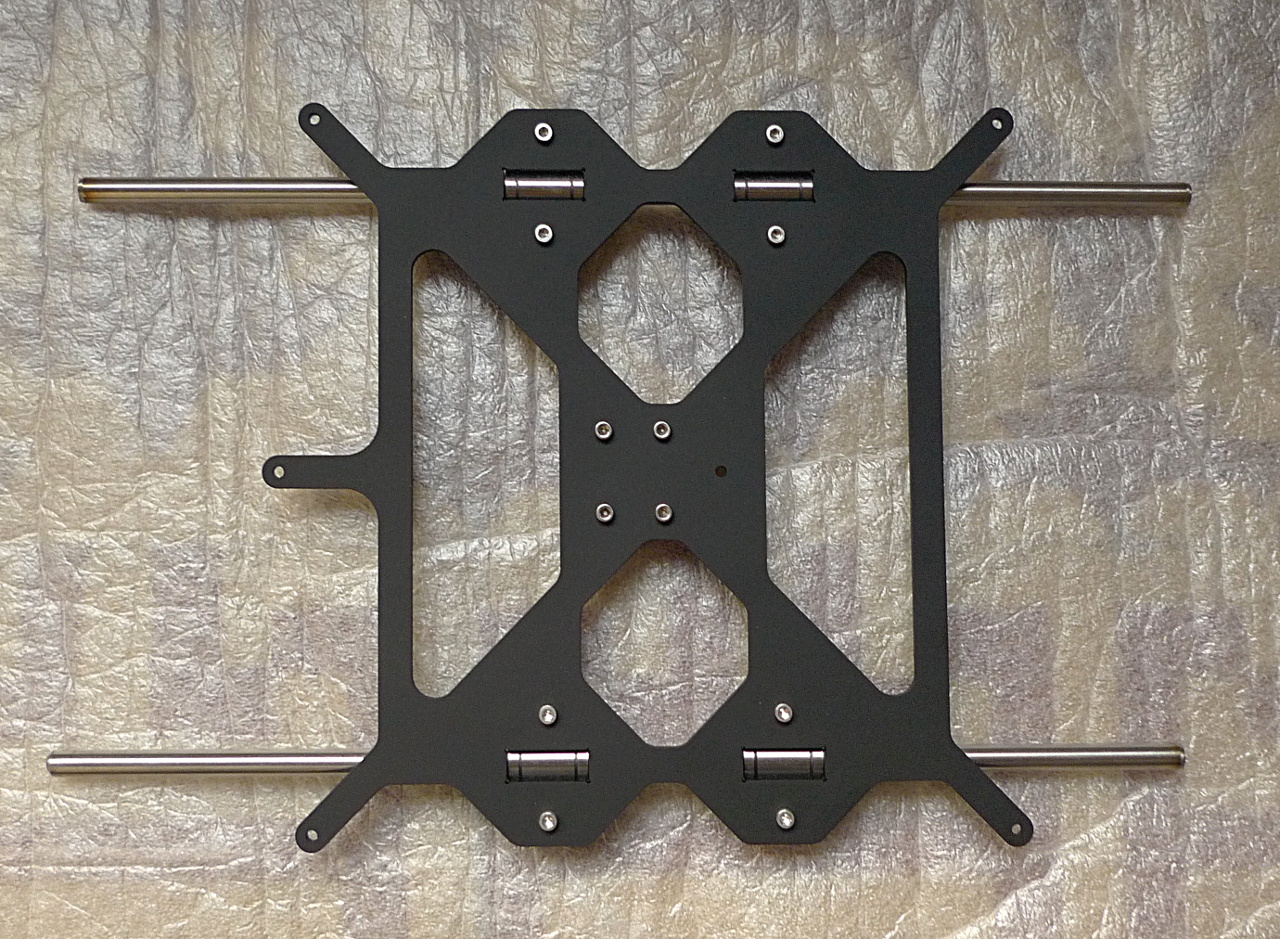
| 16:05, 11 December 2014 | Y-axis carriage 3a.jpg (file) |  |
581 KB | Y-axis carriage assembled, top view. | 1 |
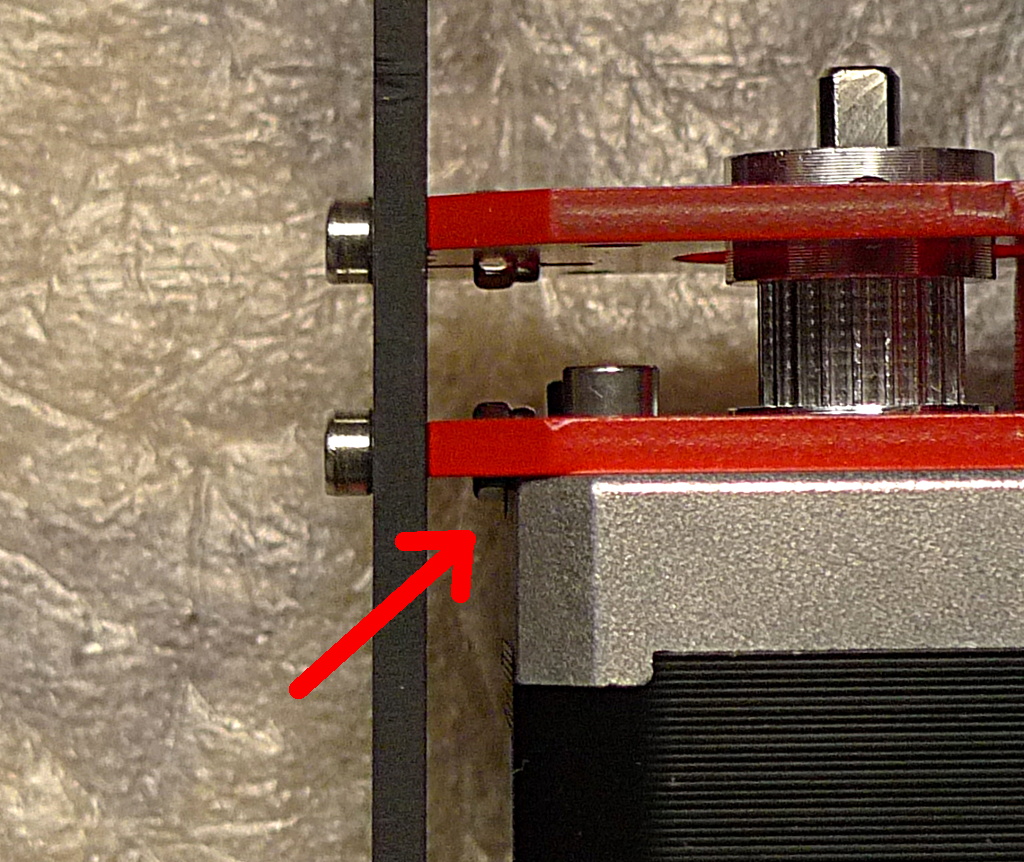
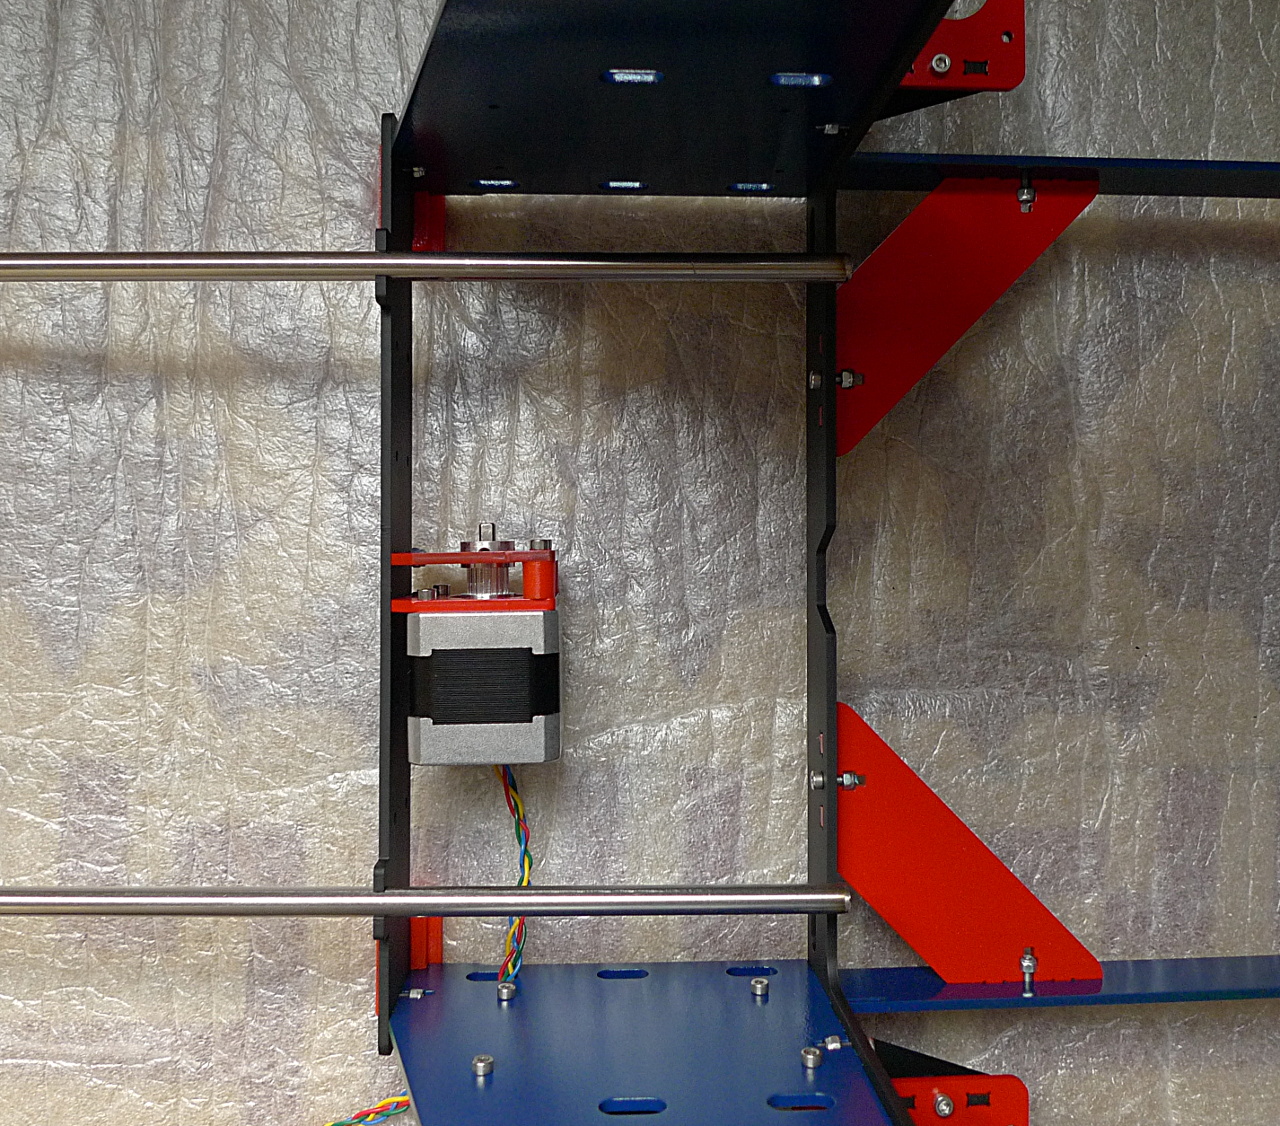
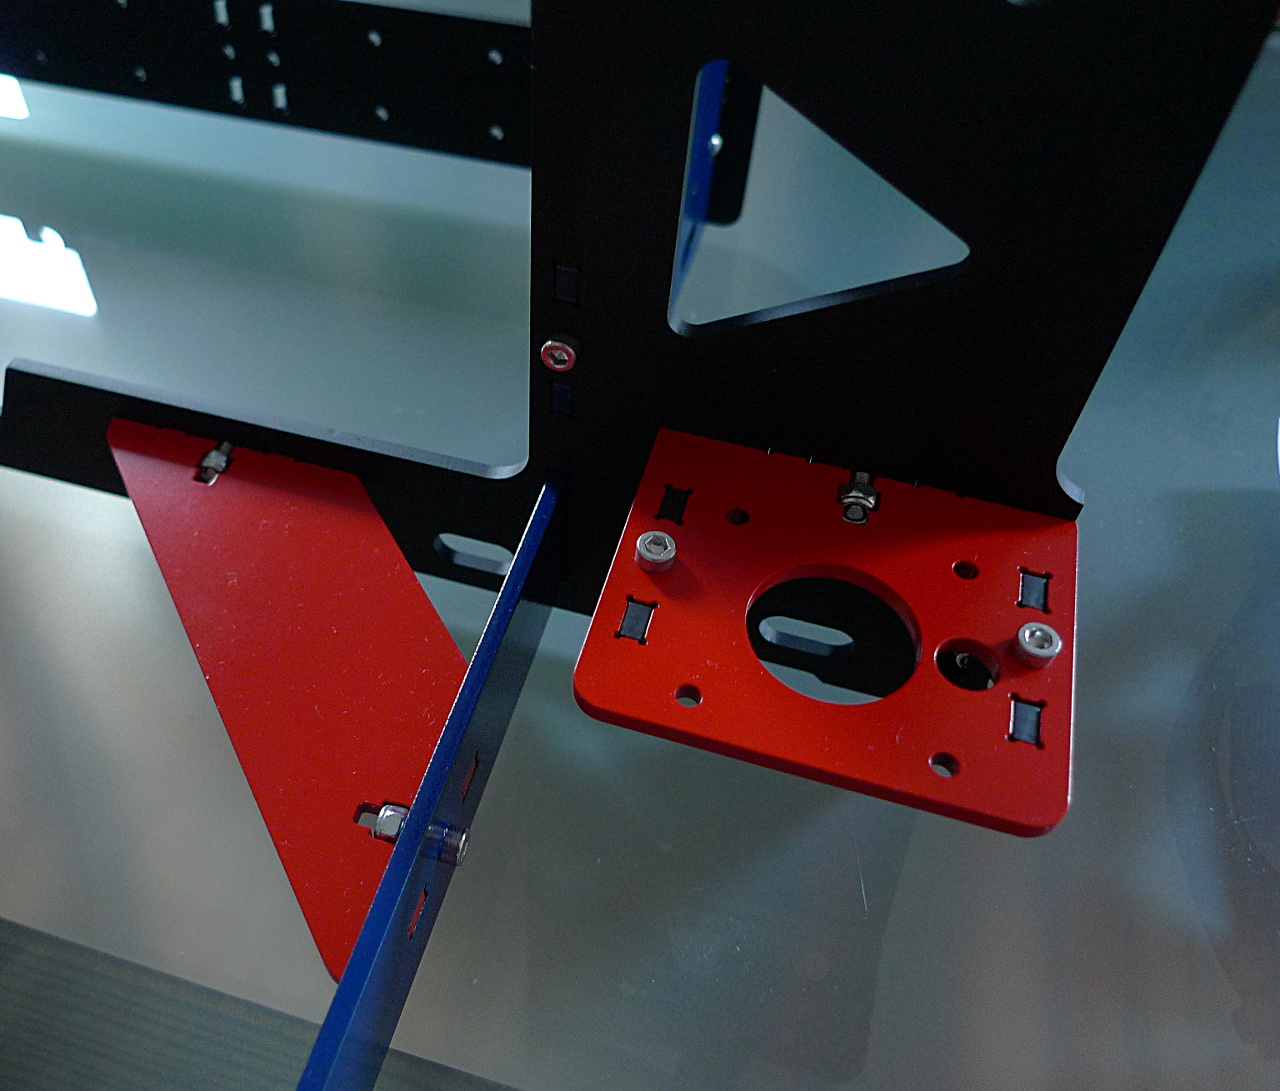
| 15:53, 11 December 2014 | Y-axis motor end 8a.JPG (file) |  |
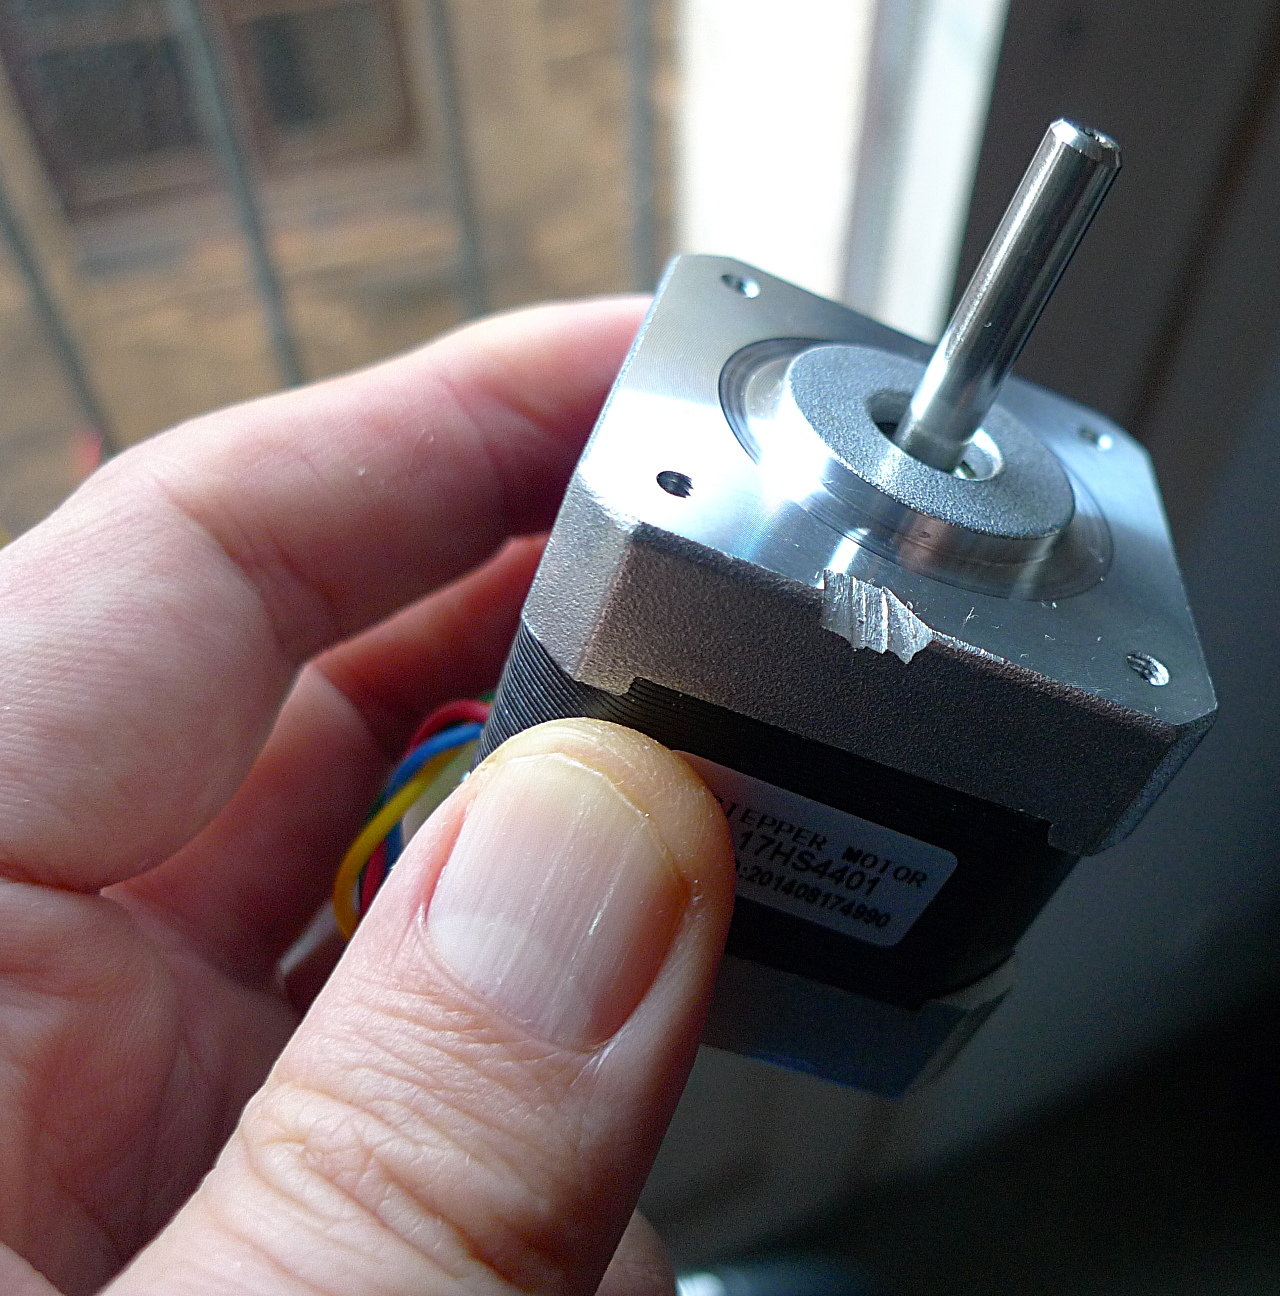
374 KB | If you look carefully at where the arrow is pointing you can see the interference between the stepper and the nyloc nut, and where the stepper body has been filed away slightly. | 1 |
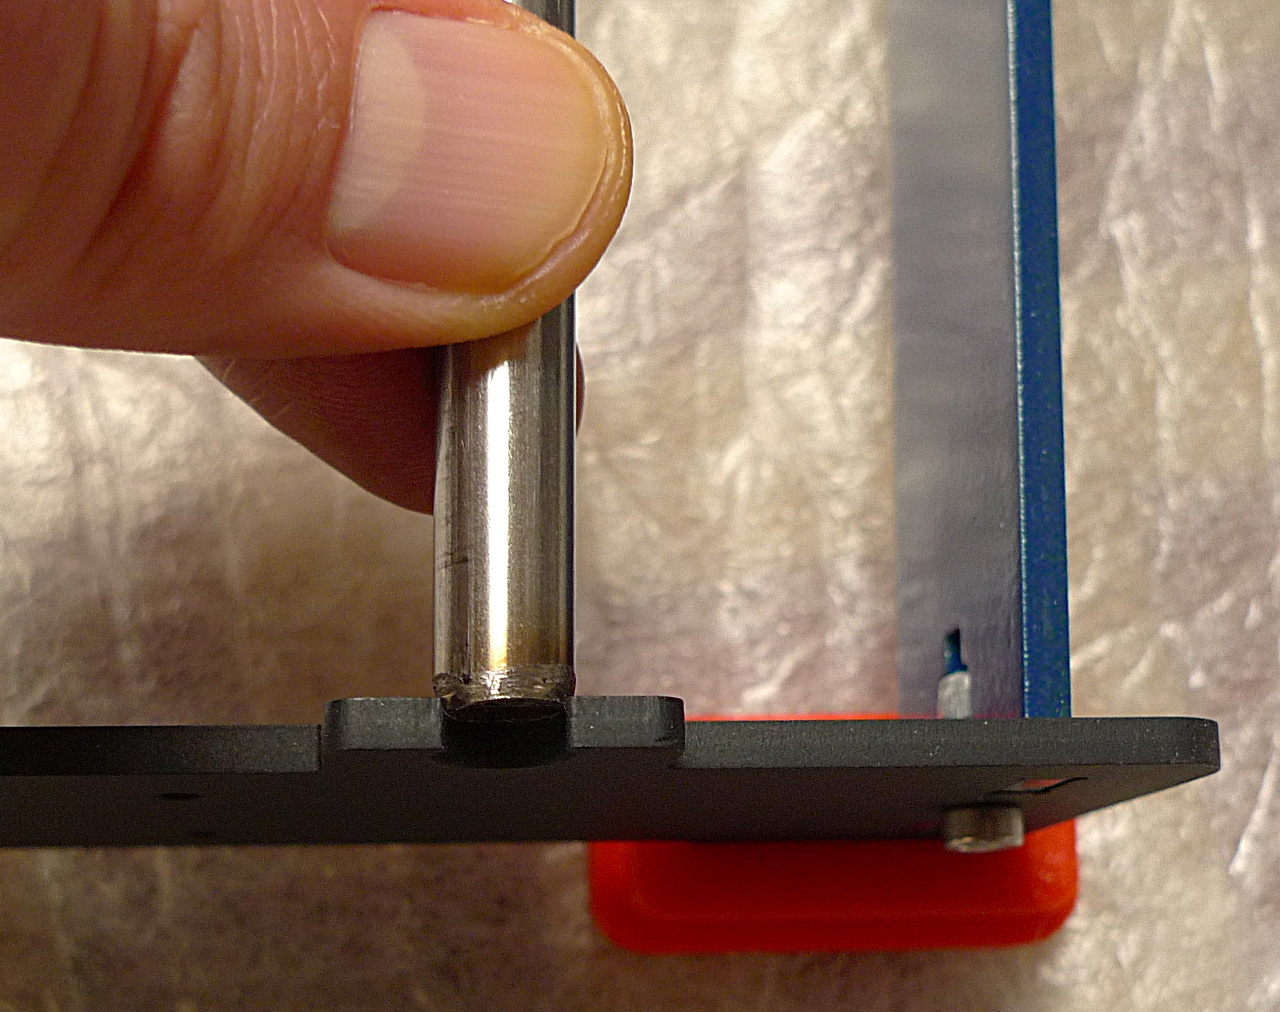
| 14:52, 11 December 2014 | Y-axis carriage 13b.jpg (file) |  |
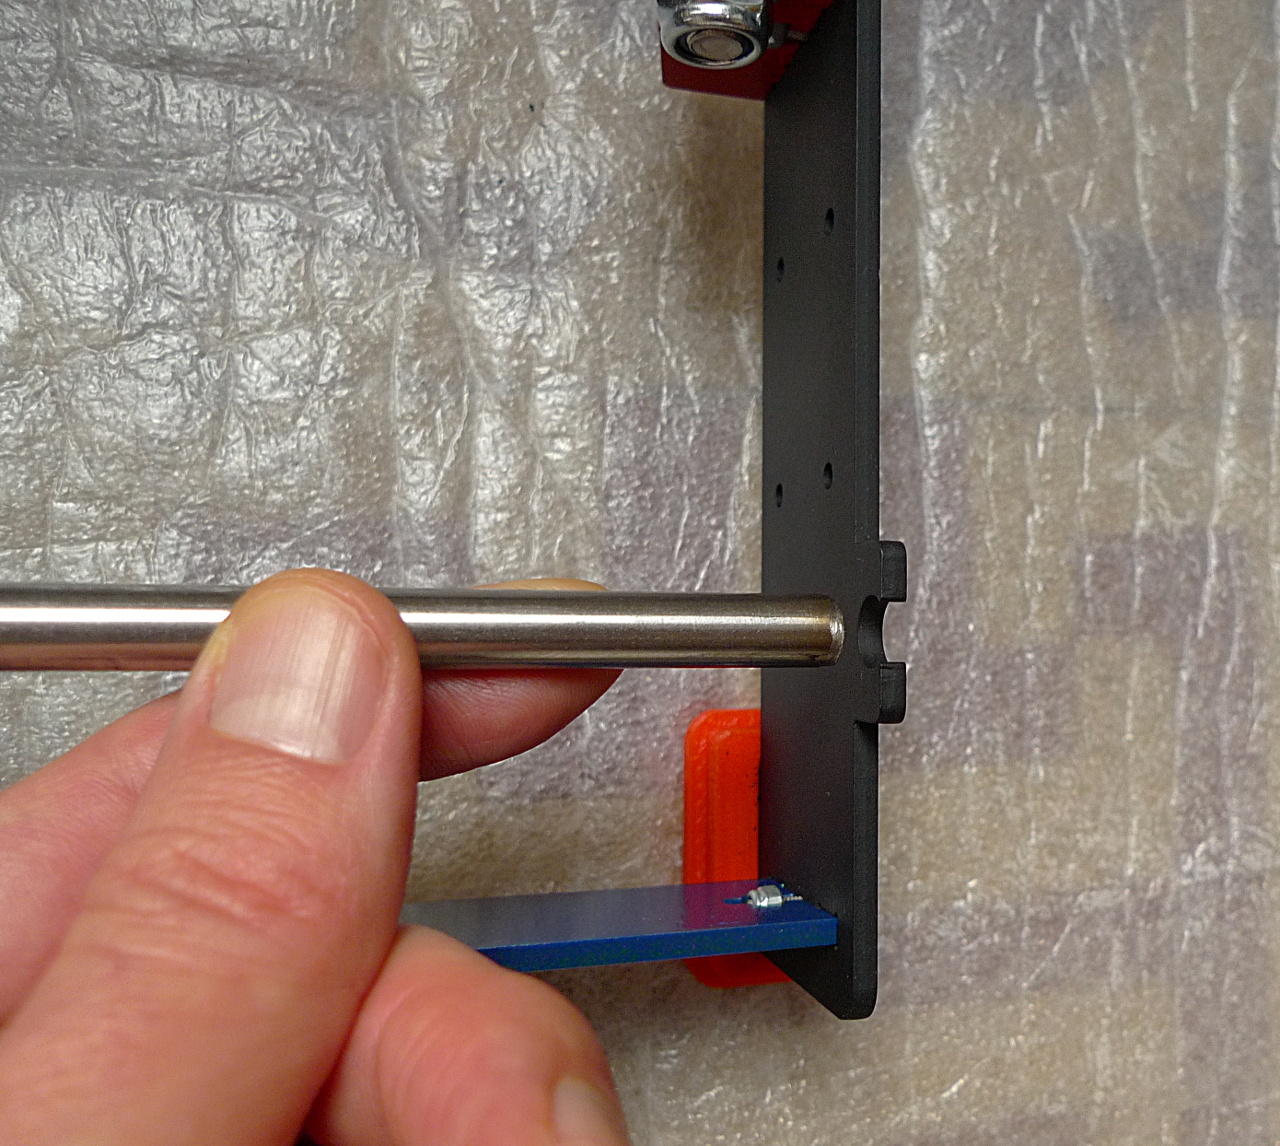
472 KB | Guiding the smooth rod into the frame support, detail. | 1 |
| 14:43, 11 December 2014 | Y-axis carriage 16a.jpg (file) |  |
398 KB | Done tapping here too (front right). | 1 |
| 14:33, 11 December 2014 | Y-axis carriage 15a.jpg (file) |  |
372 KB | Back left rod seems OK. We are definitely done tapping here! | 1 |
| 14:25, 11 December 2014 | Y-axis carriage 14a.jpg (file) |  |
424 KB | We are done here (front left)! | 1 |
| 14:19, 11 December 2014 | Y-axis carriage 13a.jpg (file) |  |
457 KB | Only 3mm left for this rod. M-u-s-t--t-a-p--m-o-r-e... | 1 |
| 13:51, 11 December 2014 | Y-axis carriage 12a.jpg (file) |  |
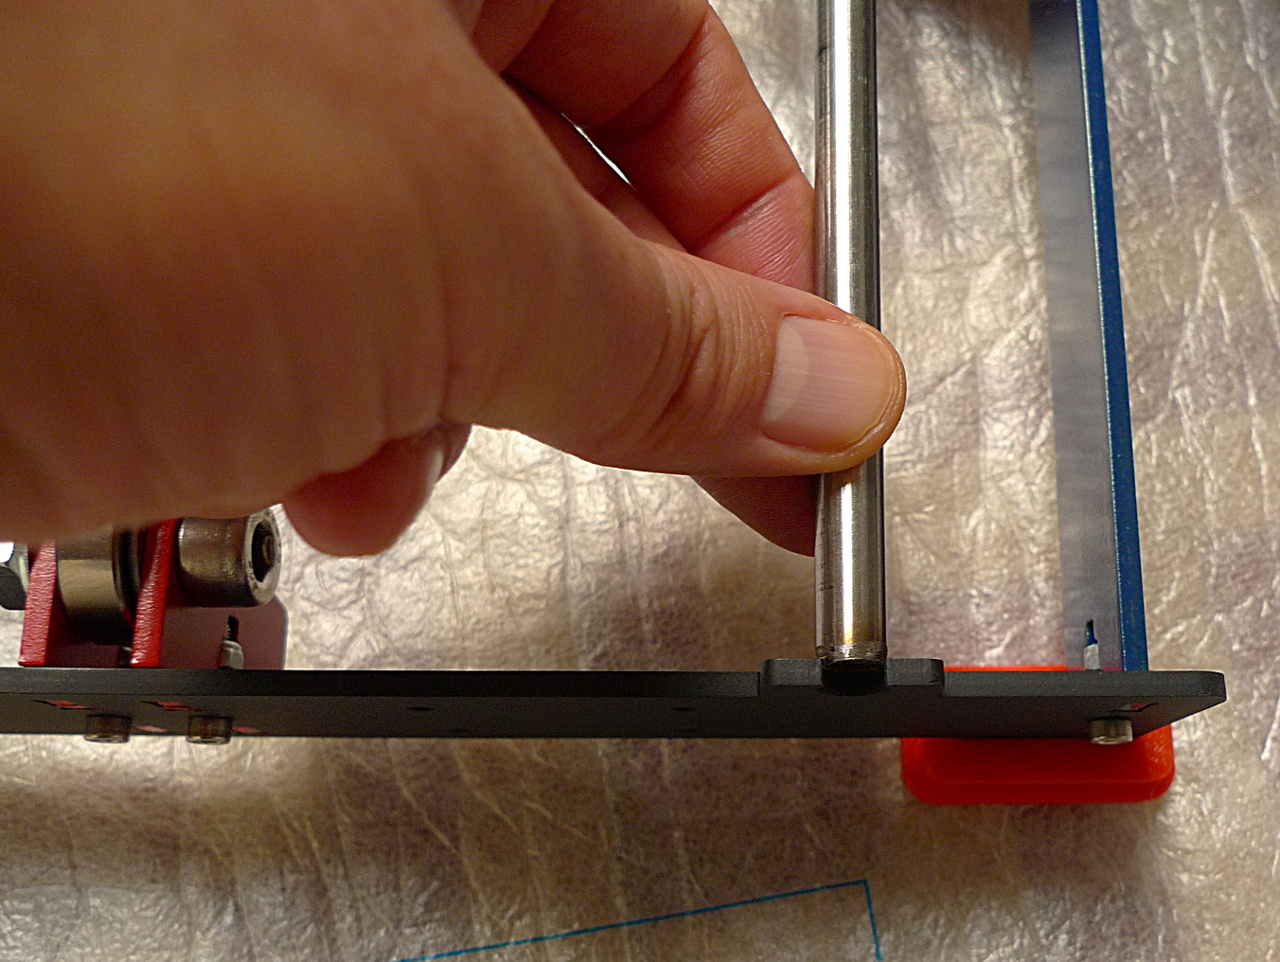
541 KB | We must guide the smooth rods into their corresponding slots manually as we tap them in for the last few millimeters. | 1 |
| 08:34, 11 December 2014 | Y-axis carriage 11a.jpg (file) |  |
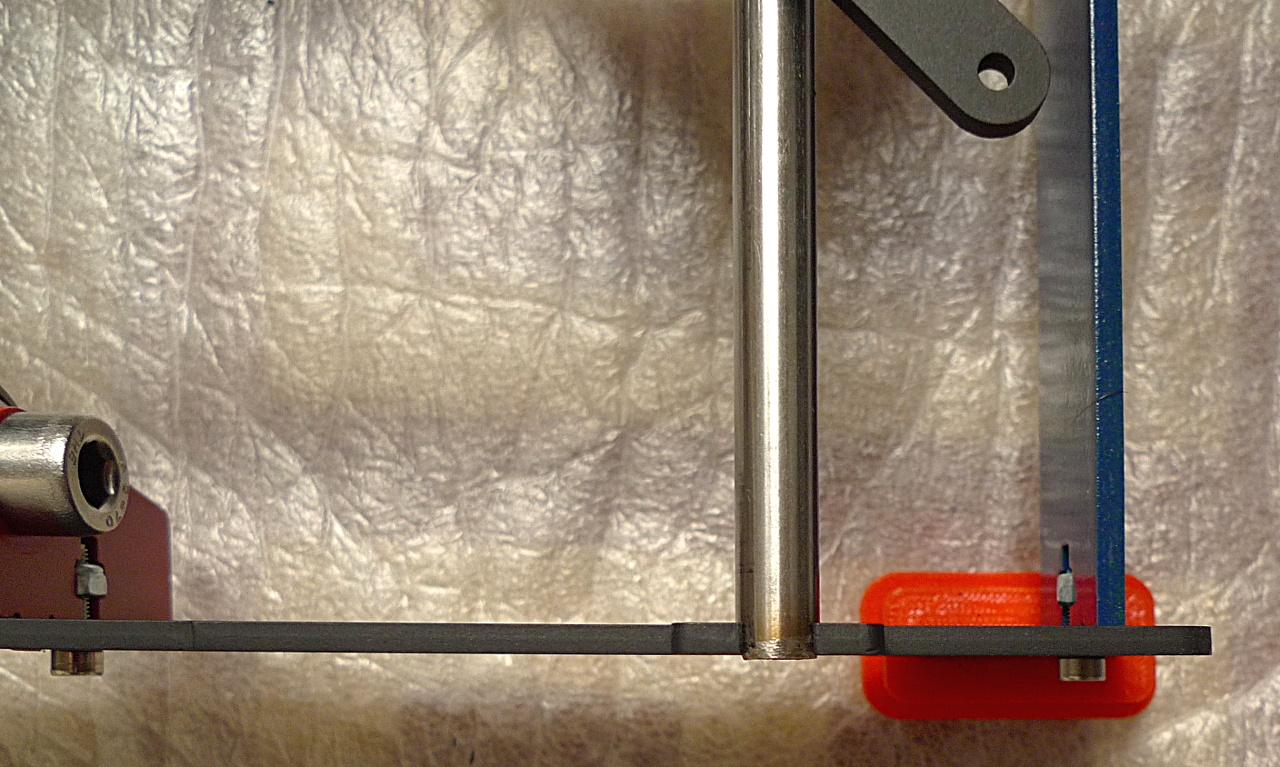
553 KB | We can slide the Y-carriage back in place once the smooth rods have been pushed in far enough. | 1 |
| 08:27, 11 December 2014 | Y-axis carriage 10a.jpg (file) |  |
689 KB | Patience! Go on tapping with the hammer... | 1 |
| 08:19, 11 December 2014 | Y-axis carriage 9a.jpg (file) |  |
831 KB | Continuing with the tapping, the rods will progressively move into the frame. | 1 |
| 06:48, 11 December 2014 | Y-axis carriage 8a.jpg (file) |  |
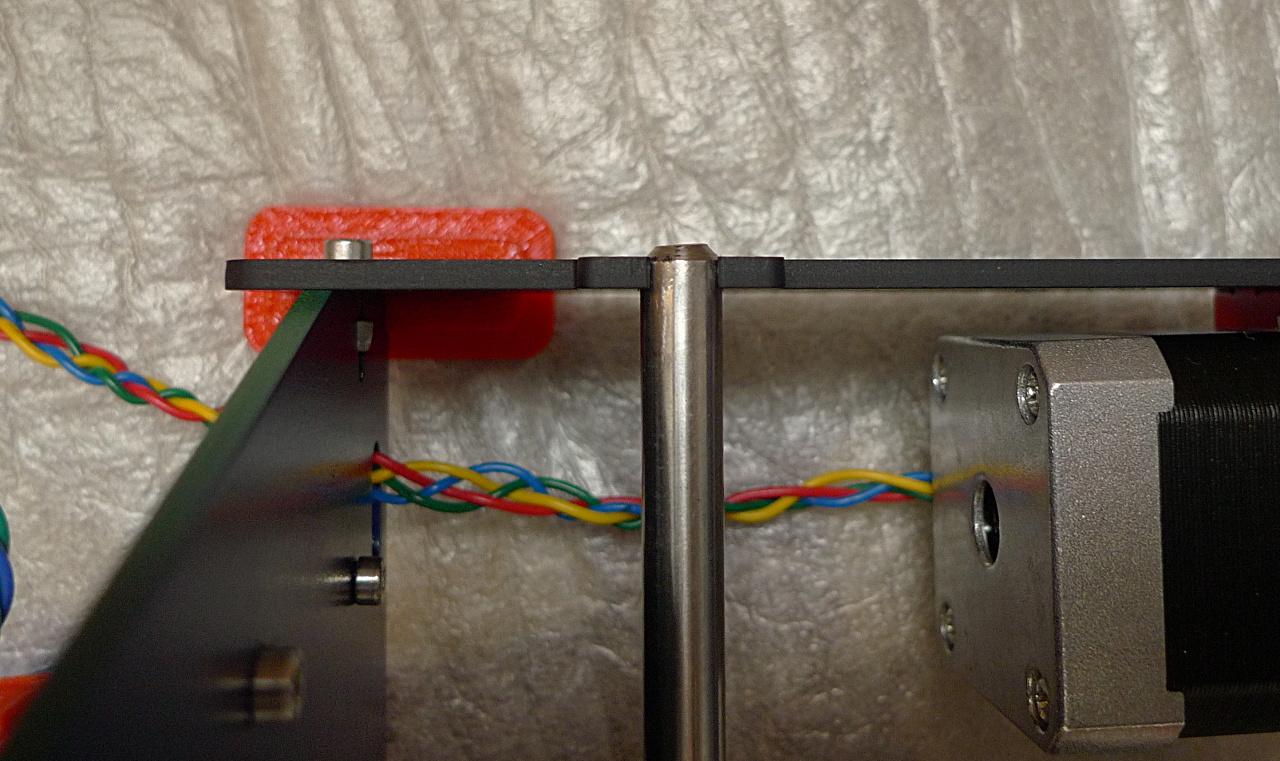
827 KB | Tapping the rod ends gently with the hammer, push them through their supports on the P3Steel frame. We can slide out the Y-carriage now. | 1 |
| 06:36, 11 December 2014 | Ramps fan bracket2a.jpg (file) |  |
390 KB | Arduino Mega 2560 + RAMPS 1.4 + 80mm fan stack powered on. | 1 |
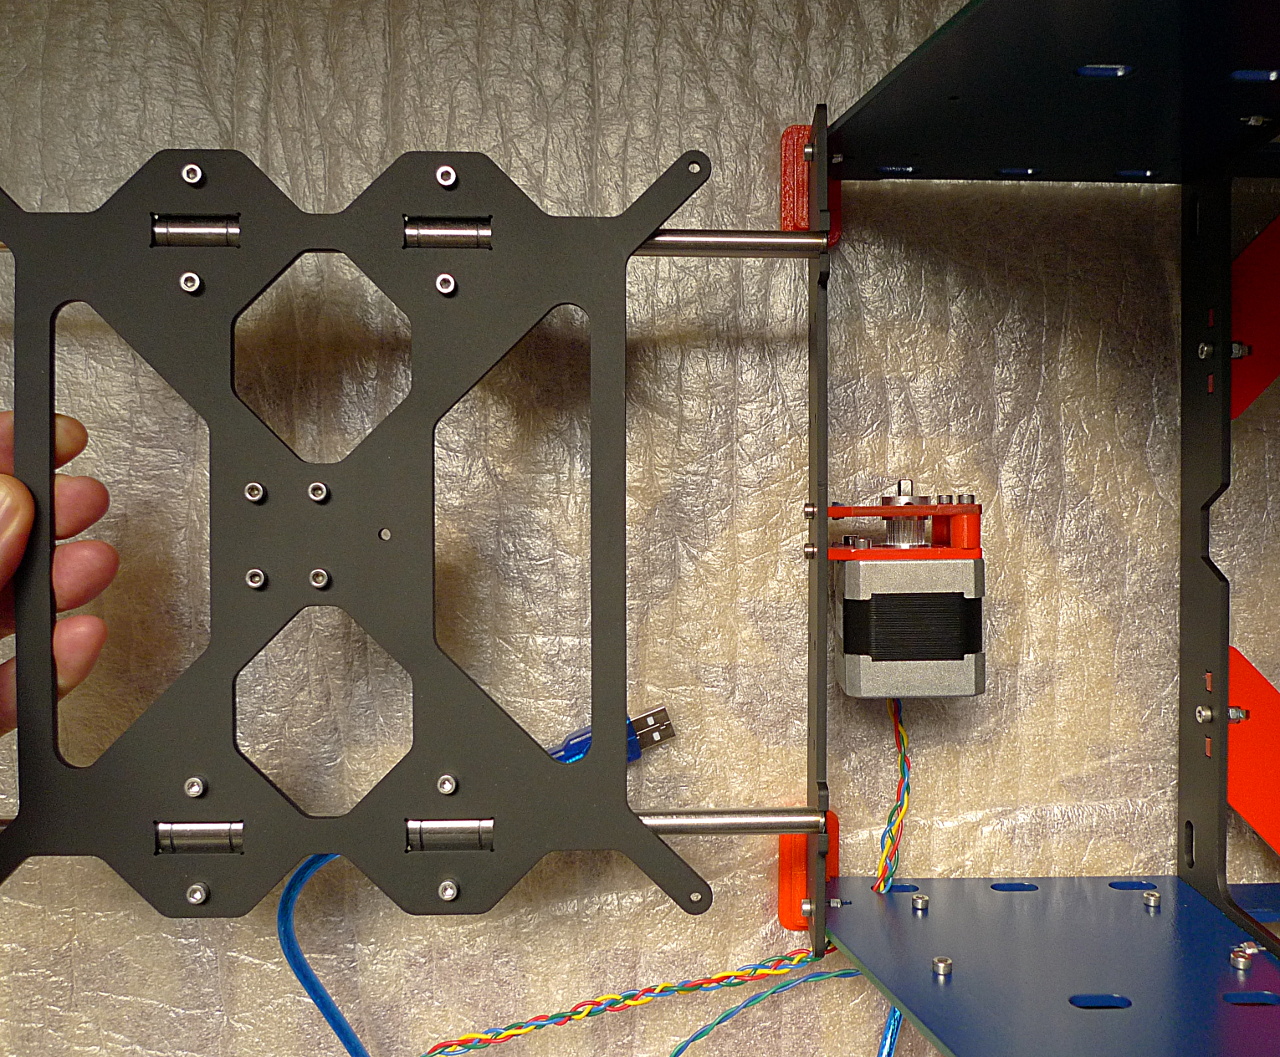
| 05:04, 11 December 2014 | Y-axis carriage 4a.jpg (file) |  |
697 KB | While holding the Y carriage horizontal, manually engage the two smooth rods in the back supports. | 1 |
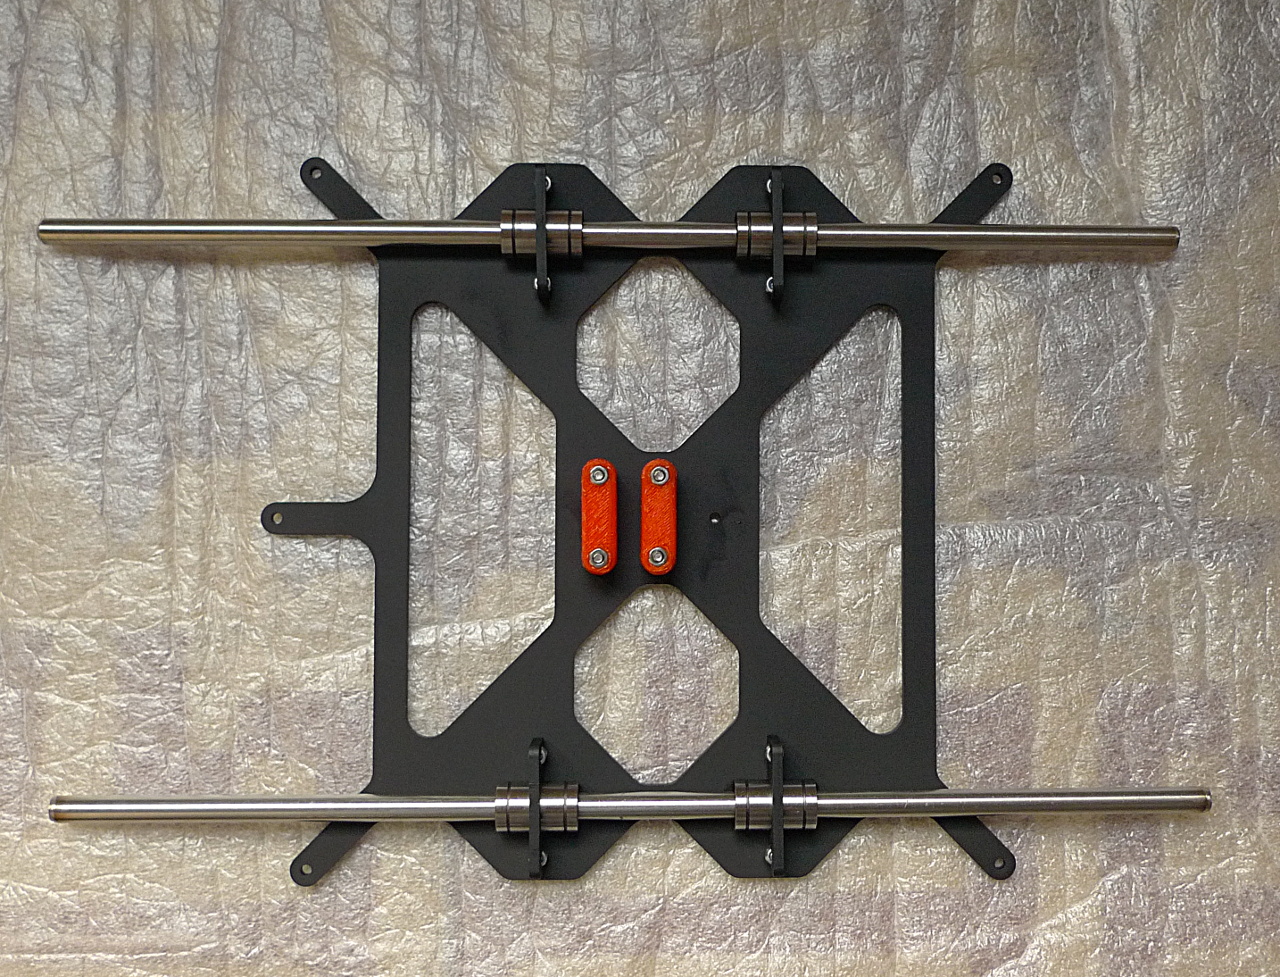
| 03:09, 11 December 2014 | Y-axis carriage 1a.jpg (file) |  |
633 KB | The Y-carriage with the 8mm smooth rods and the GT2 belt holder installed. | 1 |
| 02:19, 11 December 2014 | Y-axis motor end 7a.JPG (file) |  |
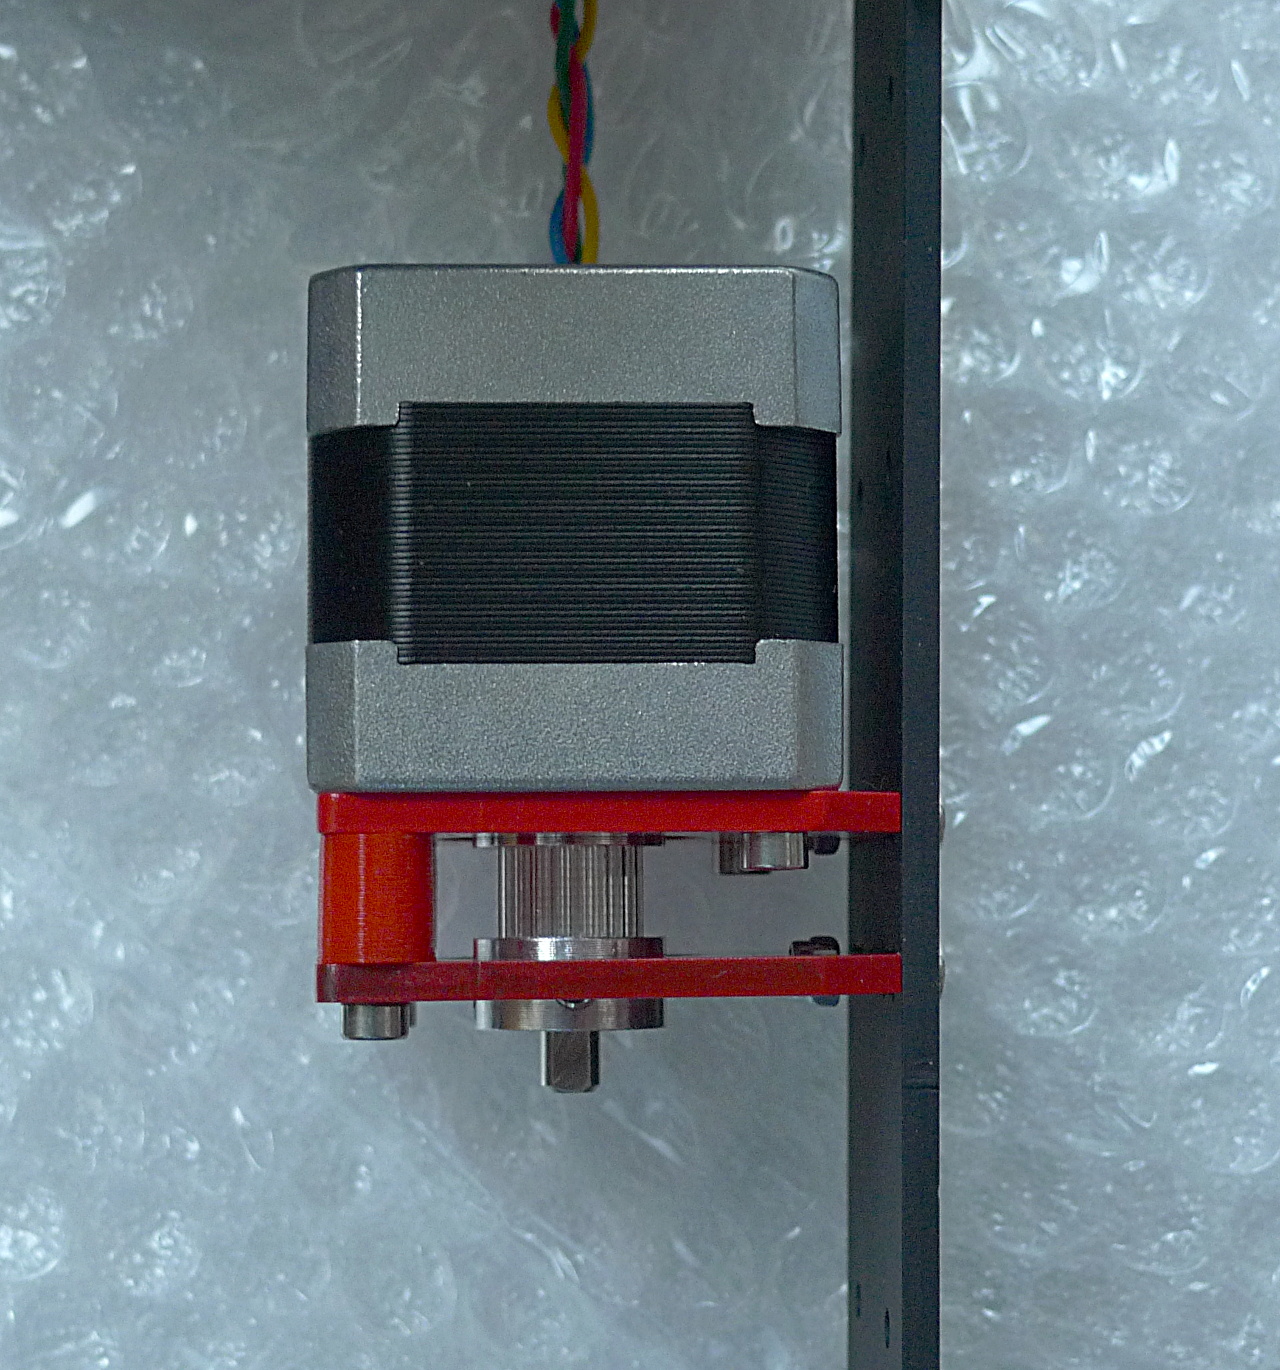
458 KB | The Y-axis stepper and GT2 pulley installed. | 1 |
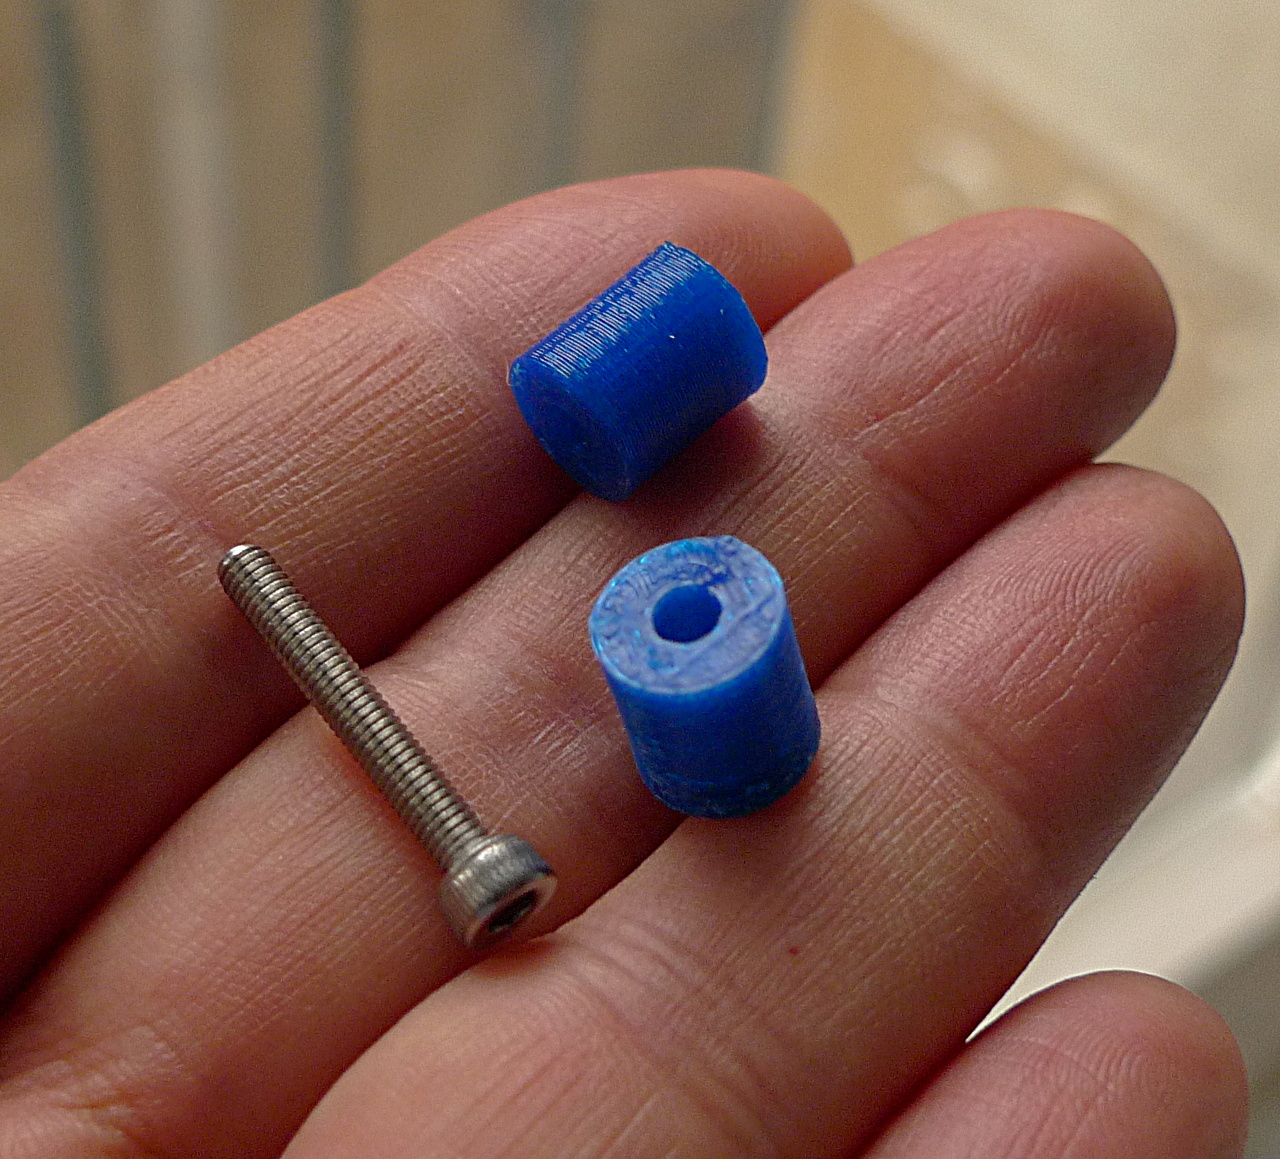
| 01:55, 11 December 2014 | P3Steel Y Motor End Spacer 1a.jpg (file) | 564 KB | These spacers have been printed in PLA. | 1 | |
| 01:54, 11 December 2014 | P3Steel Y Motor End Spacer 3a.jpg (file) | 518 KB | Spacers for M3 screws, 10mm tall, bought at an electronics shop nearby. Shown here with a 20mm hex screw. | 1 | |
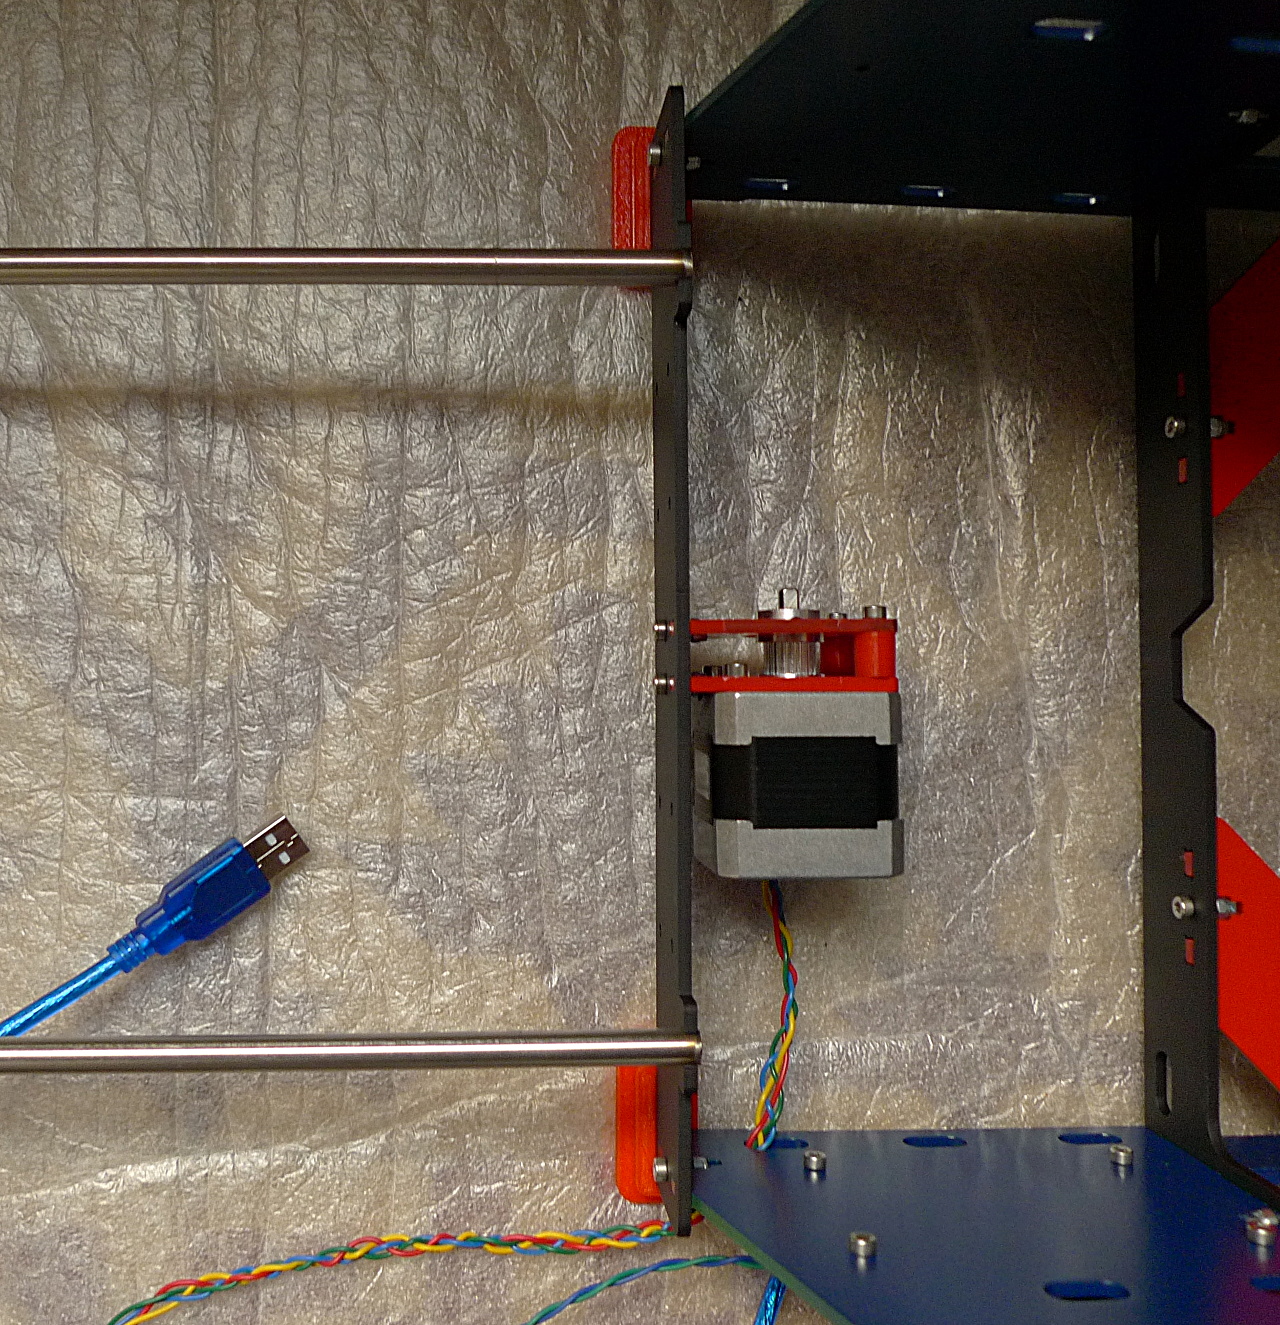
| 15:51, 8 December 2014 | P3Steel Y-axis motor end 10a.JPG (file) |  |
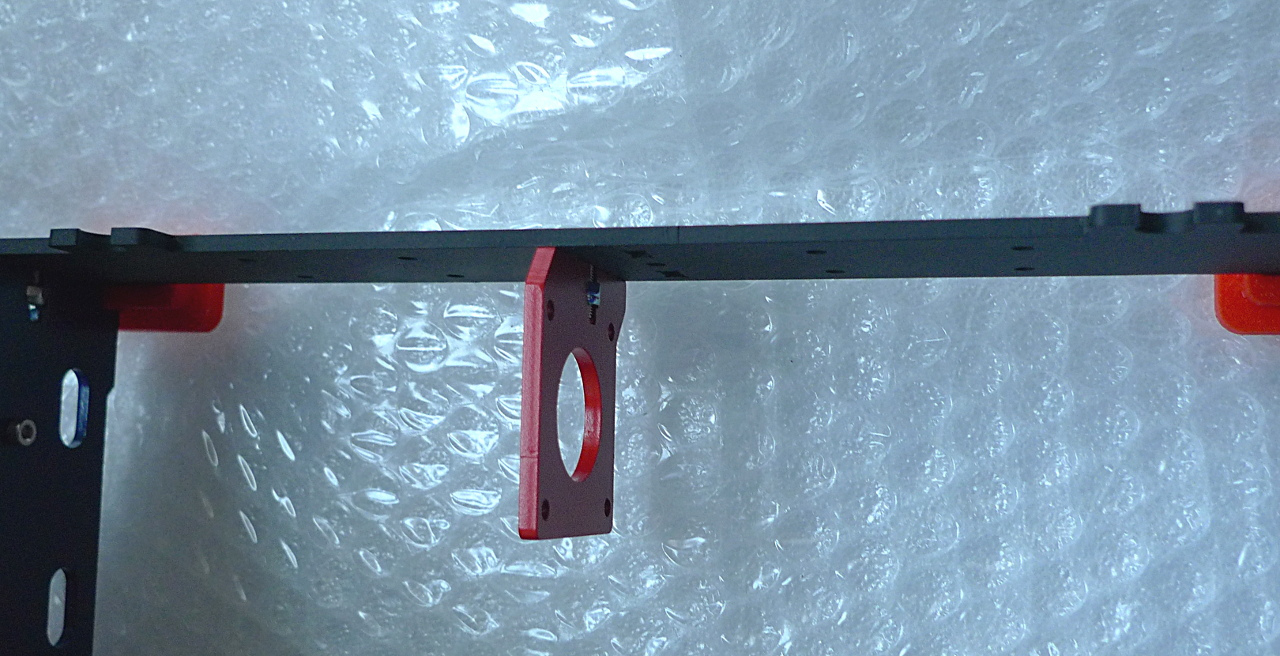
628 KB | The Y-axis motor and GT2 pulley installed. | 1 |
| 03:47, 8 December 2014 | Y-axis idler end 1a.JPG (file) |  |
582 KB | The P3Steel Y-axis idler assembly. | 1 |
| 21:23, 3 December 2014 | PRUSA i3 steel 3mm lasercut 2.01 irobri.jpg (file) |  |
115 KB | Prusa P3Steel version 2.01. | 1 |
| 21:13, 3 December 2014 | PRUSA i3 steel 3mm lasercut 2.01d irobri.dwg (file) | 104 KB | CAD file for Prusa P3Steel, version 2.01. This is released under the same license as Irobri's original .dwg CAD file for version 2.0. | 1 | |
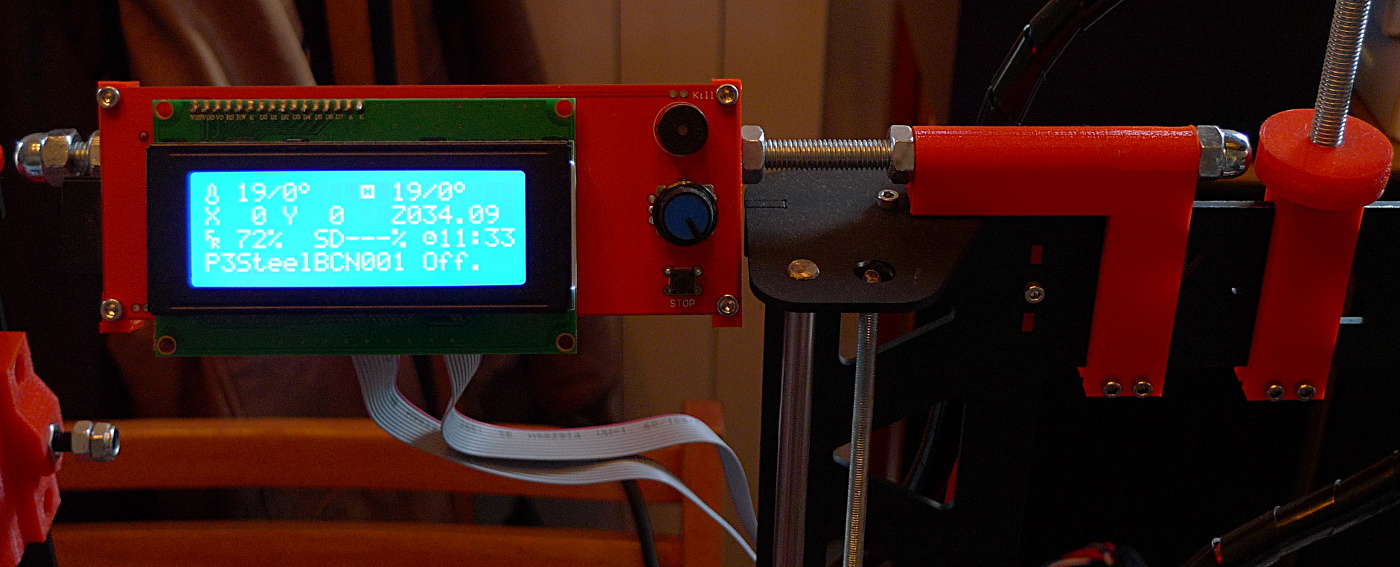
| 13:17, 2 December 2014 | P3Steel LCD2004 Controller 2a.jpg (file) |  |
298 KB | An LCD 2004 Smart Controller installed on a P3Steel. | 1 |
| 10:42, 2 December 2014 | ATX cable extension 24 fem to male 1a.jpg (file) |  |
557 KB | ATX PSU 24 pin motherboard cable extension required to connect to our 3D printer without modifying the ATX PSU. | 1 |
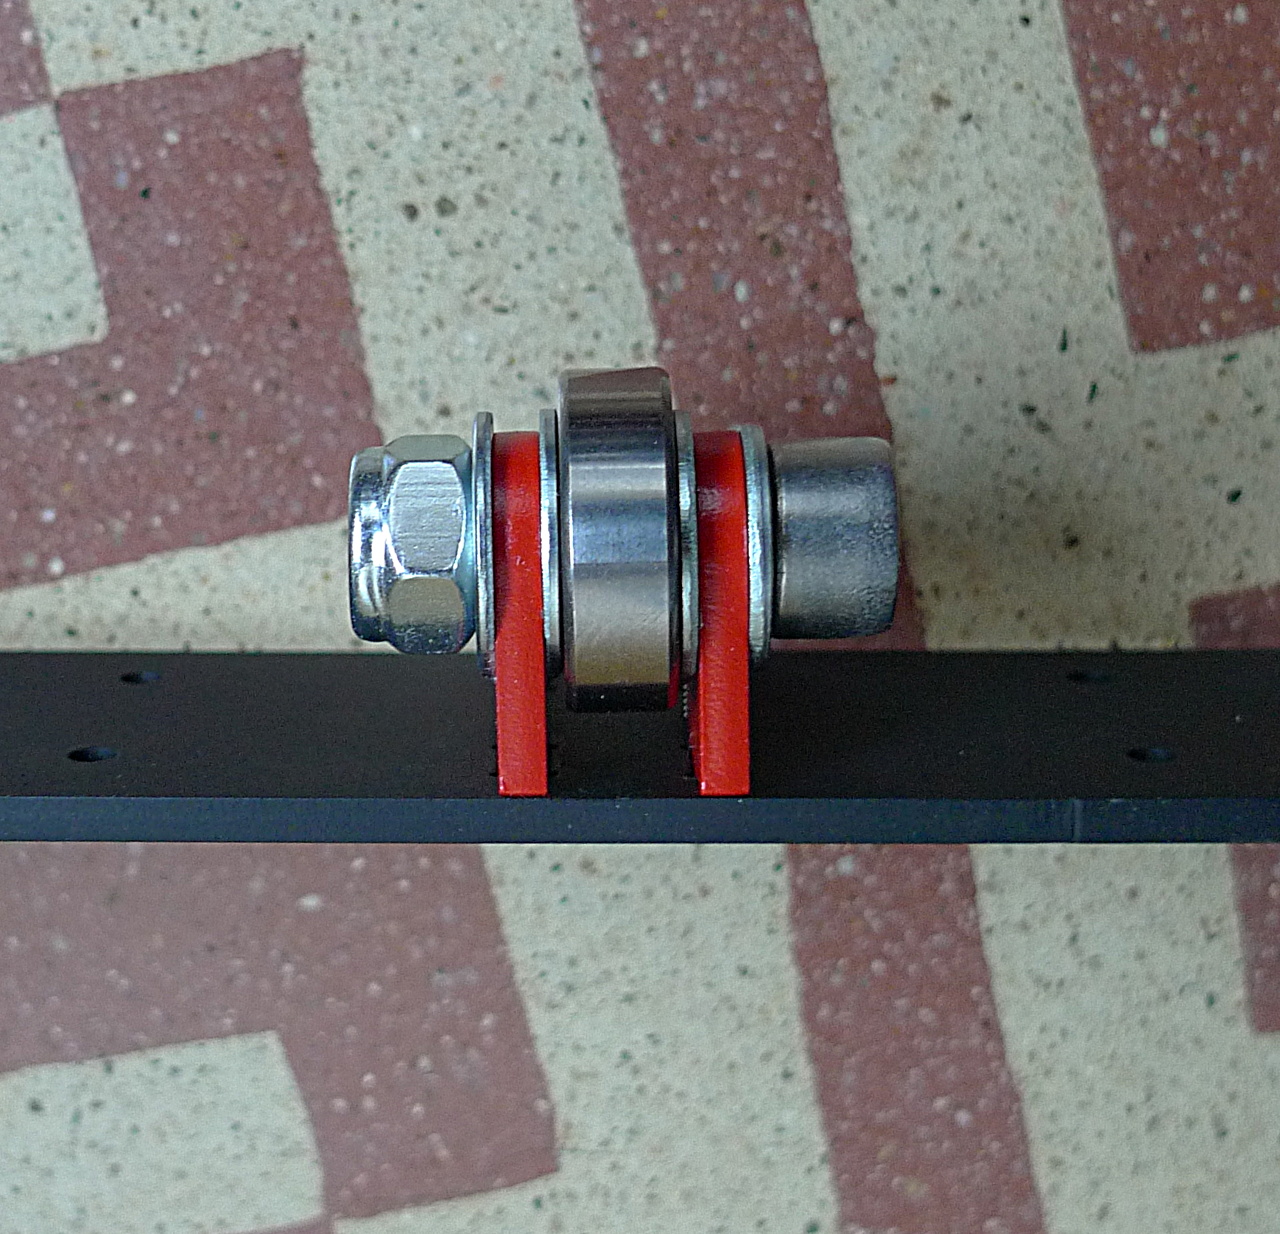
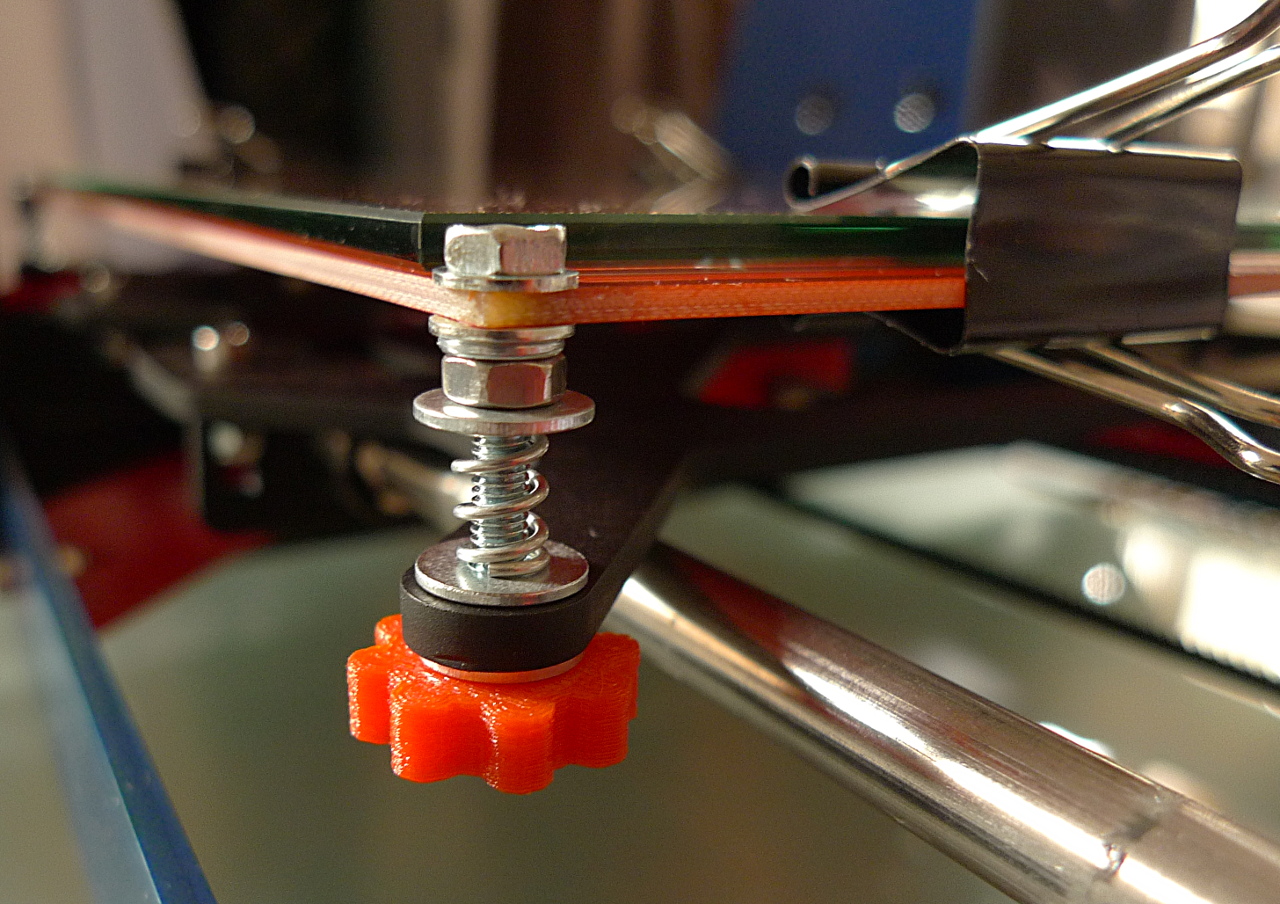
| 13:41, 23 November 2014 | P3Steel heatbed adjust thumbwheel 1a.jpg (file) |  |
485 KB | The essential heatbed leveling thumbwheel here shown installed. | 1 |
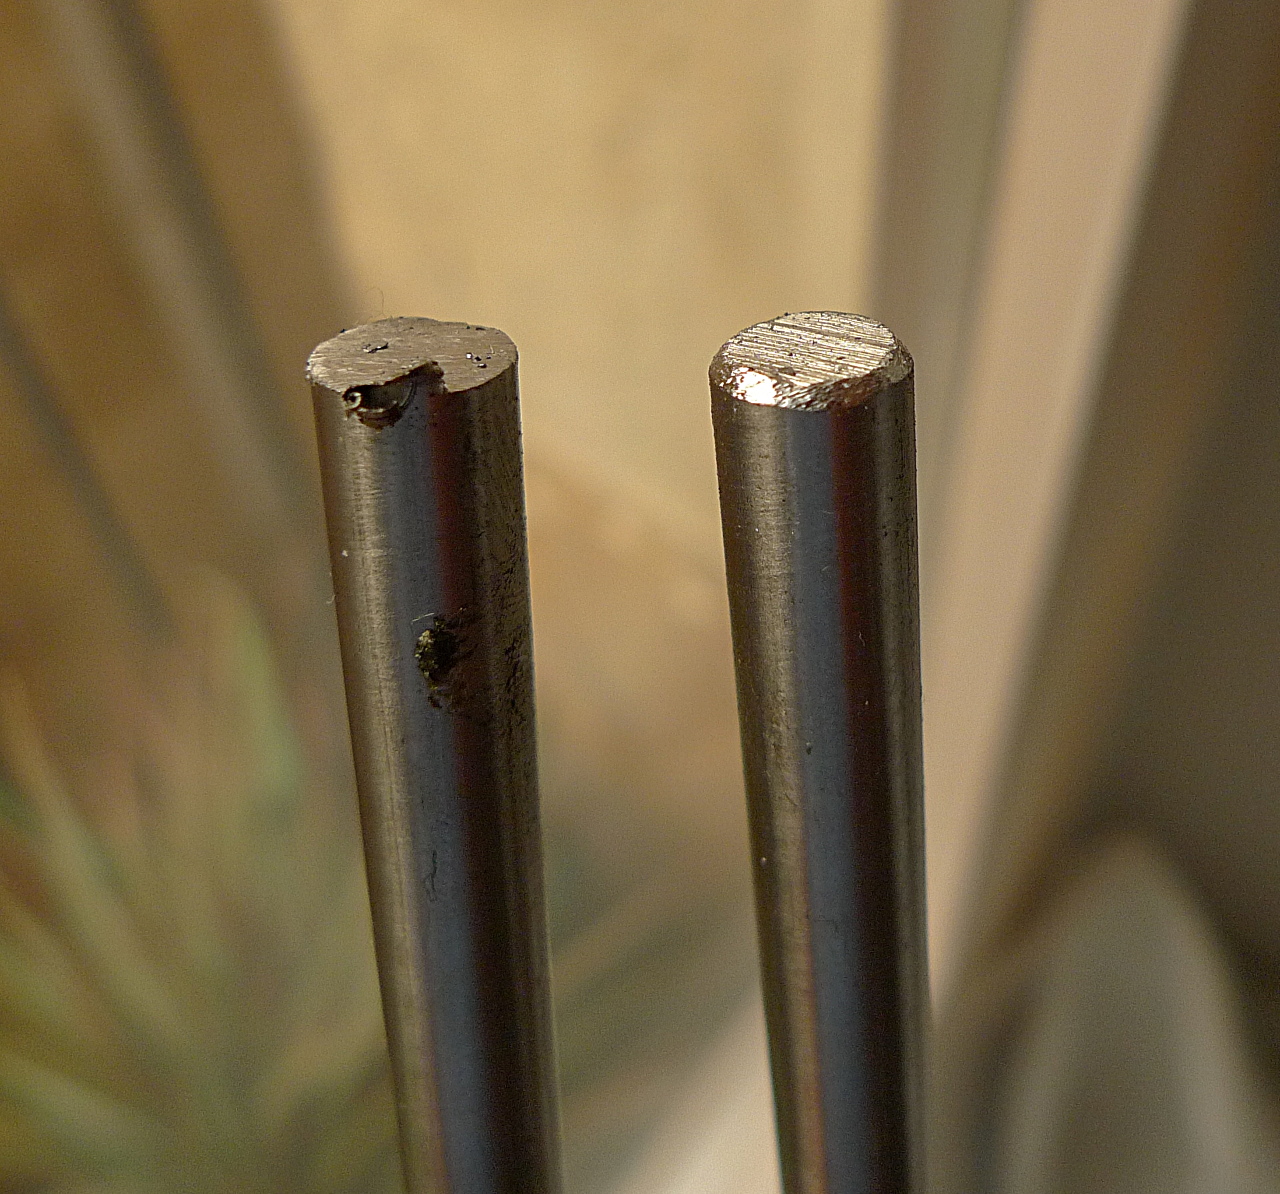
| 03:30, 23 November 2014 | P3Steel-smooth rods 1a.jpg (file) |  |
629 KB | Smooth rods (8mm stainless steel), unfinished and finished. | 1 |
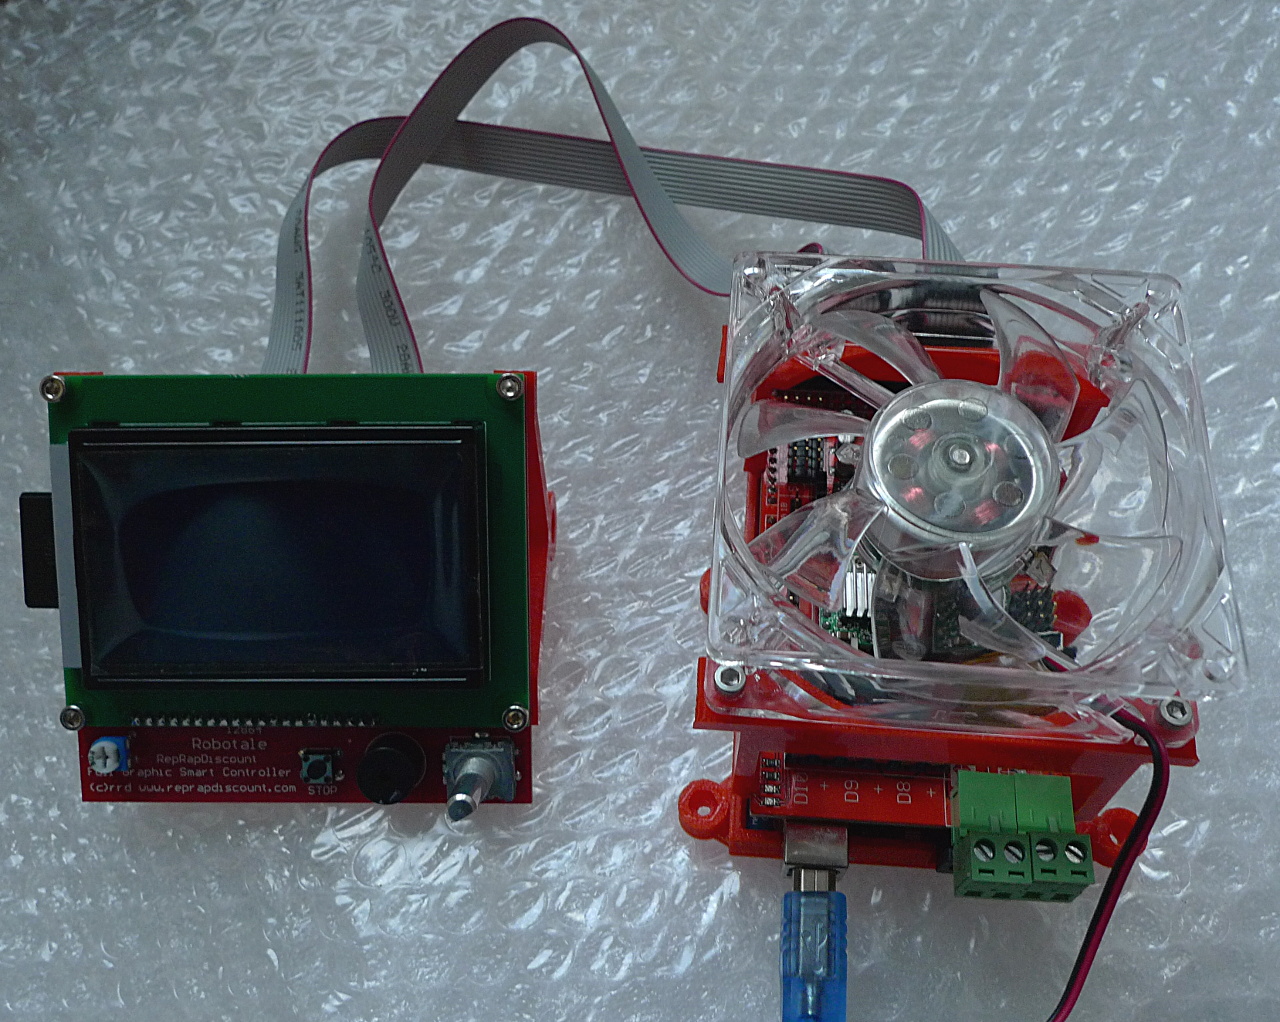
| 16:23, 22 November 2014 | P3Steel electronics 1a.JPG (file) |  |
513 KB | Arduino Mega 2560 + Ramps 1.4 + A4998 drivers + 80mm fan + 12864 graphics LCD controller. | 1 |
| 07:18, 22 November 2014 | Y-axis motor end 4a.JPG (file) |  |
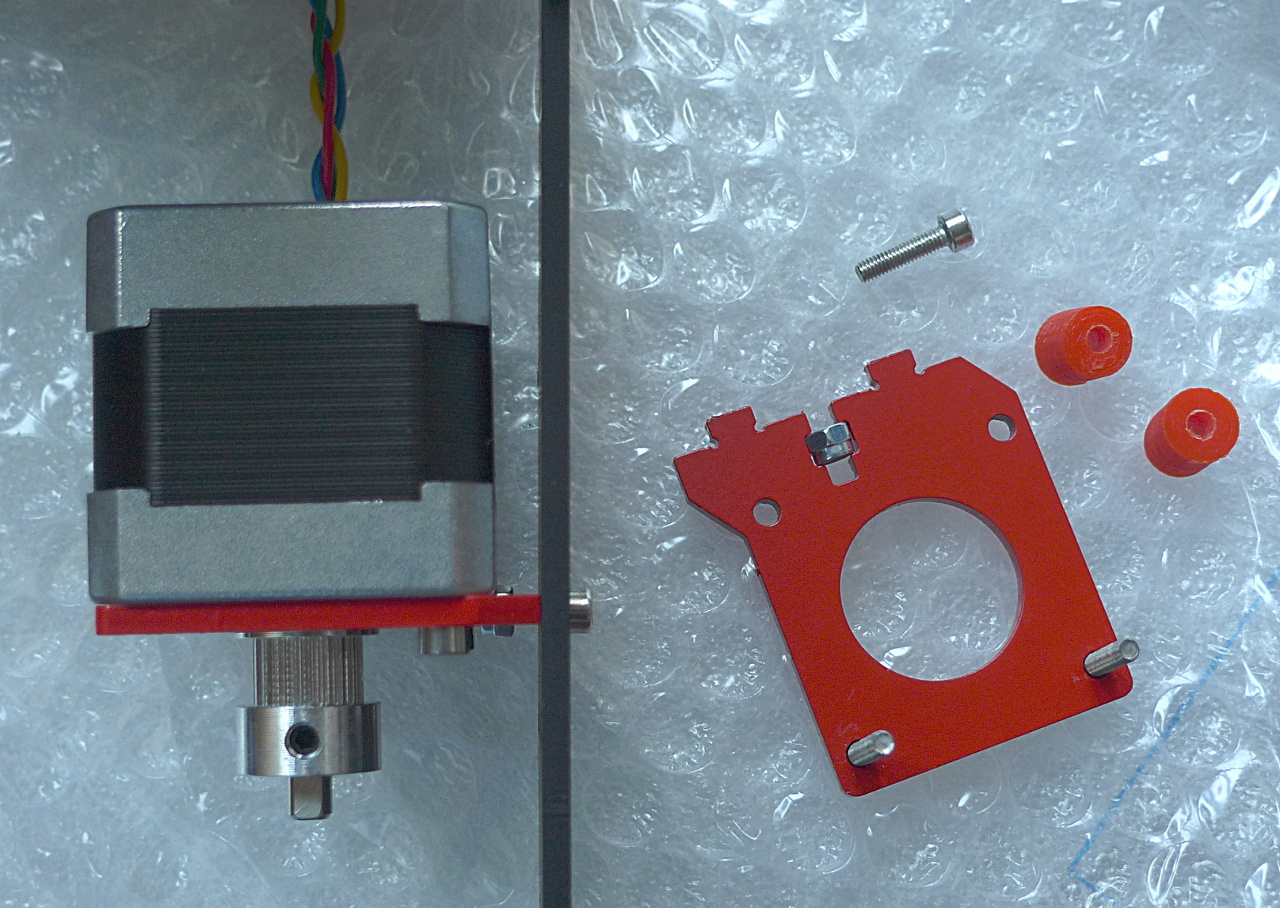
462 KB | Use 2 x 8mm M3 screws to attach the stepper to the support part. Insert the pulley oriented as shown but do not screw it yet. | 1 |
| 06:56, 22 November 2014 | Y-axis motor end 3a.JPG (file) |  |
723 KB | The wrong way to do it (by trial and error, where each try means filing away some more of the stepper). | 1 |
| 18:48, 21 November 2014 | Y-axis motor end 2a.JPG (file) |  |
577 KB | This nut interferes with the stepper. | 1 |
| 18:37, 21 November 2014 | Y-axis motor end 1a.JPG (file) |  |
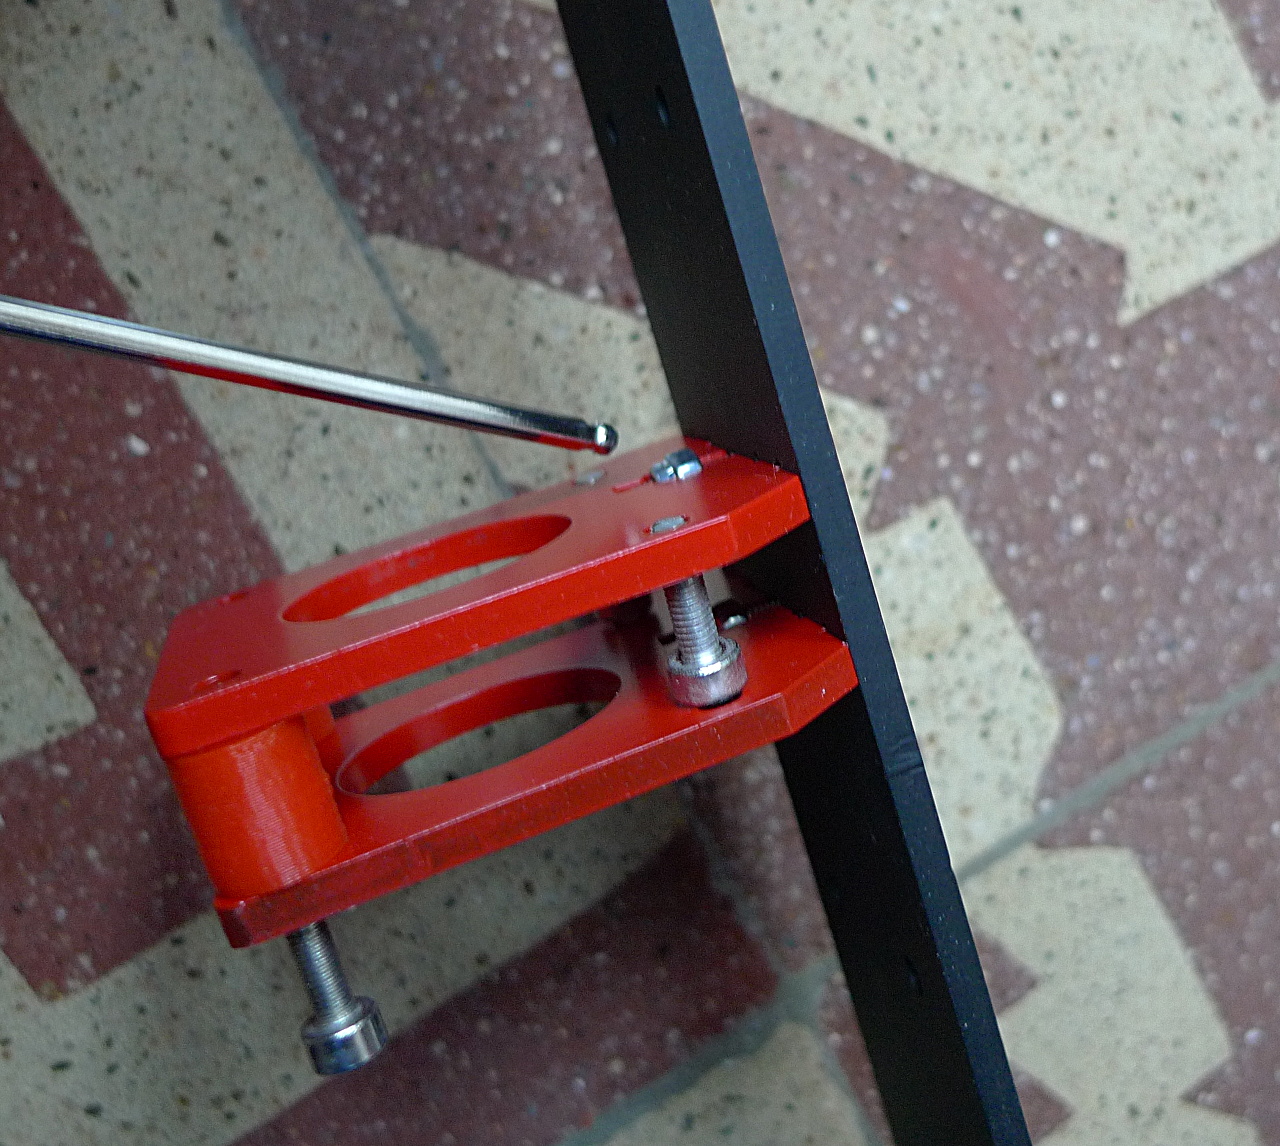
366 KB | The left Y motor end support installed. | 1 |
| 17:20, 21 November 2014 | Y-axis done 1a.JPG (file) |  |
1,004 KB | Y-axis assembly minus the GT2 belt. | 1 |
| 17:18, 21 November 2014 | Tools 3a.JPG (file) |  |
459 KB | A small hammer. | 1 |
| 17:18, 21 November 2014 | Tools 2a.JPG (file) |  |
754 KB | M8 hex key and 14mm wrench. | 1 |
| 17:14, 21 November 2014 | Tools 1a.JPG (file) |  |
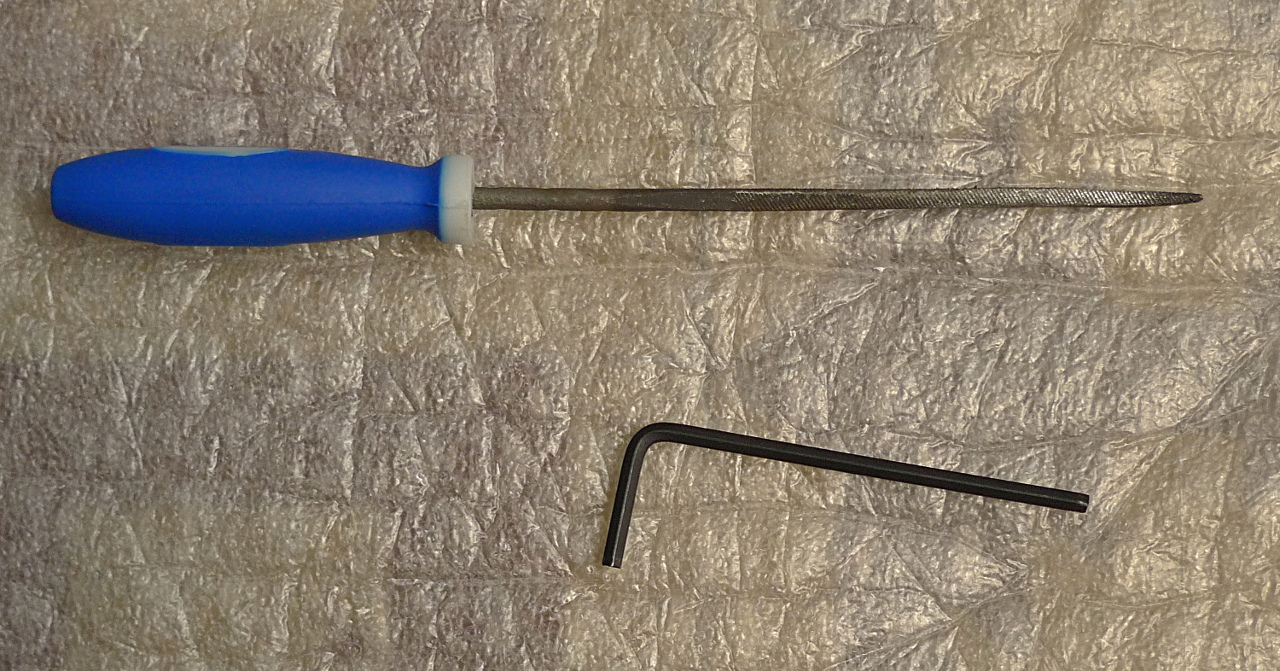
470 KB | A small metal file and M3 hex key. | 1 |
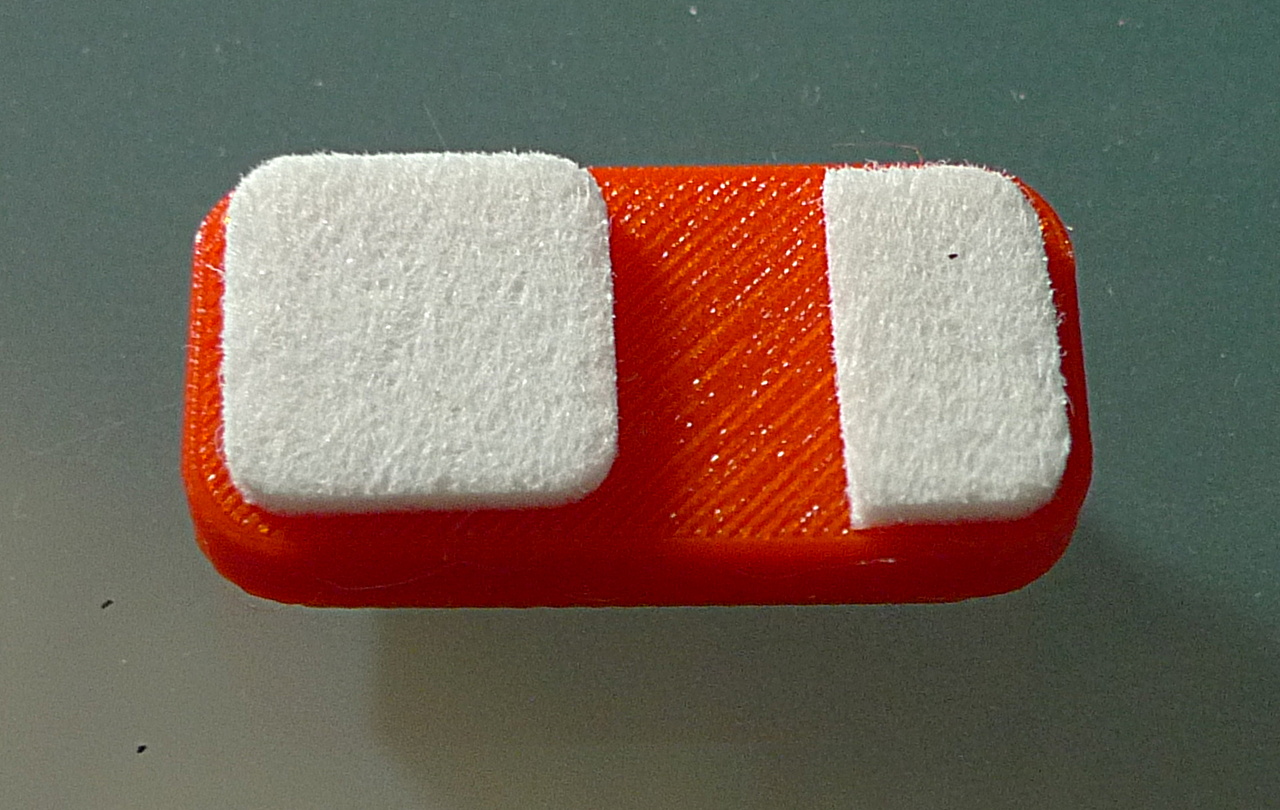
| 17:02, 21 November 2014 | P3Steel frame base underside.jpg (file) |  |
353 KB | P3Steel frame foot with felt pad. | 1 |
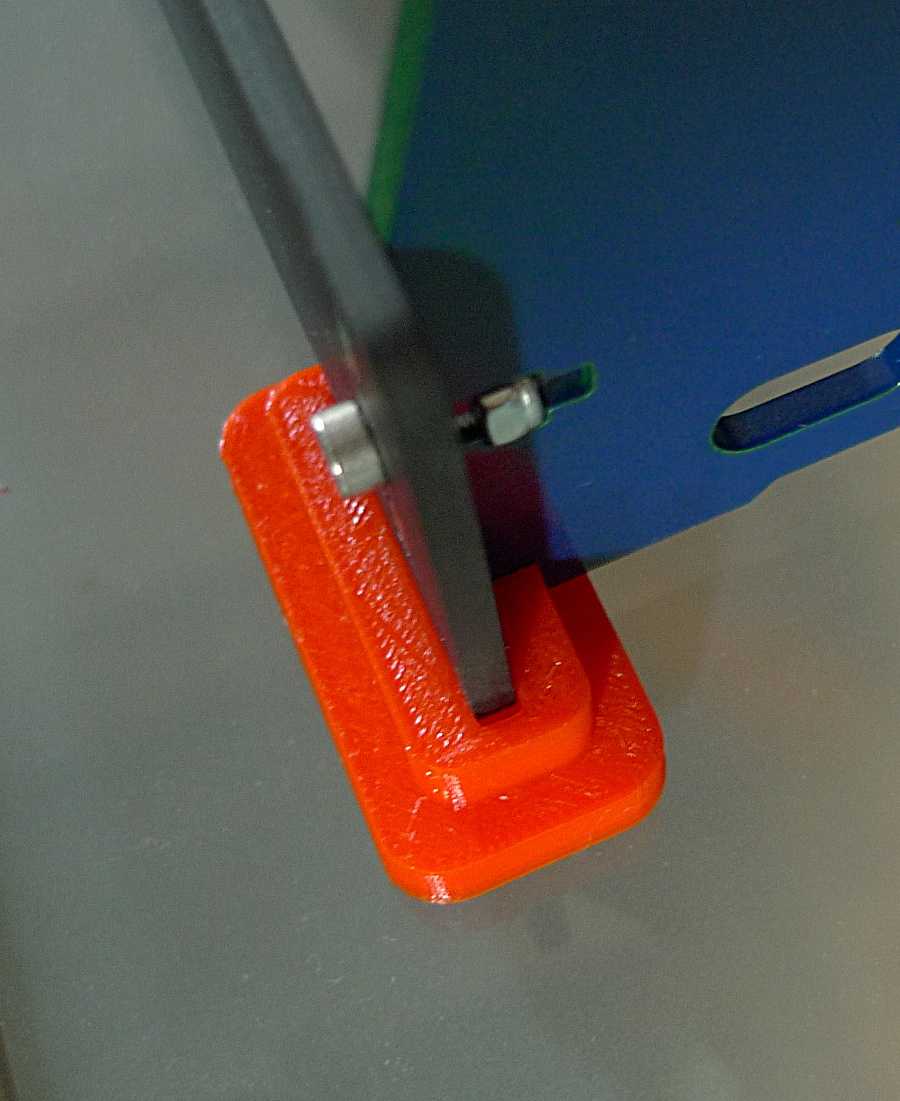
| 17:00, 21 November 2014 | P3Steel frame base back.jpg (file) |  |
359 KB | P3Steel back foot, installed. | 1 |
| 16:57, 21 November 2014 | P3Steel frame base front.jpg (file) |  |
263 KB | P3Steel front feet. | 1 |
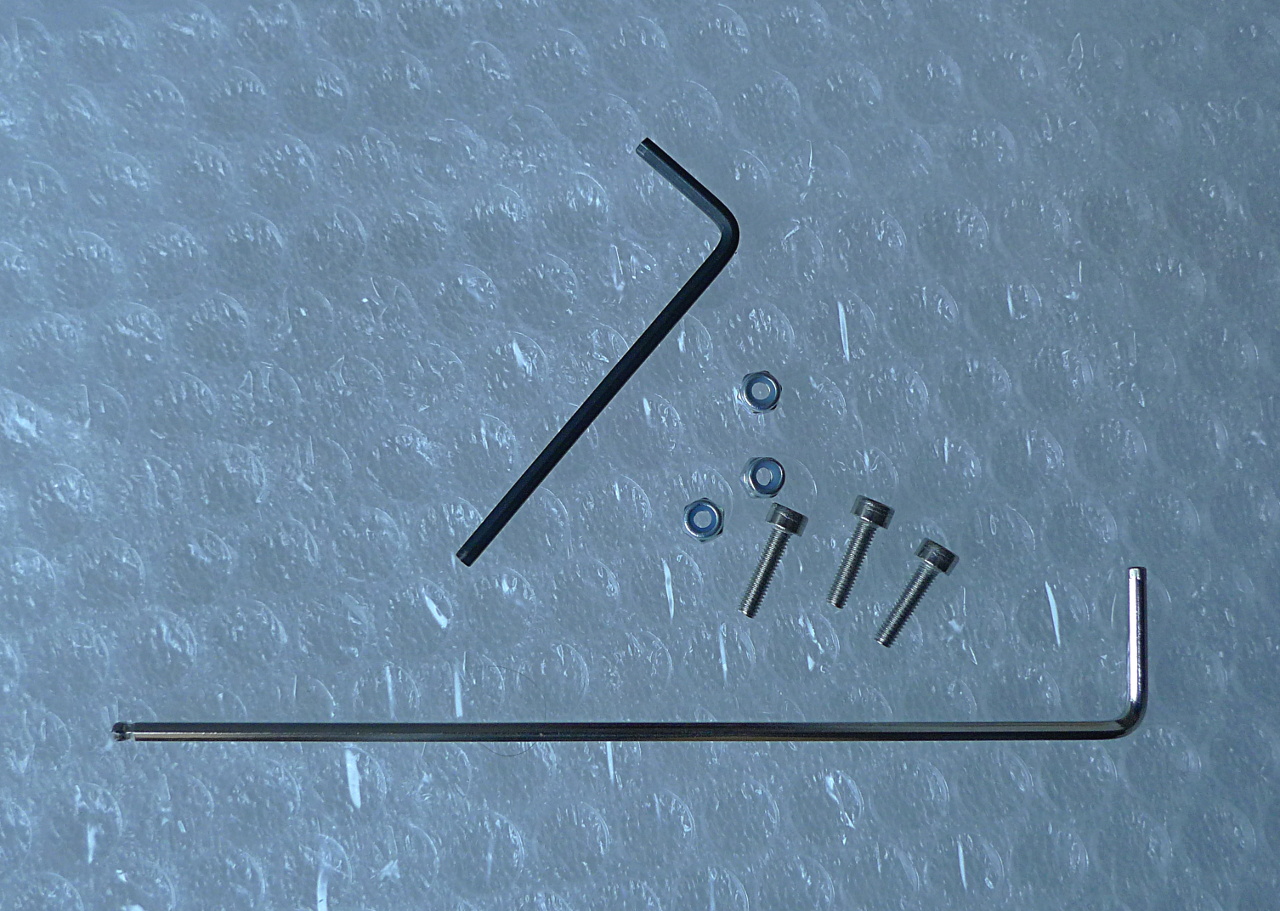
| 08:47, 19 November 2014 | P3Steel-tools screws nuts 1a.jpg (file) |  |
426 KB | M3 hex keys (a.k.a. Allen keys, Allen wrenches, hex wrenches), M3 12mm bolts, M3 nyloc nuts. All that is required to assemble the P3Steel frame! | 1 |
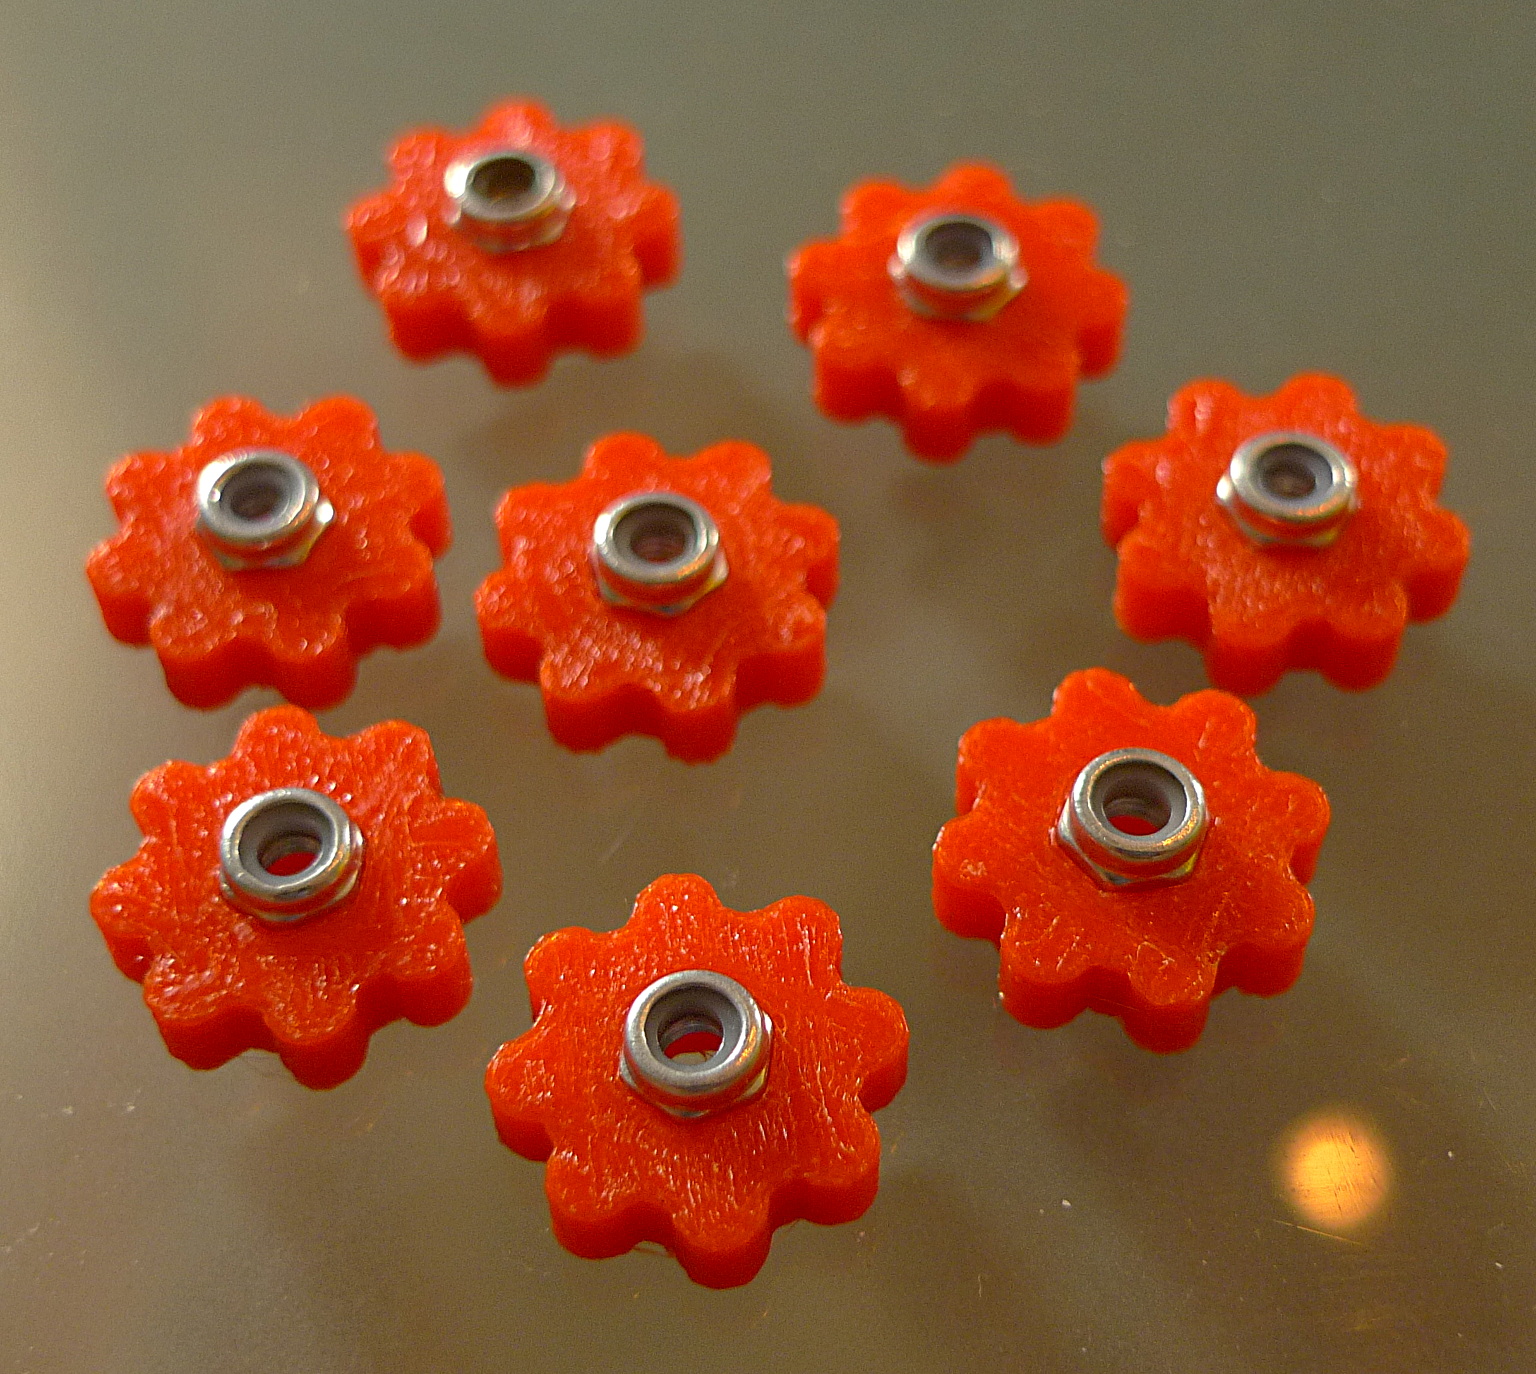
| 16:32, 28 October 2014 | P3Steel small m3 thumbwheels 1.jpg (file) |  |
732 KB | Small, low profile m3 thumbwheels here fitted with niloc nuts. | 1 |
| 14:51, 26 October 2014 | P3Steel frame assembled 2.jpg (file) |  |
454 KB | All the steel parts fit perfectly together, thanks to the highly accurate laser cutting process. | 1 |
| 14:38, 26 October 2014 | P3Steel frame assembled 1.jpg (file) |  |
841 KB | Most of the steel parts can be assembled in less than 30 minutes. | 1 |
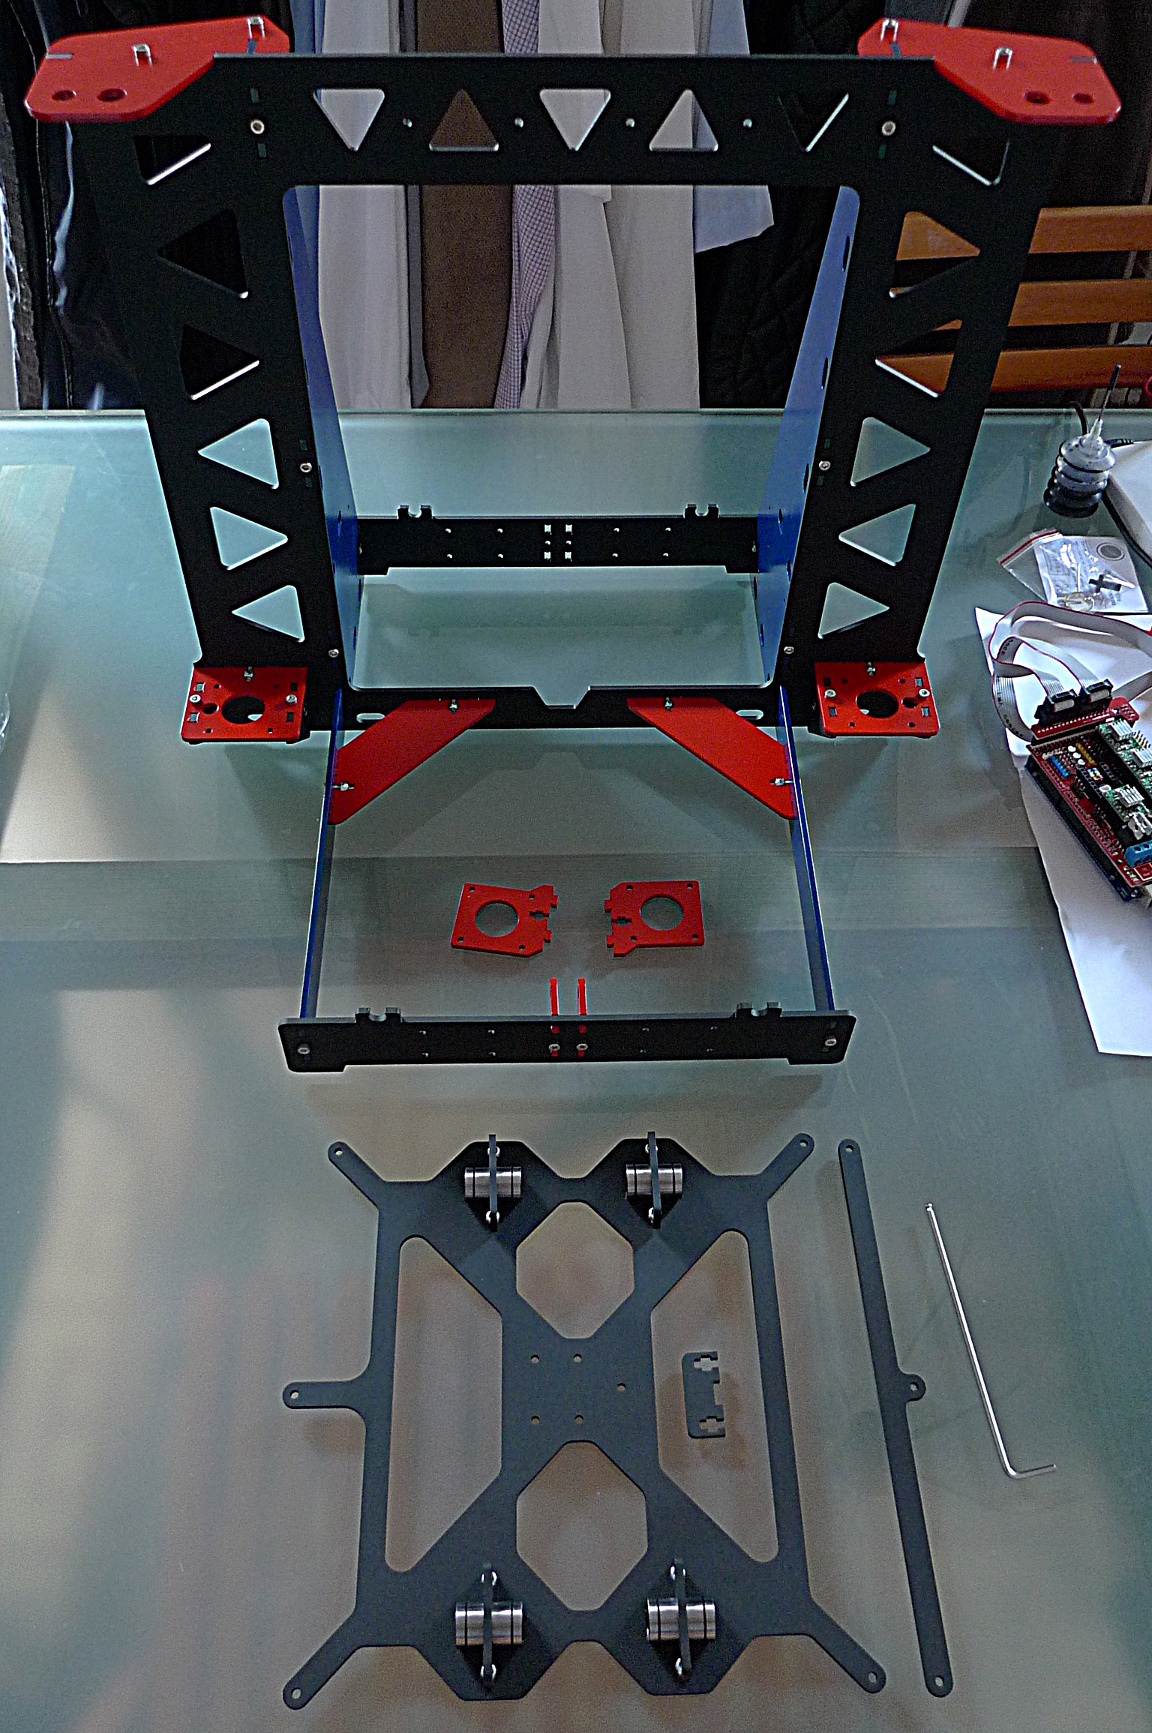
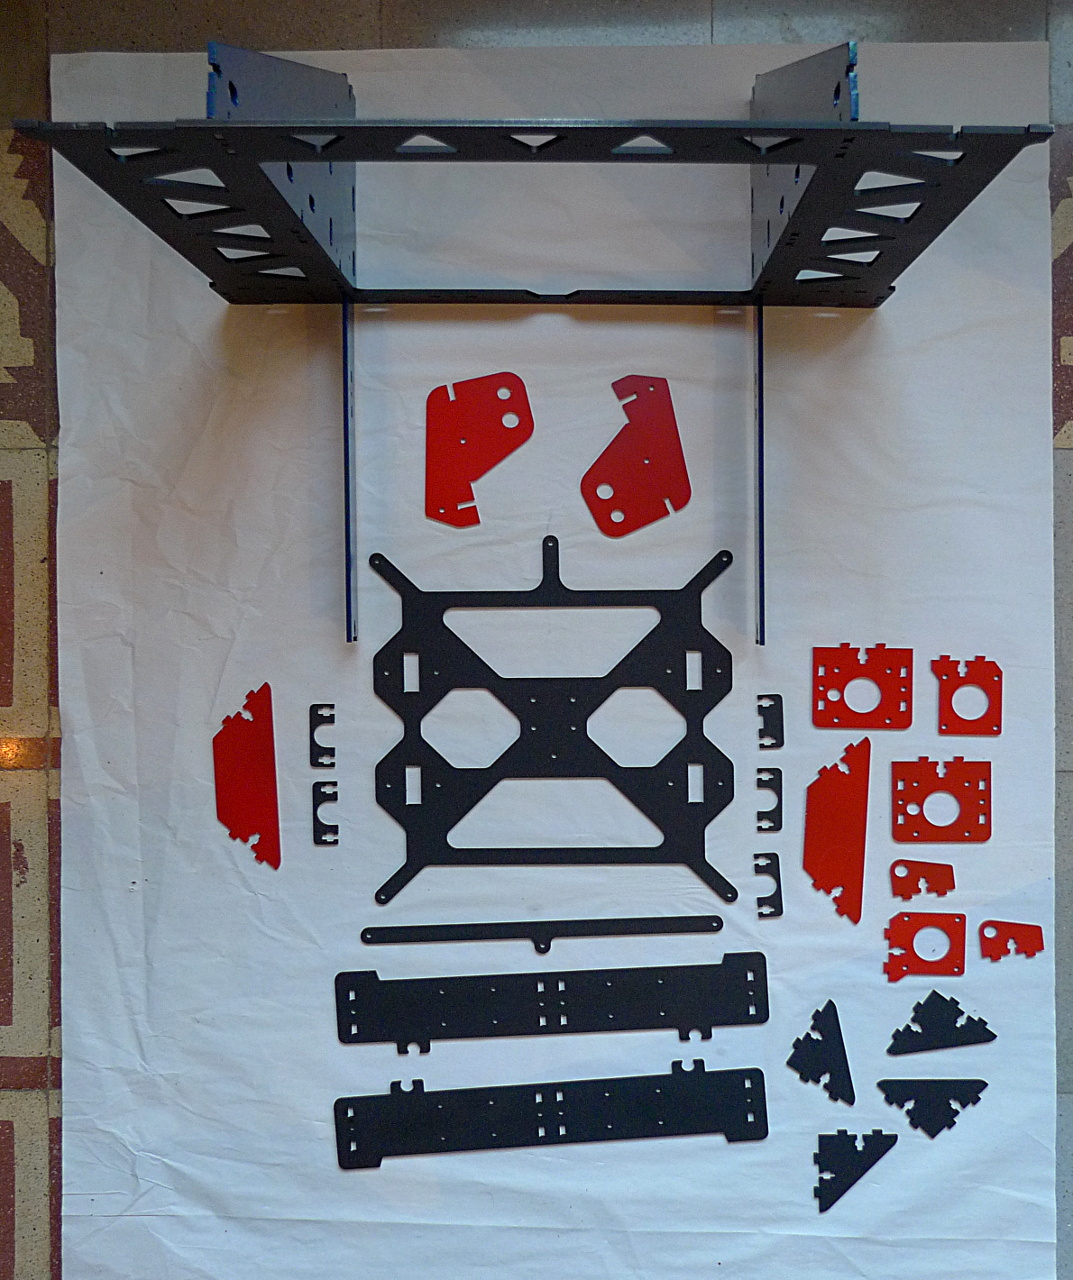
| 14:32, 26 October 2014 | P3Steel frame parts ready 1.jpg (file) |  |
503 KB | All the steel parts have been painted and the paint is now dry. We are ready to start the assembly of a new P3Steel! | 1 |
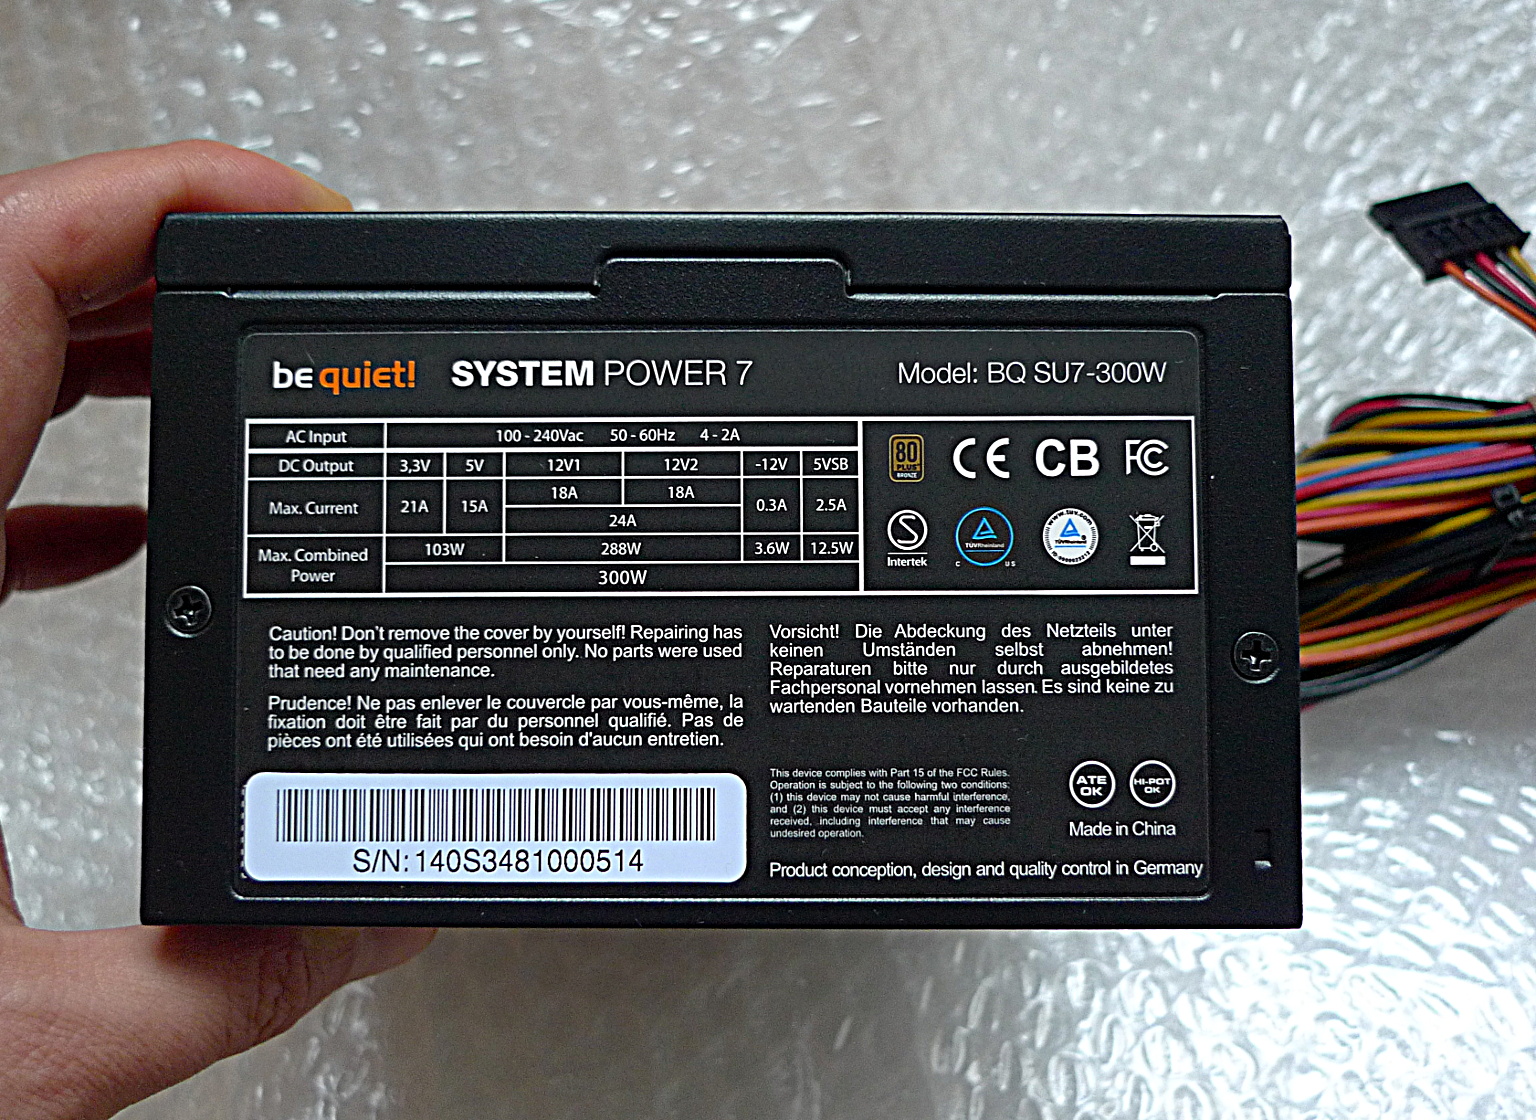
| 04:46, 25 October 2014 | ATX PSU bequiet 2.jpg (file) |  |
797 KB | Power ratings of the be quiet! ATX PSU. | 1 |
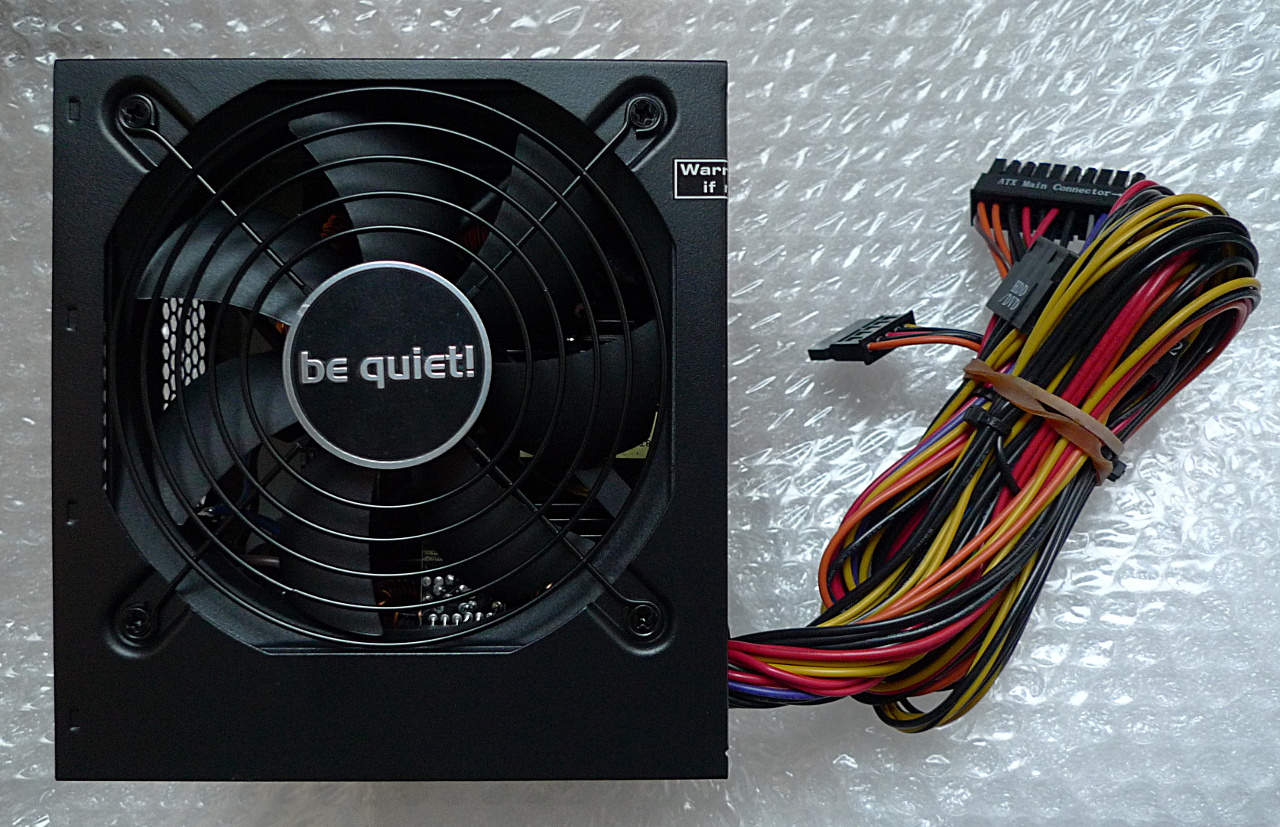
| 04:38, 25 October 2014 | ATX PSU bequiet 1.jpg (file) |  |
472 KB | A be quiet! ATX PSU from their value line. | 1 |
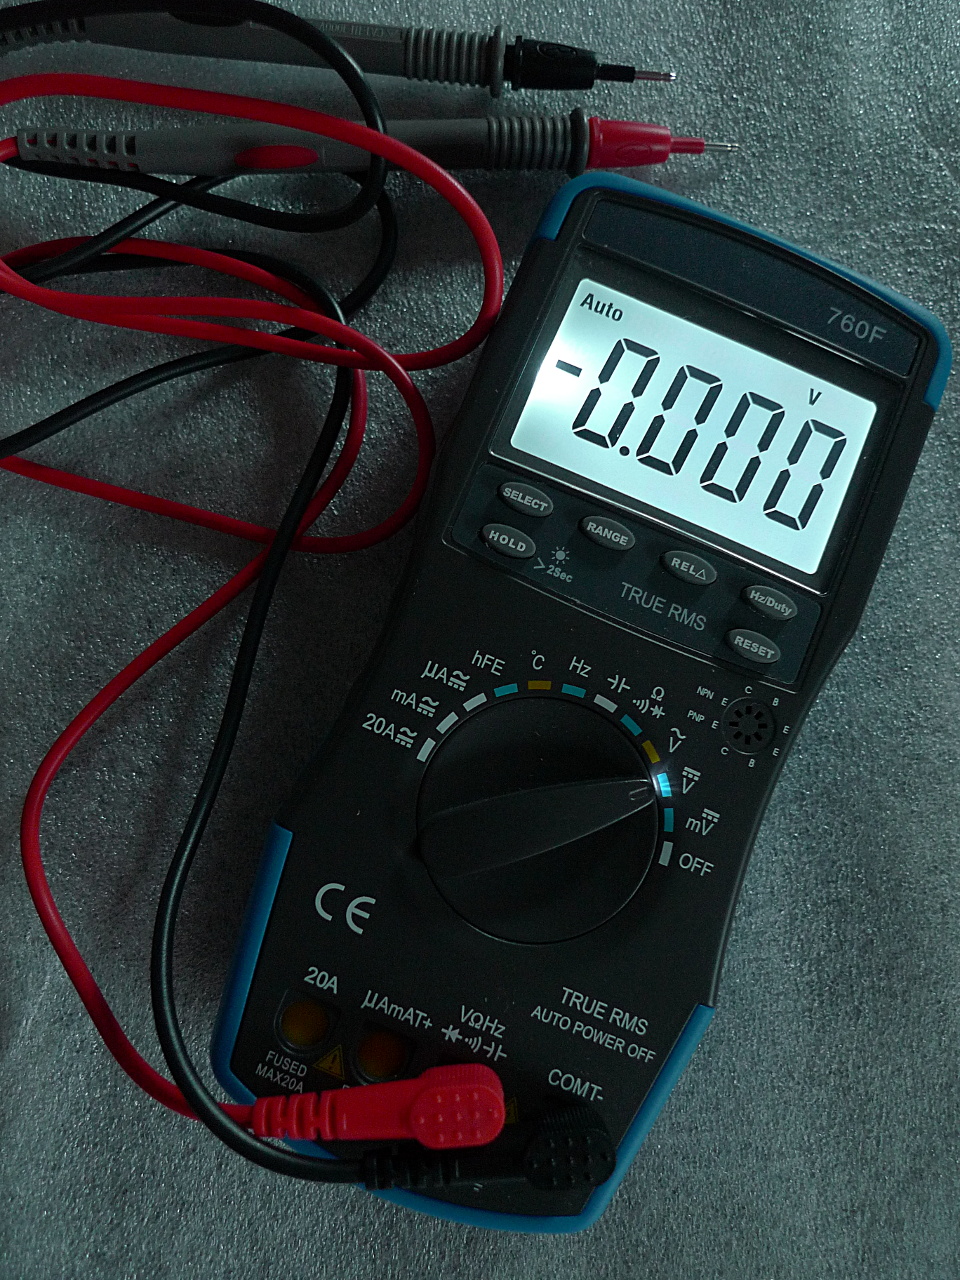
| 04:29, 25 October 2014 | ATX PSU meter 1.jpg (file) |  |
580 KB | Autorange digital multimeter with 20A DC measuring capability. | 1 |
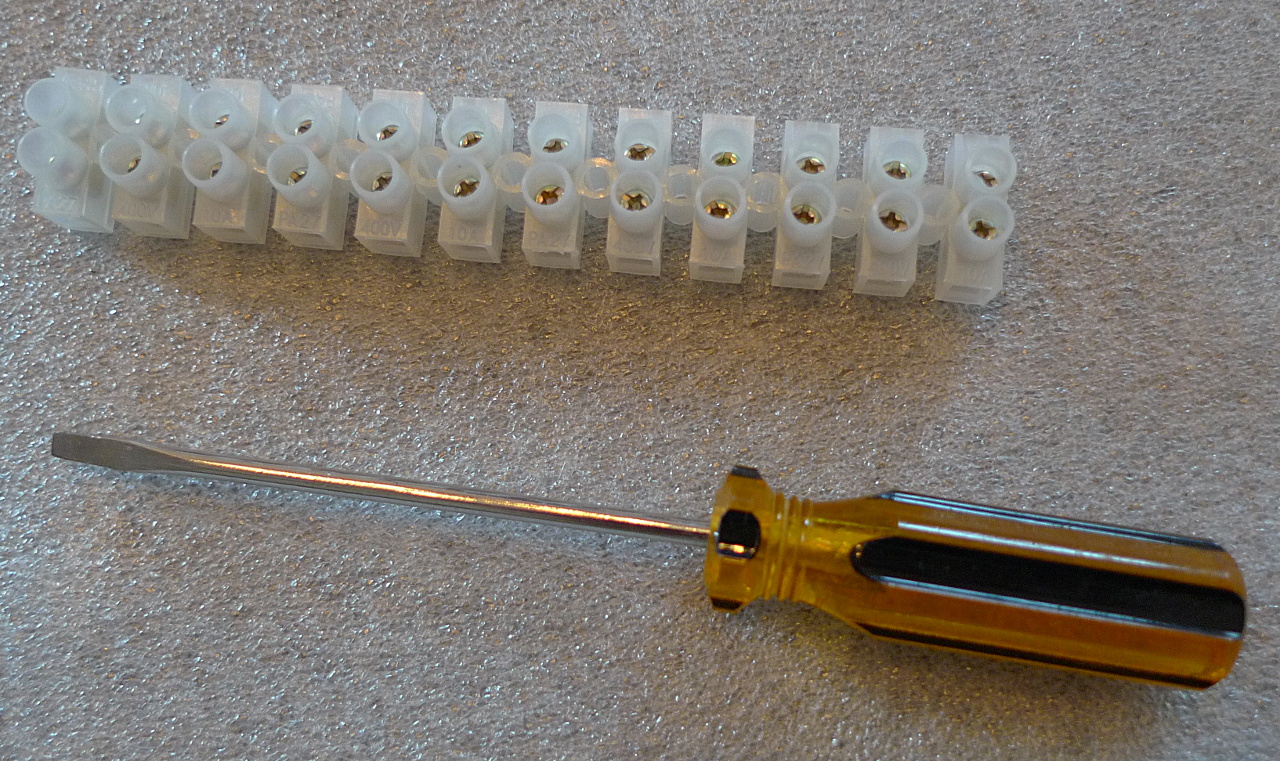
| 04:21, 25 October 2014 | ATX PSU block 1.jpg (file) |  |
511 KB | 12 position terminal block strip and correct size screwdriver. | 1 |
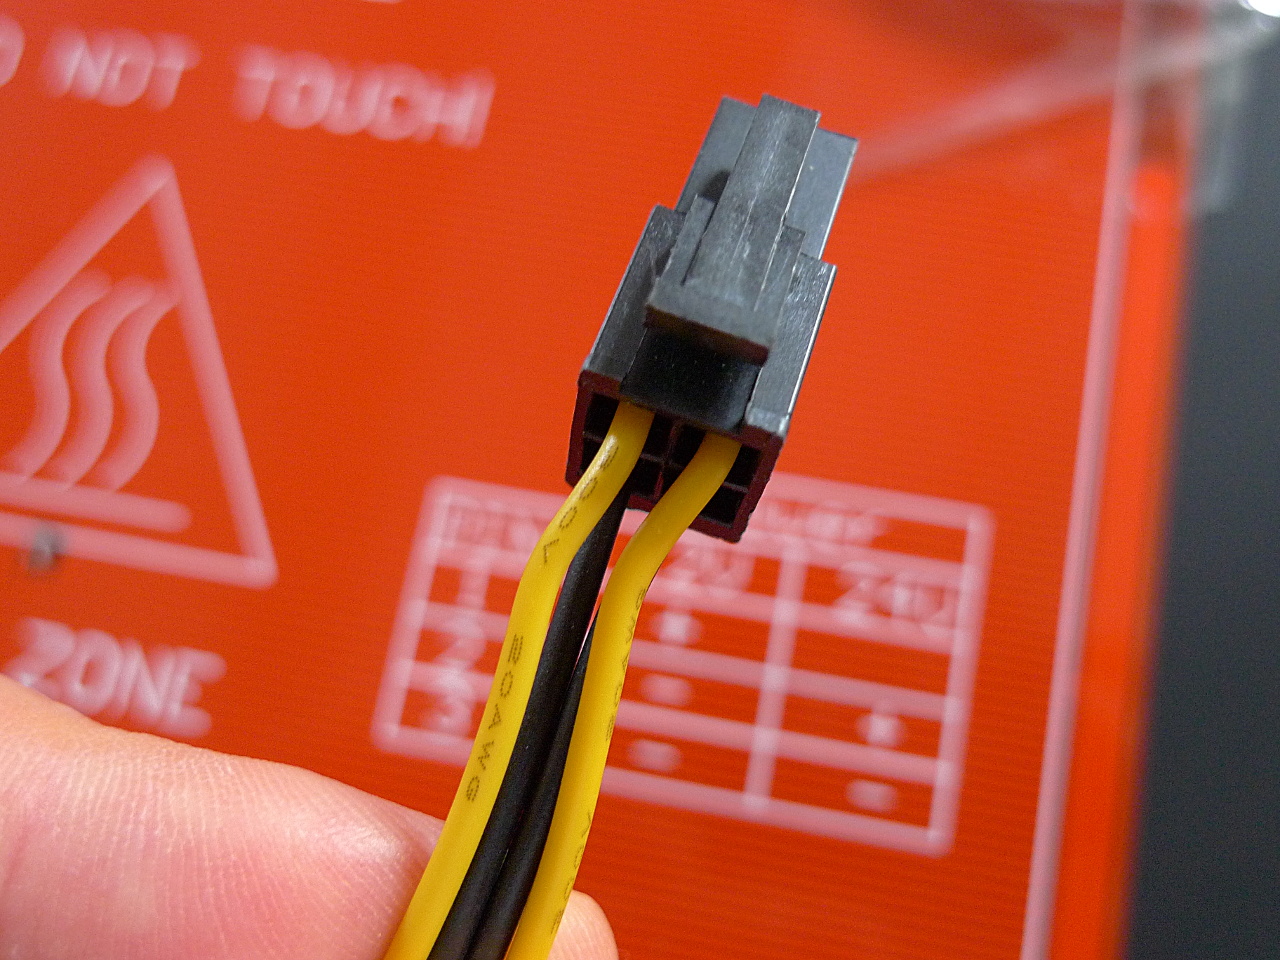
| 01:28, 25 October 2014 | ATX PSU gauge 2.jpg (file) |  |
473 KB | 20AWG wire. | 1 |