File list
This special page shows all uploaded files.
| Date | Name | Thumbnail | Size | Description | Versions |
|---|---|---|---|---|---|
| 06:15, 15 July 2013 | 10-bed arm left 8mm.ipt (file) | 206 KB | RepRap Morgan: Bed arm left for 8mm rod | 1 | |
| 06:15, 15 July 2013 | 10-bed arm left 8mm.stl (file) | 152 KB | RepRap Morgan: Bed arm left for 8mm rod | 1 | |
| 06:15, 15 July 2013 | 10-bed arm left 8mm.pdf (file) | 34 KB | RepRap Morgan: Bed arm left for 8mm rod (drawing) | 1 | |
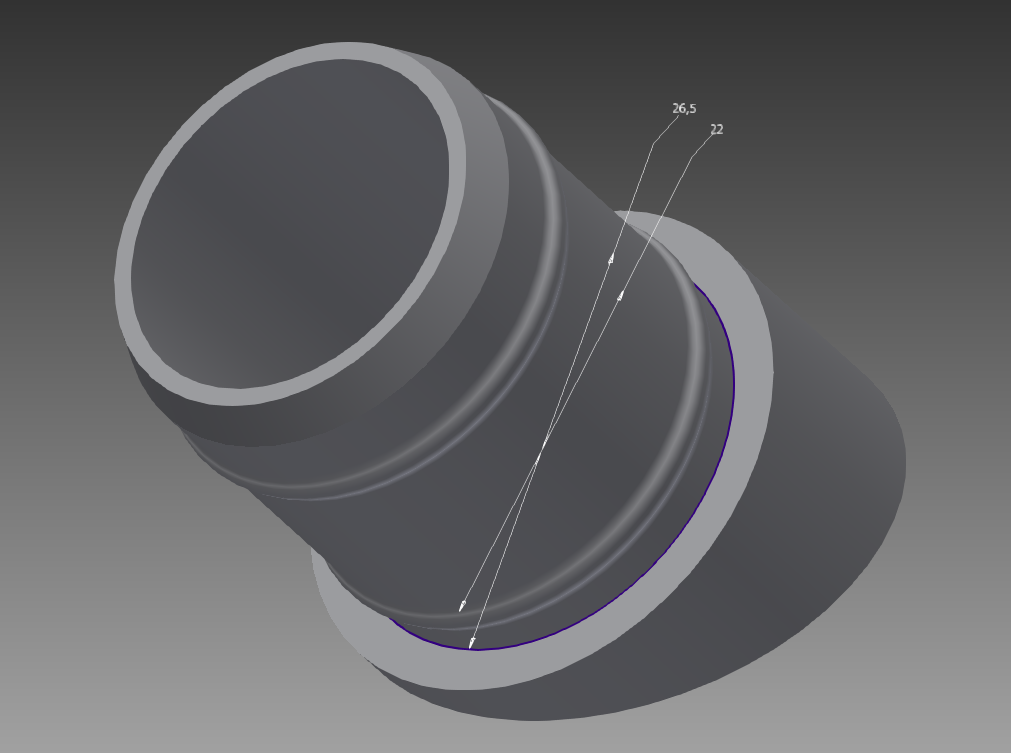
| 08:06, 12 July 2013 | 09-22mm 6805 bearing adaptor.stl (file) | 61 KB | RepRap Morgan: 22mm to 6805 adaptor | 1 | |
| 08:06, 12 July 2013 | 09-22mm 6805 bearing adaptor.ipt (file) | 88 KB | RepRap Morgan: 22mm to 6805 adaptor | 1 | |
| 08:06, 12 July 2013 | 09-22mm 6805 bearing adaptor.pdf (file) | 28 KB | RepRap Morgan: 22mm to 6805 adaptor (drawing) | 1 | |
| 08:06, 12 July 2013 | 09-22mm 6805 bearing adaptor.png (file) |  |
39 KB | RepRap Morgan: 22mm to 6805 adaptor | 1 |
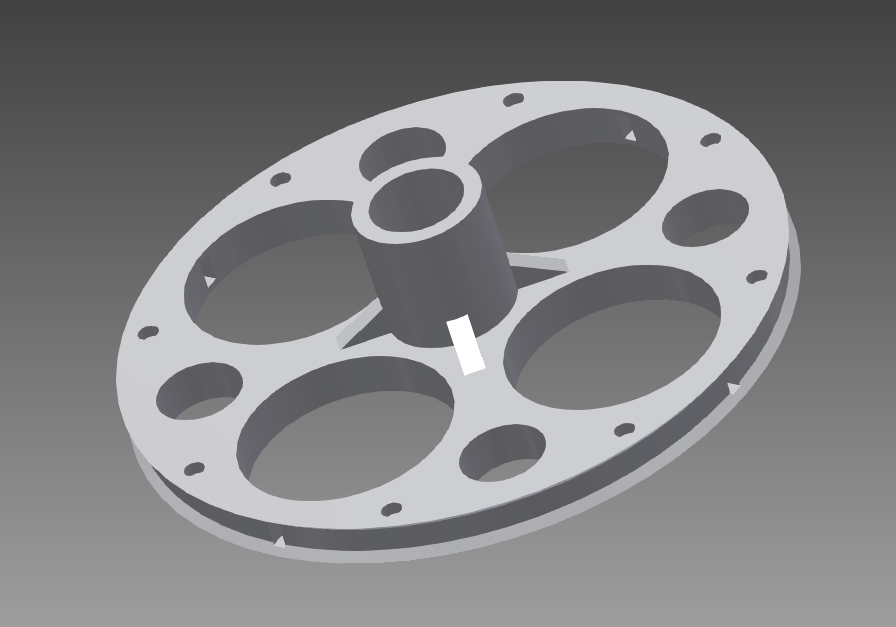
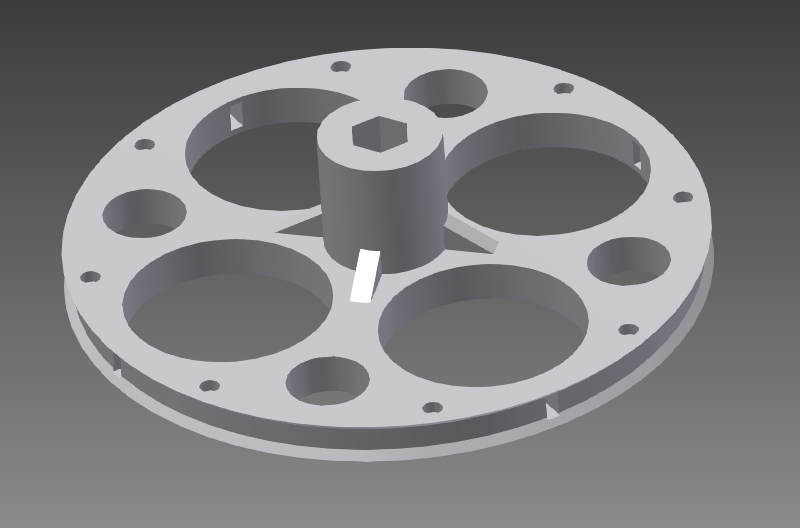
| 07:41, 12 July 2013 | 08-drivewheel tube.png (file) |  |
60 KB | RepRap Morgan: Drivewheel for tube | 3 |
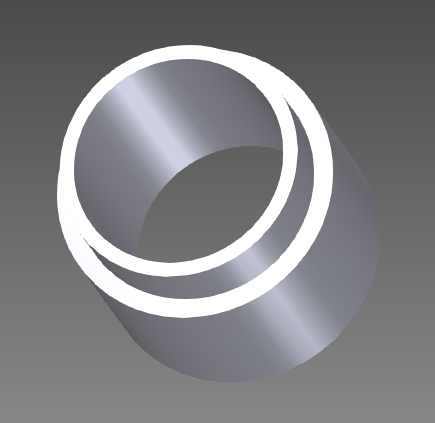
| 07:40, 12 July 2013 | 07-drivewheel rod.png (file) |  |
54 KB | RepReap Morgan: Drivewheel for rod | 2 |
| 07:28, 12 July 2013 | 08-drivewheel tube.stl (file) | 183 KB | RepRap Morgan: Drivewheel for tube | 1 | |
| 07:28, 12 July 2013 | 08-drivewheel tube.ipt (file) | 201 KB | RepRap Morgan: Drivewheel for tube | 1 | |
| 07:28, 12 July 2013 | 08-drivewheel tube.pdf (file) | 82 KB | RepRap Morgan: Drivewheel for tube (drawing) | 1 | |
| 07:14, 12 July 2013 | 07-drivewheel rod.stl (file) | 176 KB | RepRap Morgan: Drivewheel for rod | 1 | |
| 07:14, 12 July 2013 | 07-drivewheel rod.ipt (file) | 257 KB | RepRap Morgan: Drivewheel for rod | 1 | |
| 07:14, 12 July 2013 | 07-drivewheel rod.pdf (file) | 81 KB | RepRap Morgan: Drivewheel for rod (drawing) | 1 | |
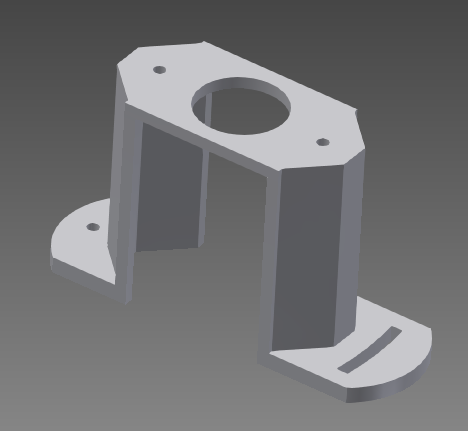
| 10:53, 10 July 2013 | 06-motormount tall.png (file) |  |
15 KB | RepRap Morgan: Motor mount tall | 2 |
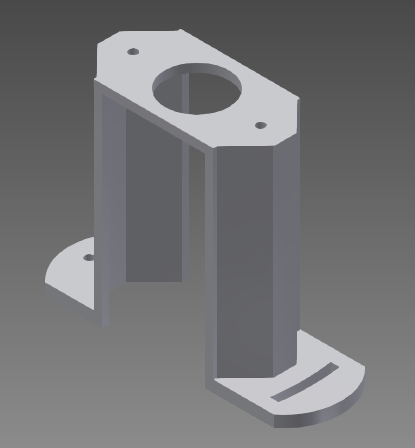
| 10:53, 10 July 2013 | 05-motormount short.png (file) |  |
16 KB | RepRap Morgan: Motor mount short | 2 |
| 10:40, 10 July 2013 | 06-motormount tall.stl (file) | 42 KB | RepRap Morgan: Motor mount tall | 1 | |
| 10:40, 10 July 2013 | 06-motormount tall.ipt (file) | 194 KB | RepRap Morgan: Motor mount tall | 1 | |
| 10:40, 10 July 2013 | 06-motormount tall.pdf (file) | 49 KB | RepRap Morgan: Motor mount tall (drawing) | 1 | |
| 10:40, 10 July 2013 | 05-motormount short.stl (file) | 43 KB | RepRap Morgan: Motor mount short | 1 | |
| 10:40, 10 July 2013 | 05-motormount short.ipt (file) | 194 KB | RepRap Morgan: Motor mount short | 1 | |
| 10:40, 10 July 2013 | 05-motormount short.pdf (file) | 41 KB | RepRap Morgan: Motor mount short (drawing) | 1 | |
| 07:43, 9 July 2013 | 02-pvc pipe support b.idw (file) | 155 KB | RepRap Morgan: PVC-pipe support drawing | 1 | |
| 07:14, 9 July 2013 | 01-pvc pipe support a-1.pdf (file) | 28 KB | 1 | ||
| 08:14, 8 July 2013 | V3 Bowden Mount Morgan.ipt (file) | 1.31 MB | 1 | ||
| 08:13, 8 July 2013 | V3 Bowden Mount Morgan.stl (file) | 4.61 MB | 1 | ||
| 08:10, 8 July 2013 | V3 Bowden Mount Morgan-1.png (file) |  |
53 KB | Tool head for RepRap Morgan with RepRap-fab V3 bowden extruder | 1 |
| 07:59, 8 July 2013 | V3 Bowden Mount Morgan-1.svg (file) |  |
646 KB | 5 | |
| 07:38, 8 July 2013 | V3 Bowden Mount Morgan-1.pdf (file) | 89 KB | Morgan tool head for Reprap-fab V3 bowden hotend | 1 | |
| 08:50, 5 July 2013 | Glasduesen kategoriebild.png (file) |  |
78 KB | glas nozzles | 1 |
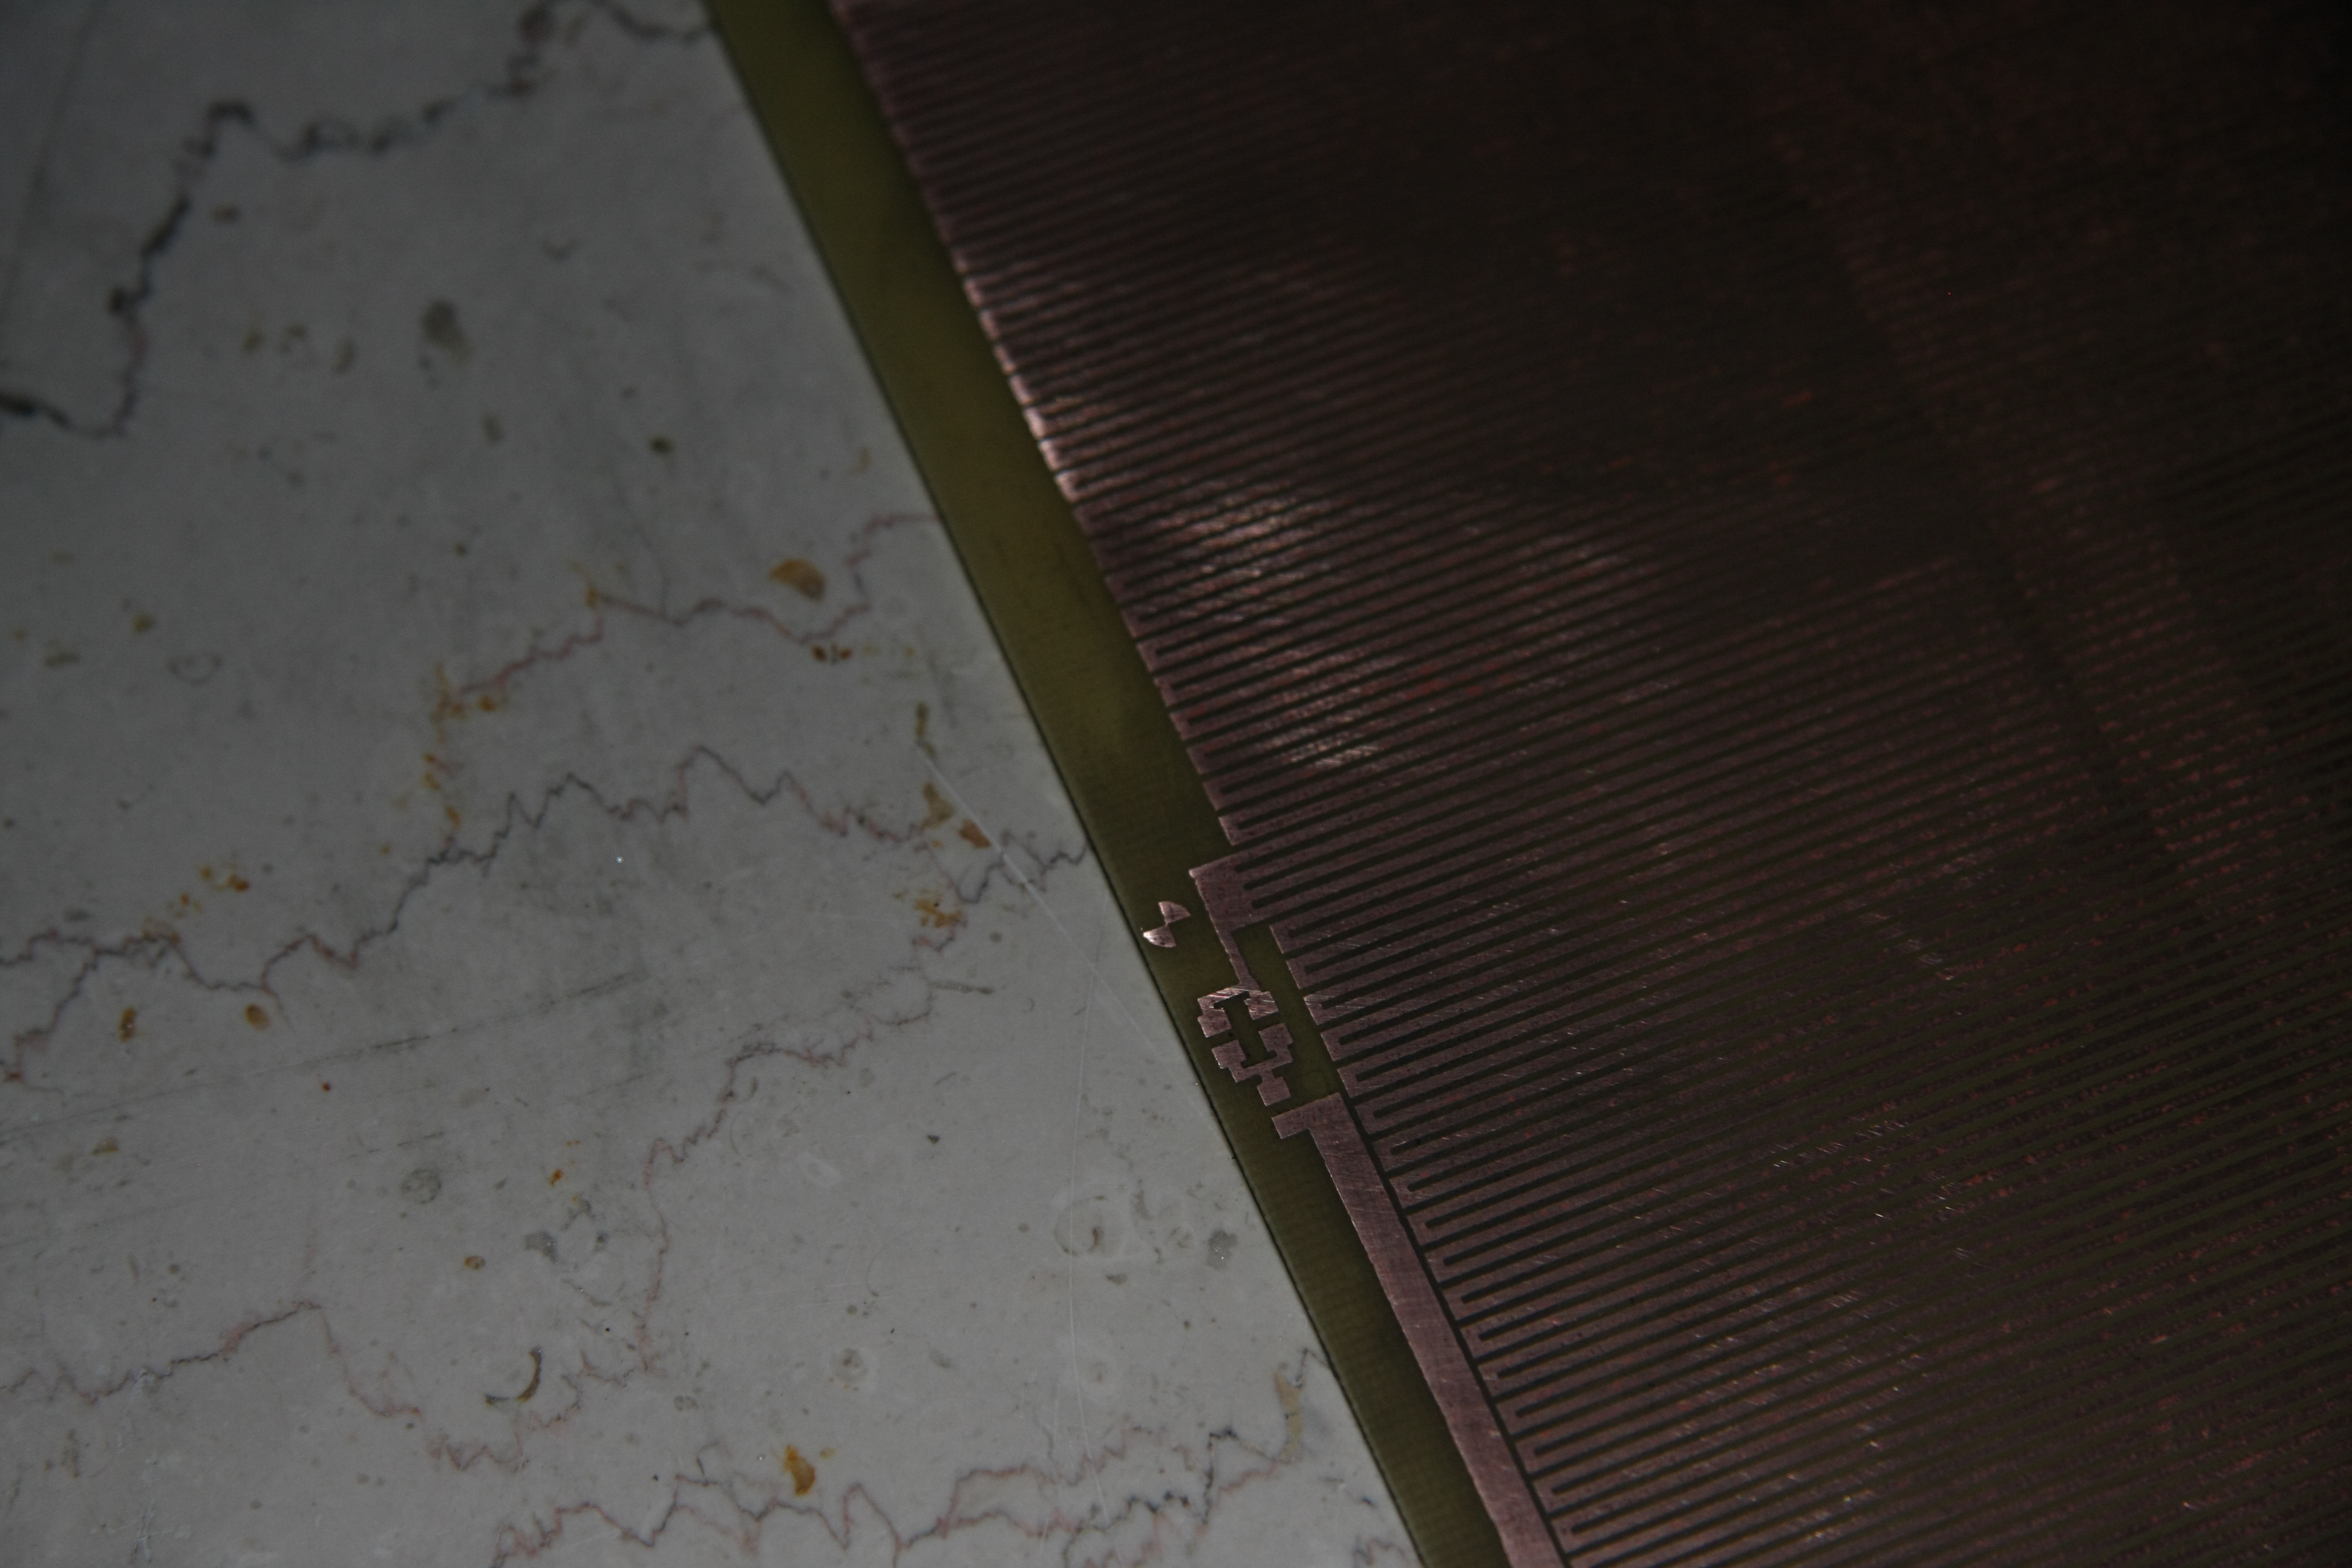
| 04:38, 5 July 2013 | Tonertransfer mit 100µm Details.PNG (file) | 254 KB | Toner transfer allows clear details down to 100µm. | 1 | |
| 18:01, 30 June 2013 | Parameterized pipe-support.png (file) |  |
136 KB | RepRap Morgan pie-support redesigned to allow different pipe-diameters. | 1 |
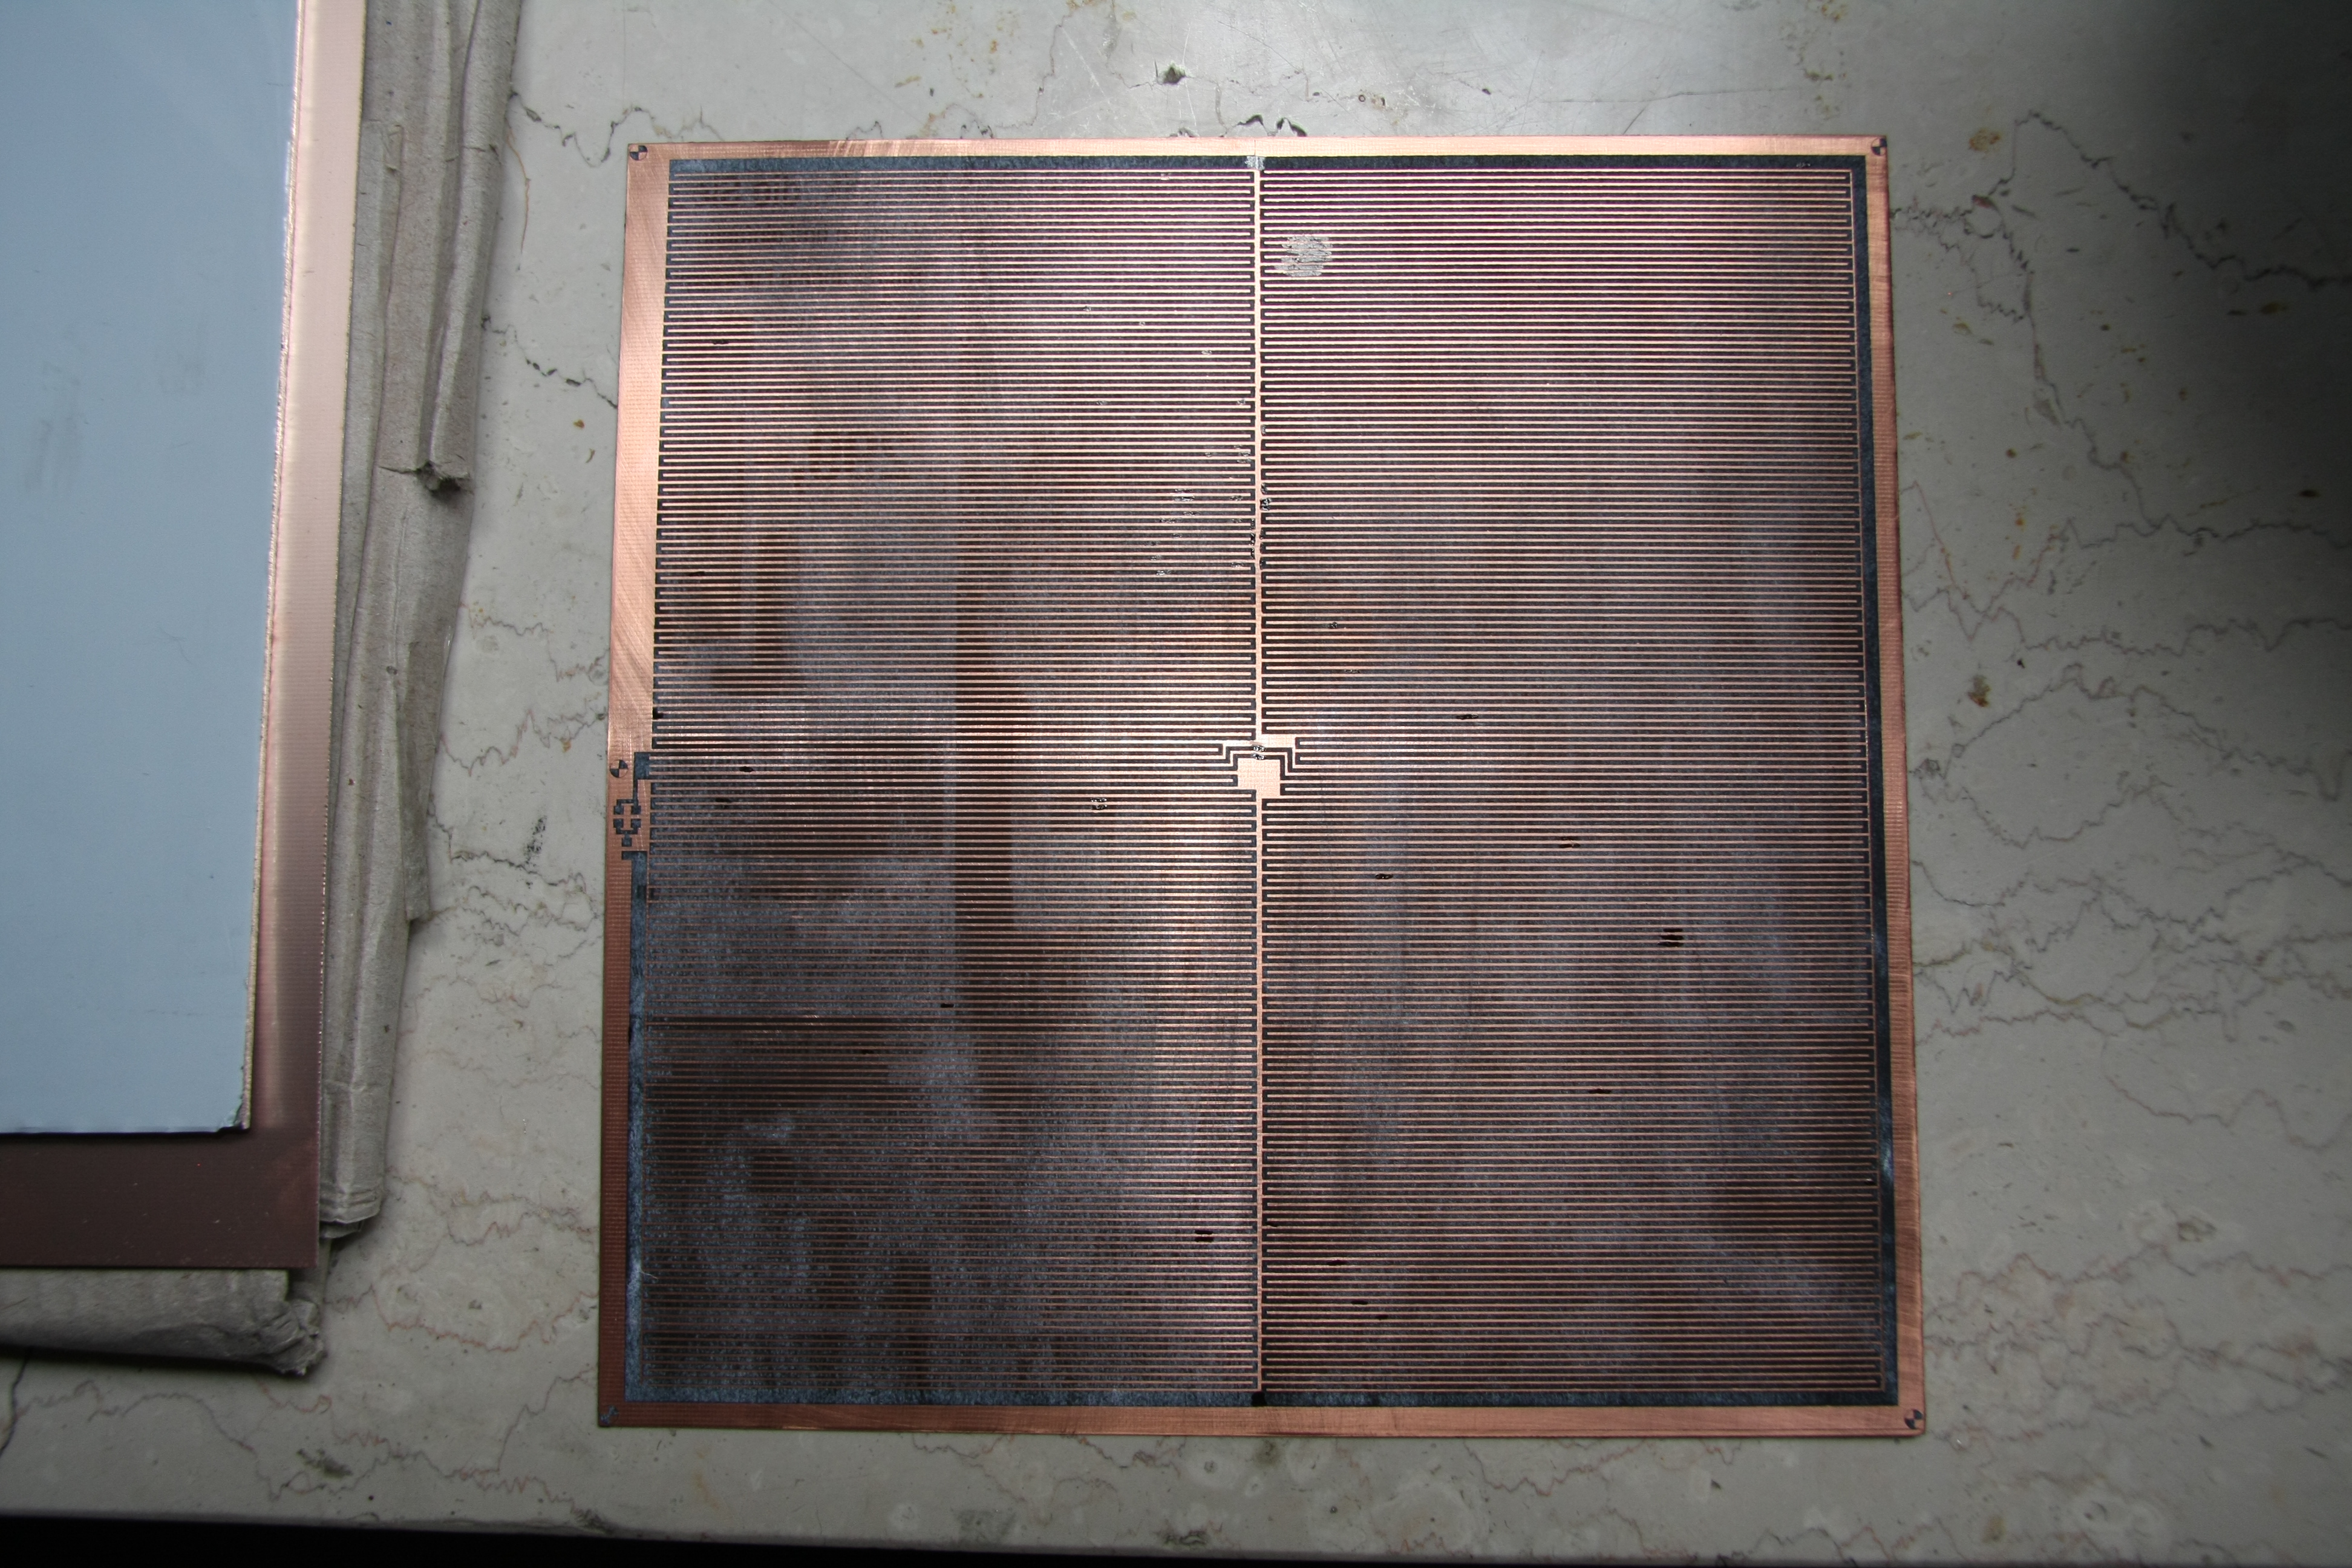
| 17:24, 30 June 2013 | Etched and ready.JPG (file) |  |
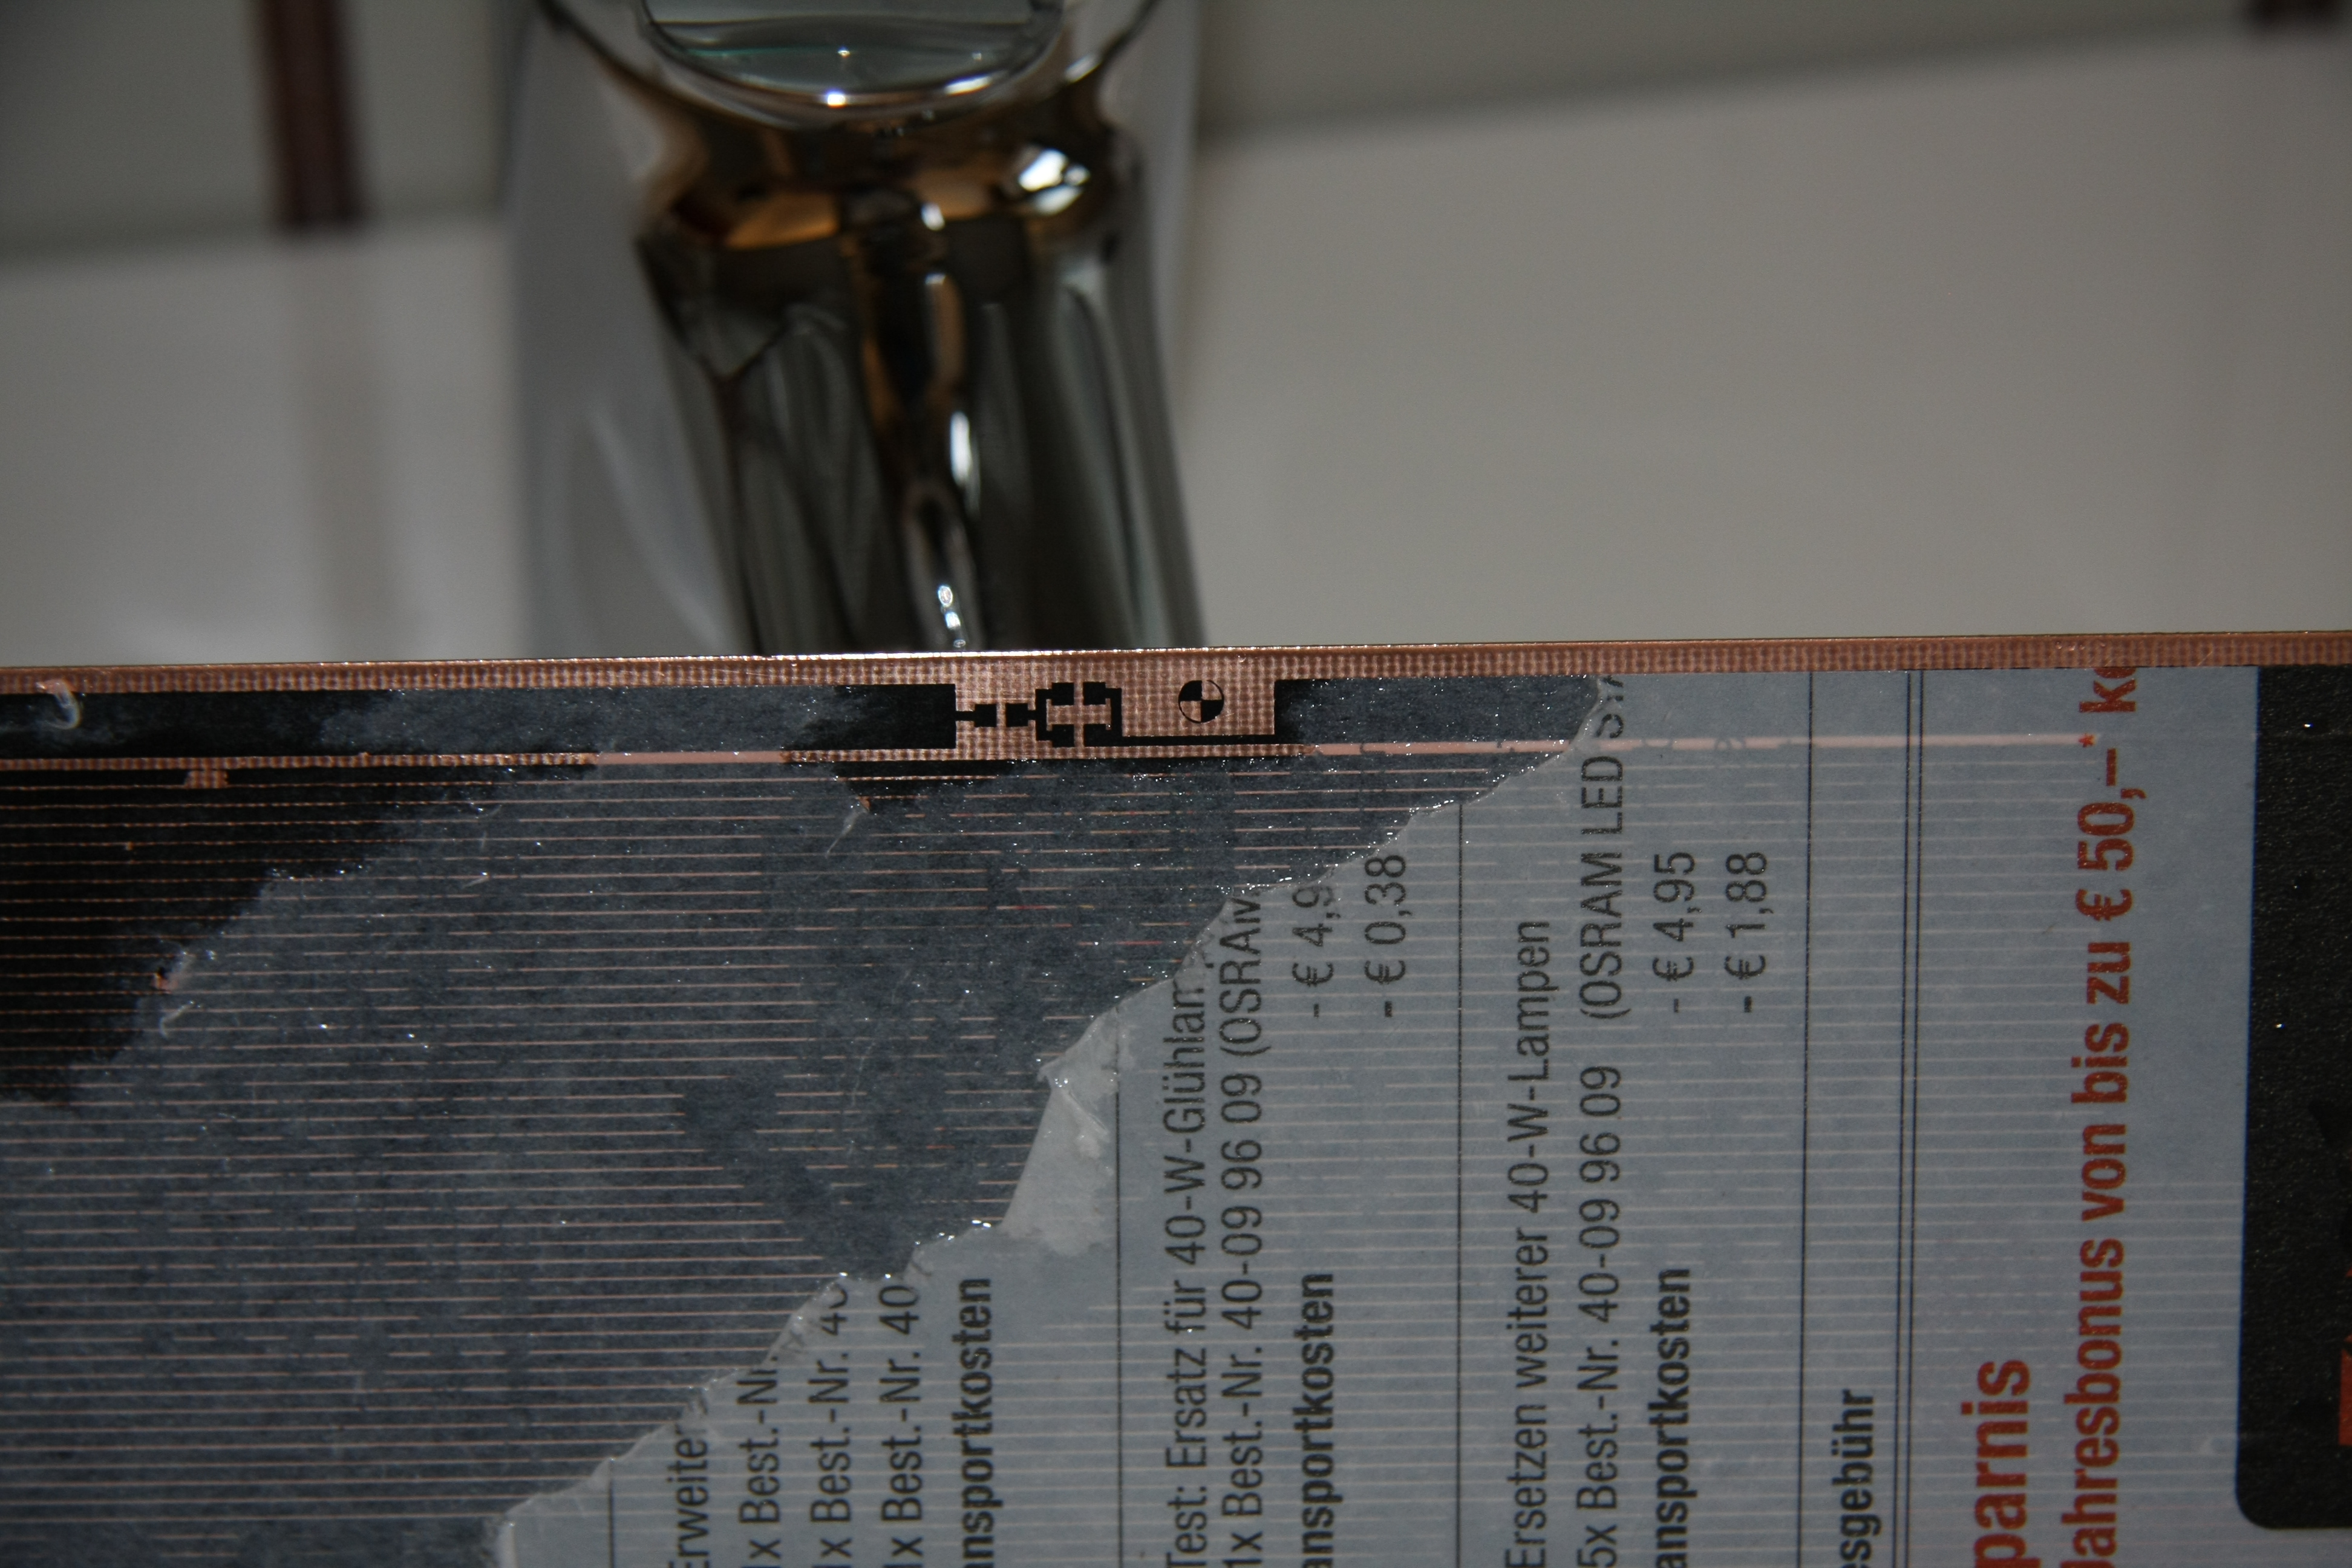
2.49 MB | '''Toner Transfer Method/Building my own Heatbed''' Now the board is etched in iron(III)chloride and the toner was removed with acetone. Resistance measured: 2.1 Ohm | 1 |
| 08:49, 30 June 2013 | My etch laboratory.JPG (file) |  |
2.69 MB | Two cases that fit in each other are the best way to keep the garage clean. because using iron(III)chloride can get quite dirty sometimes. There's an old 150W glas-heater for aquariums and a cheap air-pump for the bubbles. I'm working on a new airstone- | 1 |
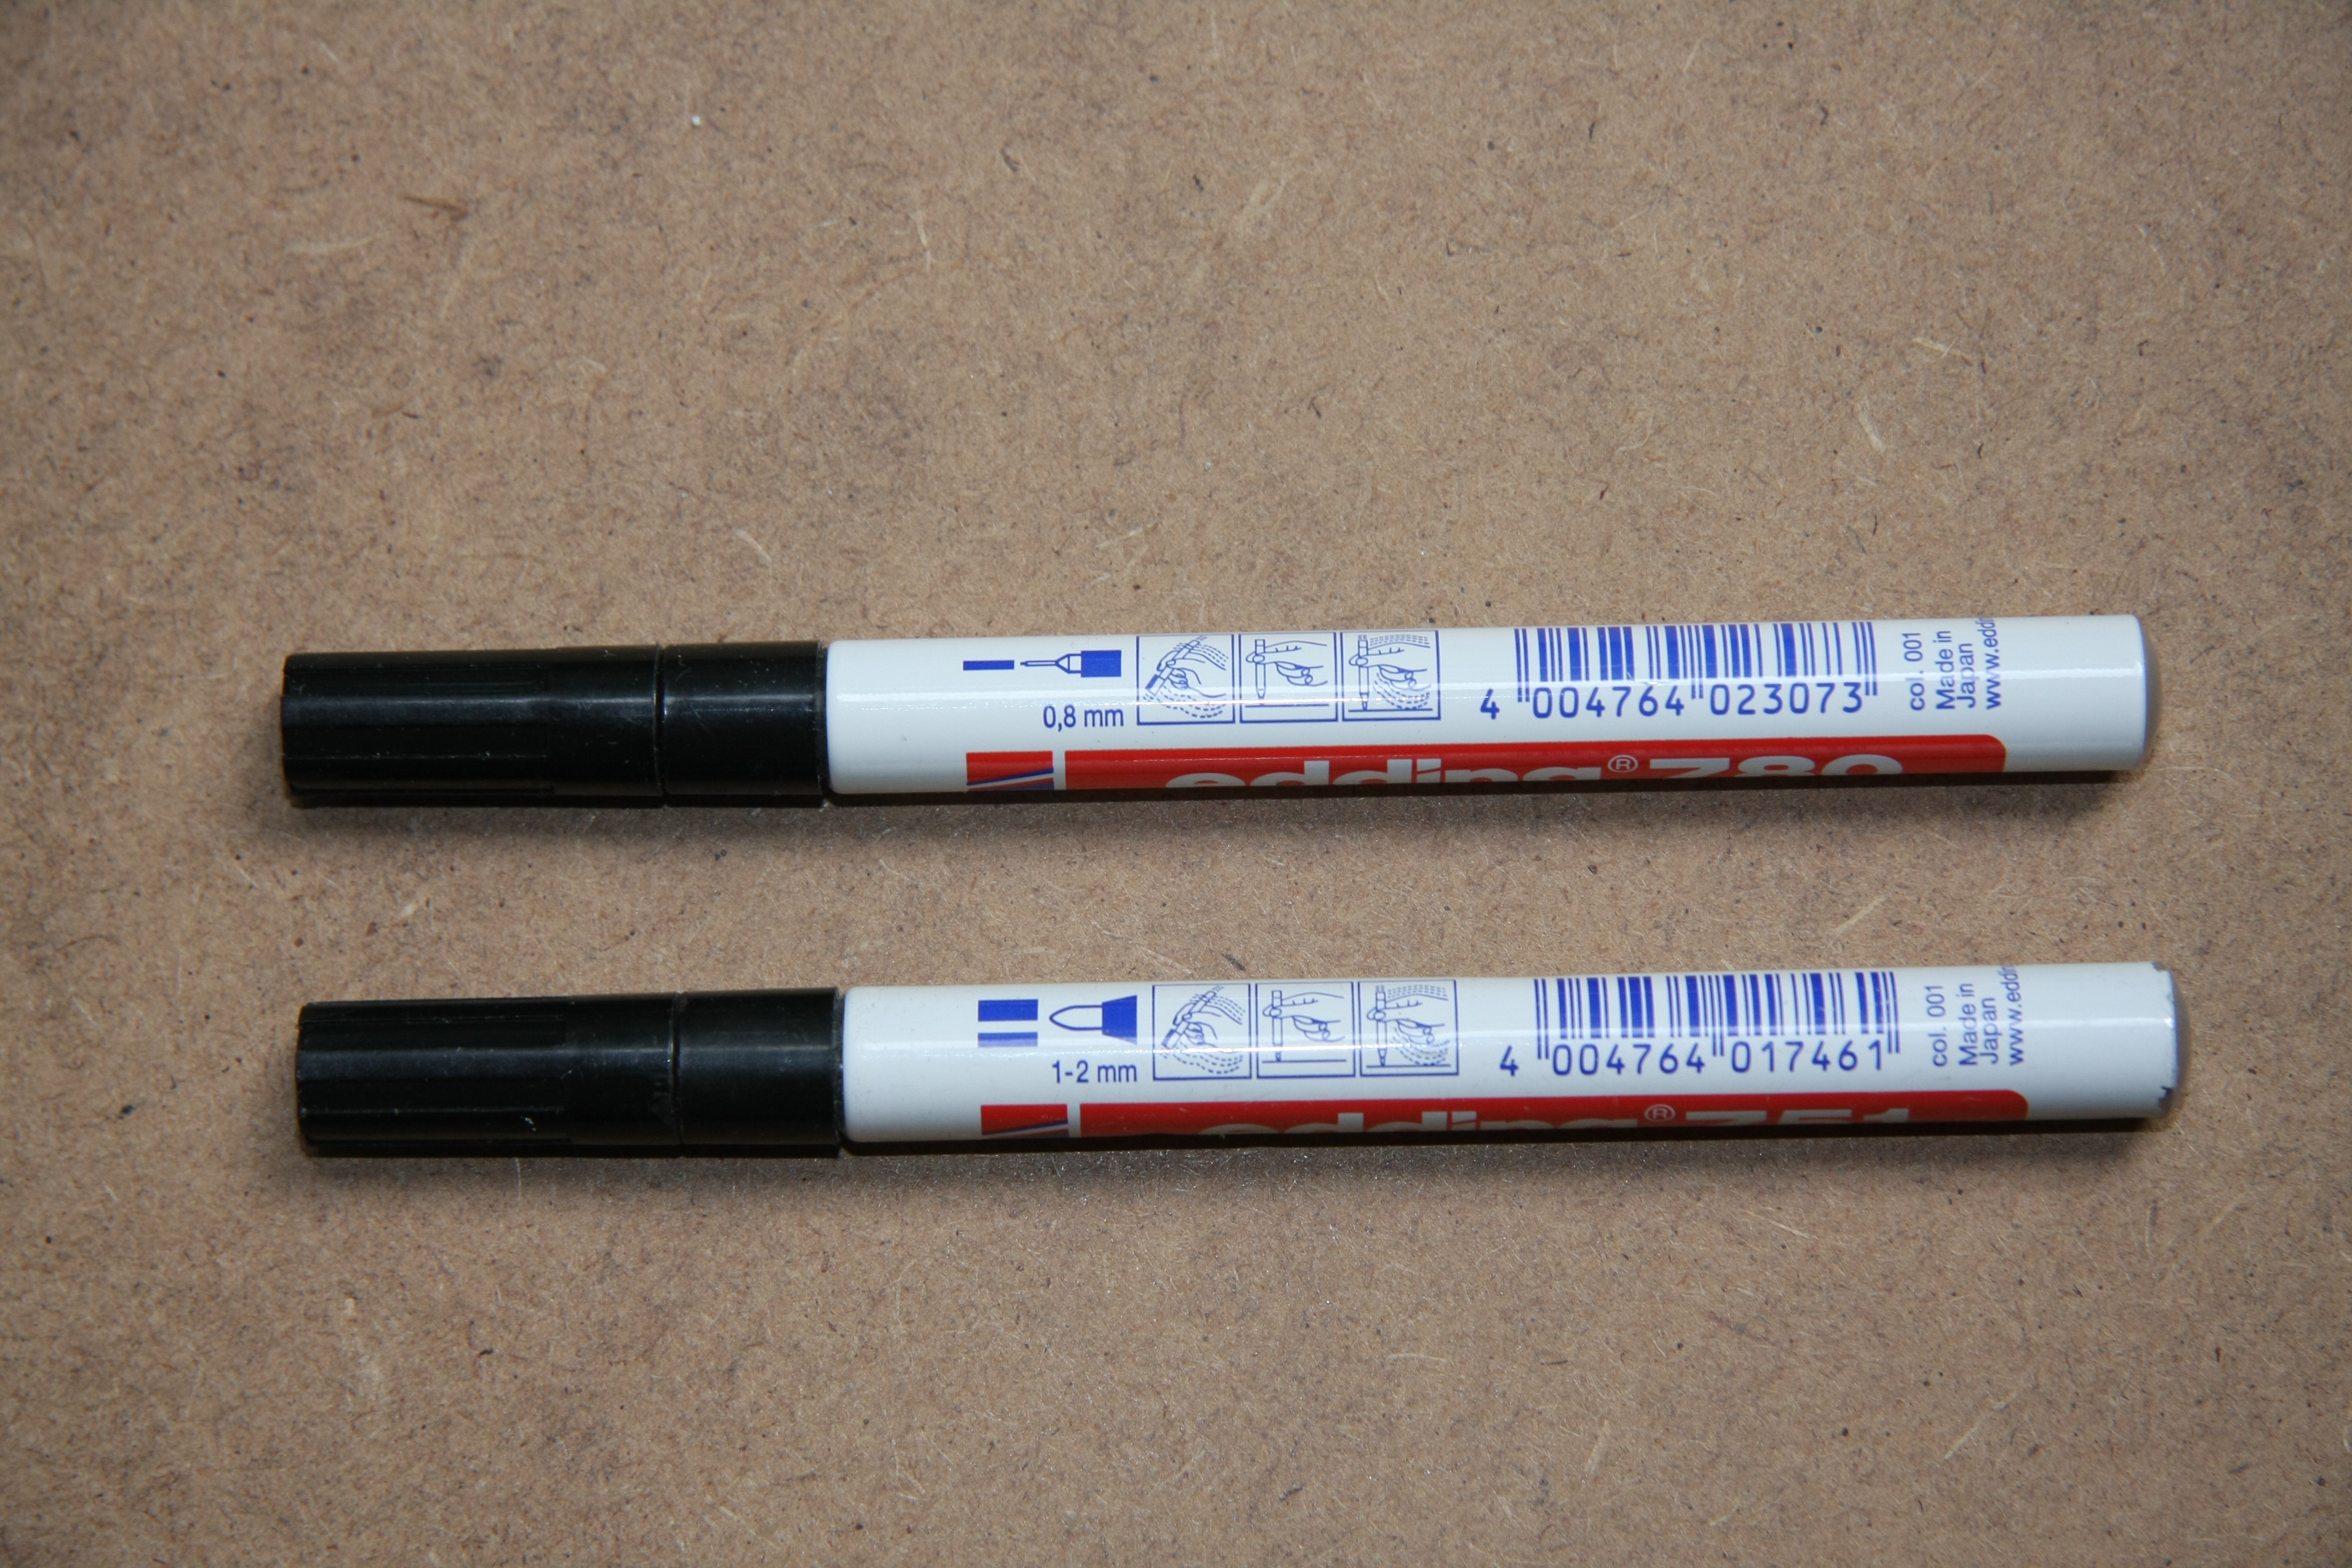
| 08:33, 30 June 2013 | Lacquer pens.JPG (file) |  |
3.9 MB | '''Toner Transfer Method/Building my own Heatbed''' This pens work fine to repair breaches in the layout. | 1 |
| 07:45, 30 June 2013 | All breaches fixed.JPG (file) |  |
4.13 MB | 2 | |
| 07:39, 30 June 2013 | Very fine details.JPG (file) |  |
3.04 MB | '''Toner Transfer Method/Building my own Heatbed''' Using the very fine sandpaper (1200) and avoiding to iron the paper directly (only with paper towels a buffer) allows very fine details and very sharp lines. | 1 |
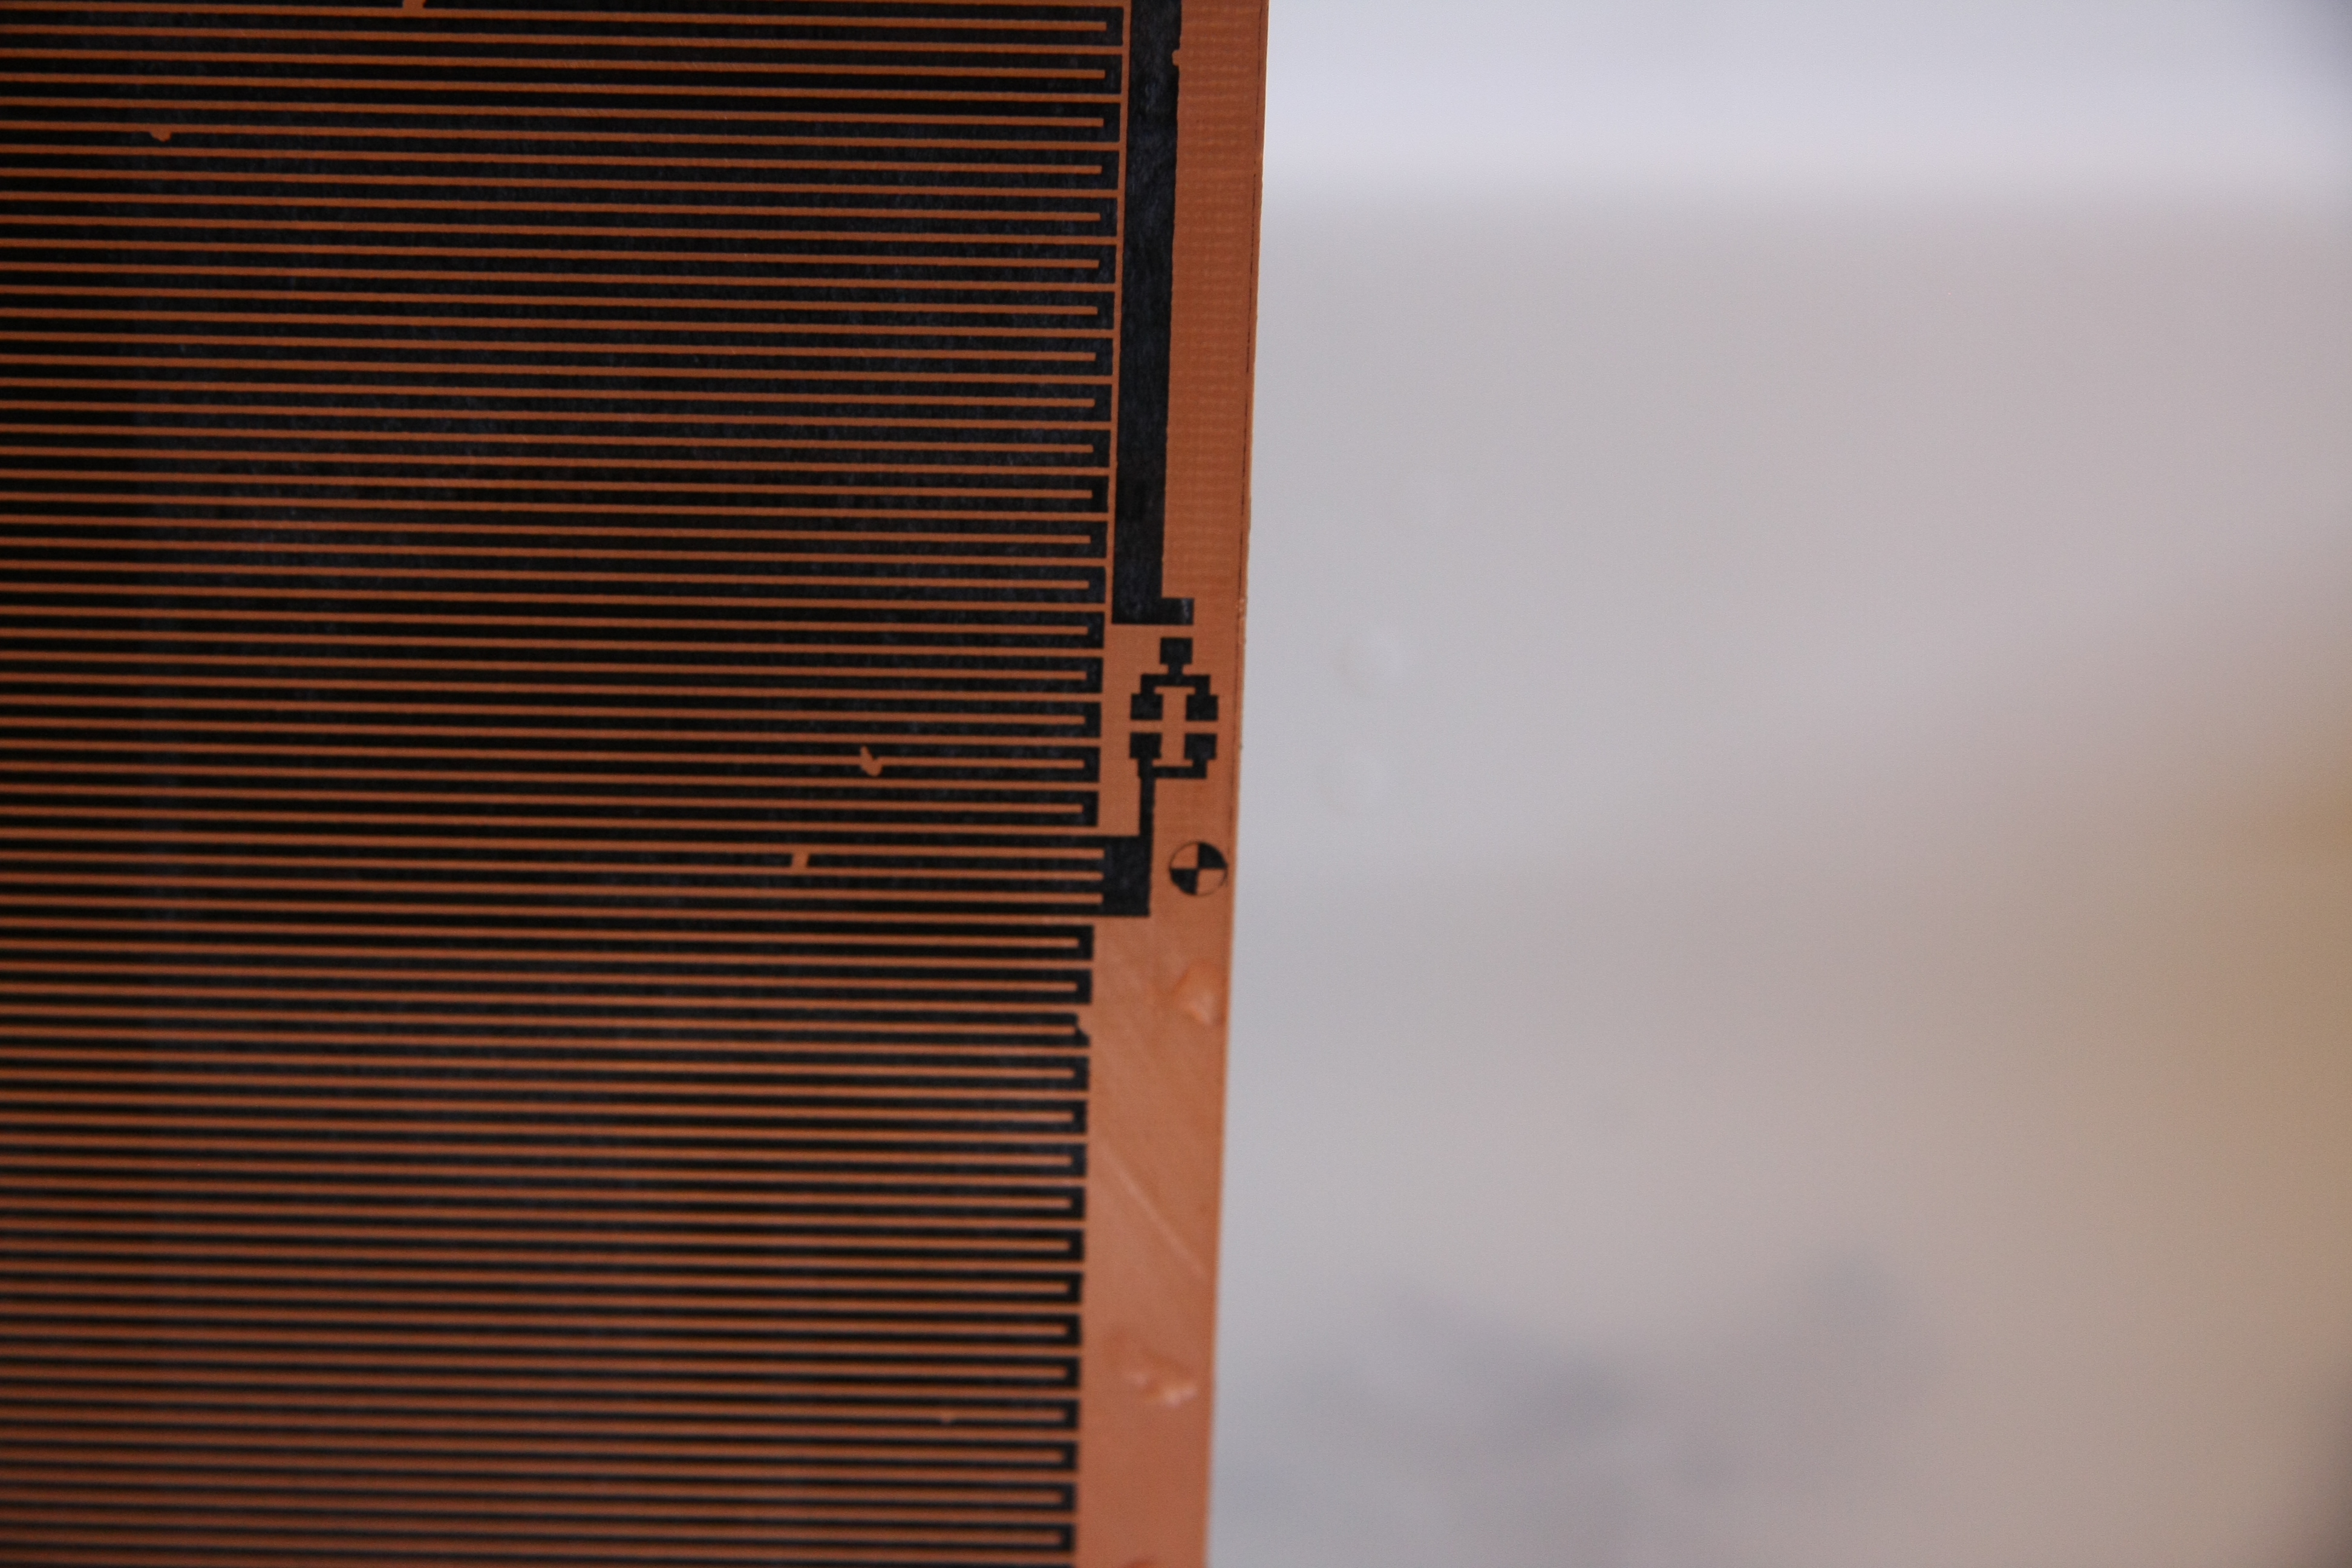
| 07:37, 30 June 2013 | Paper removed completely.JPG (file) |  |
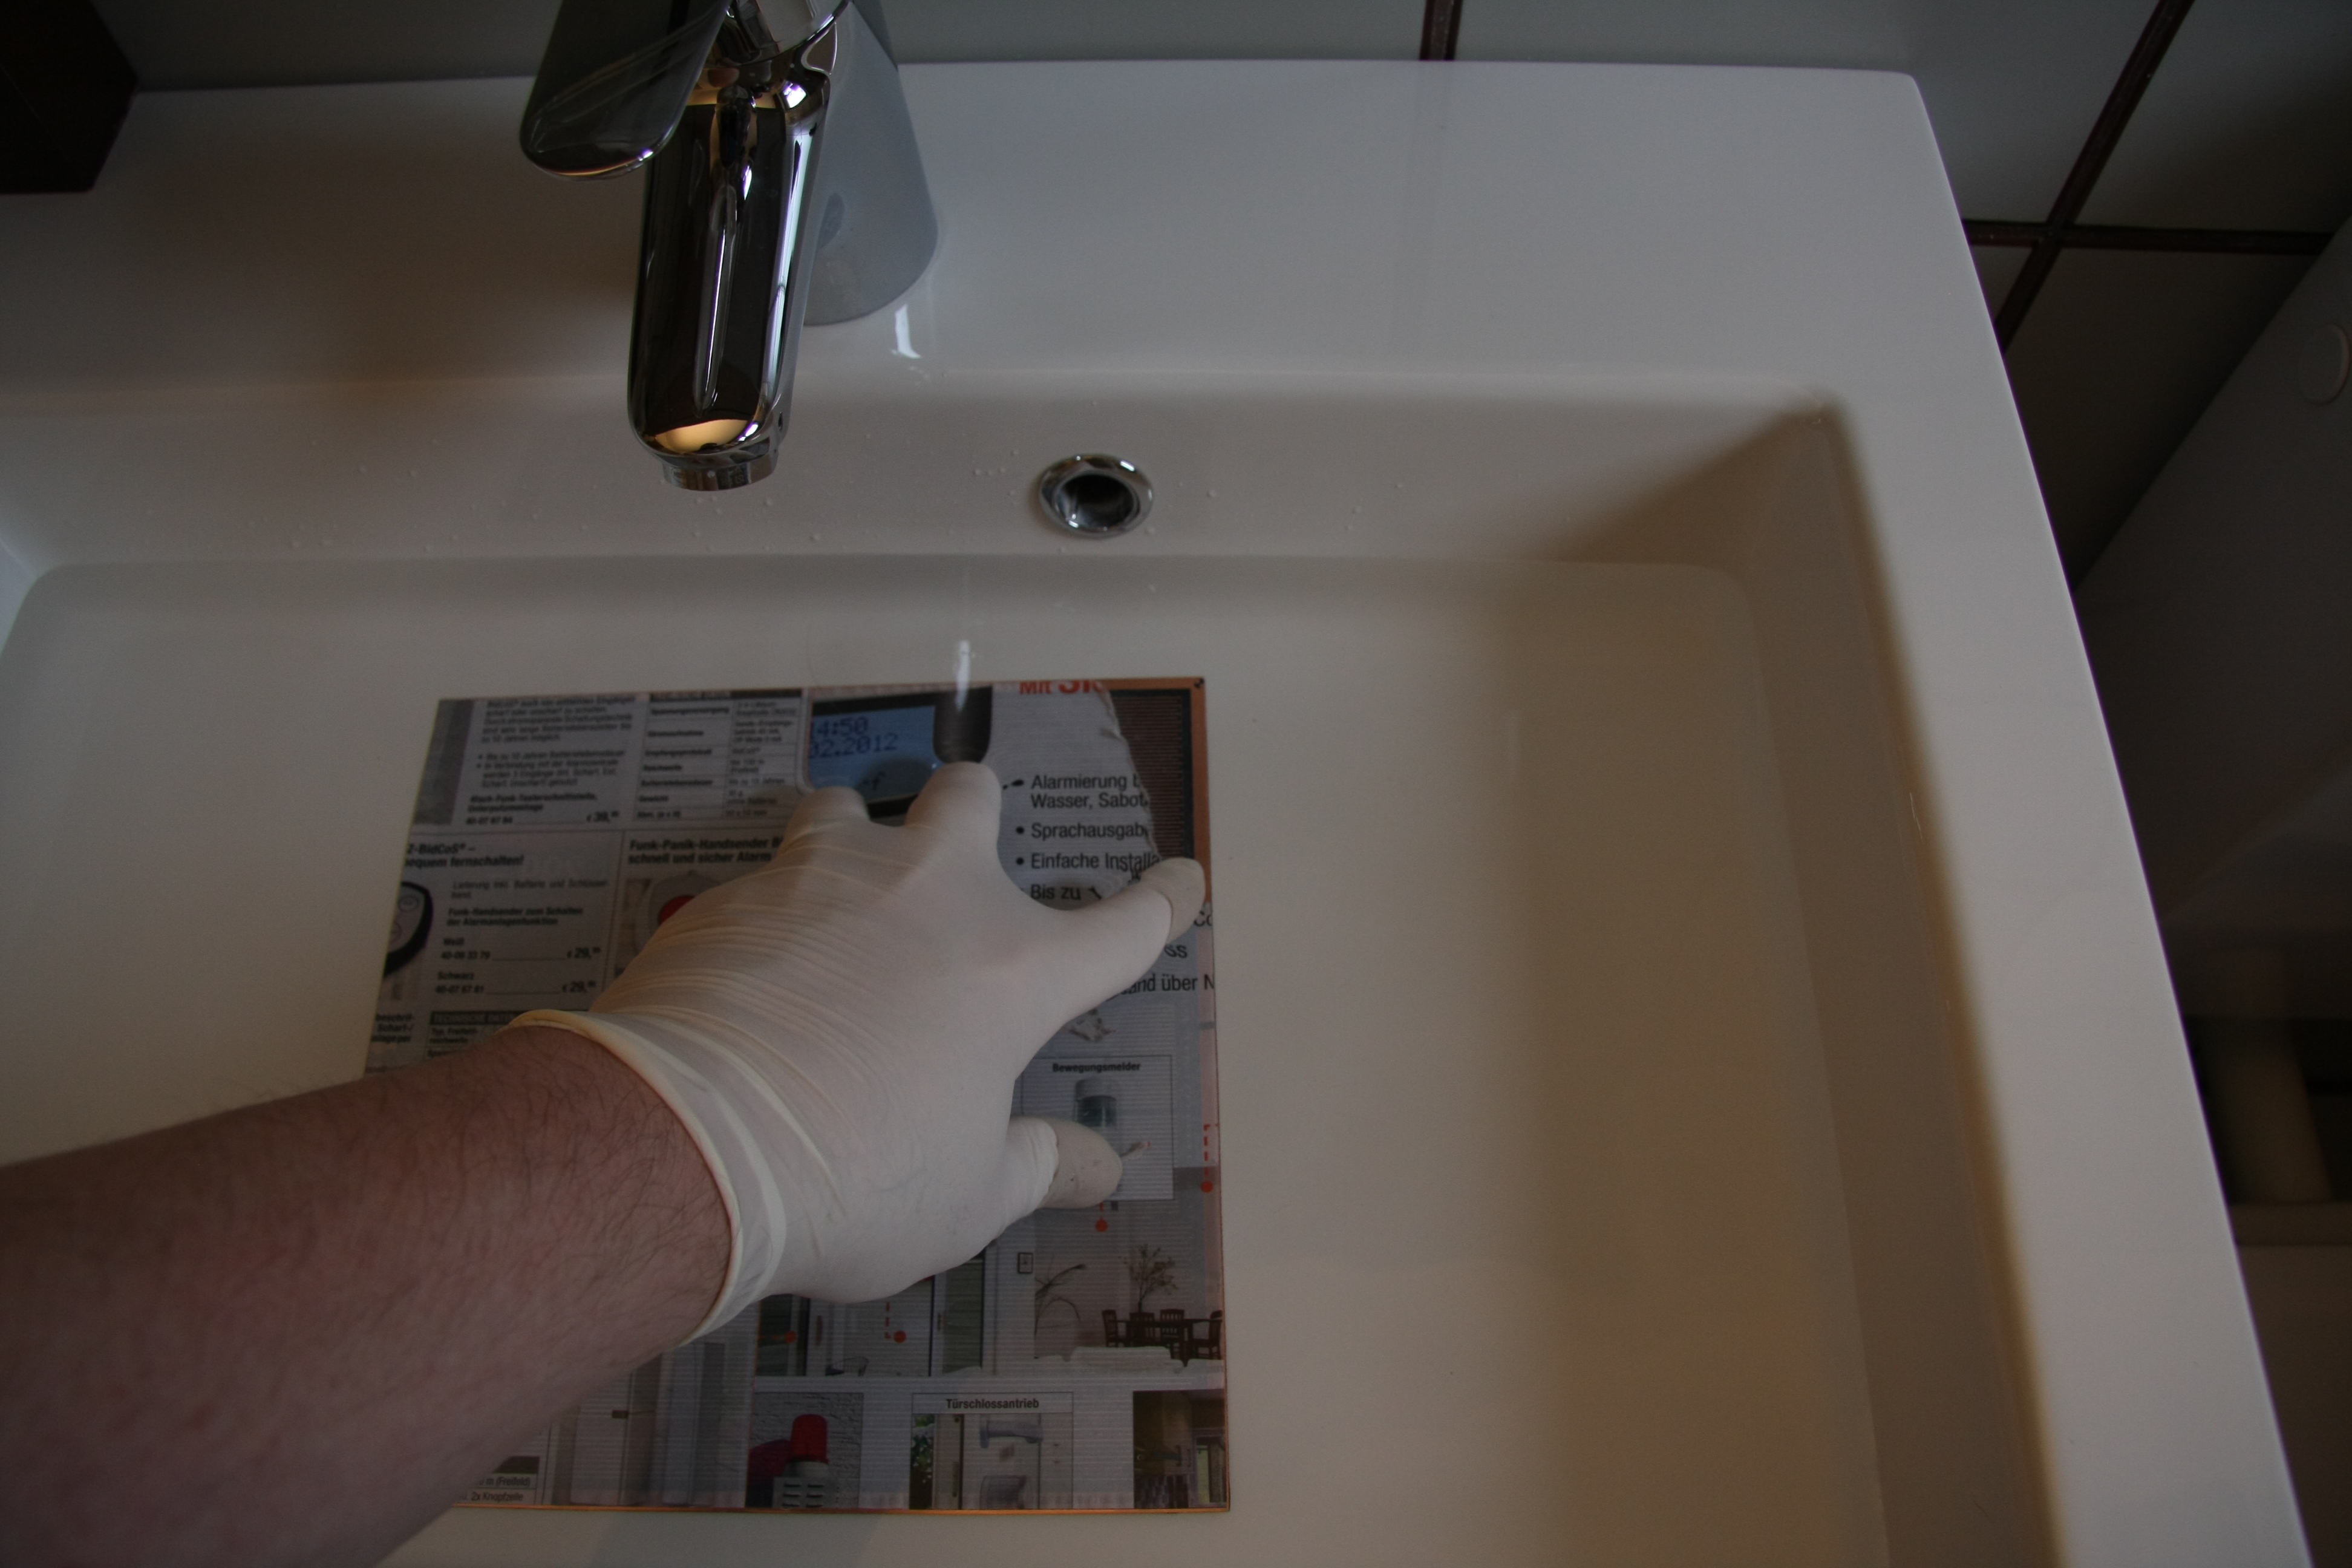
3.53 MB | '''Toner Transfer Method/Building my own Heatbed''' Now here all the paper has been removed with latex gloves on. The print looks very good, regarding that a layout with this quantity and density of traces is very difficult to do with the toner transfer | 1 |
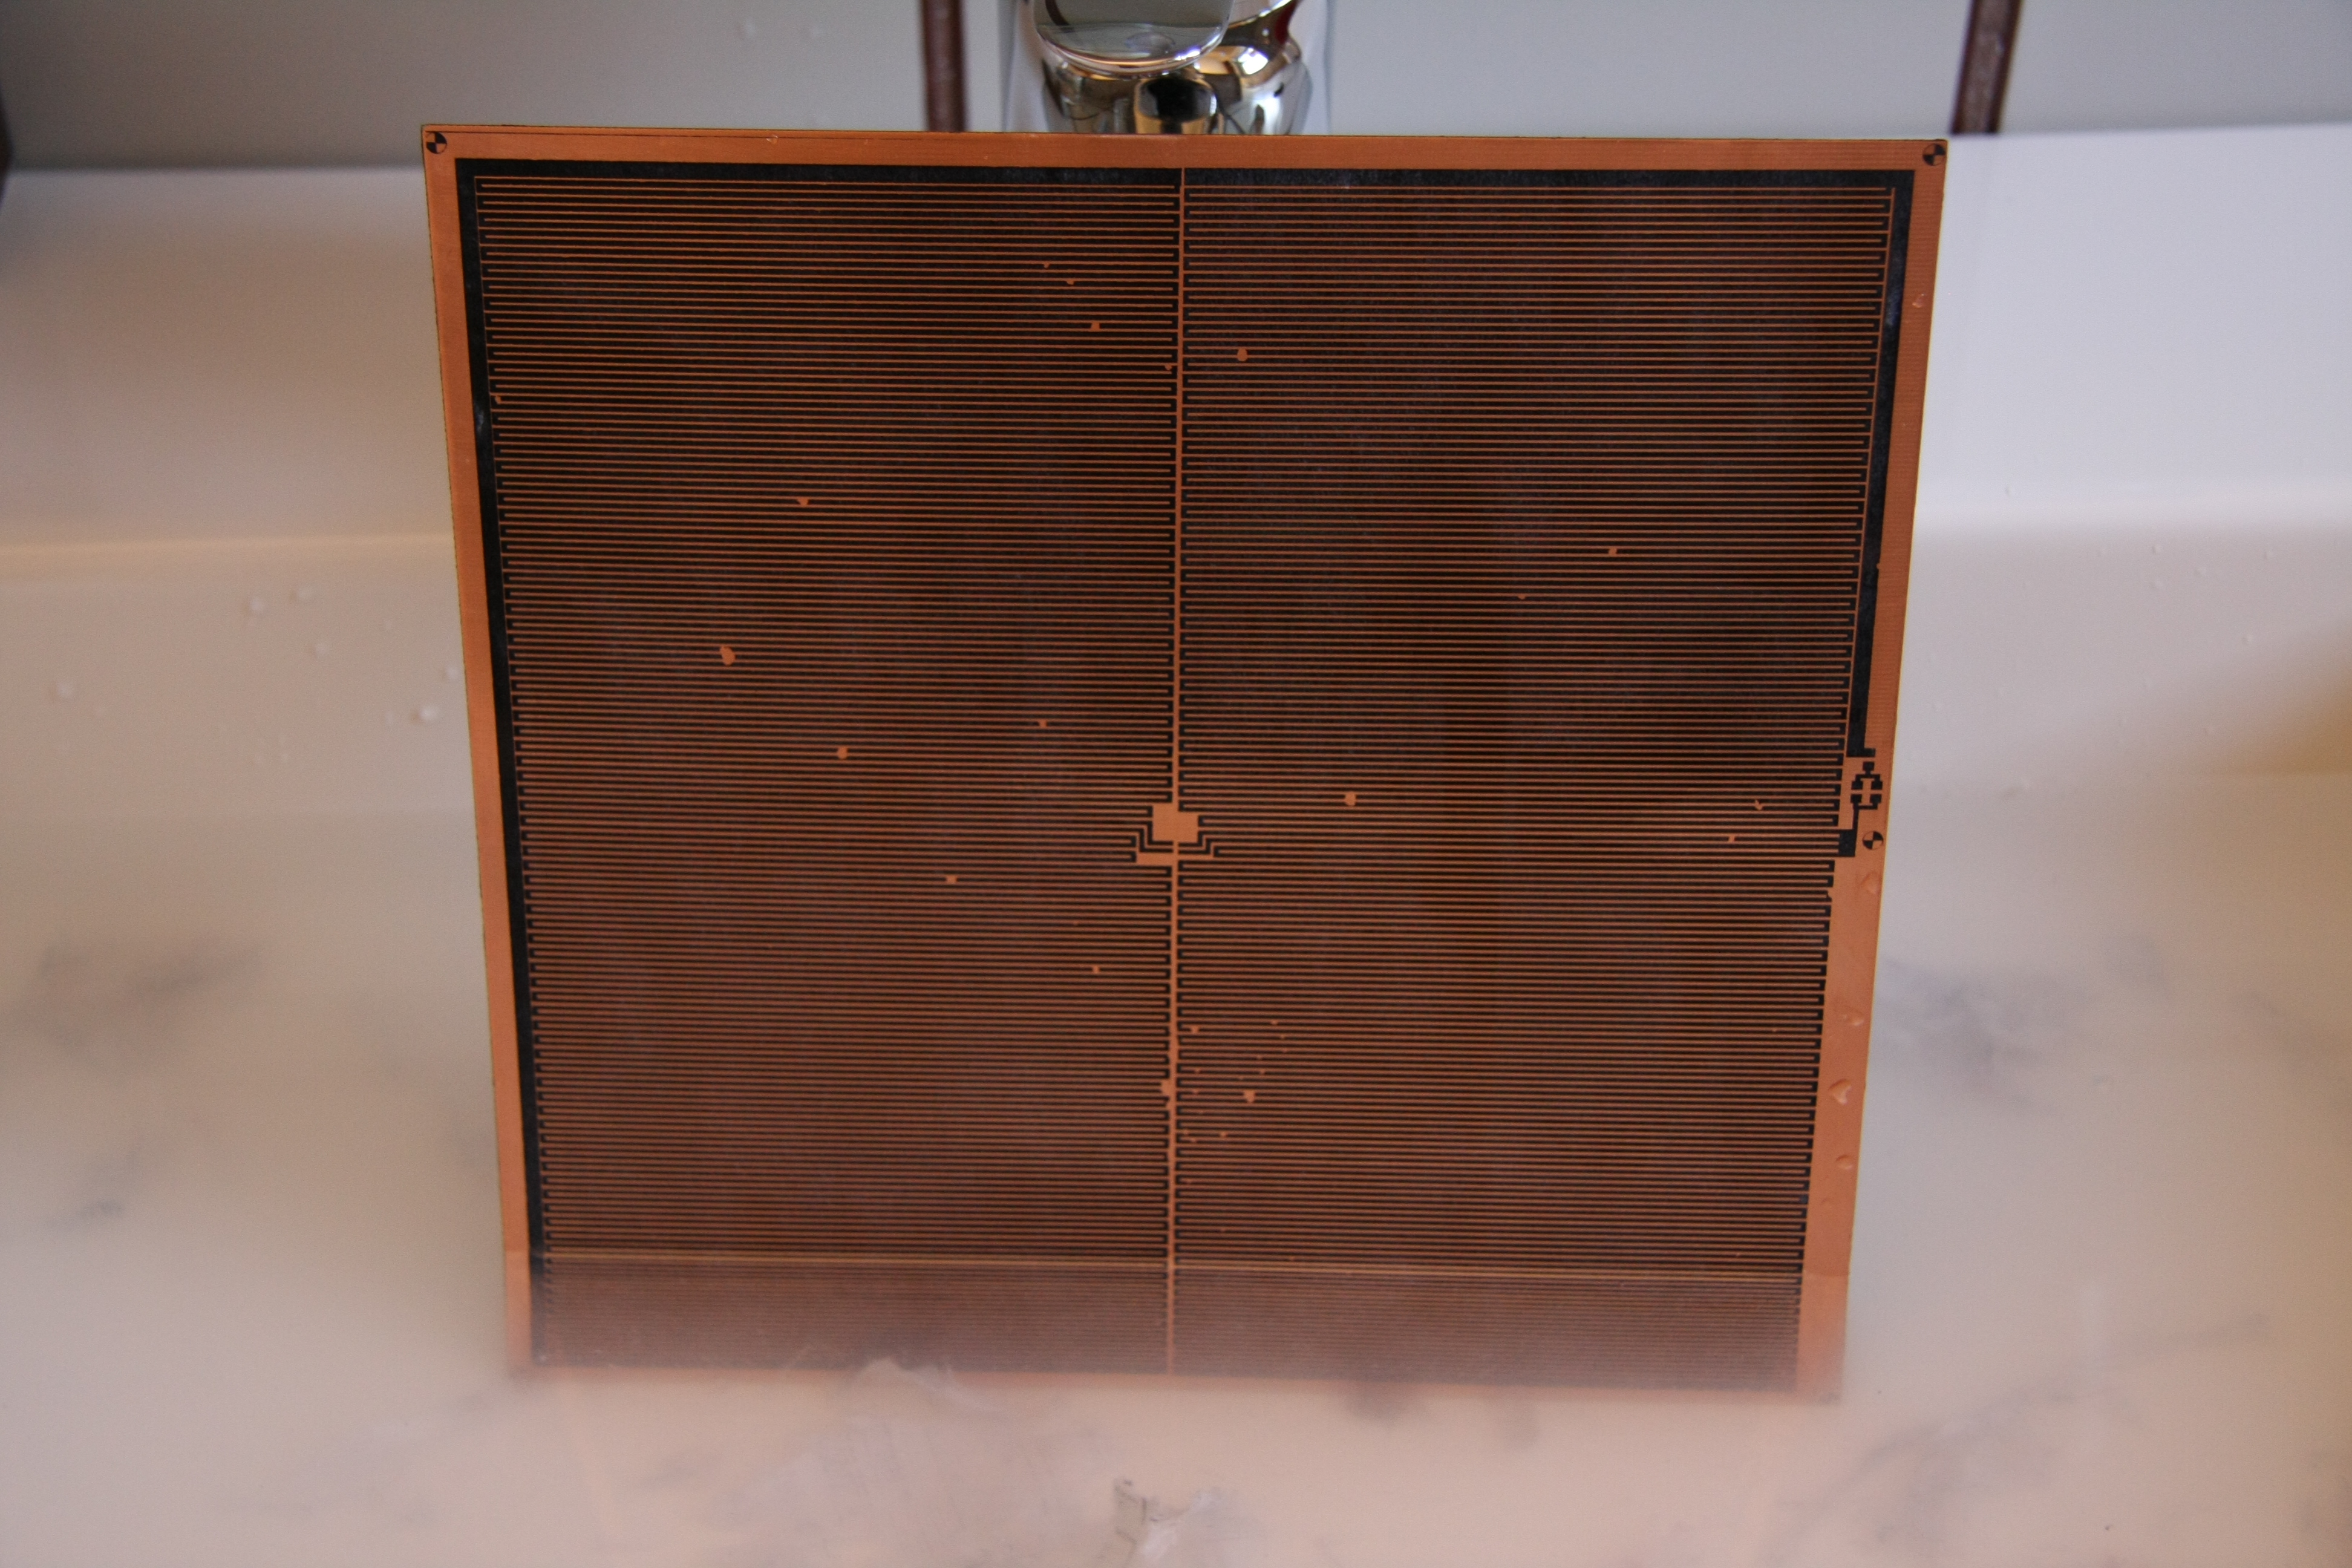
| 07:33, 30 June 2013 | Paper removed a good one.JPG (file) |  |
3.21 MB | '''Toner Transfer Method/Building my own Heatbed''' This time there are only a few breaches in the print, that later can be fixed easily. | 1 |
| 07:31, 30 June 2013 | Removing paper with latex gloves.JPG (file) |  |
2.46 MB | '''Toner Transfer Method/Building my own Heatbed''' Latex gloves are perfect to remove the paper. You need less pressure and therefore the print stays inviolate. | 1 |
| 07:25, 30 June 2013 | Not enough ironing.JPG (file) |  |
4.63 MB | This happens, when you didn't iron enough and/or not hot enough. This sample is to bad to be fixed with paint. | 1 |
| 07:19, 30 June 2013 | Remove the paper.JPG (file) |  |
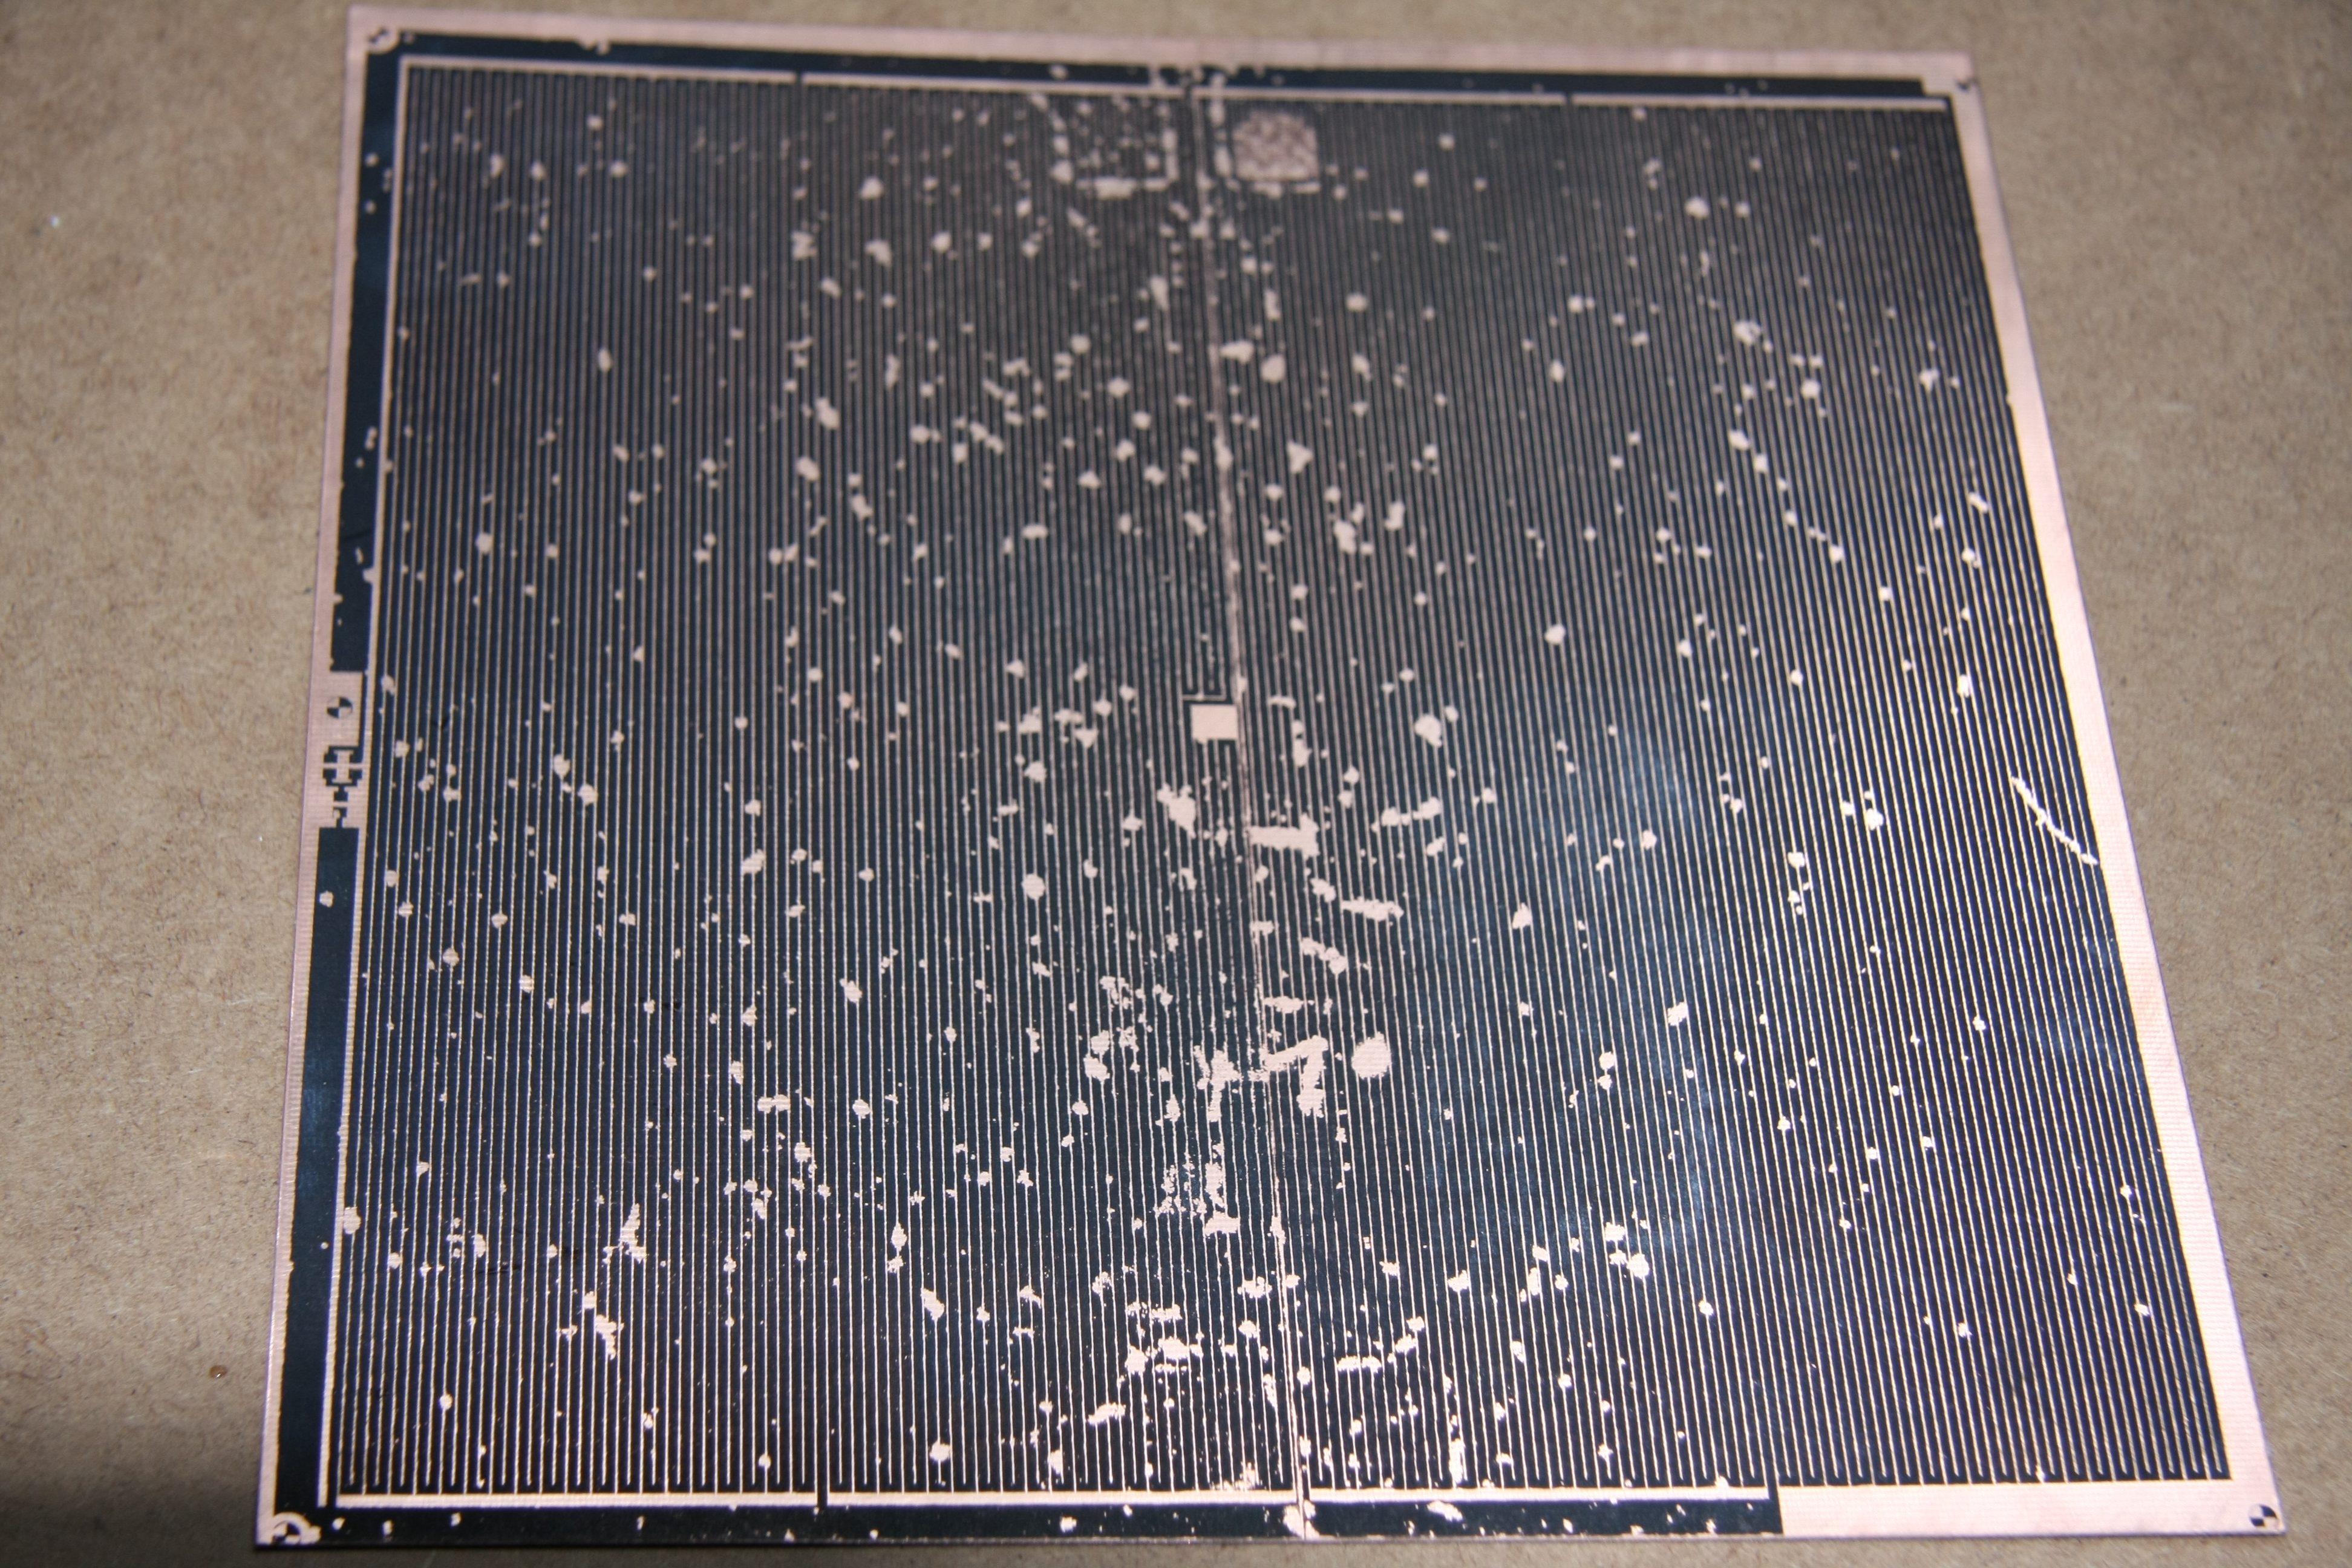
3.04 MB | The paper can be removed with water. But this try was no success, because there are to much faults, even on the small part uncovered yet. | 1 |
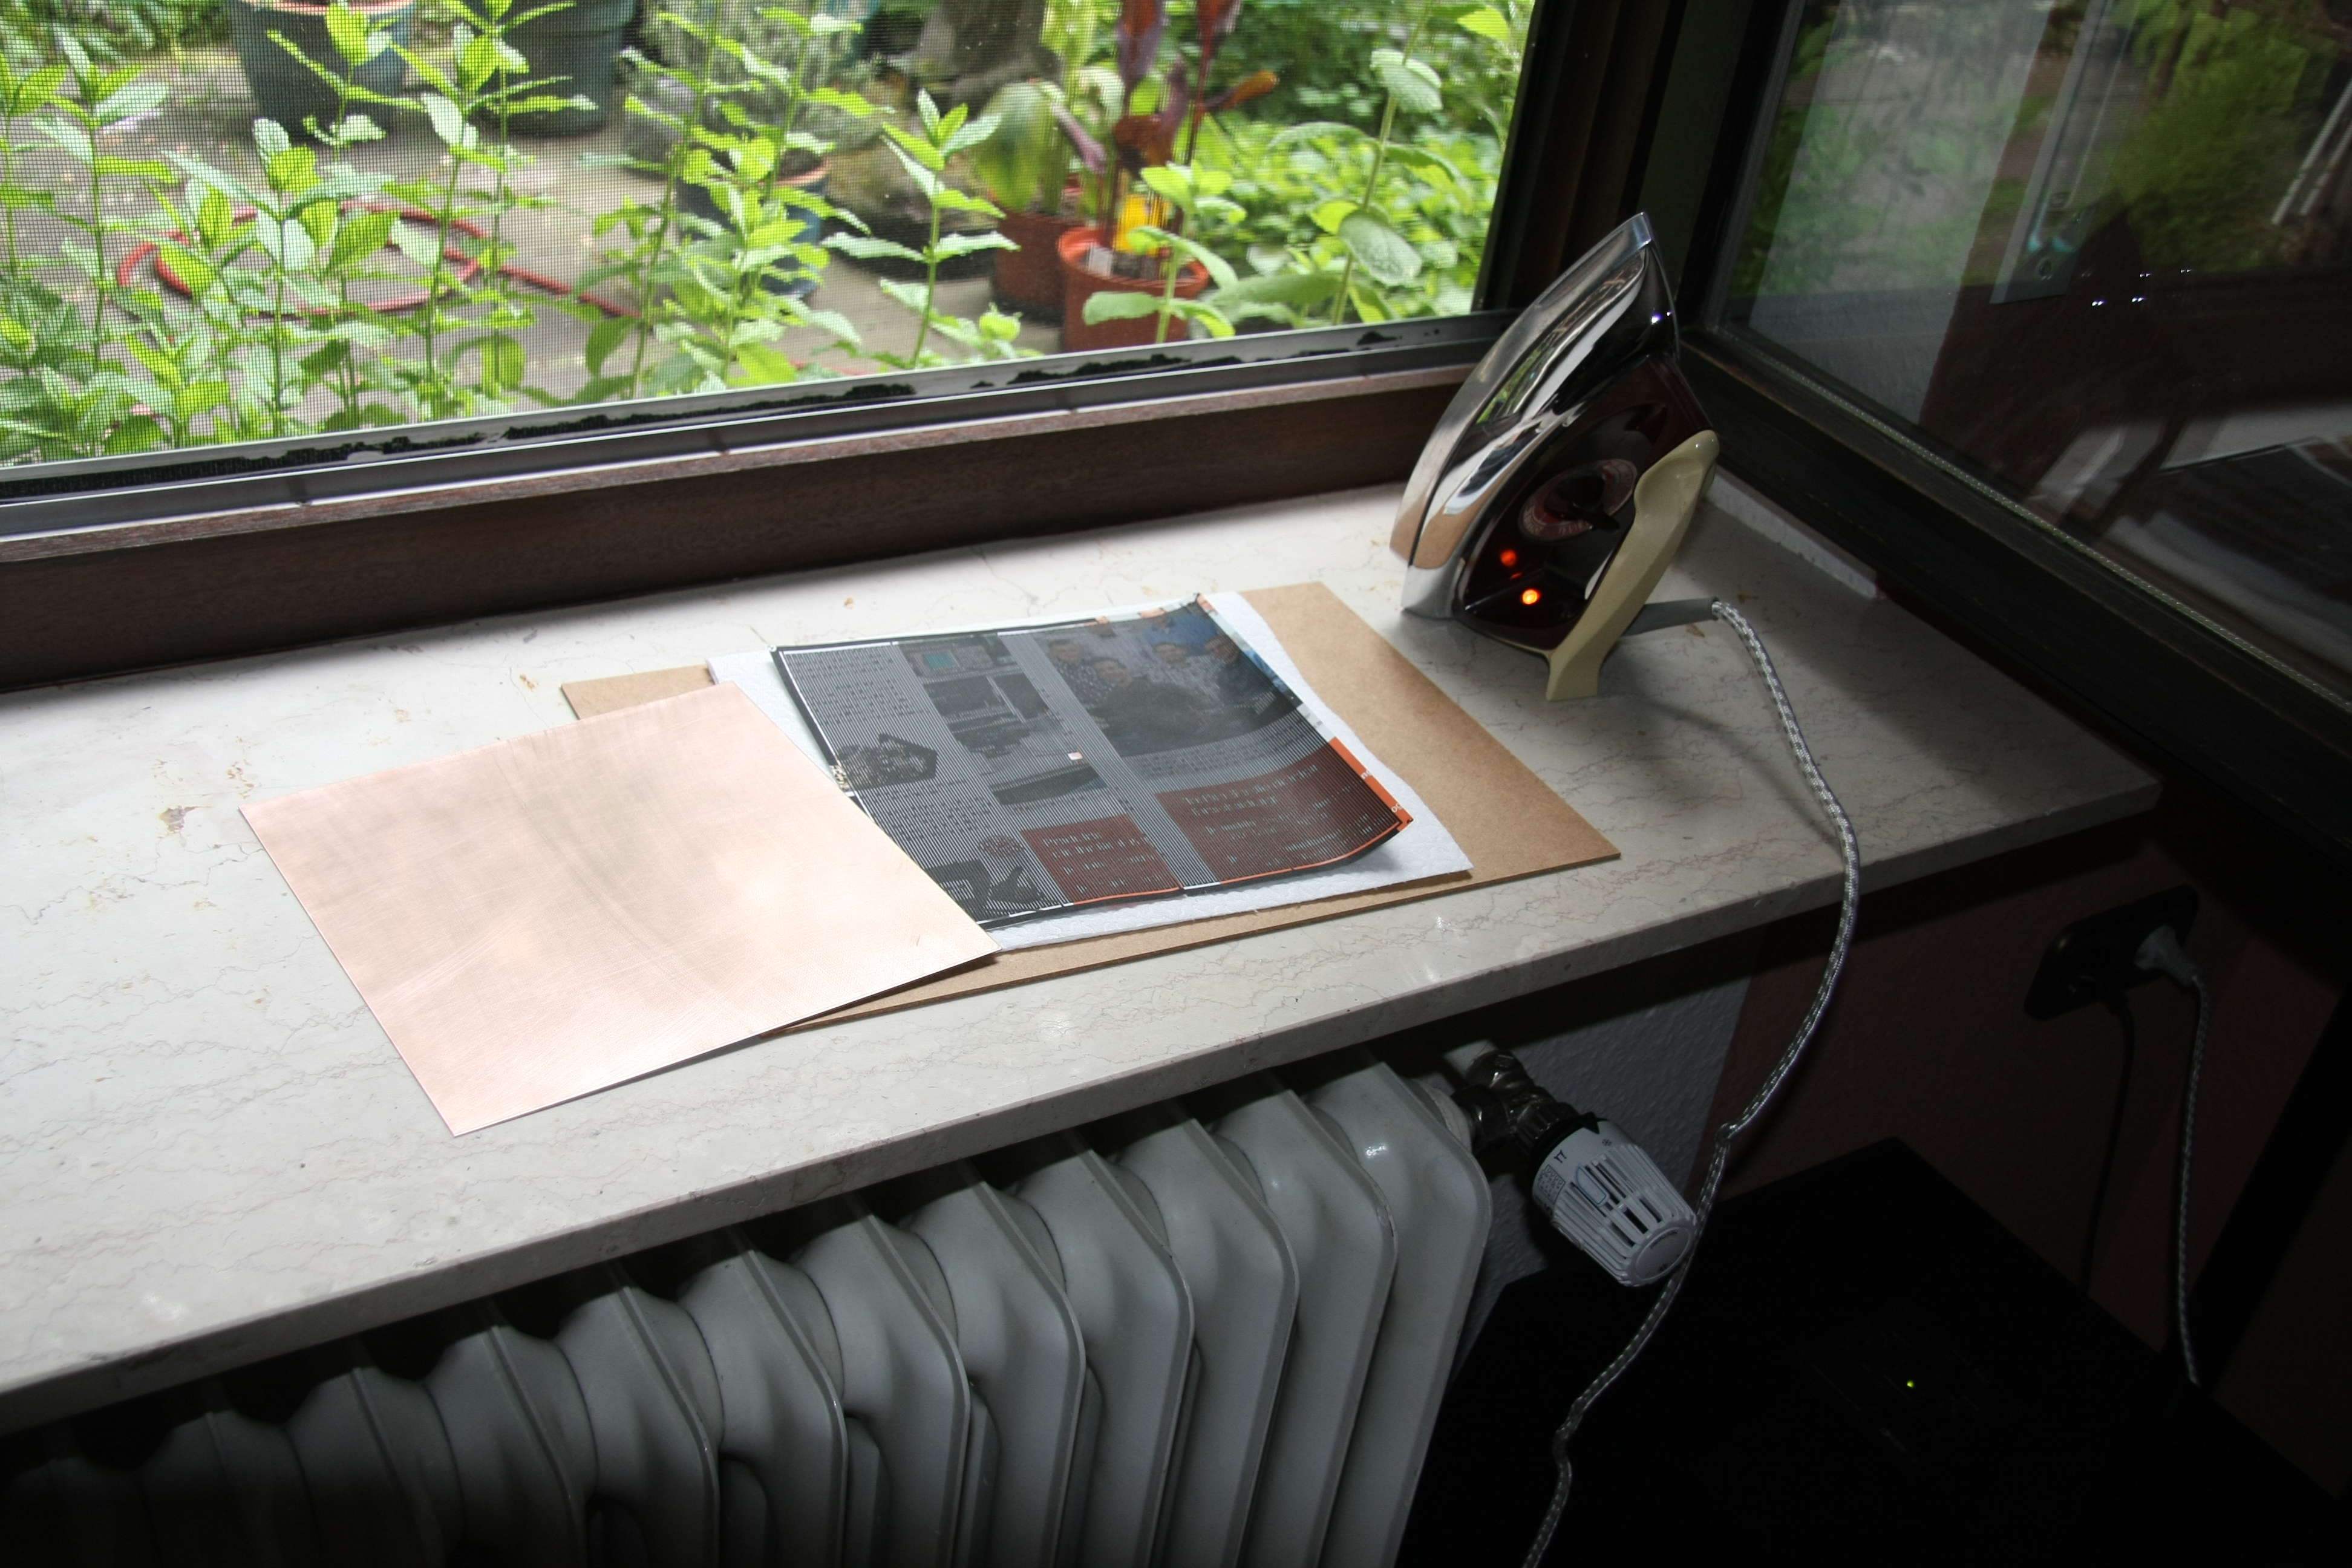
| 07:16, 30 June 2013 | Ironing part2.JPG (file) |  |
2.82 MB | Always use paper towels between the layout and the iron to avoid smearing of fine details of the print and to get the most sharpest lines possible. Pressure is good and needed anywhere over the layout. The iron should be as hot as possible. That gives th | 1 |
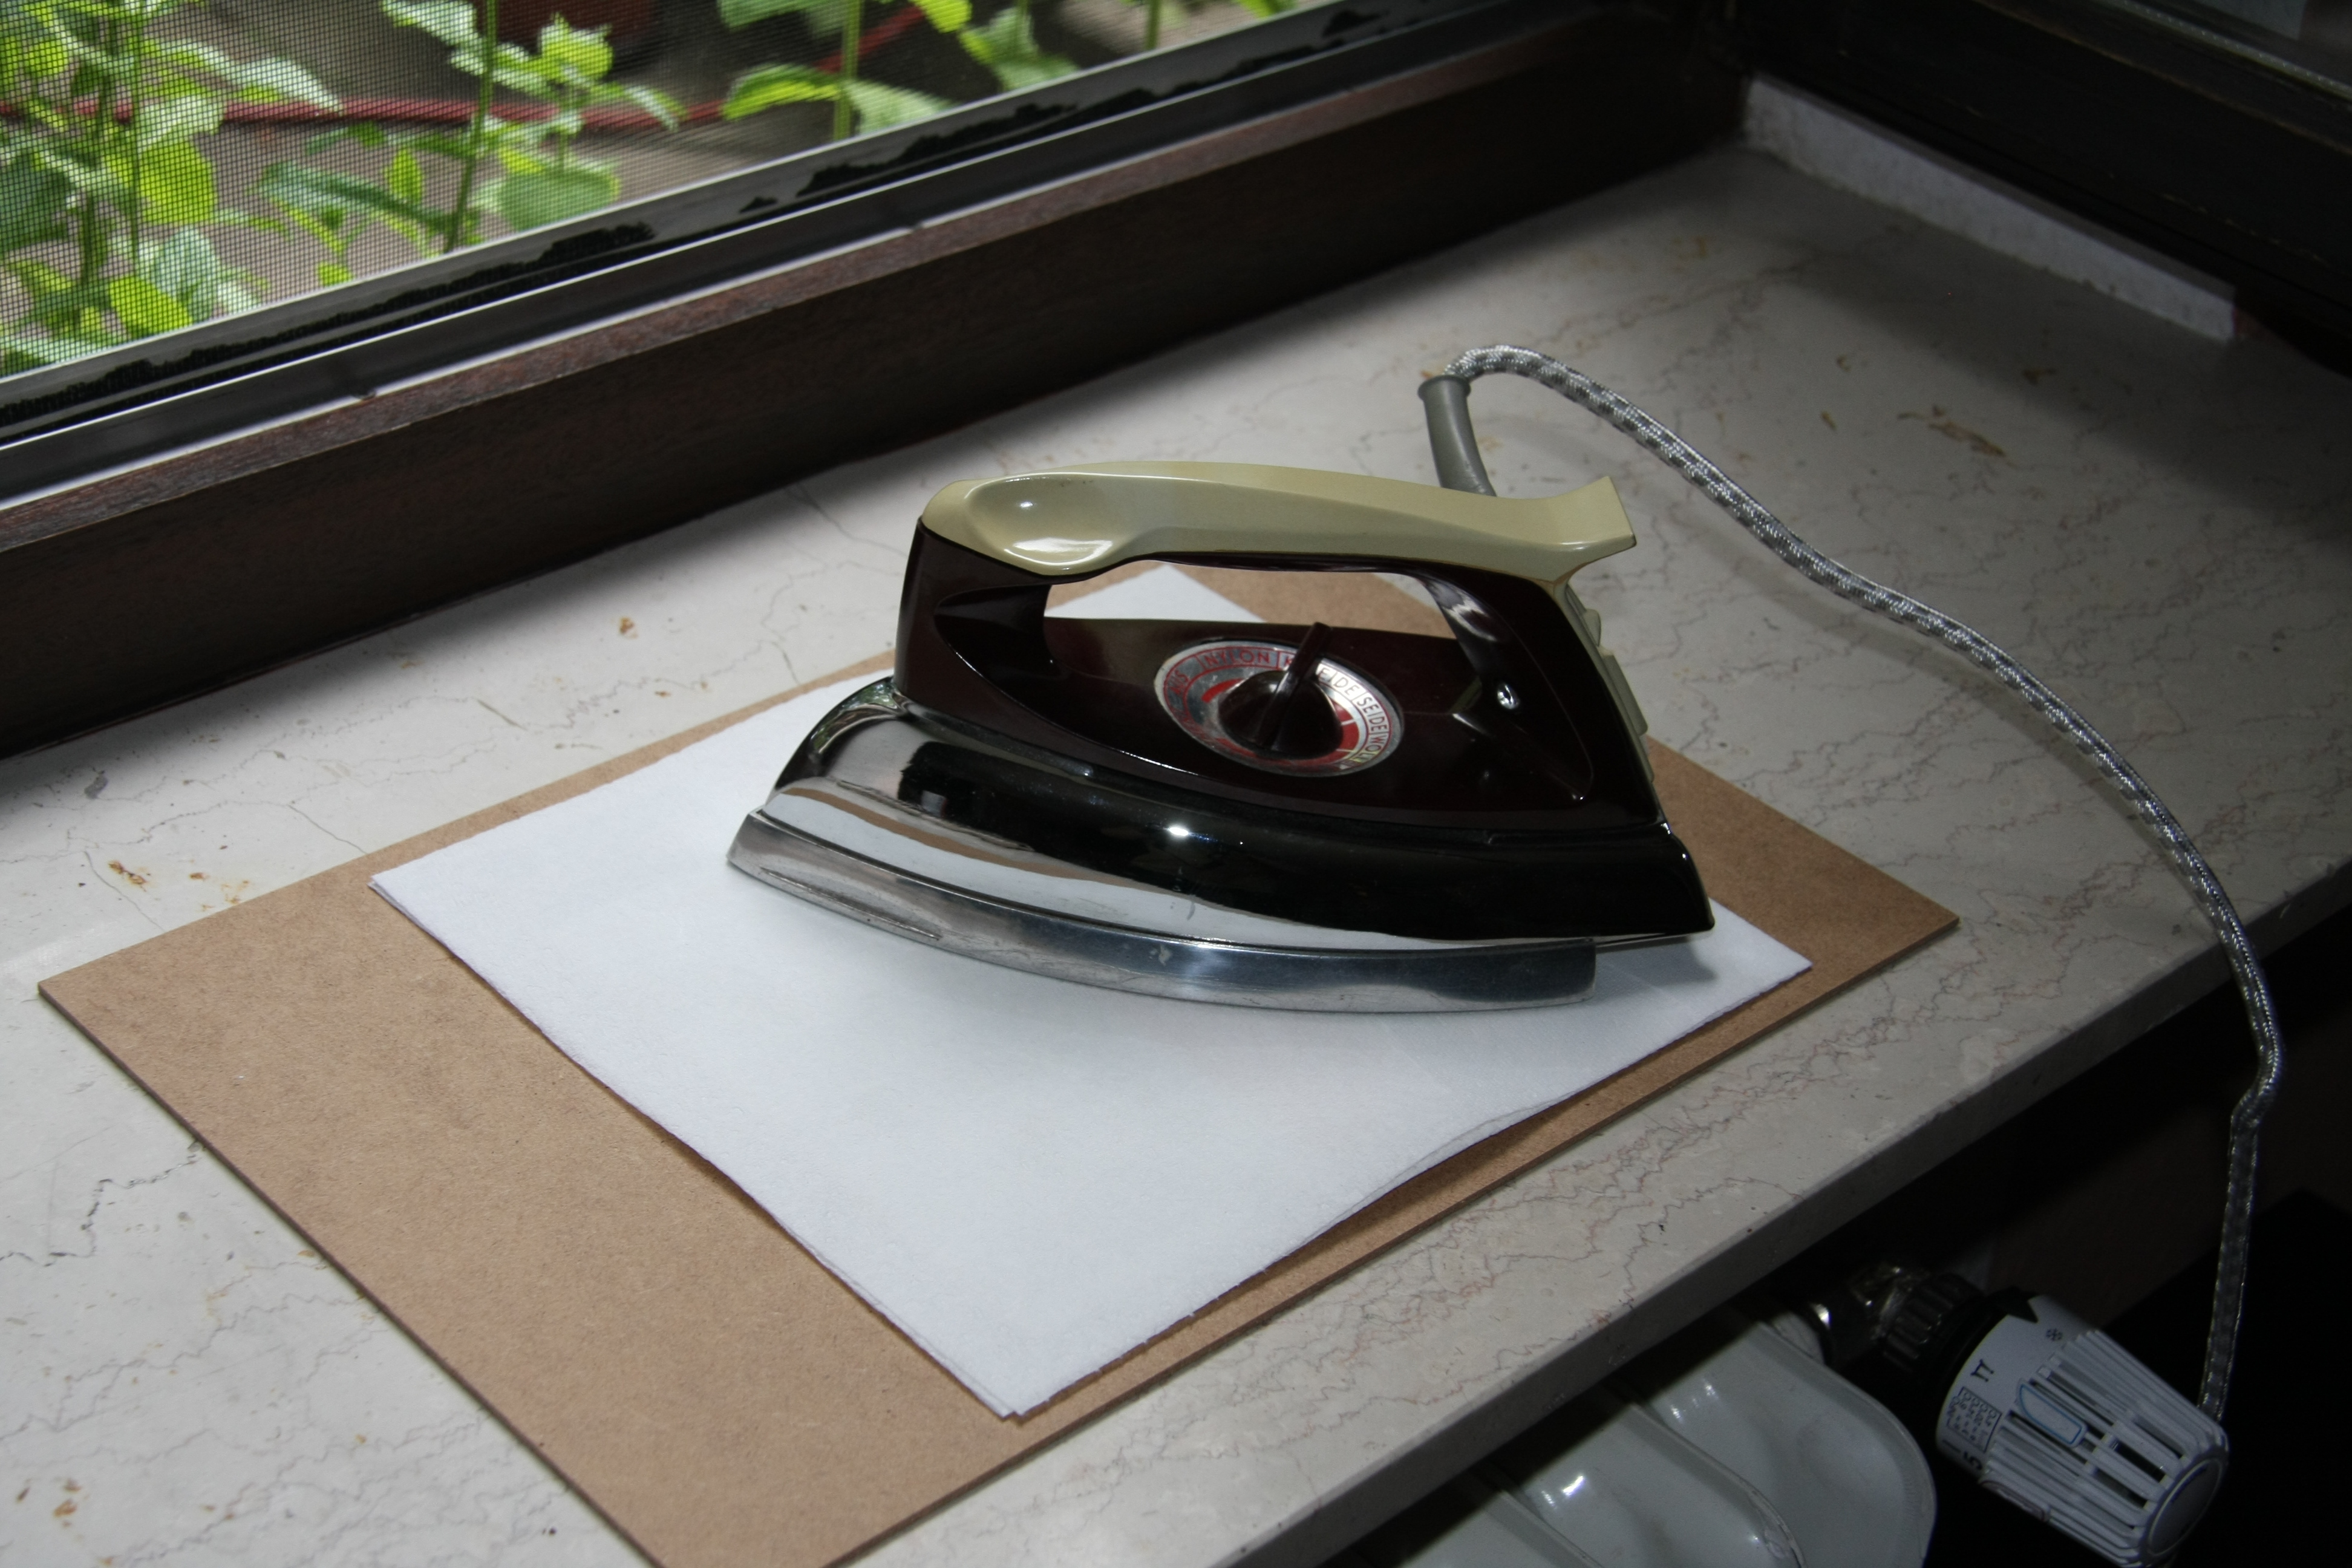
| 07:12, 30 June 2013 | Ironing the layout.JPG (file) |  |
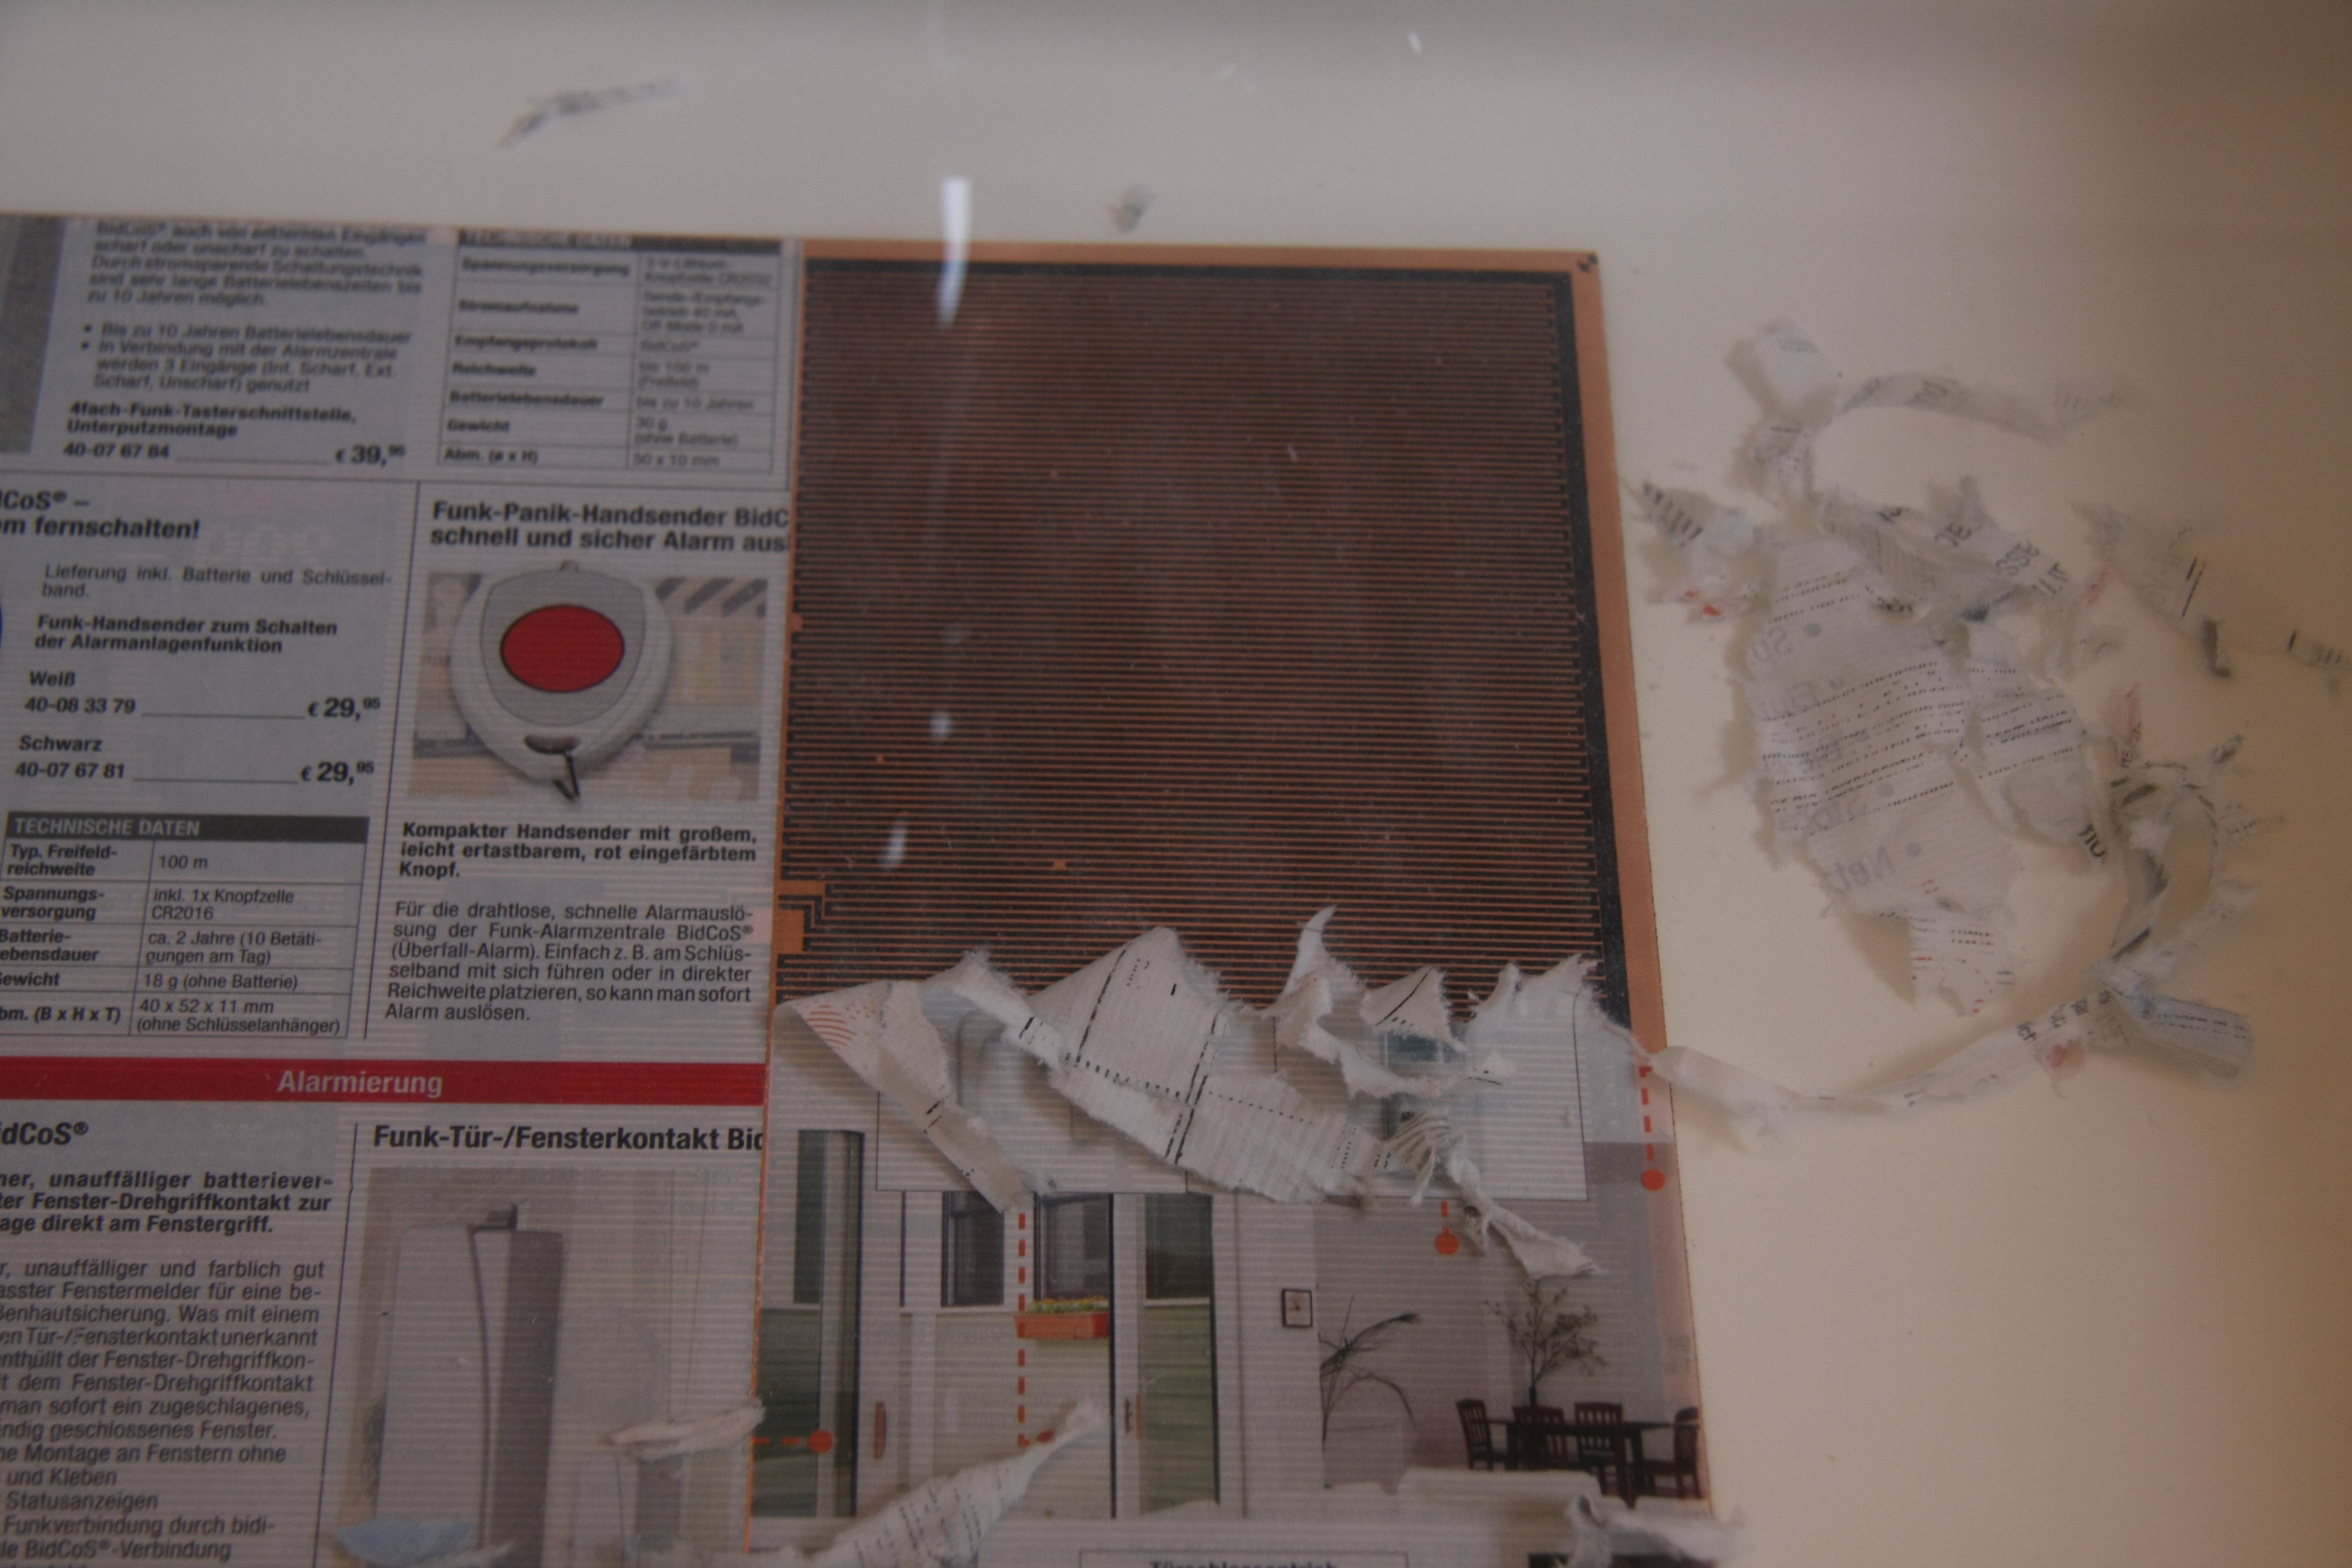
3.26 MB | The layout is printed on a catalog page. The paper should be very smooth with no visible or tactile structure and it should be waxed. The iron (on highest temperature possible; for linnen) melts the toner, that then gets in close contact to the copper. | 1 |
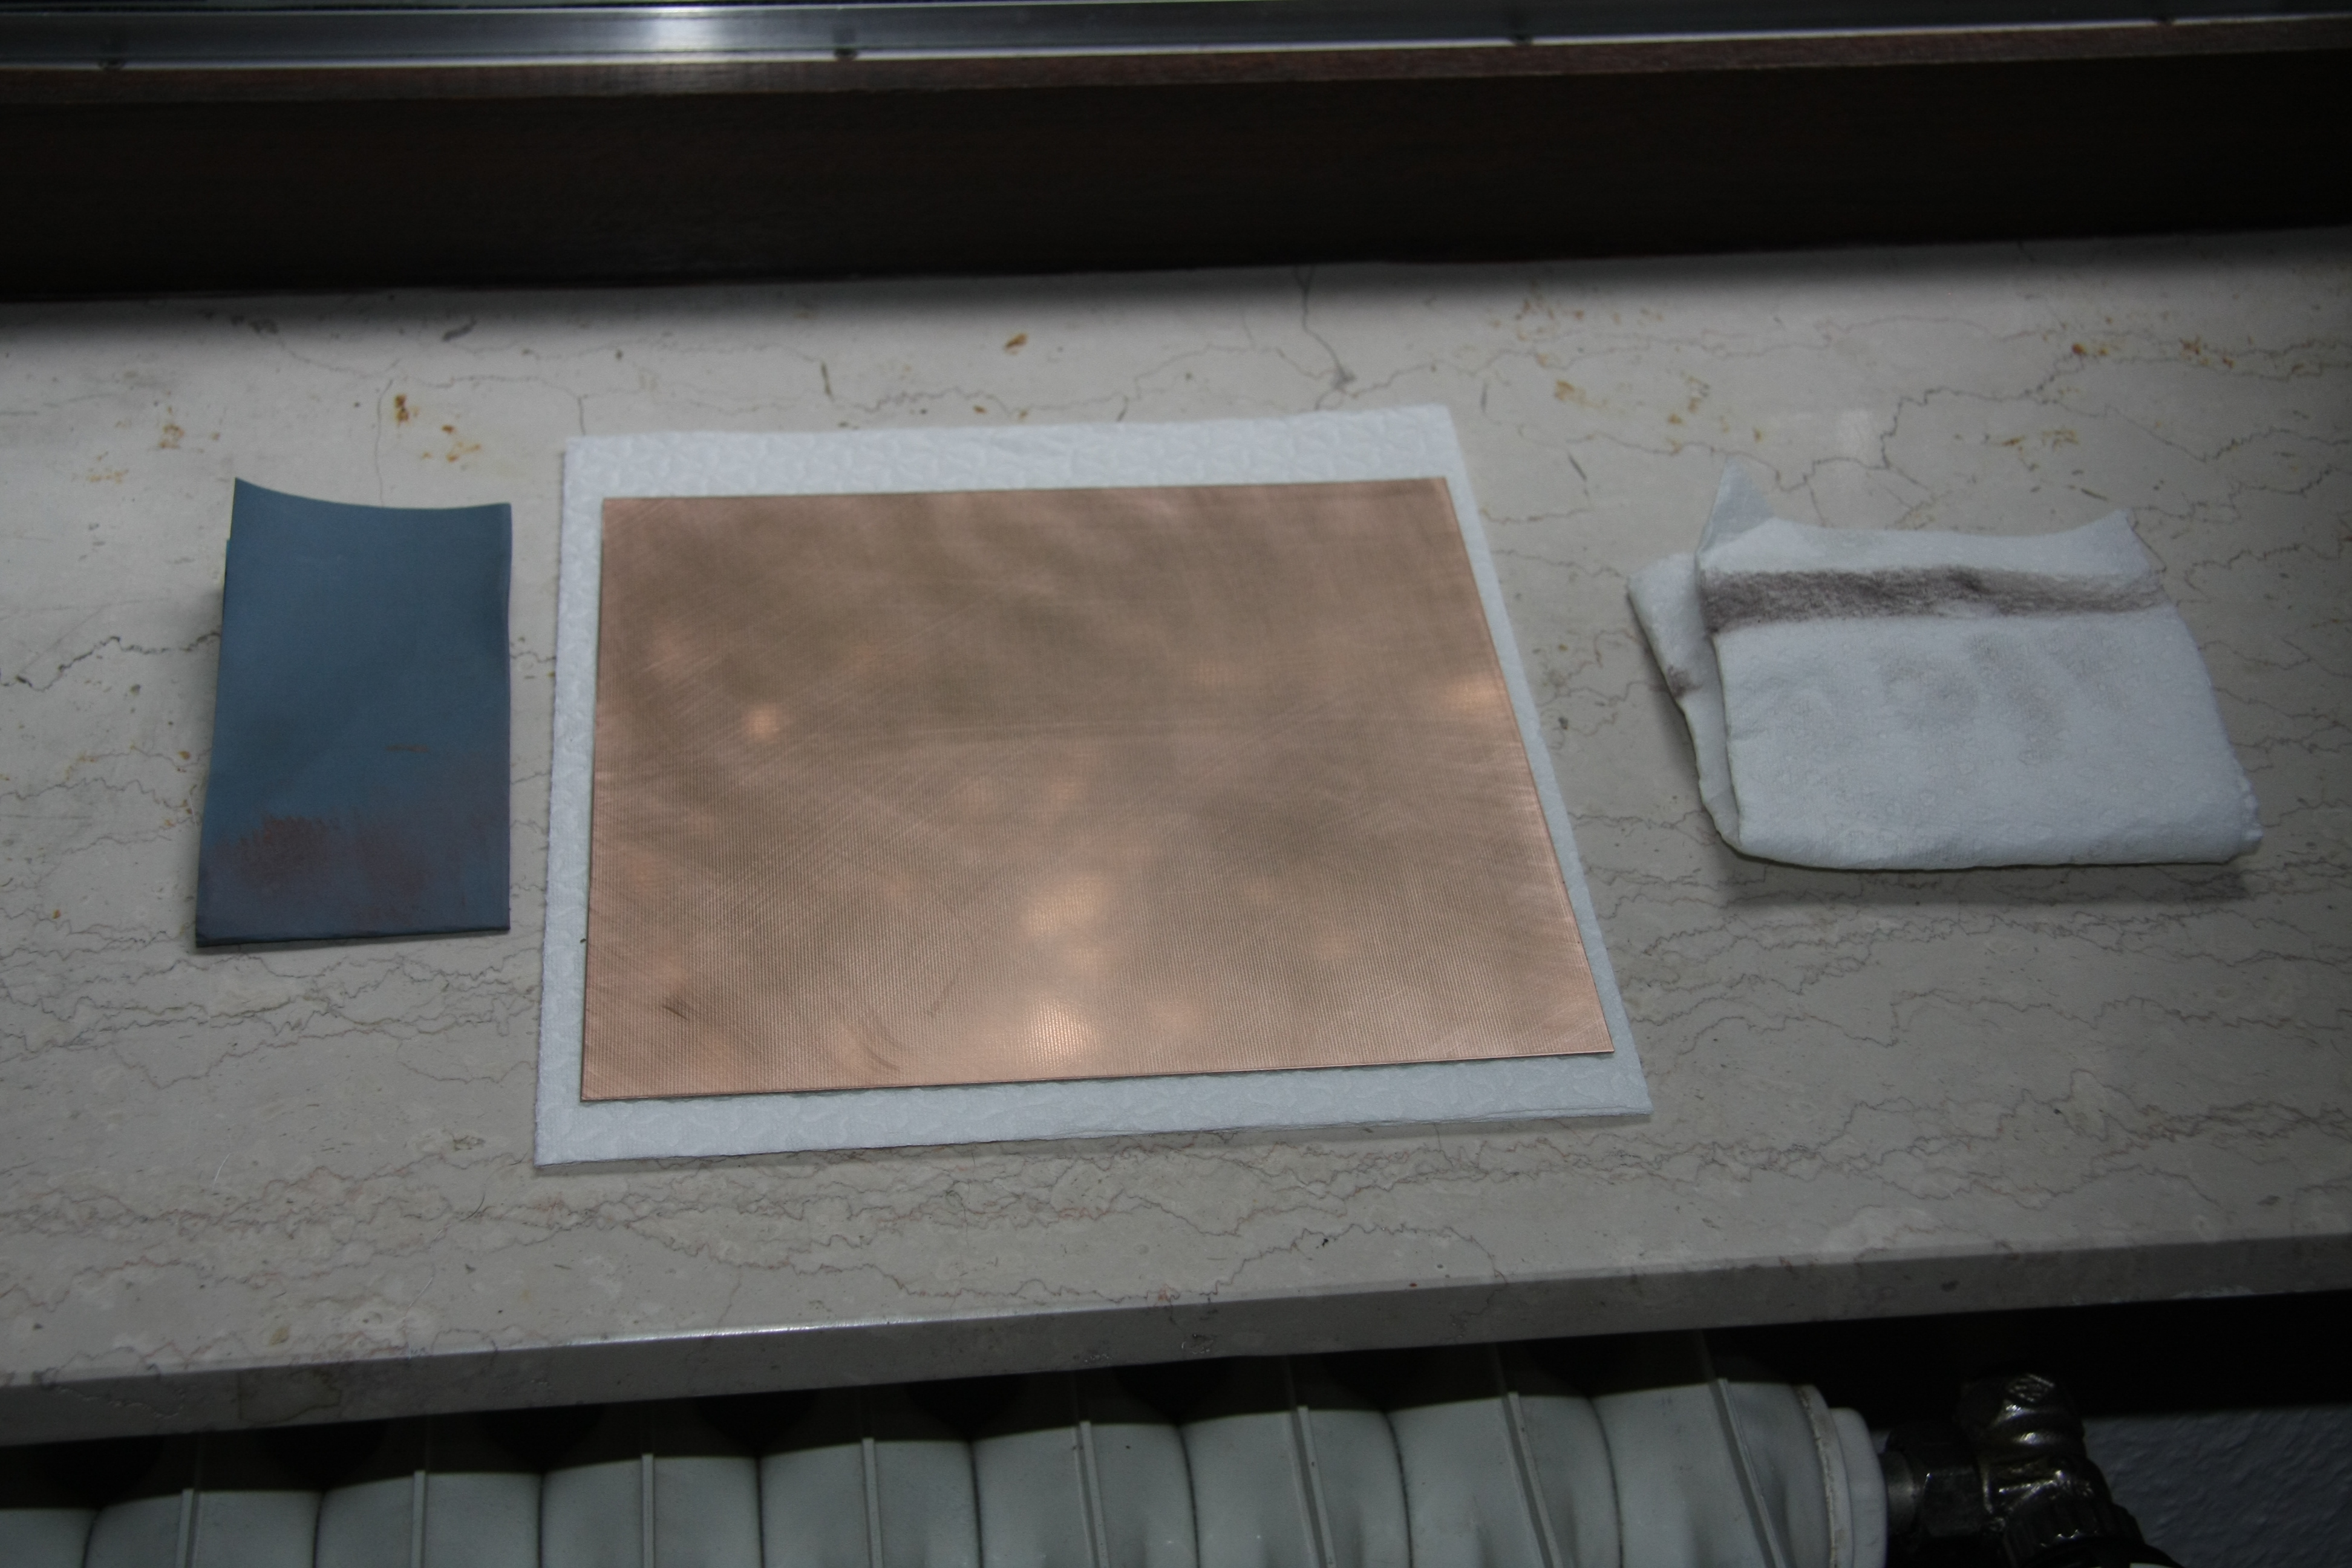
| 07:03, 30 June 2013 | Sand the copper.JPG (file) |  |
2.67 MB | The surface needs to be slightly rough for the toner to grip on the copper. But the surface has to be very smooth likewise. So I use a very fine sandpaper (1200 parts per millimeter; 1000 will do as well). After sanding the surface still shines, but has s | 1 |
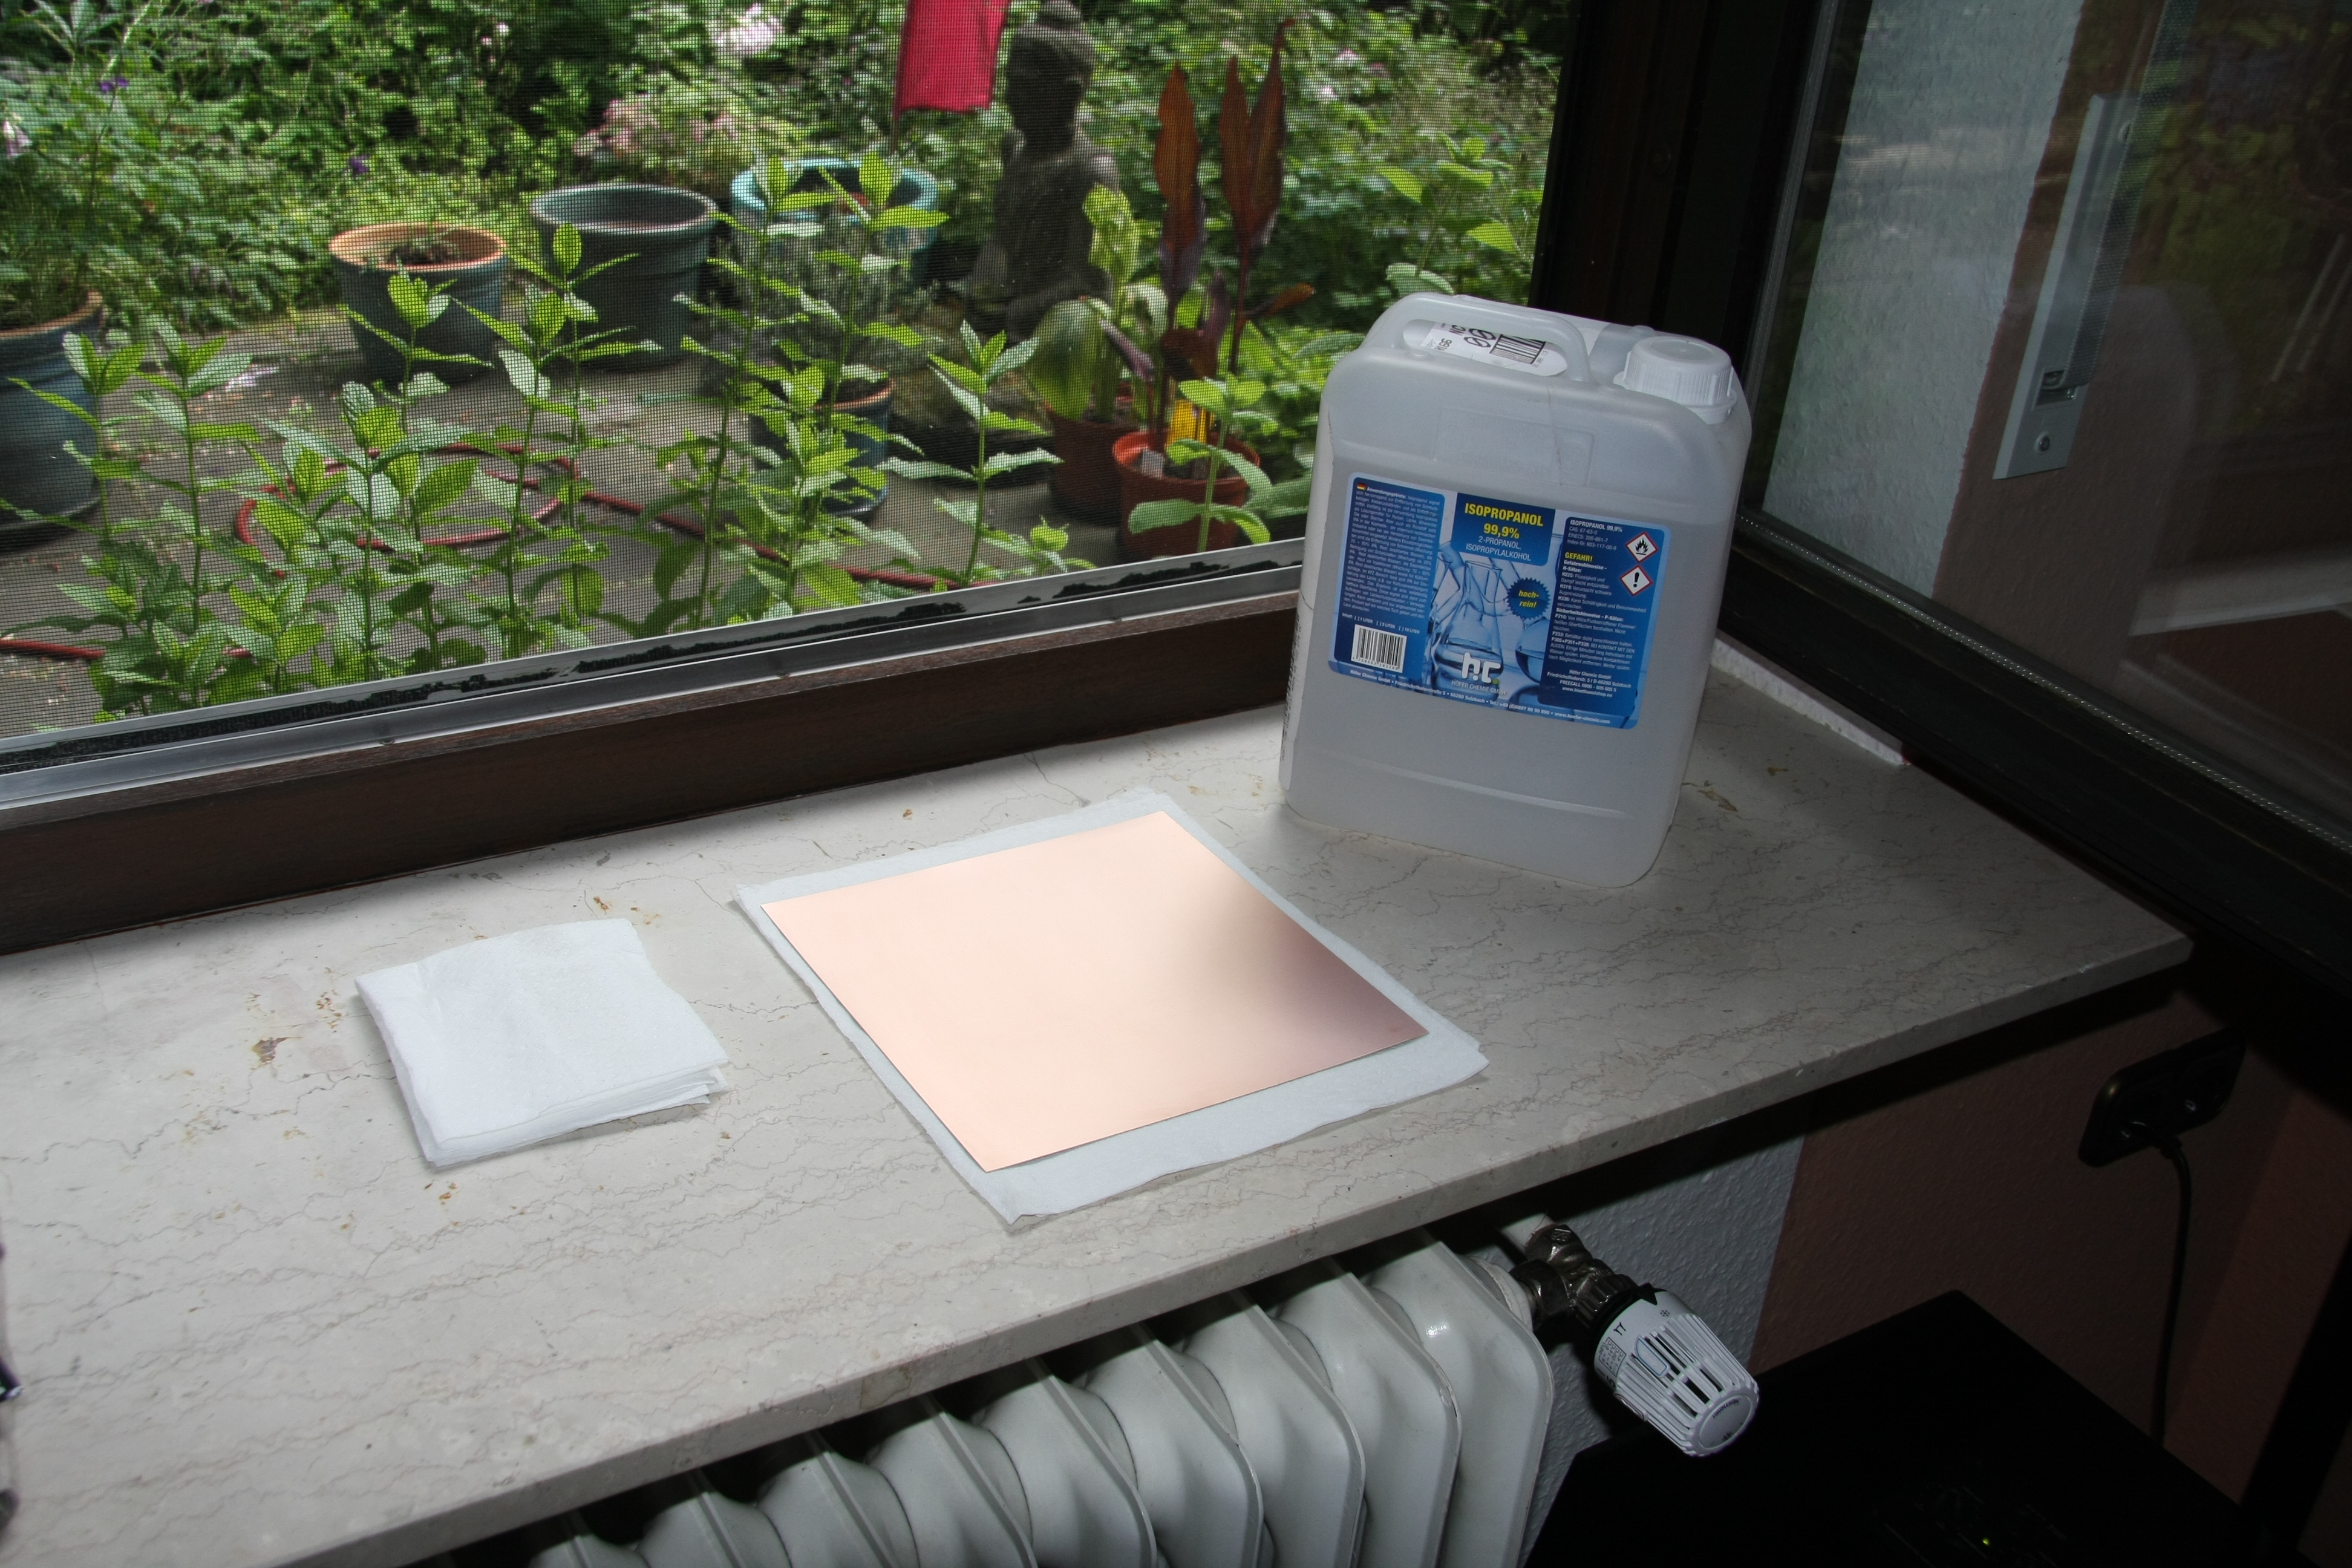
| 06:48, 30 June 2013 | Clean the board.JPG (file) |  |
3.69 MB | For the toner transfer method, anything should be free of grease. I therefore use to clean the copper with Isopronaol. You should buy the alcohol as a liquid in a canister, while the spray cans with Isopropanol are very expensive. 5 Liter (app. 1,32 galon | 1 |
| 16:02, 29 June 2013 | Layout Heatbed RK1 parts c d.svg (file) |  |
302 KB | Descendant of the MK2a-Heatbed (Part 2). Optimized for printing with a A4-Laser printer for use with the toner transfer method. Both parts ironed next together on copper, only few bridges have to be closed with etch resistant lacquer. | 1 |
| 16:02, 29 June 2013 | Layout Heatbed RK1 parts a b.svg (file) |  |
315 KB | Descendant of the MK2a-Heatbed (Part 1). Optimized for printing with a A4-Laser printer for use with the toner transfer method. Both parts ironed next together on copper, only few bridges have to be closed with etch resistant lacquer. | 1 |
| 16:48, 25 June 2013 | Layout Heatbed MK2a.svg (file) |  |
248 KB | I've drawn the MK2a heatbed as an SVG-file (Inkscape), so anyone can create their own heatbed with the toner transfer method, without the need to use a PCB-layout-software. Most regular Laserprinters don't support a printing range of 214mm x 214mm. You c | 1 |