Smartrap Build Manual
Revision as of 19:02, 24 November 2013 by Smartfriendz (talk | contribs)
smartrap assembly guide
Welcome to the official doc for assembly of the smartrap.
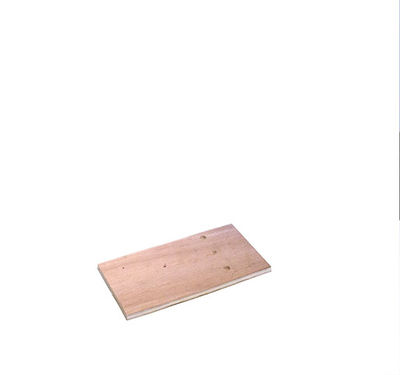 simply put the wood base on the table.
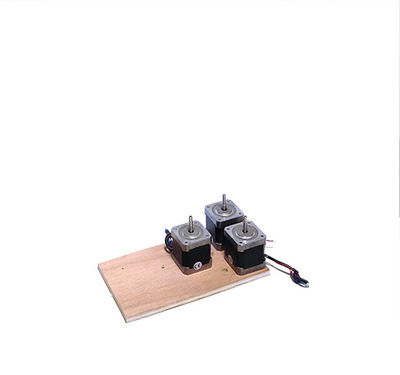 Put on the 3 motors : Y, Z and extruder.
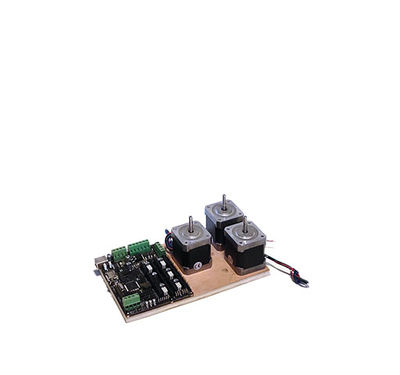 We can add the electronics card in front. NOTE : with smartfriendz kits, it will be with a boxed controller with simpler connectors outside the box.
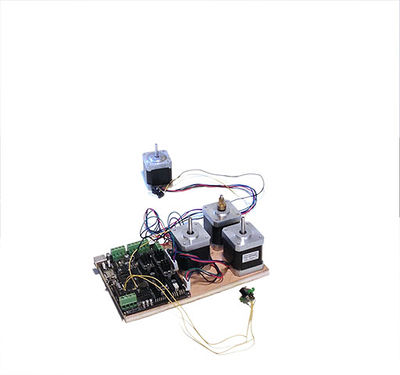 We can already add the X motor ( in the back), endstops, and plug everything . NOTE : with smartfriendz kits, there will be colour coded cables and the right length.
( missing here the maritime screw to add to the extruder motor. We need a 1mm alen key ! )
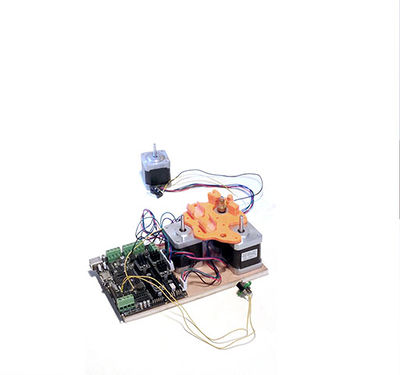 Now we add the plate_base part and adjust the all motors to be ready to fix. We will use 8 M3 screws.