Reprappable-inkjet
Release status: experimental
| Description | An inkjet head that can be completely made in a RepRap machine
|
| License | GPL
|
| Author | |
| Contributors | |
| Based-on | |
| Categories | |
| CAD Models | |
| External Link |
Contents
Introduction
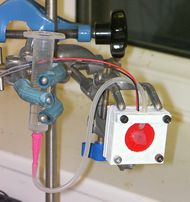
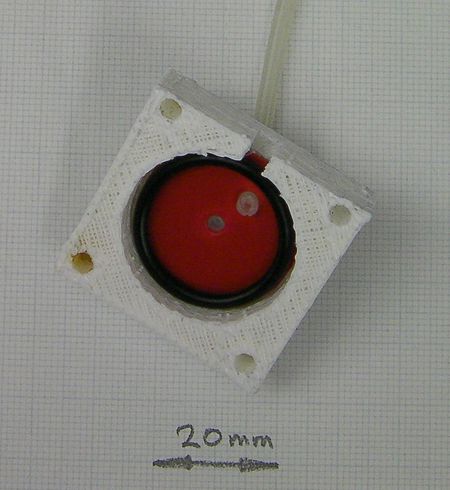
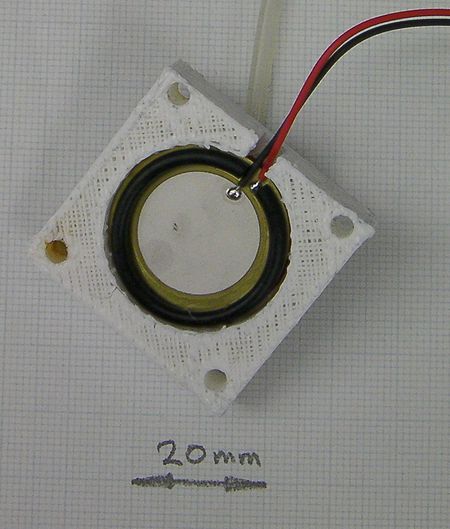
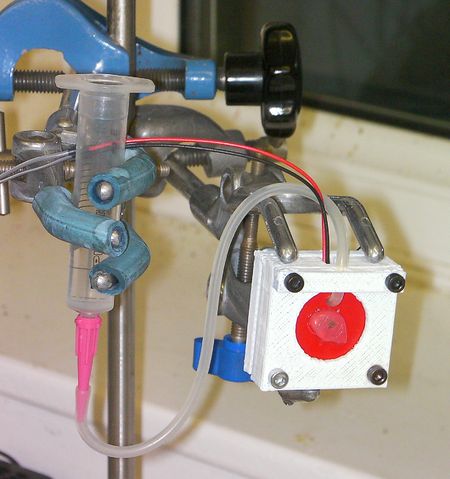
This is an inkjet head that is completely makable in a RepRap machine. It was inspired by Johnrpm's Scratchbuilt_Piezo_Printhead.
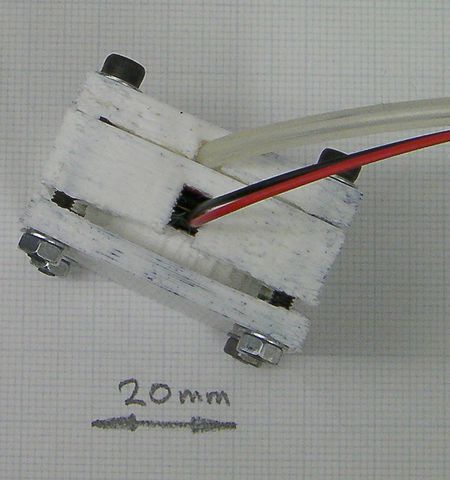
It has only three reprapped parts. The other parts are standard easily-obtainable items. There is no machining involved in making it - the only tools needed are scissors, a scalpel or razor blade, a hammer, a short piece of 3 mm steel rod to use as a punch, and a glue gun.
It uses a piezoelectric buzzer to drive the ink.
It is experimental, so it's reliability is not yet perfect... But it does work (there's a video below).
I need to do more work on the driver electronics. Then I'll see if I can add heater elements so we can inkjet waxes and wood's metal...
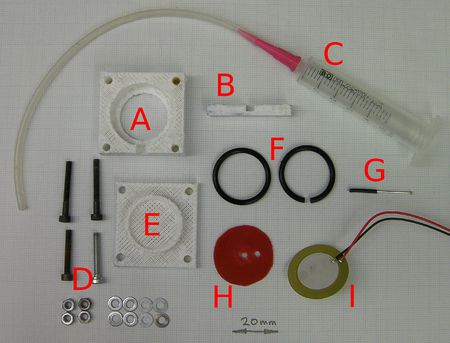
Bill of Materials
| no. off | part | picture key |
| 1 | reprapped body | A |
| 1 | reprapped tube clamp | B |
| 1 | ink supply | C |
| 1 | length of 3mm soft silicone tube | C |
| 2 | 25 mm M3 set screws | D |
| 2 | 20 mm M3 set screws | D |
| 4 | M3 nuts | D |
| 8 | M3 washers | D |
| 1 | reprapped buzzer clamp | E |
| 2 | 25 mm O rings, minor diameter 2 mm | F |
| 1 | sewing pin with a length of wire insulation | G |
| 1 | plastic disc | H |
| 1 | 27 mm diameter piezo buzzer element | I |
The plastic disc can be cut from any reasonably stiff piece of flat plastic. I used an old plastic box. Draw round the piezo buzzer element with a fine felt-tip pen then cut carefully inside your line with scissors. You want the disc and the buzzer to be the same size.
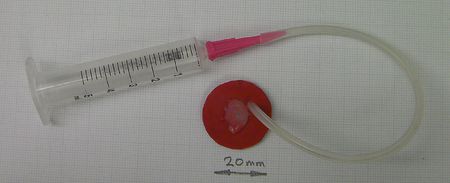
I used a syringe as my ink supply, but any small watertight container that you can connect to the silicone tube will do.
Construction
The Inkjet Nozzle
You need two holes in the plastic disc: an offset one to let the ink feed tube through, and one roughly in the middle for the nozzle. I found that the easiest way to make clean holes was to put the disk on a flat piece of wood then tap a short 3mm steel rod with a sharp flat end against it with a hammer. This acts as a punch, driving a clean-cut disc of plastic down into the wood. Make the tube hole so that the tube is a tight fit. The nozzle hole doesn't matter much.
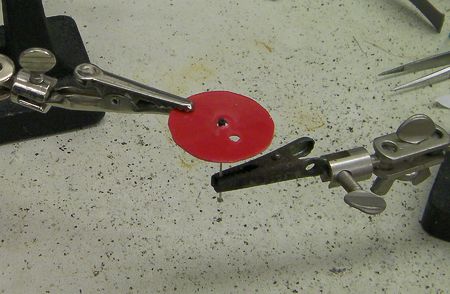
This is how I made a fine inkjet nozzle. It was surprisingly easy. I put a short length of wire insulation on a sewing pin to increase its diameter, with the pin tip sticking out by about 1 mm. I covered them *very lightly* with silicone grease. Then I clamped them as shown above, with the pin tip just sticking through the nozzle hole.
I dropped a blob of glue onto the pin tip from a hot glue gun. I made sure there was enough to completely cover the pin and to spread a bit over the plastic disc to stick.
Take care not to bolock the other hole for the tube.
When the glue had set, I pulled the pin and wire insulation out. Then, using a magnifying glass, I very carefully shaved thin slices off the top of the glue blob until I just got down to the hole made by the pin tip.
Alternative untried method
Use spray glue or double-sided sticky tape to make one side of the plastic disk sticky. Stick aluminium foil to it. Cut the foil round the outside of the disc so they match. Cut away the foil over the tube hole.
Place the disc and the foil foil-downwards on a hard flat surface (glass?). With the pin carefully make a very small hole in the foil roughly in the middle of the disc's nozzle hole.
<videoflash type="vimeo">17782515</videoflash>
