Prusa Mendel thereprapkitstore
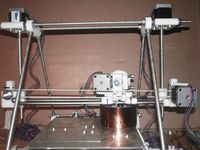
This page is about the Prusa Mendel version sold by thereprapkitstore.co.uk.
Detailed Assembly Instructions can be found in this reprap-wiki: ABSPrusa.
High resolution photos are published on the seller's page.
construction is discussed in the RepRap Forum
Contents
batch sales
Batch 1:
Batch 2:
This batch was shiped with a one week delay and it did only contain the mechanics. Three weeks later electronics and belts were shipped. Instead of a Melzi board, a Sanguinololu board with an additional SD-plugin was shipped.
A forum thread about this delay can be found here[1]
Batch 3:
Batch 4 (PRE ORDER for DISPATCH on May 31st):
difference to the standard Mendel
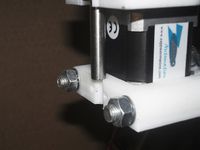
M8 lock washer instead of plain washers are used.
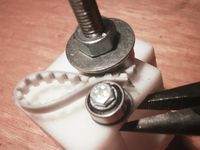
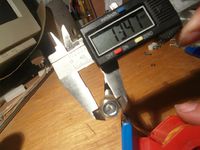
A smaller M8 Mudguard washer is used, allowing easier jigging.
The inside jiging length is 273mm instead of 234mm. (The 290mm outside frame jiging length is the same.)
tips on how to build the ABSPrusa
wrong: The four bar clamps now need to be spaced correctly, measuring from the inside of the nearest frame vertex, the nearest side of the the bar camp needs to be 70mm. correct: the photo shows the correct 60mm.
There is no M4 16mm bolt in the kit to install the optional 624zz guide bearing, and it would be too short anyway. Just take the last 20mm bolt and insert it from the outside and secure it with the M4 nyloc nut from the inside :-)
It might be better to drill the hole only 4mm from the edge, not 5mm as stated in the official wiki. And instead of using two 4mm washers, only one 4mm washer and a wide 5mm washer that will work as a mudguard washer.
This ABSPrusa has a clever way to mount the x-end holders :-) If you find it too hard to push the two smooth rods into them, just take an 8mm steel drilling bit in your hand and chamfer the inner clamp a little bit.
If you have been so stupid as to cut down the wrong belt for the y-axis, this is not the end of the world. Just lay the leftover from belt1 onto the end of belt2 and tightly fix it with a sticky tape :-)
This should be a better way for the final step to mount the y-axis and the z-axis rods:
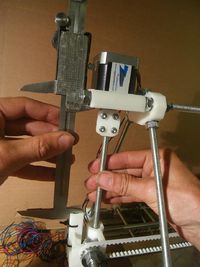
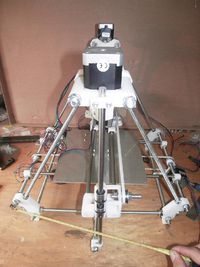
With the ABSPrusa, the length of the x-axis smooth rods determine the final distance between the z-axis rods. Therefore, you should check, that the two z-steppers have the perfect distance to each other. To do this, simply put the assambled x-axis on top of the two z-steppers.
the two z-axis smooth rods should perfectly slide into upper brackets.
When inserting the threaded rods, lag some cheap sticky tape around the M13 nuts, because the holders still can take M14 nuts :-/
To get the propper tension on the optinal springs, just position the upper nut accordingly.
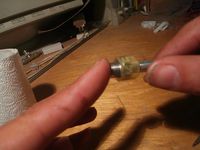
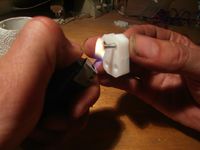
Little trick, if the M3 nuts do not fit into the couplings, heat it up with a lighter for 6 seconds, than pull them into position :-)
Now put the x-axis onto the aluminium plate and screw the threaded rods upwards until they meet the shafts of the z-axis steppers.
After having mounted the couplings (larger holes downwards!), bring the x-axis parallel to the upper assambly.
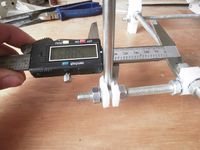
And last, the final measurements to fasten the smooth rods perfectly in the middle :-)
people having such a Mendel
roland: forum - homepage: www.reprob.org - speaking: german, english - location: Germany --Roland 07:09, 22 May 2012 (UTC)
