PonokoExtruderAssembly
Assembling the Ponoko RepRap Extruder
UNDER CONSTRUCTION
Construction and assembly of the Extruder is quite demanding. There is a 3mm hole to be bored straight down a 40mm long rod, a 0.5mm hole to be drilled and some rudimentary lathing to be done. If you have a smattering of DIY skills, you should be able to accomplish this with a power drill and a few nifty tricks. If not feeling quite up to the challenge and unable to find a helpful person with a lathe nearby, buy the bits from the RRRF, Diamond Age, or BitsFromBytes.
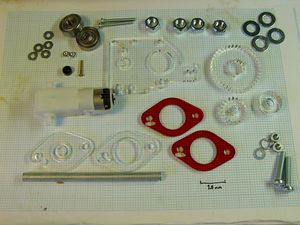
Start by finding the components and fastenings as shown. We'll build the Extruder Heater Assembly later.
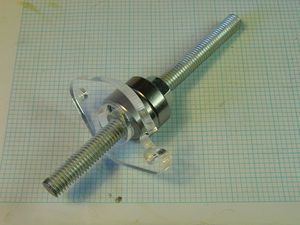
Take a piece of M8 studding 110mm long and wind a nut down it about 60mm. Add two 680Z "sk8er b0y" bearings and a 12mm o/d M8 spacer cut from 4.5 or 5mm acrylic. Add the Extruder Bearing Stop, making sure the notch in it faces anti-clockwise when viewed from the top of the M8 studding as shown
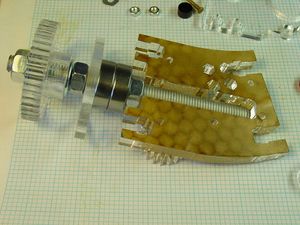
Screw on another nut, add a washer and the 20mm o/d M8 spacer cut from 8mm acrylic. Screw on another nut, slip on the large gear wheel and secure with a washer and nut. Shuffle the nuts so that when the lower nut is held against the neck of the 8mm Extruder Body, the bottom of the studding misses the end of its slot by about 1mm as shown:
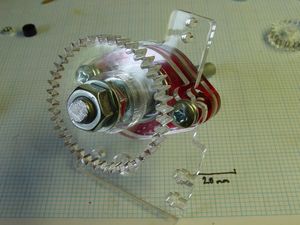
Put washers on the two M5 30mm screws and put them into the Bearing Stop - it'll be very hard to do this soon without removing the large gear. From the other (let's call it bottom) end of the M8 studding, slide on the Extruder Motor Bracket, taking care to align the small notch with the one on the Bearing Stop. Then slide on two 3mm Extruder Bearing Brackets and one 5mm Extruder Bearing Bracket so that the two 608Z bearings are completely enclosed. Put nuts on the two M5 30mm screws loosely, just to hold things together while we fit the Extruder Motor.
Two kinds of motor are supported, and they both have different shaft sizes. Pick the smaller 8mm acrylic gear with the appropriate centre hole for your motor's shaft. If none fit your motor, make with a Dremmel tool or epoxy as appropriate.
Put all the other bits together intelligently.
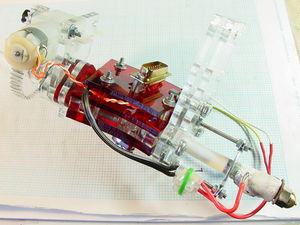
The final extruder all ready to plug in.
-- Main.VikOlliver - 31 Oct 2008
