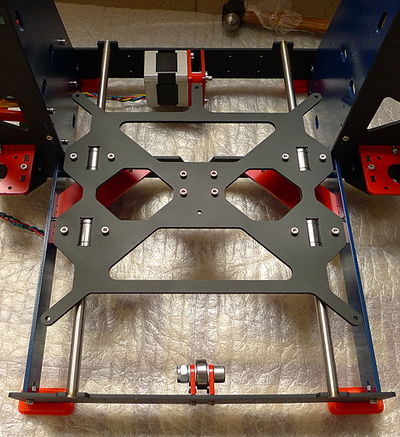
P3Steel Y axis assembly
We'll do this in four easy steps:
- Y idler end assembly.
- Y motor end assembly.
- Y smooth rods and carriage installation.
- Y belt installation.
Each step requires 15~20 minutes, so set aside one evening for the Y axis assembly.
Contents
Y idler end assembly
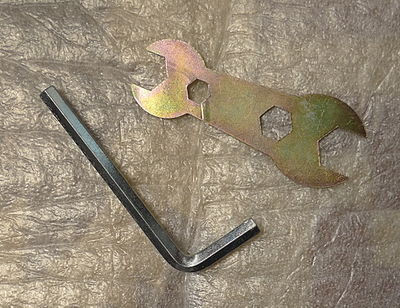
For this step we require these tools (besides the M3 hex key we used to assemble the frame):
Y motor end assembly
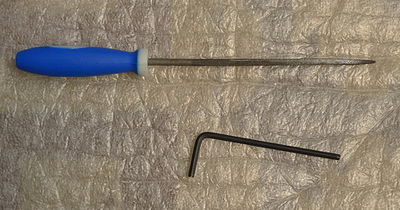
For this step we require these tools:
Y smooth rods and carriage installation
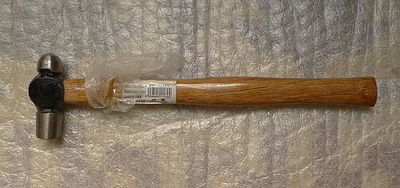
We need a small hammer (not kidding!) to gently (again, not kidding!) push the Y-axis smooth rods into their corresponding slots in the steel frame.


