Mini-Mendel X-axis
Carriage
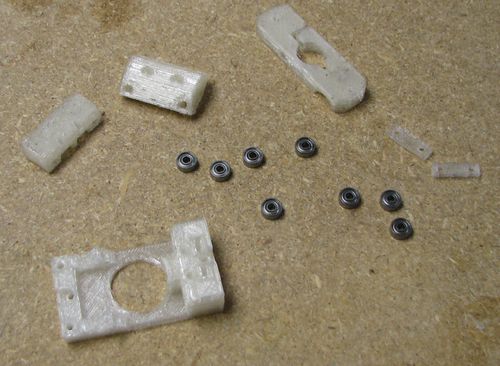
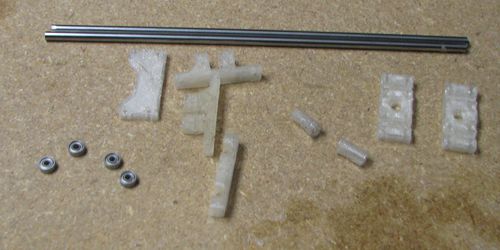
This image shows the parts that are used to build the carriage. Note: Only 8 bearings are shown, but 10 are required.
Install the bearings.
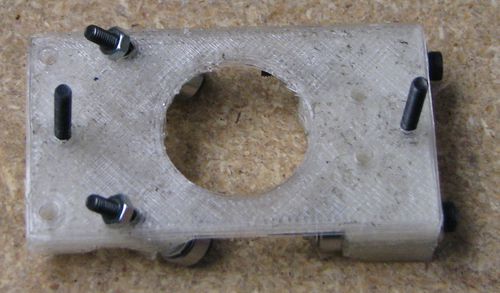
Install the two bolts that will hold the extruder-bracket. The head of these bolts will become trapped later and a pair of nuts will hold the bracket down.
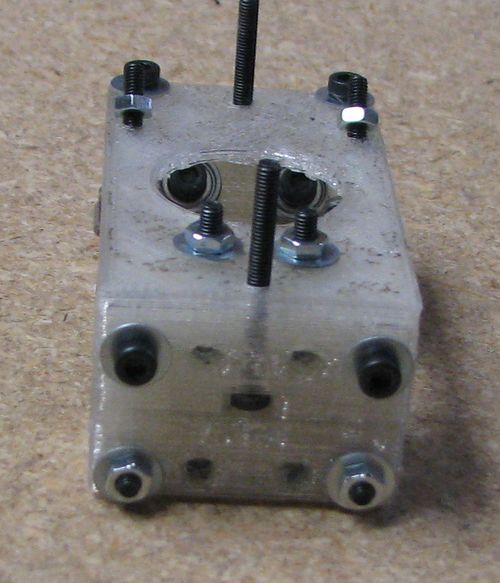
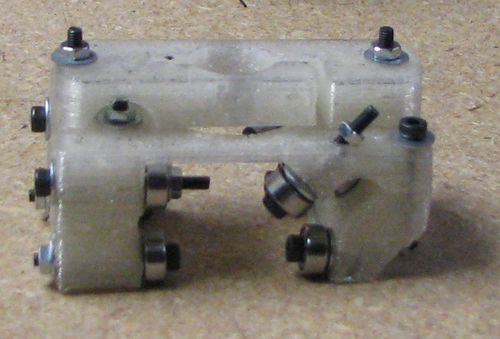
Install the 4 nuts to hold the belt clamps. This image shows the carriage partially assembled, but the nuts have to be inserted before it reaches this step.
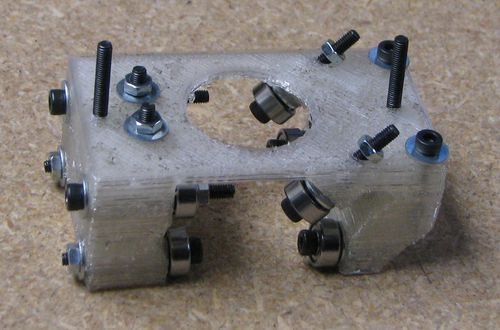
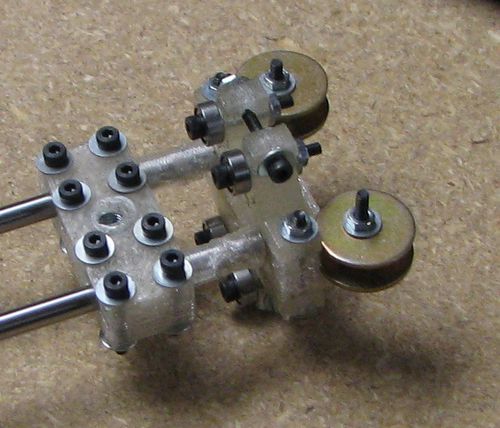
Connect the three parts that have bearings on them. Leave the bolts that hold these in place a half turn from fully tight. Try running a smooth rod through the 6 bearing side. It should slide smoothly and turn all 6 bearings at the same time. Do the same on the 4 bearing side, but it will be harder to keep the rod centered as it should be able to slide side-to-side.
Install the extruder bracket.
Install the belt clamps.
Idler
This image shows the parts required to build the idler. The 4 mudguard washers are not in this image.
Install the bearings.
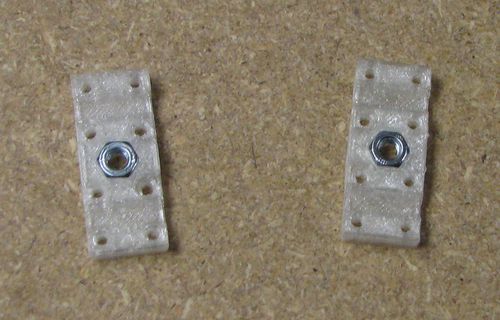
Insert an M6 nut into each of the clamps. My prints weren't perfect so it took some effort to get them in. I ended up using an M6 bolt to pull the nut in.
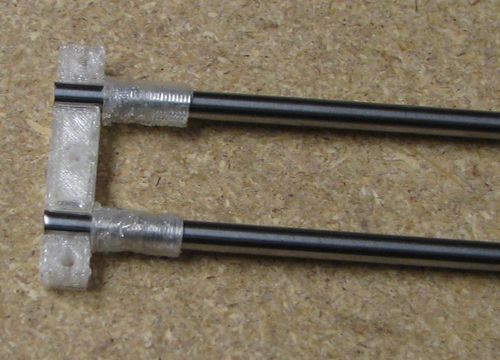
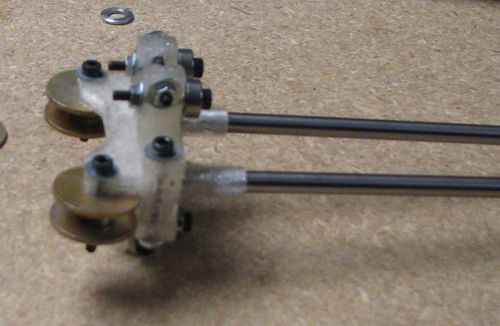
Put the spacers on the x-axis bars. Use the sandwich clamp to judge how much space to leave after the spacers. The bar end should be flush with one side of the sandwich clamp and the spacers should be touching the sandwich clamp.
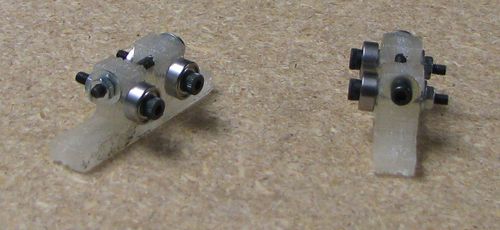
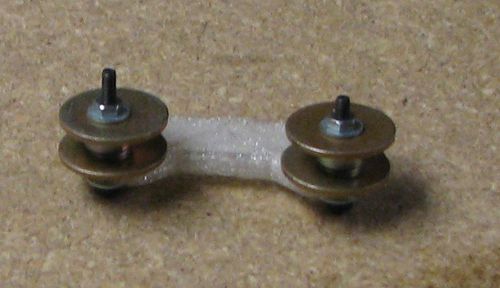
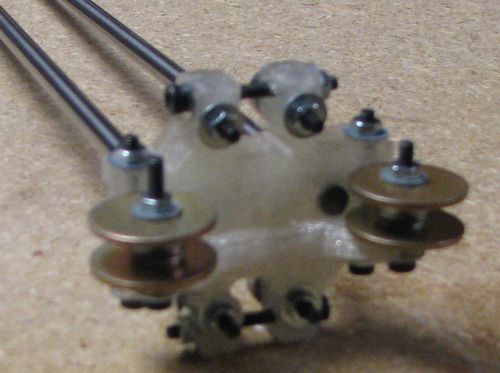
Install the idler bearings and mudguard washers on the blunt plate. I did not have any washers that were the correct size, so I had to use these over-sized ones and some extra washers to deal with their large inner hole.
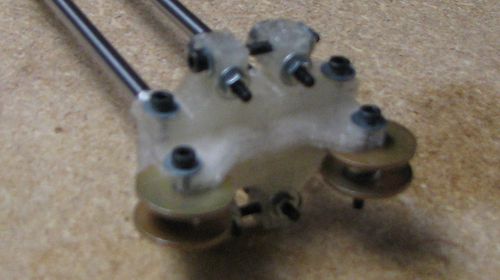
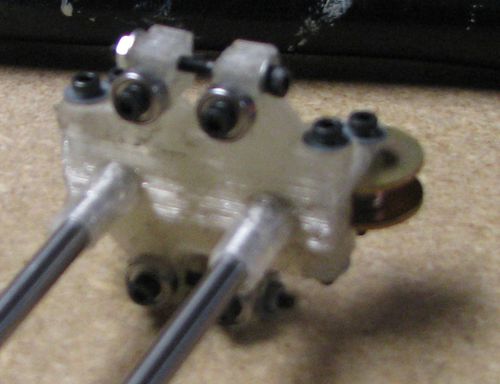
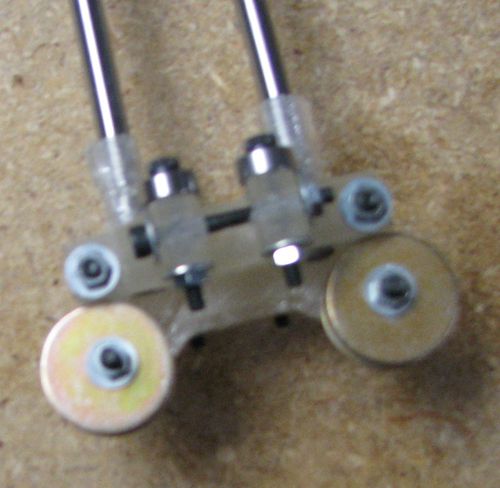
Build a sandwich. The bearing-clamps are on top and bottom. The sandwich clamp and blunt plate are in the middle. Also, insert the x-axis bars so they become clamped firmly to the assembly.
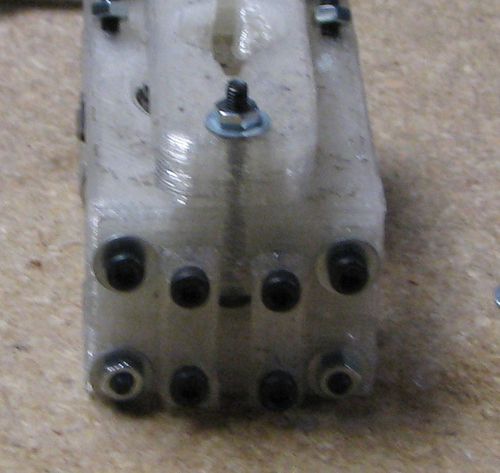
Clamp the two clamps onto the bar using 8 bolts.
