Metamaquina 3D/Instruções de montagem/Eixo Y
Contents
Plataforma Y
A plataforma Y é composta pela base aquecida e por seu sistema de movimentação no eixo Y.
Componentes
Instruções
Nessa parte vamos montar o eixo Y da impressora.
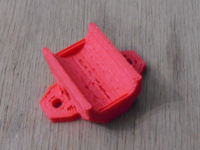
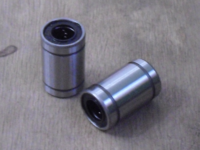
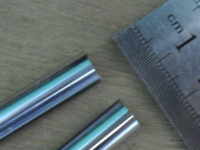
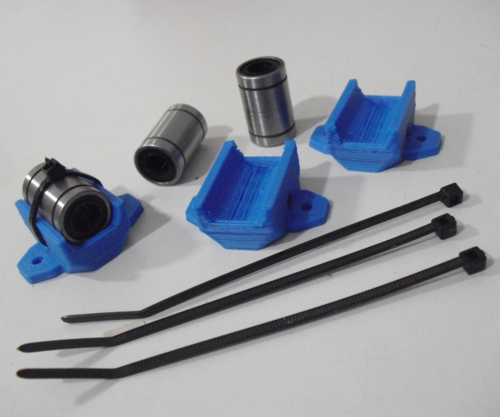
Pegue 3 rolamentos lineares LM8UU, 3 braçadeiras e 3 suportes para LM8UU. As braçadeiras são pequenas fitas de plástico com travas, em inglês se chamam "zip-ties". Usando as braçadeiras, prenda os rolamentos nos suportes e depois use uma barra lisa M8 pra verificar se os rolamentos estão deslizando bem.
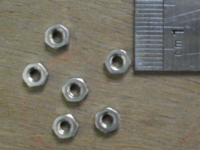
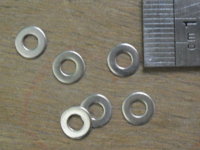
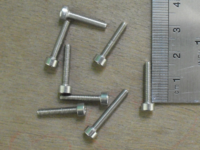
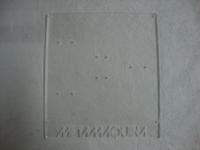
Coloque 2 rolamentos em uma barra lisa e aparafuse-os na parte de baixo da placa de acrílico (a parte de cima da placa de acrílico contém o texto "METAMAQUINA") usando parafusos M3x16 e porcas e arroelas M3.
É importante que, antes de apertar firme, os rolamentos já estejam inseridos na barra lisa pra garantir que eles estarão bem alinhados quando você for apertar os parafusos.
Agora instale o terceiro rolamento que deslizará sobre outra barra lisa M8.
Corra o eixo por dentro dos rolamentos novamente pra ter certeza de que eles continuam deslizando suavemente. Se não estiverem deslizando bem isso pode significar que eles foram presos desalinhados.
Instalação do motor Y
Componentes
- 1 Polia
- 1 motor de passo (com cabo de 90cm)
- 3 parafusos M3x10
- 1 correia T5 de 840mm
Instruções
Coil the stepper motor cable neatly, it will be terminated along with all the others in the Wiring section.
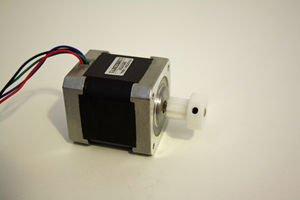
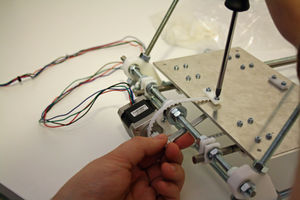
Attach the pulley to the shaft of the stepper motor, ensuring the grub screw in the pulley lines up with the flat section on the shaft. Fit the pulley as shown in the photo below.
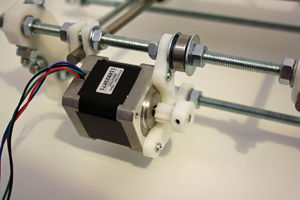
Attach the stepper motor to the left side of the Y motor mount using three M3 10mm screws. NOTE: The M8 mudguard washer may interfere with the M3 screw. One solution is to trim 2-3mm from the mudguard washer using a Dremel cutting tool to allow the M3 screw to freely secure the motor in place.
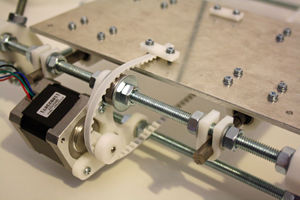
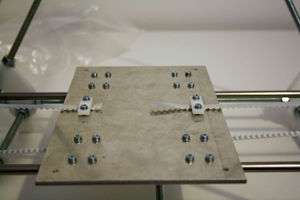
Slide the Y plate assembly all the way to the Y motor mount, pass the 840mm T5 timing belt underneath the Y plate assembly. Pass the belt over the pulley (make sure the belt teeth face the pulley teeth) pass over the bearing and under the belt clamp. Ensure at least a 1cm passes past the belt clamp. Using a spanner to hold the nut tighten down the belt clamp with the screws.
Repeat the process on the opposite side, the belt need to be tensioned so that there is little or no slack. (a second pair of hands is useful for this)
