Metamaquina 3D/Instruções de montagem/Eixo Y
Contents
Plataforma Y
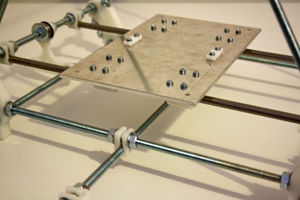
A plataforma Y é composta pela base aquecida e por seu sistema de movimentação no eixo Y.
Componentes
Instruções
Preparação dos suportes para rolamentos lineares LM8UU.
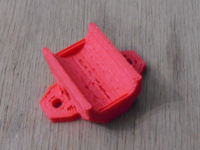
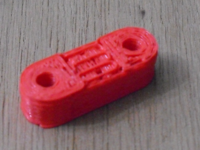
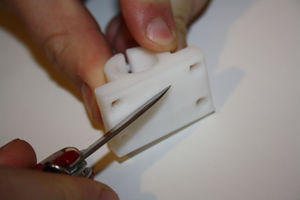
Firstly due to the way the LM8UU holders are printed they do not rest perfectly flat. Use a knife in a safe manner to scrape the middle of the bottom side until it will sit on a flat surface without rocking. An alternative approach is to put some sand paper flat on a table and gently run the LM8UU holders against it until they no longer wobble.
In the next step you will glue the LM8UU bearings in the holders, so ensure all eight holders rest perfectly flat.
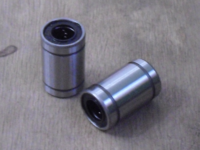
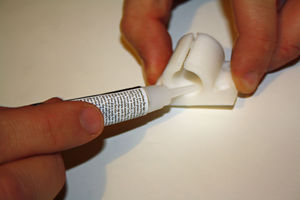
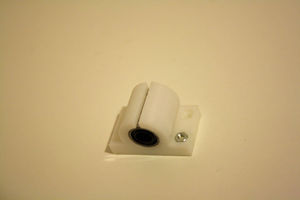
Use super glue or a suitable plastic adhesive (not supplied) to glue in place the LM8UU linear bearings, it only requires a small amount to hold the bearings in place. Apply the glue to the plastic part not the metal bearing. Twist the bearing as you push it in to spread the glue around. Wipe off any excess glue and allow to dry. Do all eight LM8UU holders at the same time. Be careful with the glue.
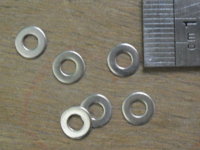
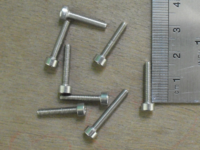
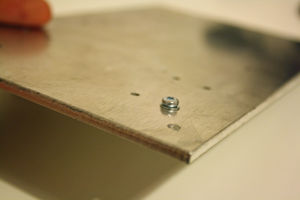
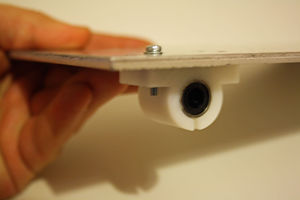
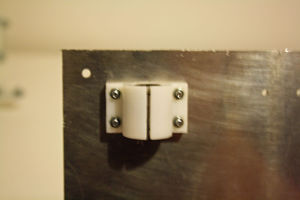
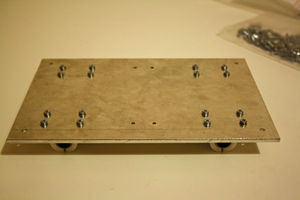
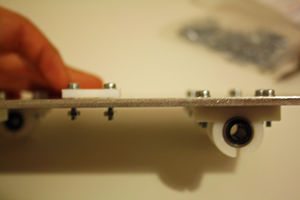
Primeiramente, é necessário afixar cada um dos rolamentos lineares LM8UU ao seu respectivo suporte; para isso utilize uma braçadeira plástica. Depois, prenda-os à chapa de sustentação, utilizando parafusos M3x16 e arroelas M3.
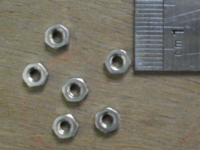
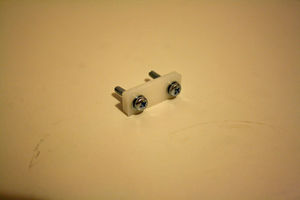
Attach the two belt clamps but do not fully tighten, attach with two M3 16mm screws with M3 washers and M3 nuts, the plastic clamp needs to be on the opposite side to the LM8UU holders.
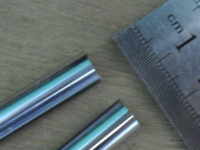
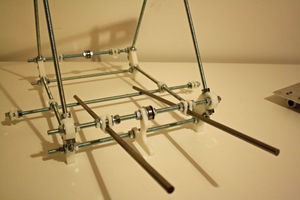
Take the two 406mm stainless steel round bars and slide them half way through the bar clamps which are either side of the Y motor mount.
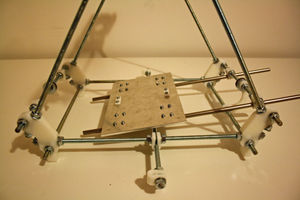
Take the Y axis aluminium plate assembly and slide the two 410mm bars through the LM8UU bearings, continue to slide the rods until they pass through the opposite bar clamps. Space the spare round so that there is an even amount on either side.
Tighten the rod clamps and check the measurements are still correct, between 40mm and 41mm from the inside of the frame vertex to the inside of the rod clamp. Slide the Y assembly back and forth. If you feel any resistance slightly slacken the screws holding the LM8UU holders to the plate and then re-tighten, this ensures that the holders are seated properly.
Instalação do motor Y
Componentes
- 1 Polia
- 1 motor de passo (com cabo de 90cm)
- 3 parafusos M3x10
- 1 correia T5 de 840mm
