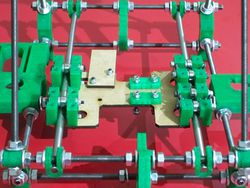
HuxleyYAxis
General
This page and its peers should guide you through assembling a RepRap Huxley from the TechZone kit, or from parts you have printed which are the same as the TechZone parts. It is a work in progress, and needs some help, feel free to edit this document to add comments of you your own, or contact us [here] and send us messages asking us for better clarification or details.
I am starting by posting the pictures I have, and over the next few days, I will fill in the instructions and detials (24 Dec 2010)
Thanks,
Lambert (TechZone R&D/Support/Documenter)
You can access this page and it's peers (for the other parts of the Huxley assembly from the Main Huxley page or from the TechZone Huxley Page
Whene assembling the Y Axis, it is OK to actually tighten the bolts/nuts since it is all aligned by the frog plate and later installation into the frame.
Y 180
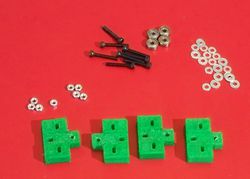
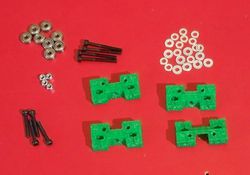
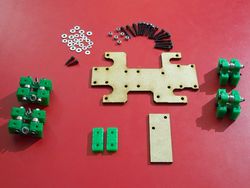
On the left is a picture of the parts used to make the Y Axis 180 side:
Y 360
Connecting to Frog Plate
Install the Build Platform
