HackerBot electronics
Contents
Power supply
| qty | part name | description/notes |
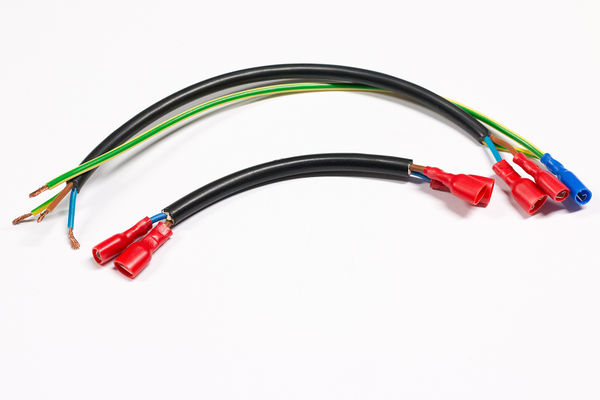
| 1 | Power cable | L. 25cm, 3 x 1mm power cable |
| 1 | Power cable | L. 10cm, 2 x 1mm power cable |
| 1 | Earth cable | L. 30cm, 1.5mm cable |
| 6 | Female fast-on connector | fully insulated type (ex: RS 624-1178) |
| 1 | Female fast-on connector for earth cable | not insulated type (ex: RS 624-1178) |
| 3 | Male fast-on connector | fully insulated type (ex: RS 624-1178) |
| 1 | Fast-on connector with eyelet | fully insulated type (ex: RS 624-1178) |
| qty | part name | description/notes |
| 1 | Back panel PMMA | low profile backside panel |
| 2 | M3x15 countersunk screws, 2x M3 nyloc nuts, 2x M3 washer | |
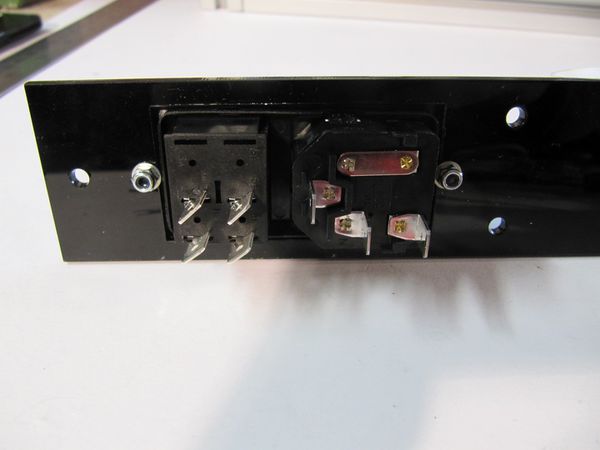
| 1 | Power inlet | Bulgin BVA01/Z0000/11 with Light (RS: 352-1825) |
| OR | Power inlet | Bulgin BVA01/Z0000/10 w/o Light (RS: 352-1819) |
| 1 | Power inlet fuse | 230V use a 2A fuse (20mm type) - 110V use a 4A fuse. |
Bulgin Inlet connector datasheet: [1]
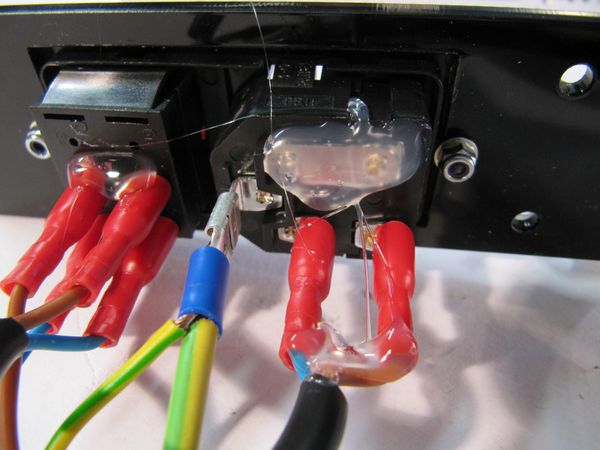
Assemble back panel with Bulgin inlet:
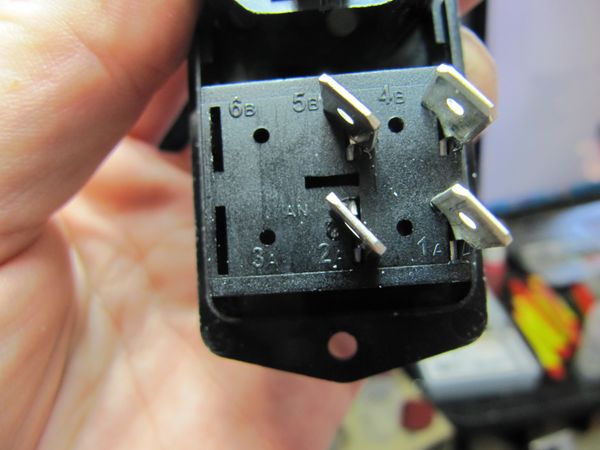
CHECK OUT the numbers/letters on the inlet backpanel. Dual pole switch are on A-A, and B-B.
So same cable color on same letter.
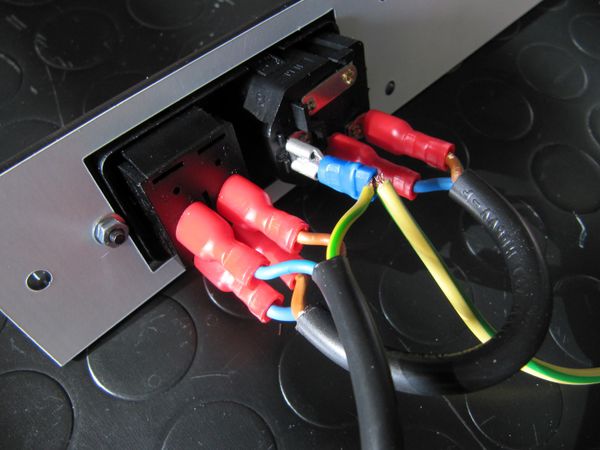
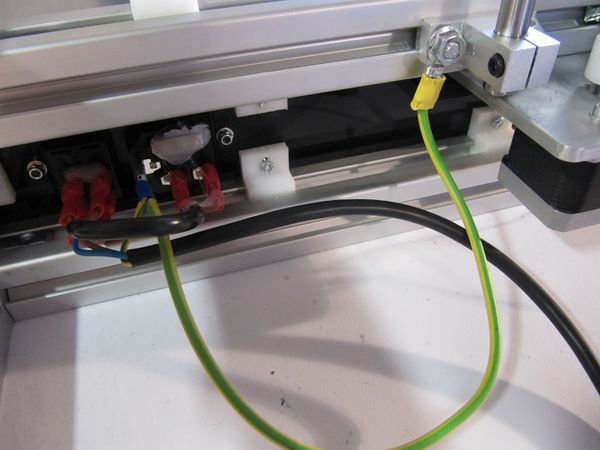
cable all together:
DO EARTH CONNECTION TO CHASSIS, THIS IS MANDATORY. EVERY METAL PARTS MUST BE EARTHED!
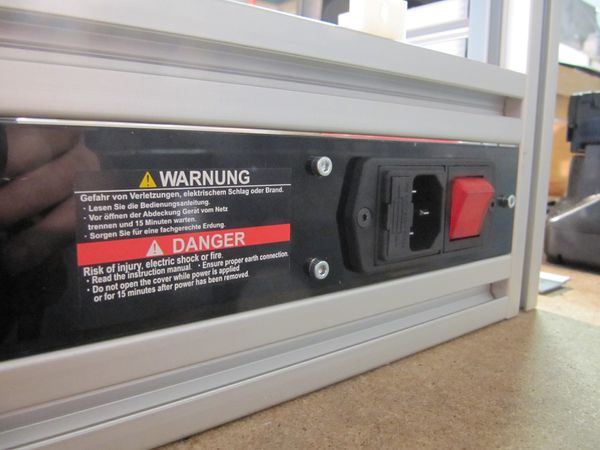
YOU MUST PLACE A VERY DEATH DANGER ADHESIVE!
Controller
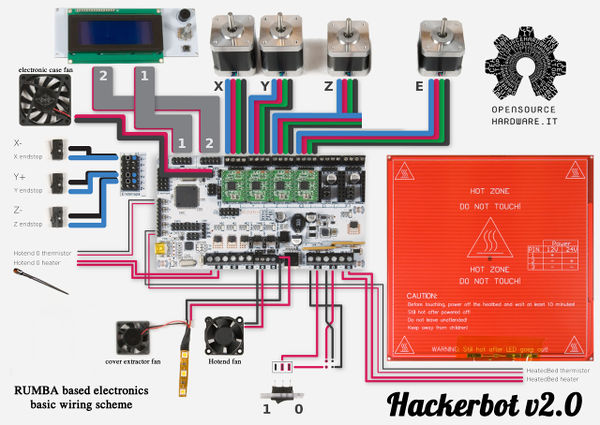
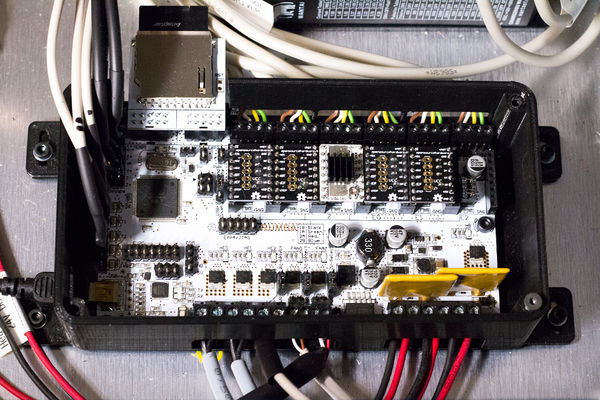
- RUMBA controller
RUMBA
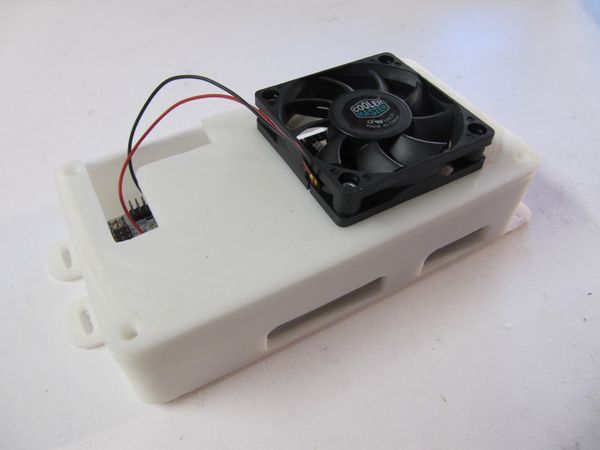
Printed box for Arduino RUMBA:
Step 36: Motor cabling
| qty | part name | description/notes |
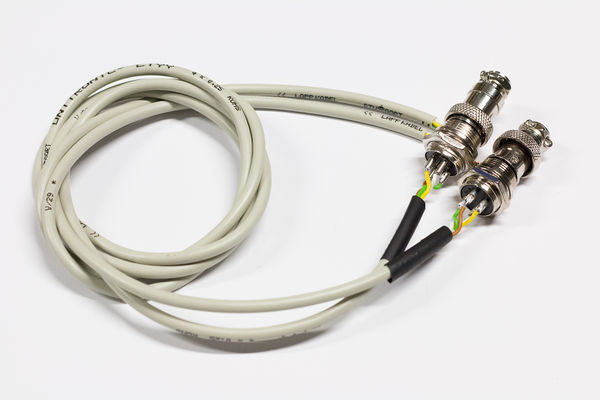
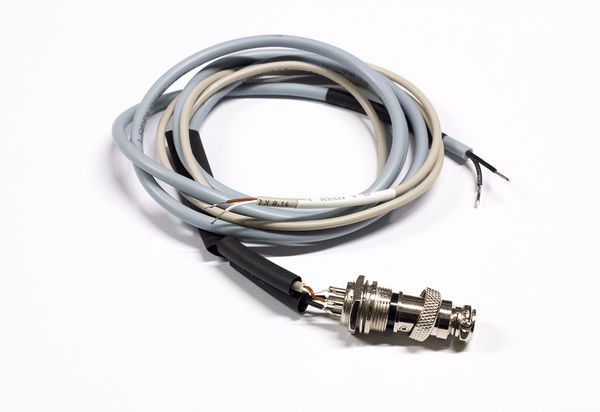
| 2 | X and Y motor cable | 4x0.25 mm2 , length: 1m (RS: 491-8983) |
| 1 | Z motor cable | 4x0.25 mm2 , length: 40cm (RS: 491-8983) |
| 2 | Panel connectors | 4 pins |
| * | Shrink tube |
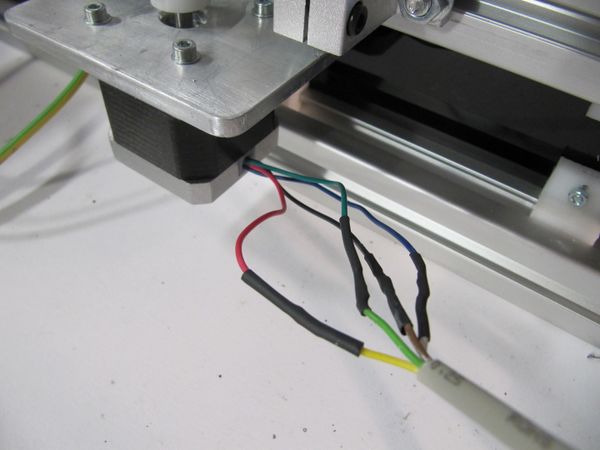
Wiring scheme:
| MOTOR | PANEL CONNECTOR | CABLE (LiYY 4x0.25) | A4988/DVR8825 |
| RED | » 1 « | Yellow | 1A |
| BLU | 2 | White | 1B |
| GREEN | 3 | Green | 2A |
| BLACK | 4 | Brown | 2B |
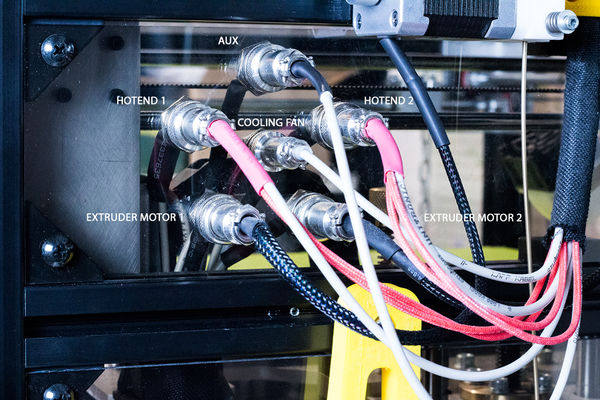
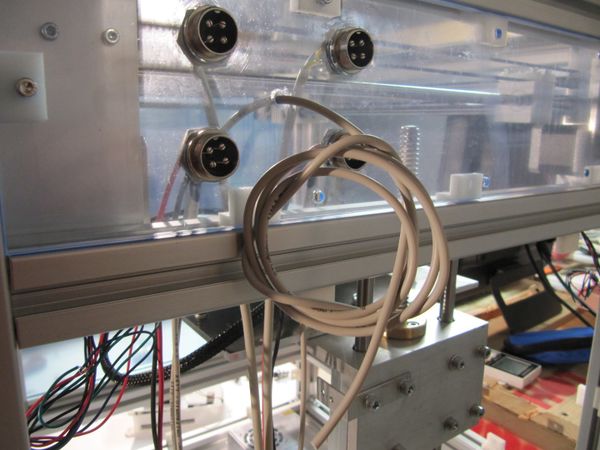
Fix the panel connector (motors):
Wire the Z motor:
Step 37: Extruder cabling
| qty | part name | description/notes |
| 2 | silicon cable 1 mm2 | length: 1m (red & black) |
| 1 | 2x0.14 mm2 LiYY cable | length: 80cm |
| 1 | Panel connectors | 2 pins |
| * | Shrink tube | |
| 1 | 2x0.14 mm2 LiYY cable | length: 80cm (fan cable) |
NOTICE: ONE EXTRUDER PROCEDURE. (repeat x times if you need multiple extruders,expect the fan cable, you need one ofan cable also with multiple extruders)
Wiring scheme:
| PANEL CONNECTOR | CABLE | note |
| 1 « | SILICON RED | Extruder power + |
| 2 « | SILICON BLACK | Extruder power ground |
| 3 « | LiYY BROWN | NTC |
| 4 « | LiYY WHITE | NTC |
In the middle hole put the FAN CABLE:
Step 38: Endstop
| qty | part name | description/notes |
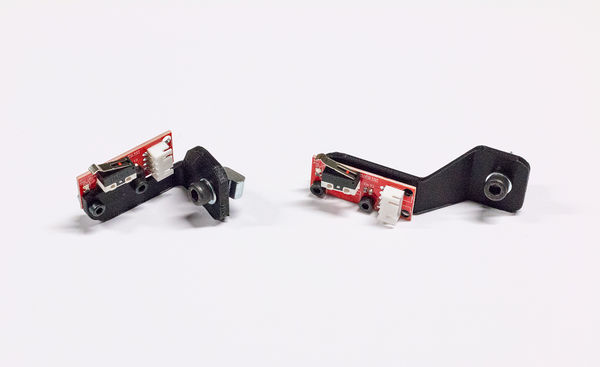
| 1 | X end stop holder | File:X Endstop holder.stl |
| 2 | X end stop holder screw | M2.5x15 + washers + nut |
| 1 | Y end stop holder | File:Y Endstop holder.stl |
| 1 | Y end stop holder screw | M6x15 + washer |
| 2 | X/Y end stop | mechanical endstop with lever |
| 1 | Z end stop | mechanical endstop with lever |
| 6 | Endstop screw set | M2.5x15 + washer + nut |
| 2 | 2x0.14 LiYY cable | length 90 cm (RS 445-1395) |
| 1 | 2x0.14 LiYY cable | length 150 cm (RS 445-1395) for z endstop |
| 3 | 2x1 dupont connector |
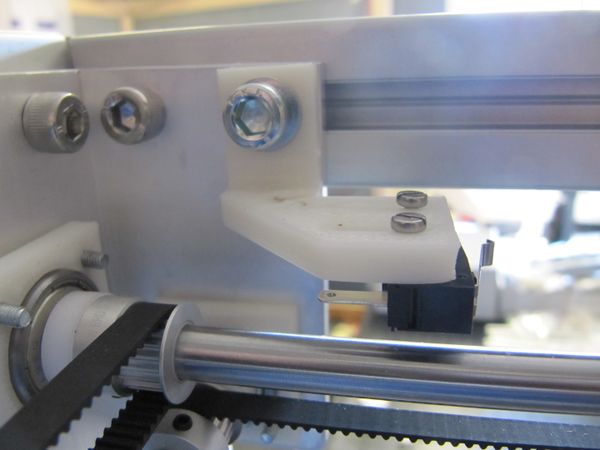
Use support and 2x M2.5x15 screw set to fix X endstop support:
Use the M6x20 to fix the Y endstop support:
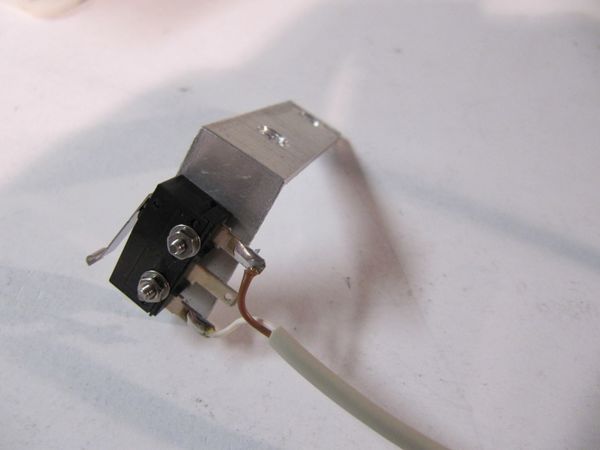
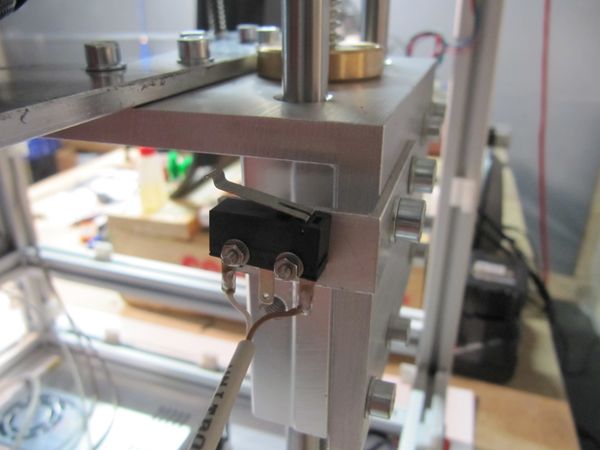
Using 2x M2.5x15 screw & nut tighten the endstop to the support:
Step 39: LCD Controller
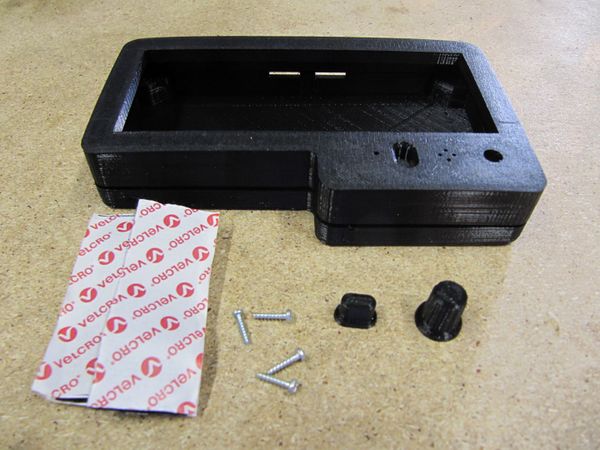
| qty | part name | description/notes |
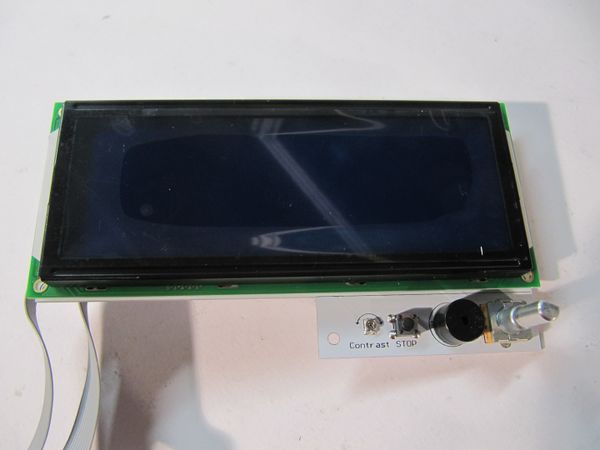
| 1 | RepRapDiscount XXL LCD | |
| 1 | XXL LCD case | File:Bottom Case XXL.stl |
| 1 | XXL LCD case cover | File:Top Case XXL.stl |
| 1 | XXL LCD knob | File:Controller knob 2.stl |
| 1 | XXL LCD kill button | File:Kill Button XXL.stl |
| 4 | KA20x15 | screws for plastic |
| 2 | Velcro strips | 50x20 mm |
Step 39B: Power supply unit cabling
| qty | part name | description/notes |
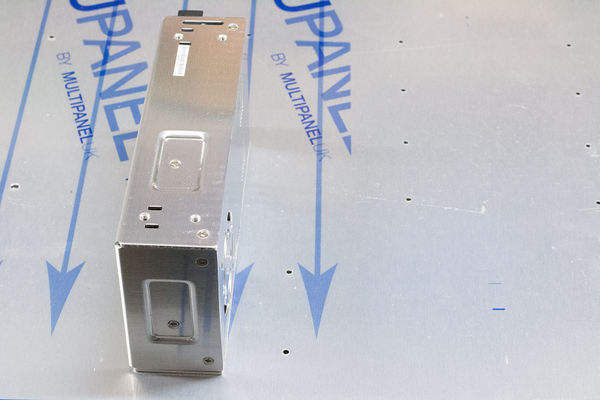
| 1 | Switching power supply DC 24v - 12.5A | TracoPower TXL 350-24S or Ebay low cost PSU |
| OR | Switching power supply DC 12v - 30A | Ebay low cost PSU |
| 2 | Power supply clamps | File:Power supply clamp.pdf |
| 4 | M4x10 hex screw + washers | |
| 2 | M3x12 hex screw kit |
