Gen7 Endstop 1.3.1/es
|
English • العربية • български • català • čeština • Deutsch • Ελληνικά • español • فارسی • français • hrvatski • magyar • italiano • română • 日本語 • 한국어 • lietuvių • Nederlands • norsk • polski • português • русский • Türkçe • українська • 中文(中国大陆) • 中文(台灣) • עברית • azərbaycanca • |
Release status: working
| Description | Parte de Gen 7 Electronics
|
| License | GPL v2
|
| Author | |
| Contributors | |
| Based-on | [[]]
|
| Categories | |
| CAD Models | |
| External Link | (none)
|
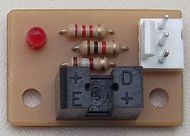
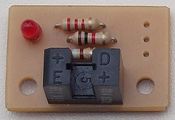
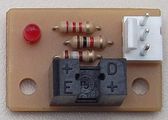
Este es un final de carrera optico compatible con RAMPS, Sanguinololu, Generation 7 Electronics y todos las demas electronicas que reconozcan una señal digital de 5 V. Simple, asequible y fácil de construir.
Contents
Como Comprarla
PCBs (Printed Circuit Boards - Tarjetas de Circuito Impreso)
Obtenga PCBs de finales de carrera Gen7 escribiendo a Traumflug.
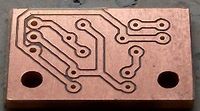
Como Gen7 esta diseñada para ser fabricada en una RepRap o por otro método DIY, usted por supuesto, puede hacer sus propios PCBs. Otra forma es comprarla de una de las muchas casas especializadas en fabricar PCBs prototipo. Gen7 es de una sola cara, de modo que no costará una fortuna.
Componentes Electrónicos
Obtenga Kits de componentes de los finales de carrera Gen7 desde Traumflug.
Si usted desea ensamblarlo usted mismo, revise la sección #Lista Partes.
Tarjetas Ensambladas
Obtenga los finales de carrera Gen7 ensamblados desde avrthing.com en la categoria tarjetas ensambladas.
Lista de Partes
| Nombre | Cantidad | Denominación | Vendedores | Observaciones | |||||
|---|---|---|---|---|---|---|---|---|---|
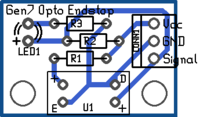
| Resistencia 180 Ohms 1/4W | 1 | R1 | Reichelt | Völkner | Farnell | RS | Digi-Key | Mouser | |
| Resistencia 1 kOhms 1/4W | 1 | R2 | Reichelt | Völkner | Farnell | RS | Digi-Key | Mouser | |
| Resistencia 2.2 kOhms 1/4W | 1 | R3 | Reichelt | Völkner | Farnell | RS | Digi-Key | Mouser | |
| LED 3 mm Rojo | 1 | LED1 | Reichelt | Völkner | Farnell | RS | Digi-Key | Mouser | |
| Foto-interruptor TCST1103 | 1 | U1 | Reichelt | Farnell | RS | Digi-Key | Mouser | Este no tiene ojales para montaje. | |
| Foto-interruptor alternativo TCST2103 | 1 | U1 | Reichelt | Völkner | Farnell | RS | Digi-Key | Mouser | Este tiene ojales que ayudan en el montaje del final de carrera en su posición final. |
| Conector de pines para PCB Molex KK100 3 | 1 | CONN1 | Reichelt | Farnell | RS | Digi-Key | Mouser | Se probaron los Reichelt y son compatibles con los Molex | |
| Conector de Cable para el anterior | 1 | Reichelt | Farnell | RS | Digi-Key | Mouser | |||
| Contactos prensables para el anterior | 3 | Reichelt | Farnell | RS | Digi-Key | Mouser | |||
Assembly Instructions
- To find out which components to put where, have the layout on your PC screen available.
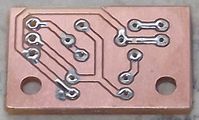
- PCBs fabricated with Voronoi paths need more heat, so raise your soldering iron's temperature by about 20 deg Celsius.
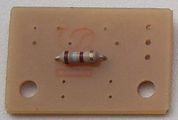
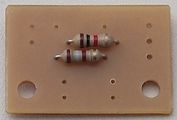
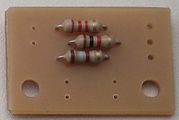
- Start with the flattest parts, usually wire bridges or resistors. This way, components won't fall out when you lay the PCB on it's front for soldering. Then continue with parts of raising height, connectors are usually among the last ones.
- To ease soldering jumper headers and similar components, put a small drop of cyanacrylate glue onto the component side before inserting them. As the PCB is single-sided, this won't hurt the solder point.
- Take care to not overheat the photo sensor. Solder one pin on each side then pause for a minute before continuing.
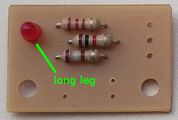
- As LEDs have to be inserted the right way they have legs of different length to indicate polarity. The longer leg (+) goes into the hole closer to the photo sensor and the shorter one (-) into the hole closer to the border.
Assembly in Pictures
Click on the pictures to view them bigger.
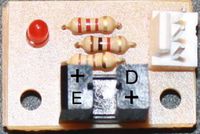
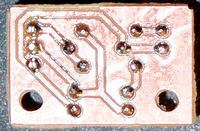
Now we're done, these pictures show the work of StevBrennan:
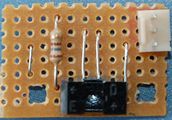
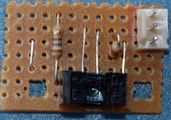
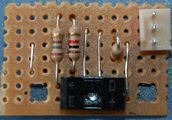
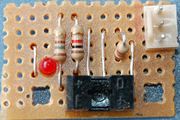
Assembly on Veroboard in Pictures
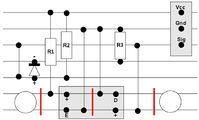
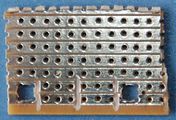
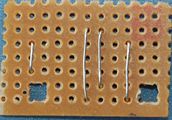
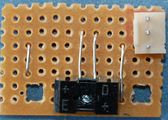
If you don't want to etch or buy an endstop board, here is a veroboard version.
Click on the pictures to view them bigger.
Setup
TBD
