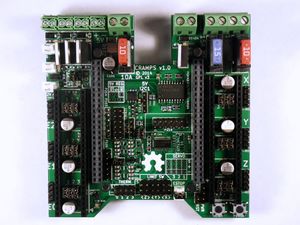
CRAMPS2.1
Release status: Experimental
| Description | Cape-RAMPS for BeagleBone
|
| License | GPL
|
| Author | |
| Contributors | |
| Based-on | |
| Categories | |
| CAD Models | KiCAD
|
| External Link |
Contents
Summary
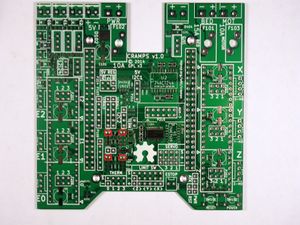
Version 2.1 of the CRAMPS board is a mixed surface-mount and through-hole design. The fine-pitch SMT parts from version 1.0 have been removed, so all parts are now large pitch or through-hole, and are relatively easy to hand solder.
Safety
The CRAMPS board is designed to handle power levels capable of causing a fire. Be very careful with the initial board checkout, ideally using a power supply protected from short circuit and overload. Never operate your board unattended, and make sure all connected parts subject to heating (including the wires and connectors!) are far away from any potentially combustible material. Always use the proper fuses, and insure your smoke detector is working properly.
ECOs
Not yet
Assembly
Required Tools
- You must have
- Solder iron, solder wire, good tweezers
- You really need
- Solder wick, solder sucker, flux pen
- Optional methods use
- Solder paste, hot plate or oven
Cape Assembly
Soldering the CRAMPS board includes both surface mount and through hole soldering.
The surface mount can be done a few ways. To hand solder, start by putting a small amount of solder on one pad. If you have flux, coat the soldered pad. Use the tweezers to hold the component down in position and heat the solder to tack the component into place (make sure the entire solder blob flows so you don't get a cold solder joint). Then solder the other pads. Also popular is using solder paste for pad by pad soldering, Oven Reflow (need link), and HotplateReflowTechnique
Solder the SMT components first, starting with the fine pitch parts then working through the parts from shortest to tallest. Then solder the through-hole parts on top of the board. Finally solder the pin headers on the bottom of the board.
Surface Mount Parts
C301 C302 C303 C501 : 10 uF 10V 0805 Capacitor
These can be placed in any orientation.
Through Hole Parts
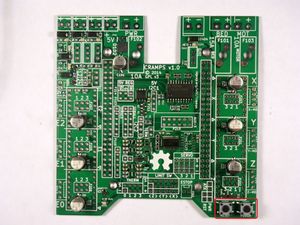
SW101 SW102 : Pushbutton
These can be placed in any orientation.
Complete
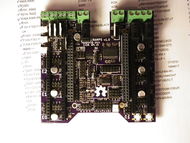
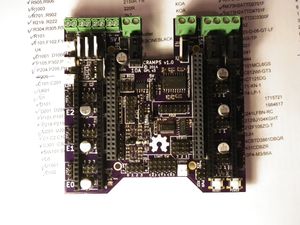
Assembly is now complete, hopefully your board looks something like this one.
