A5 Powder bed printer
Release status: Just started
| Description | Building a Powder bed 3D printer.
|
| License | GPL
|
| Author | |
| Contributors | |
| Based-on | |
| Categories | |
| CAD Models | |
| External Link |
A5 Powder bed Printer
A number of people have built powderbed printers, but a lack of detail makes it hard for many to build their own, I hope to build one and explain each step, so that others can follow, using equipment and materials that are off the shelf wherever possible.
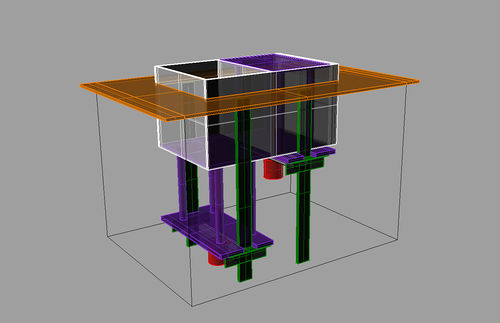
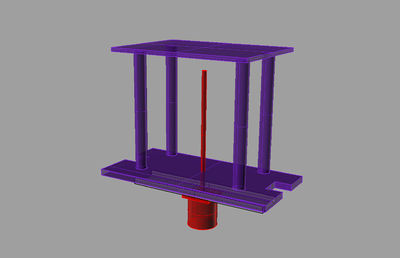
I hope to have a modular design, with the powder bins as the base unit, with initially a printer on rails mounted above, but with the option of adding an XY gantry, heaters etc.
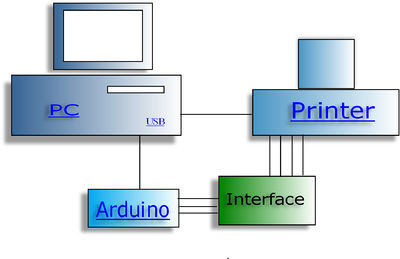
The principle of a Powderbed printer is simple, take an existing printer, make it into a flat bed, and mount it above some powder, but as always the devil is in the detail, Please be aware that this is a work in progress, and things can change, due to problems, mistakes etc, if you want a finished solution, it may be best to wait until it is tried and tested.
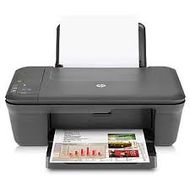
Printer HP DJ1000 HP DJ2050.. other printer candidates
The HP DJ1000 was the printer of choice for initial development, it looks simple and cheap, and cartridges are refillable, at the time they were difficult to find due to being on special offer, so a HP DJ2050 was purchased instead, this looks like a DJ1000 with a scanner on top, hopefully the scanner will not present extra problems?.
Recoat mechanism
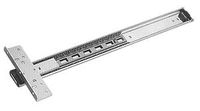
Concealed door slides,(500mm) at £11.50 for two are a cost effective option, they have little or no play and low friction,
3 pairs will be needed.
Powder bins and mechanisms
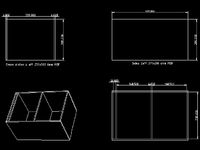
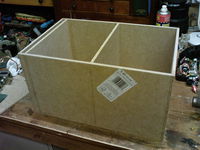
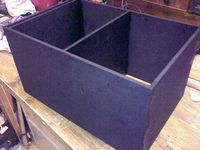
The powder bins are made from 6mm MDF, (£10) to the drawing below, "other sheet materials could be used, melamine coated mdf, tufnol etc", the store cut the parts on a wall saw, this ensures the cuts are square, (no charge for cutting). the apertures are A5 + 10mm all round, to aid part removal, the slot is for overflow The centre lines of the cross plates were marked out, and small holes for panel pins drilled, glue the edges and assemble, making sure all sides are as square as possible to avoid tight spots when the pistons are fitted, then tap in the panel pins, (use small pins to avoid splitting the MDF), double check that the whole thing is square, ( clamp if needed) and leave to set for 24 hours, I coated mine with wood stove paint, to seal it against moisture, which may cause swelling and distortion.
Pistons,
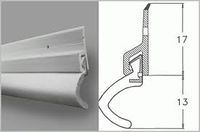
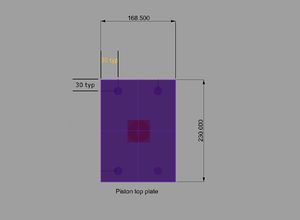
The pistons need to move in a smooth manner,without jitter, slop etc, this is to ensure that each layer is directly above the previous layer, we also need to seal between piston and bins to prevent powder getting by, using door seal strip, cut the top piston plate to suit your bins, so that they will pass through without any tight spots but without excessive clearance.
Draw slides are again used for the piston slides, to obtain maximum accuracy at minimum cost and effort.
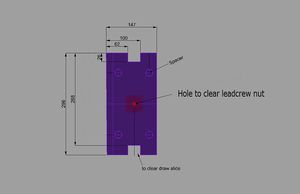
The top and bottom plate are made from 6mm MDF, they are not critical accuracy, the top plate will have the draught excluder to exclude powder, and the bottom plate is not a close fit to anything, the spacers can be wood broom handle cut to 197mm long, try to get them all the same length for each bin,
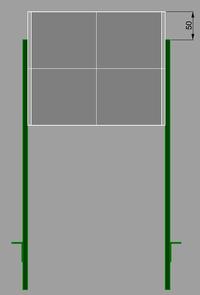
Mark on each side plate, the centre line for both bins, select which is to be the top face of the bins and mark 50mm down, and with a small clamp, clamp a slide to the bin so that the small hole is central to the line and the end of the slid is 50mm from the top, with a hand drill or pistol drill, drill out the hole in the slide and through the bin with a 5mm drill, countersink the inside face of the bin until the screw is flush, cut the screw so that it does not protrude through the nut, otherwise it will foul the runner, do the same for the other hole, making sure the slide is square to the bin, and mount the other slides this way.
Motors
Electronics
Software
