I3 Connecting X-axiz and Z-axiz
|
English • العربية • български • català • čeština • Deutsch • Ελληνικά • español • فارسی • français • hrvatski • magyar • italiano • română • 日本語 • 한국어 • lietuvių • Nederlands • norsk • polski • português • русский • Türkçe • українська • 中文(中国大陆) • 中文(台灣) • עברית • azərbaycanca • |
Need parts:
- 2×M5 * 295mm threaded rods
- 2×M8*336mm Smooth rods
- 1×Z-axis endstop switch plastic part
- 10,11 Z axis threaded rod fixed sheet
- 24,25 Z axis the top of Z rod fixed sheet
- 8×M3*16 screw
Step 1
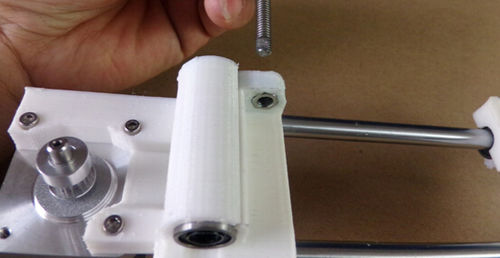
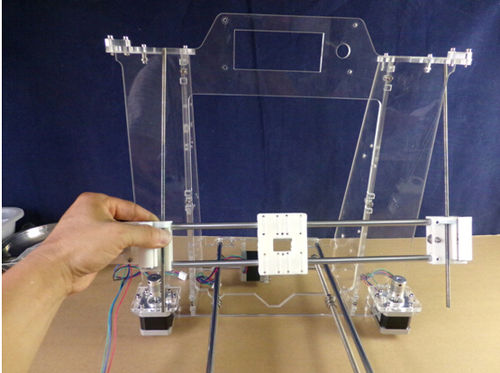
The end with slot of z axis insert the plastic part at the two end of x axis.
Step 2
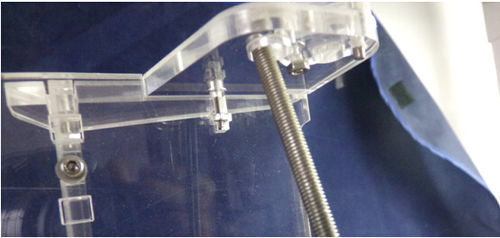
As the picture, two M5 tread rod insert two acrylic holes.
Step 3
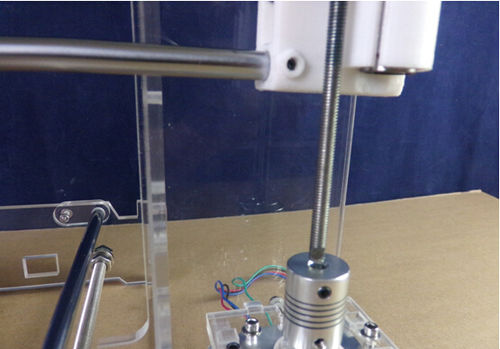
The end with slot of the tread rod insert compling, tighten them.
Step 4
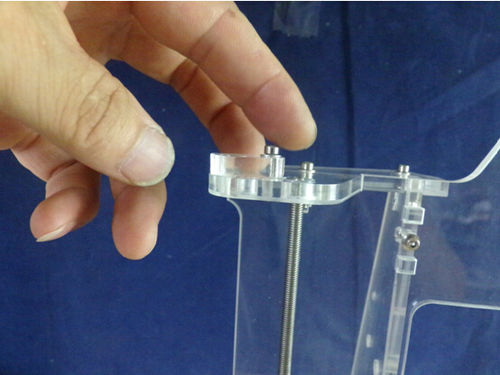
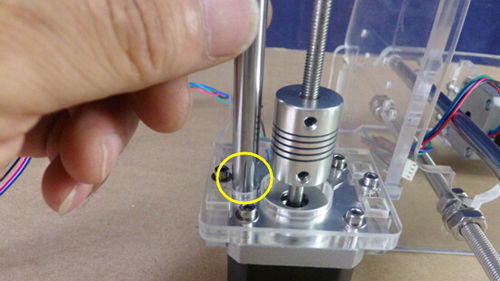
Take the left side screw out, move the top small acrylic sheet to show the small hole.
Step 5
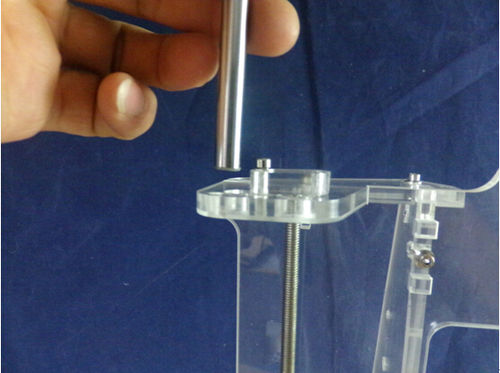
Insert M8*336mm Smooth rods
Step 6
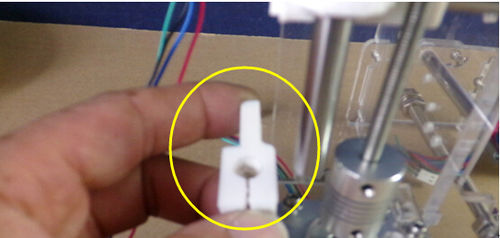
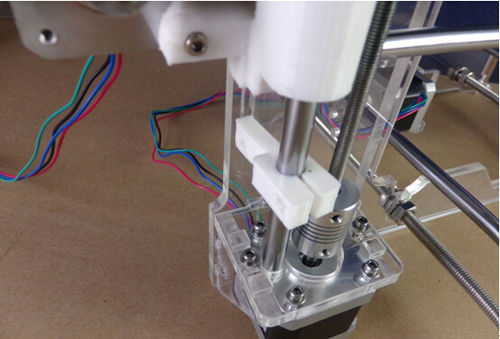
Insert endstop swicth plastic part location below motor plastic part(note direction).
Step 7
Insert Z axis into motor top acrylic hole.

