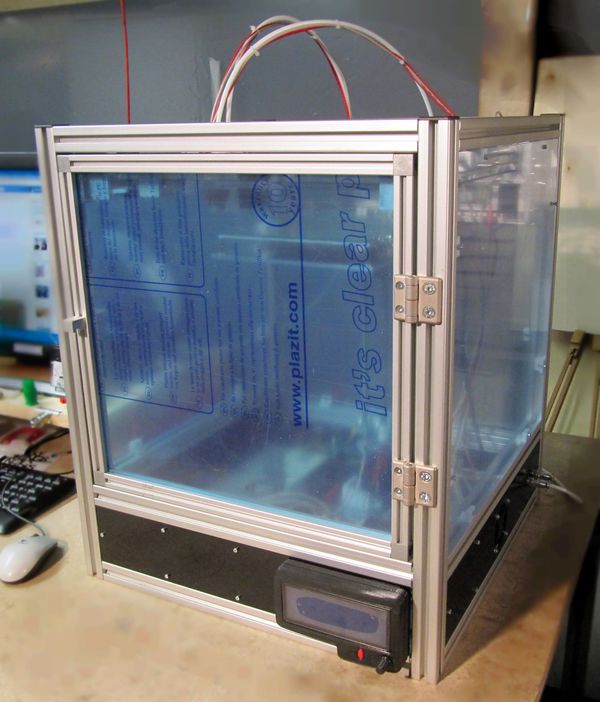
HackerBot Build Manual
Contents
Before You Begin
If you are here probably you are going to build an Hackerbot by yourself.
The following guide has been made easier by the addition of pictures but assumes that you have experience and build skills to also understand the steps that have not been described in detail.
The construction of the printer is not recommended for newbies
Tools needed
Tools needed to build ground up the Hackerbot:
- Drills: cordless drill, drill press
- Bandsaw
- Lathe: hobby lathe+
- Grinder
- Caliper: 200mm and 500mm
- Drills (full kit) - taps: M3,M4,M8 - reamers: 6mm, 8mm
- Soldering station (small and big tip)
- Multimeter
- Crimp tools: SN-28B
Material list
The bill of materials is constantly updated so please check it and report errors
A lot of parts are standard and can be buyed on a local hardware store
Special parts that needs to be cutted, drilled, etc. are in DXF format (or in Solidworks project)
(NOT UPDATED RIGHT NOW) Complete bill of materials for HackerBot v 1.3: HackerBot BOM
Downloads
HackerBot project design files are on GitHub:
- Stable release v 1.3 GitHub
- Developer edge branch edge branch
If you have question, doubts, applause just drop a mail at info @ oshw.it
Assembly Instructions
Before assembling a HackerBot, make sure you have all the parts necessary.
Every assembly / build step is documented with a photo and a short but clear description.
Follow all the steps and ask if in doubt.(just drop an email to [email protected])
And please take care of all the safety precautions when assembling, machining, testing, whatever. Please remember: nothing is more important than safety
- HackerBot structure
- HackerBot XY system
- HackerBot Z system
- HackerBot door
- HackerBot print area
- HackerBot base
- HackerBot electronics
- HackerBot extruder
- HackerBot wiring
Checkpoint
Mechanical
- tighten the XY cubic slider grub screws
- move cubic slider to one corner and tighten the bearing supports. Repeat foreach
- tighten the GT2 belts and relative pulley. Mark it with a permanent marker
- double check hotend grub screw. DONT tighten too much
- use a drop of oil on shafts
- grease on trapezoidal screw
- Z axis screws of SC10LUU should be tightened
- Z axis screws of UPPER SK10 should be tightened
- Leave loose screws to the LOWER SK10
- tighten the grub screw of Z coupler
Electrical
- check that glue has been applied to the mains power (check build manual)
- gently pull every cable and check that are really fixed
- check fuse
- check PSU DC voltage (should be set to 24V)
- NO burnt smell? GREAT!
- Driver current (DRV8825/A4988)
- (preheat) turn on Heatbed: M140 S60
- (preheat) turn on extruder: M104 S100
- clean extruder from thermal paste and, if any, check temp with an external thermometer
- test FAN1: M106 S255 (off: M106 S0)
- test FAN2: M42 P8 S200 (off: M42 P8 S0)
Pre Flight
- turn on extruder: M104 S260 . AND test extrusion directly pushing ABS into the hotend.
- NO burnt smell? we're almost done!
- check extruder motor correct direction. Try to extrude some filament: G1 E10 F1000 ; G92 E0
- test endstop: M119
- set the Z endstop in order to place the printbed lower than the hotend
- move Z axis all way down and up (repeat 2 times) (check grease)
- Tighten the Z axis system screws (SK10 screws)
- fine tuning printbed (check every corner)
- X & Y endstop tuning (tighten screws)
- TEST HOMING
Printer test
- Test the printer moving axis from the LCD panel. Usually first movements are jerky.
- Use the File:Vertex-max speed Hackerbot printer test.STL with no extruder active
- Test the printer at 100% feed rate (so 50mm/s print, 200mm/s travel)
- Test the printer at 200% feed rate (so 100mm/s print, 400mm/s travel)
- Repeat test with File:Vertex-max speed Hackerbot printer test.STL with extruder active
- Extruder should not lose filament
Panels
If printer you have passed the checkpoint and final test can be closed with PMMA panels.
Side panel DXF: File:Hackerbot panels DXF.zip
Accessories
- Printer tool kit
- Spool holder
