SGBot
This page is a development stub. Please enhance this page by adding information, cad files, nice big images, and well structured data!
Release status: unknown
| Description | documenting a generic tool/artpiece
|
| License | |
| Author | |
| Contributors | |
| Based-on | |
| Categories | |
| CAD Models | |
| External Link |
Contents
Working Notes. This is a stub!
Everything below this point is working notes.
Discussion
http://dev.forums.reprap.org/read.php?1,36581
Photos and Drawings
http://www.mediawiki.org/wiki/Help:Images
Design Principles
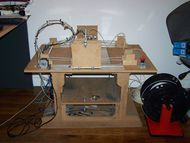
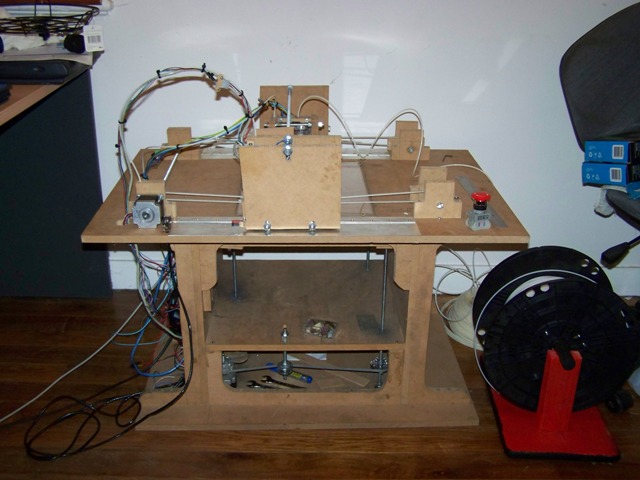
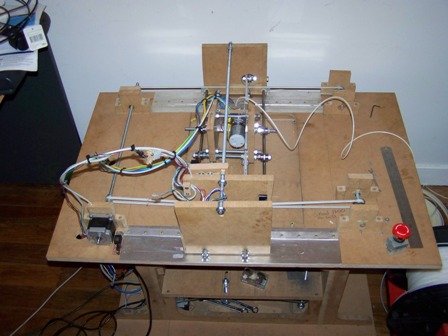
This repSTrap is based on the Darwin. Unlike the Darwin it uses bearings not sliders and there are no trapped nuts. Not even one.
I have developed / stolen the following design principles while building the sgbot.
Set and Forget – No adjustment hell.
Once something has been adjusted and set that is it. There is no readjustment. There is a clear line of dependencies. I.e. no circular dependencies where you adjust something which means something else is adjusted which requires you to adjust the original adjusted thing.
No adjustment
If something can be set in the build phased for the life of the machine it is. For example the threaded rods which drive the Z axis are fixed and cannot be adjusted. Either they work or they don’t and you get it right before building the XY mechanics.
Small steps
As each bits is made it is tested and tested and tested. Only when it passes all of it’s tests do we move on to the next thing and never test it again.
Hard vs Soft
Where there is a moving interfaces. One surface is hard and the other soft. This means you know where the wear is. For example the bearings are made of steel (hard) and run on aluminium slides (soft) so the bearings over time will wear a track into the aluminium and bed in.
Kebab technology – i.e. No trapped nuts
Basically there are no trapped nuts. Components are kept in place by a M8 nut on each side. I.e. like the bread in a kebab.
Single use.
Each component does one thing and one thing well. I have broken this rule a few times and each time I regret it. For example I have the X stepper motor fixed by the Y carrage. Every time I touch either one results in me having to realign both.
Simplicity
For example the stepper motors directly drive their respective components without gearing. (which will wear and require maintenance)
Bought accuracy.
My wood sawing accuracy leaves a lot to be desired. It just ain’t pretty. Hence the MDF size determine the size of this reprap. E.g. the MDF comes in 450x900 size. And 800x600. as a result my reprap has a xy bed of 800x600 and sits exactly 450mm off the base plate. If the MDF came in 400x900 then my reprap would sit 400mm off the base plate.
Screws not nuts and bolts.
I use 50mm screws. Cheap and freely available and more importantly left over for another project.
Results
The result of all these rules of thumb are a reprap which is
1) Low cost. Uses screws instead of nuts and bolts and MDF not plastic and steel.
2) Bearing count 23. But I recon I can get it down to 12.
3) 8 threaded rods+2 unthreaded rods but it can be reduced to 5 + 2 unthreaded
4) 300 x 400 Z axis build area. With a Z axis of 250mm
5) Prints well at 25m/s with a Makerbot MK4 extruder.
6) Happily go to 50m/s but the extruder can't keep up
7) Darwin design but uses only three threaded rods on Z axis.
8) Z axis is rock solid.
9) Big red emergency stop button to be wired into Reset pin of Arduino
10) Nice area in the Z axis to dump spanners and often used tools.
11) It is so robust I can sit on it. (I am about 95kg)
Entrepreneurship (Kits)
There is no kit. This machine was built using two Saws, Pillar drill, a Screw driver, two 13mm spanners, a big metal ruler, glue and lots of G clamps.
Files and Parts
File:Uploaded files example.zip
See Example for more wiki tools.


