RevarBed
Release status: Working
| Description | Heated Bed Variant
|
| License | |
| Author | |
| Contributors | |
| Based-on | |
| Categories | |
| CAD Models | |
| External Link |
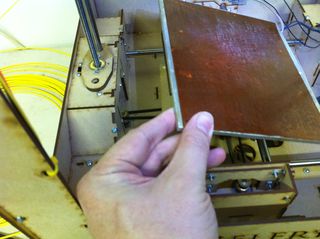
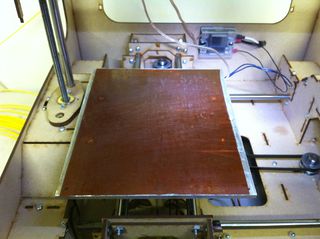
My home-brew printer has a larger 6" x 7" build platform (about 150 x 175mm), so I had to make my own heated platform.
Parts List
- 6" x 7" x 0.25" aluminum sheet
- 100W 4" x 5" silicone heater pad, 5 W/in², self adhesive backing, 120VAC (part# 35765K181 on McMaster.com, $27) Other sizes are also available.
- Four #6-32 male-female threaded aluminum hex standoffs (part# 93505A112 on McMaster.com, $0.44 each)
- 12" x 12" self-adhesive 0.002" thick Kapton Film (part# 2271K72 on McMaster.com, $15.46)
- Solid State Relay (SSR), 10A 264VAC max out, 5-24VDC in. (part# G3NA-210B-DC5-24 at JameCo.com, $16)
- 3mm 100K thermistor, (http://store.makerbot.com/electronics/components.html, $5)
- An AC power cable.
Instructions
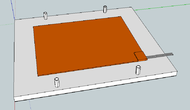
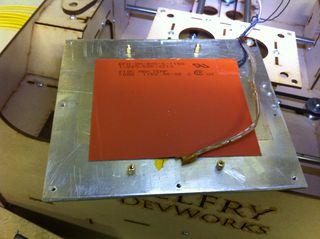
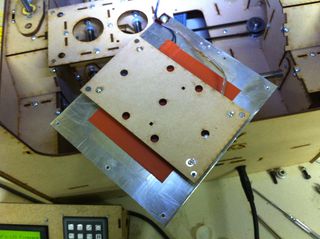
Drill and tap four #6-32 holes in the back of the aluminum plate, and screwed the hex standoffs into them, to use for mounting the heated platform to the X-Y platform. Drill an additional 1/8" hole in the platform to mount the thermistor into, in the center of the platform. Wired and installed the thermistor into the thermistor mount hole, taping it into place with Kapton tape. Adhere the heating pad to the bottom of the aluminum plate, between the standoffs, over the thermistor hole. Wired the heater pad up to power cord, with the output side of the SSR inline as a switch. Wire the input of the SSR to the extruder controller. Cut the Kapton film to size, and adhere it to the top of the platform. Wire the thermistor up to the Extruder Controller. To quote another good wiki page:
Connect the thermistor to the three-pin header on the Extruder Controller 2.2 board marked "A6". The pin at the top, nearest the A6 label, is Ground. The middle pin is VCC (+5V). The bottom pin is Signal (connected to the A6 analog input of the processor). Connect the thermistor between Signal and Ground. Connect a 4.7KΩ resistor (color code Yellow-Purple-Red) between VCC and Signal. Connect a 10µF capacitor across the thermistor (from Signal to Ground). Make sure that the + side of the capacitor is connected to Signal and the - side is connected to Ground.
Total cost: ~ $66 + shipping + the cost of the aluminum sheet and a few wires.
This reaches 110C in about 3 minutes. The Aluminum spreads the heat of the heater pad fairly well, but you may get hot spots if you use the 10W/in² heater variant.
