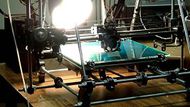
RepRap X2V3
Release status: active
| Description | This is a design featuring multiple hotends on independently driven X-carriages
|
| License | GPL
|
| Author | |
| Contributors | |
| Based-on | |
| Categories | |
| CAD Models | |
| External Link |
Overview
RepRap X2V3 is the new generation of the RepRap X2
dual extruding 3D printers line. The main goal was to overcome the limitations of the FDM machines through printing with the
soluble support material. The major new features of RepRap X2V3 are:
- Full support for independently moving X axis carriages for each extruder hotend;
- Nozzle wiping/cleaning;
- Frame modifications allowing X stage to move higher;
- Printing area casing;
For downloads and more detailed information on the specific hardware, electronics or software modifications see the corresponding pages here:
http://www.okob.net/projects/reprap_x2v3
The overview of the new features and capabilities is given further on this page.
Independently moving X axis carriages for each extruder hotend
Typical dual extruder machines have both hotends located on the same carriage.
That design has several disadvantages like idle extruder leaking plastic or catching and knocking off the printed object.
RepRap X2V3 has two hotend carriages driven by independent motors of X axis.
While one hotend is printing the other one can be positioned it its docking space away from the "action".
The independent drive also allows to utilize all the available platform space for the "follow-me" mode for
printing two identical or mirror-symmetrical objects simultaneously.
Each carriage has its own independently controlled hotend fan.
Nozzle wiping/cleaning capabilities
In order to achieve good print quality while using two extruders it's not enough just to park one hotend away from the print.
It also has to be "primed" (i.e. the consistent flow of plastic has to be re-established).
The old technique for RepRap X2 machine was to use a throw-away parking object (see dual-extruder-pla-printing).
RepRap X2V3 is much better equipped for that. The docking positions for hotends are at the ends of the X stage.
The nozzles are cleaned when hotends are sliding over cleaning element on the way back to the printing area.
The silicone tube piece with triangular cut on the side where nozzle slides over the tube to get cleaned is probably the simplest choice.
Mounting of other cleaning mechanisms can be easily achieved.
That feature allows priming the extruders minimizing leakage and inconsistent startup of the extrusion when switching
to the hotend being idle for a while.
Frame modifications allowing X stage to move higher
The triangular pieces of the frame (sides) are changed from being equilateral to get wider at the top.
That allows X stage to move up all the way over Z threaded rods without being blocked by the frame structure.
This adds 10-15mm to the height of the printing area without other dimensional changes of the machine.
Printing area casing
Printing area casing helps a lot to avoid heat dissipation from the heated printing bed and helps to keep heat
from external source (for example a heat lamp) inside in the printing area.
I've been using casing for a while now. Initially it was done from coagulated cardboard
(that can be done for a typical Mendel machine under an hour).
After it has proven to be useful the cardboard plates were swapped to acrylic for the RepRap X2V3 machine.
The reprap X2V3 machine has shown good results printing ABS with HIPS support dissolvable by D-Limonene
(see thing 5254 or thing 102957).
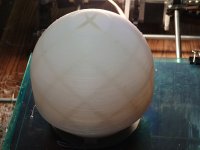
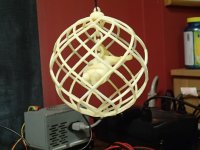
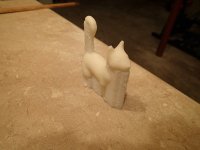
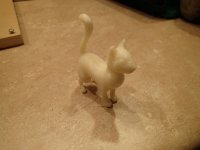
The cat was printed using HIPS for conventional Skeinforge support structure and ABS for the object. The Christmas ornament was
printed using dual color printing technique where the ornament itself (printed in ABS) was completely enclosed in another object
(created in MeshMixer by subtracting volumes, printed in HIPS).
The cage of the ornament has proven to be quite a challenge and required a bit of fixing but turned out OK at the end.
