PonokoFrameBaseAssembly
Assembling The Ponoko RepRap Frame Base
| [PonokoRepRap Main Ponoko Page] | ||
| Prev Step | Next Step | |
| BOM for this page |
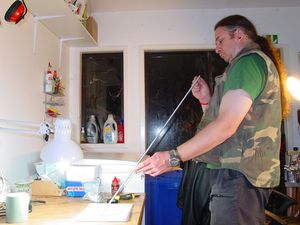
When assembling the framework, remember that it is what makes the RepRap move in straight lines. The straighter and squarer you make it, the better your RepRap will be. Check all rotating threaded rods and plain rods that are used as slides to make sure they are dead straight. You can sight down them as I'm doing in this photo, or you can roll them back and forth on a dead-flat surface such as a sheet of glass. If it doesn't roll smoothly, it's not straight. If not straight enough, clout them into line with a block of firewood or rubber mallet - nothing that will damage the surface.
The Frame Base is assembled largely from the parts you have already built: Lower Corners and Z Motor Assembly. Also included in this section are the Z Axis Drive Rods, or "Z Kebabs" which are fitted into bearings in the base, forming the mechanism that raises and lowers the RepRap's build bed.
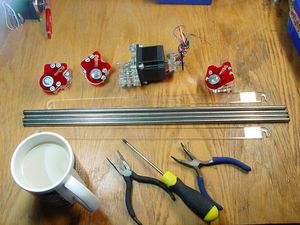
This is the collection of parts for assembling the base. You'll need the 3 Lower Corners, the Z Motor Assembly, <part>four 8mm diameter 500mm long bright steel rod</part> and the long spacing jigs from the lasercut kit. Long-nosed pliers are handy, but generally you should not need to do the nuts up much tighter than finger-tight. Over-tightening results in breaking acrylic and frayed tempers.
The tea - Earl Grey, hot, with milk - is optional.
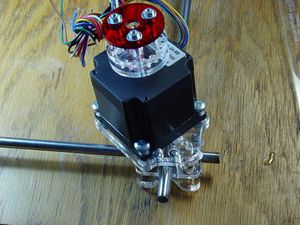
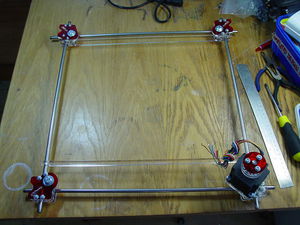
Slide the Z Motor on first. Note how the two rods have the Motor on the inside of their "V". Then add the other corners. Two 8mm rods will go high, two will go low, as is shown in the next photo.
Use the jigs in the lasercut kit to space the M8 rods evenly before tightening the corner screws.
To access tricky screw heads on the underside of the Frame, drop the Corner over the edge of the bench.
Remove the Z Motor for access to the Corner screws. Leave it off until after the vertical posts of the Z axis are installed (we've not got to that bit yet).
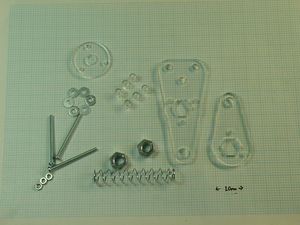
These are the artistically-interpreted components for creating the bed Mounts. These hold the corners of the bed and move up or down along the Z axis and you will want four of them. Parts per item include:
- 400mm M8 studding
- 2 off M8 nuts
- 3 off M3 40mm machine screw
- 3 off M3 nuts
- 6 off M3 washers
- Section of 11mm (7/16") utility compression spring
- M8 washers to suit
Cheap airsoft pistols from the dollar store are an excellent source of compression springs.
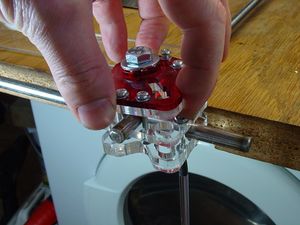
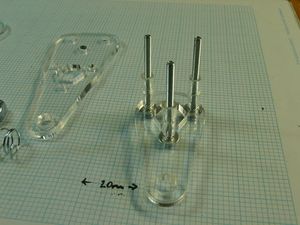
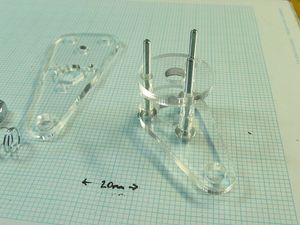
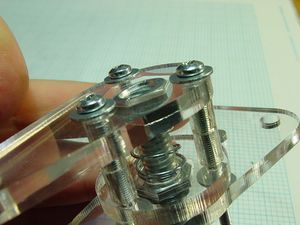
<repeat count="4"> Put <part p="3 M3">washer</part>s on the <part>three M3 40mm screw</part>s and put them into the teardrop-shaped plate. Onto each screw put two M3 spacers cut from the 8mm acrylic sheet.
Put the round plate on top of the spacers.
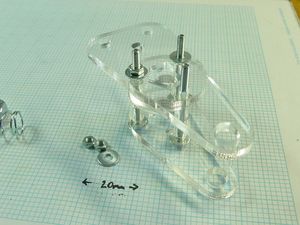
Put the triangular plate on top of the round plate and hold it down with <part p="3 M3">washer</part>s and <part p="3 M3">nut</part>s.
Note on more recent kits, there is a 3mm acrylic part labelled "ZN". If your springs are a little weak, add one of these on top of the stack and trap an M8 nut in the hexagonal cavity before adding washers and nuts.
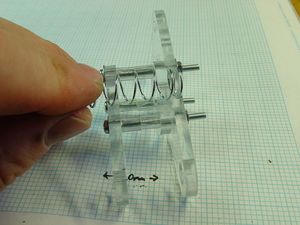
Cut a section of 11mm spring to approximately the same length as the width of the Mount. Exactly how much you need depends on how good you are at curving the end of the spring over and how strong it is.
This is a relatively puny spring.
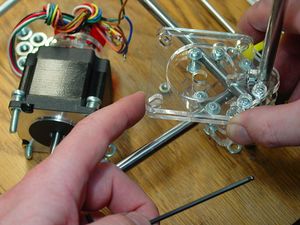
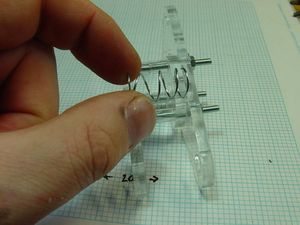
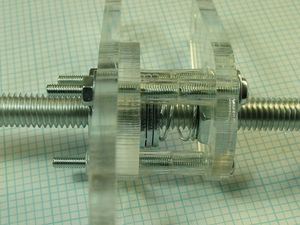
Put an <part>M8 nut</part> onto the end of a <part>M8 400mm studding</part>, wind it down about 15mm, put the spring on it, and push it into the Mount. Cap with another <part p="M8">nut</part>.
The idea is:
- The nuts cannot rotate within the mount, and
- The spring is strong enough to stop the nuts rattling on the threaded rod.
- The threaded rod can still rotate freely within the nuts.
If you find yourself slightly short on spring, or the bit you cut turns out to not be strong enough to provide constant tension between the two nuts even after you've stretched it a bit, put a few washers in with the spring as shown.
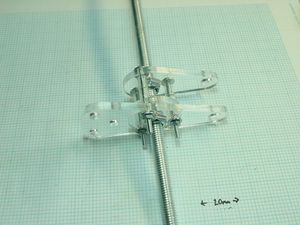
Once you've put the Mount together, wind it to about 150mm off the bottom of the threaded rod. Make three of these. Make a fourth, but don't put any M8 threaded rod (aka studding or all-thread) in it yet. One of the studdings will be shorter by the height of your Z motor, but the exact length is dependent upon your choice of NEMA 23 vs NEMA 17 motors. </repeat>
<repeat count="4">
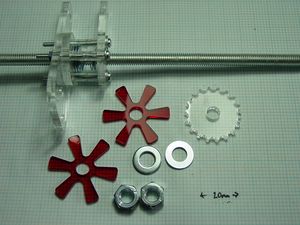
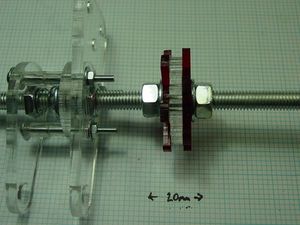
Now we attach the Pulley that takes the #10 4.5mm ball-chain. Do these parts up tight as it relies on compression fitting to stop the central cog rotating on the axle. Wind on a <part>M8 nut</part>, <part>M8 washer</part>, 3mm six-legged washer, 5mm ball-chain gear, 3mm six-legged washer, <part>M8 washer</part>, and finally a <part>M8 nut</part> </repeat>
Wind the pulley on so that about 80mm of screw thread protrudes.
Now is the time to check that your chain fits between the Pulley rims. If the fit is too tight, insert a washer or some other form of shim between the gear and one of the rims.
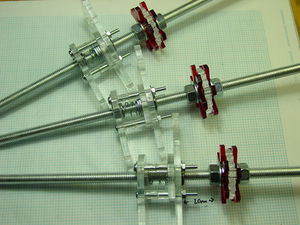
Sometimes refered to as "Z kebabs," here are the three completed Z Idler Assemblies:
| [PonokoRepRap Main Ponoko Page] | ||
| Prev Step | Next Step |
-- Main.VikOlliver - 20 Nov 2008
