Organ Pipe Hotend
Release status: Working
| Description | full metal hot end with cooling fan
|
| License | unknown
|
| Author | |
| Contributors | |
| Based-on | |
| Categories | |
| CAD Models | |
| External Link |
Contents
Introduction
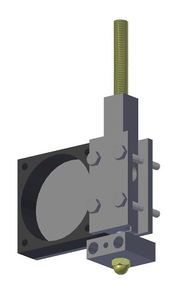
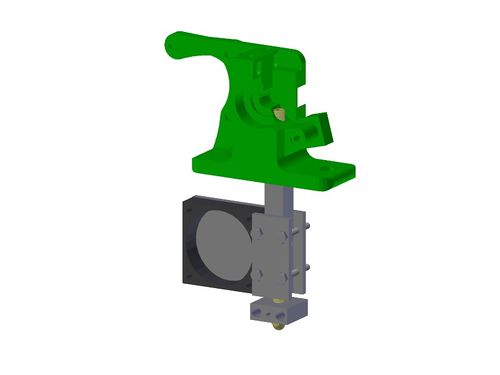
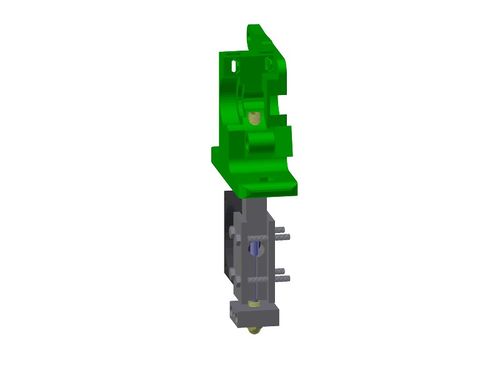
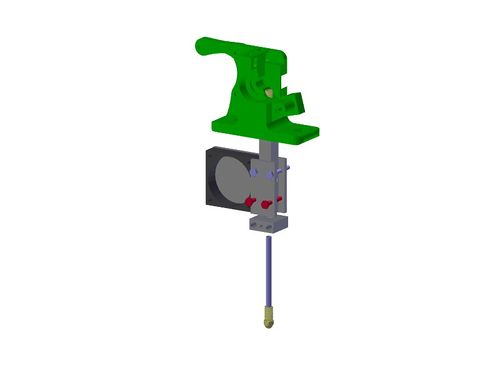
The Organ Pipe Hotend derives from its predecessor, the Longsword Hotend and is superseded by the Excalibur Hotend.
While the Longsword Hotend has a PTFE liner inside the Cooling Bar, the Organ Pipe is a full metal hotend with a continuous barrel from the top of the cooling bar down to the nozzle. Nozzle and barrel are virtually one piece, although the barrel is made of stainless steel, while the nozzle consists of brass. Nozzle and barrel are referred to as the Pipe.
The Pipe can be exchanged very rapidly, allowing swift changes of material types (e.g. from ABS to PLA) without having to clean the barrel each time.
The Organ Pipe Hotend can be made without any lathe. A drill-press will do.
The Pipe
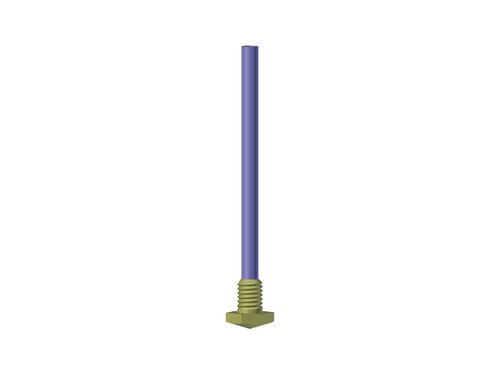
The Pipe consists of the following parts:
| Quantity | Description | Specifications |
|---|---|---|
| 1 | tube | stainless steel, Length: 60 mm, OD: 4 mm, ID: 3.3 mm |
| 1 | hex screw | brass, M6 x 8mm |
Tools you will need:
- Drill-press
- Drill-press vise
- Blowtorch
- Soldering paste
- 4.1 mm metal drill
- 0.5 mm PCB (carbide) drill
- miniature chuck or pin vise
- center drill (optional)
- nozzle sharpening tool
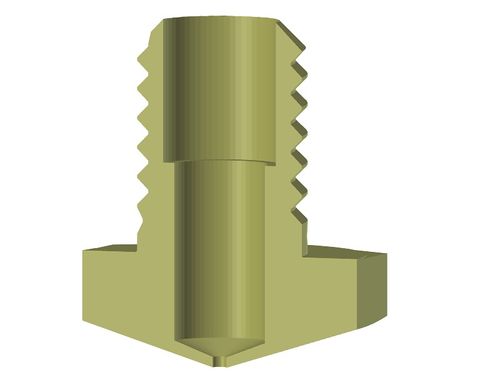
Drill a 3.3 mm hole into the shaft of the screw 11 mm deep (if the screw is 12 mm long). Next drill a 4.1 mm hole 5 mm deep into the first hole. A center drill might be helpful. It is a good idea not to put the drill but the screw into the chuck of the drill-press.
Now use the nozzle sharpening tool to taper the head of the screw. Just put the screw into the chuck of the drill-press and sink it down into the center of the tool.
(The two black parts are cylindrical milling cutters. They do not rotate.)
Drill a 0.5 mm hole into the tip of the screw head. I usually do this by chucking the screw into the drill-press and placing a 0.5 mm PCB drill under the tip. For holding the drill, I use a mini chuck purchased at a watchmakers' supply shop. The chuck has a shaft which I clamp in a small vise. I use approx. 600 rpm when drilling the hole.
Now your nozzle is ready.
Now you have to solder the parts together. I use a small blowtorch and some soldering paste for that. At 610°C the solder melts. It isn't difficult at all. But be careful not to burn yourself. I drilled a 4.1 mm hole into an aluminium cube and put the cube into a vise when soldering. The hole holds the stainless steel tube.
It is a good idea to make more than one Pipe as you may want to change between different nozzle diameters or types of material.
The Cooling Bar
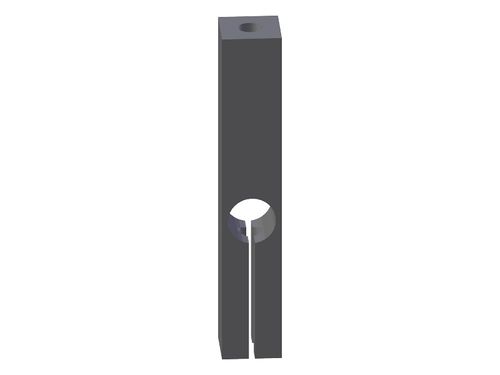
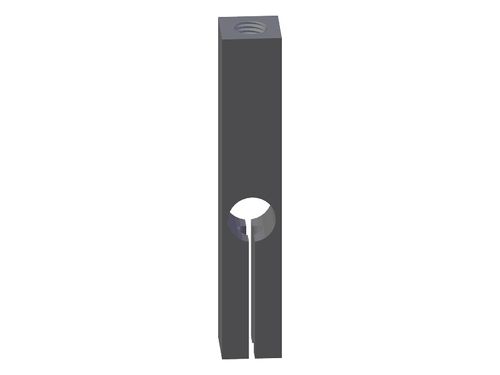
The cooling bar consists of two parts:
| Quantity | Description | Specifications |
|---|---|---|
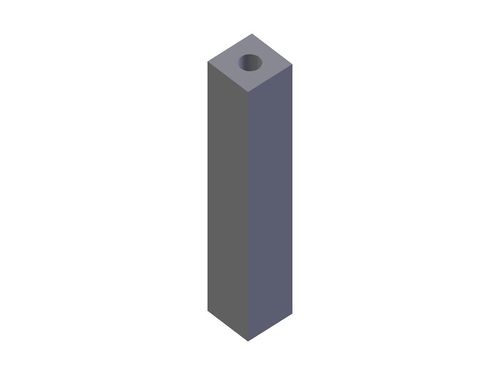
| 1 | square profile | aluminium, 10 x 10 x 58 mm |
| 1 | threaded rod | brass, Length: 40 mm, M6 |
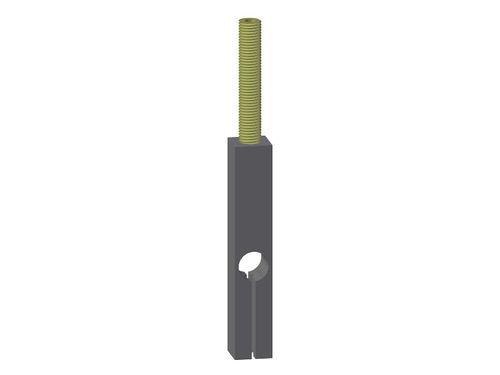
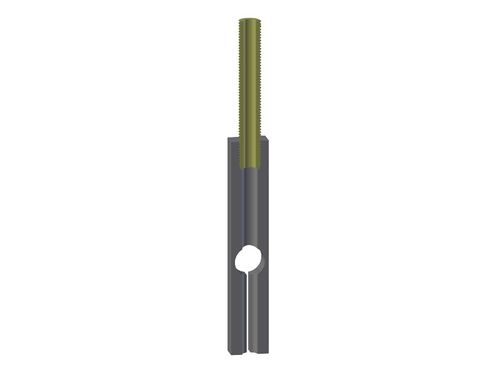
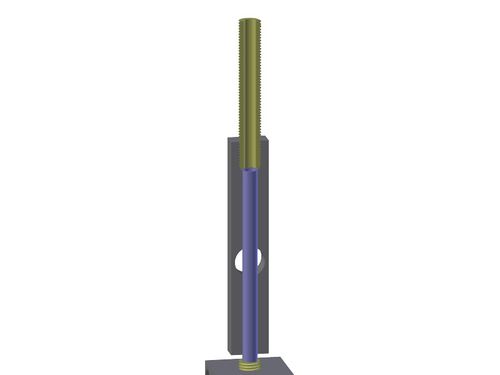
Here you see a cut through the cooling bar.
Later the bar will hold the Pipe which is just clamped into the "chuck" allowing very rapid Pipe changes.
Tools you will need:
- Drill-press
- drill-press vise
- hacksaw
- M6 tap
- 3.2 mm metal drill
- 5 mm metal drill
- 8 mm metal drill
- long 4.1 mm metal drill
- center drill (optional)
First, drill a 3.2 mm hole through the M6 threaded rod. Again, do this by chucking the rod into the drill-press and putting the drill in a vise. A center drill might be helpful.
Next, drill a 4.1 mm hole through the length of the square profile.
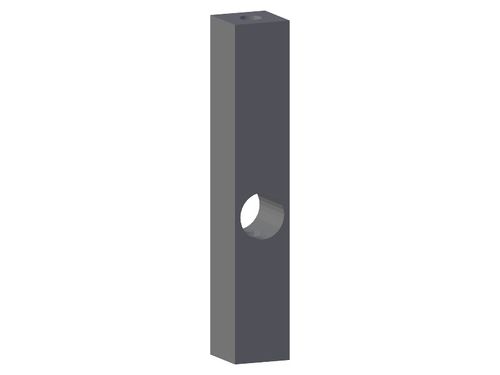
Cross-drill an 8 mm hole in the square profile, 25 mm from the bottom.
Now take a hacksaw and saw a slit from the bottom to the 8 mm hole. This will be the "chuck" which holds the Pipe.
Drill a 5 mm diameter, 8 mm deep hole in the top. Cut an M6 thread into it using the tap.
Finally, screw the threaded rod into the square profile. After making sure the Pipe aligns well, glue them together. I use UHU Endfest 300 for it, but JB Weld might do as well.
The Heater Block
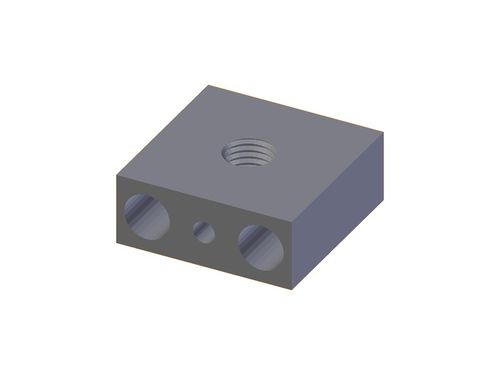
For the heater block you need:
| Quantity | Description | Specifications |
|---|---|---|
| 1 | cube | aluminium, 20 x 20 x 8 mm |
Tools you will need:
- Drill-press
- Drill-press vise
- 2.5 mm metal drill
- 5.0 mm metal drill
- 5.2 mm metal drill
- Center drill (optional)
- M6 thread tap
Here is a cross-section through the middle of the block:
The Cooling Plates
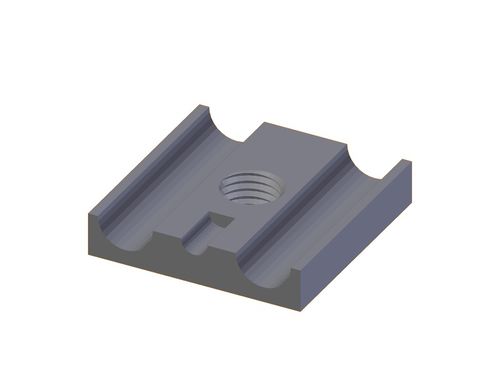
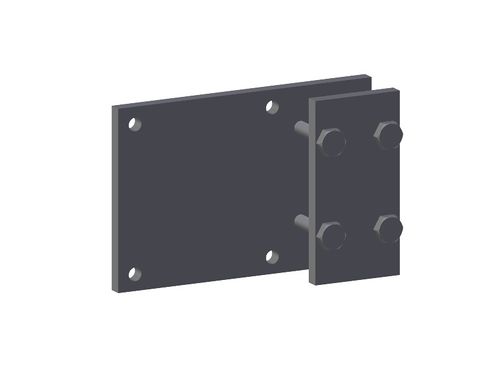
The cooling plates consist of the following parts:
| Quantity | Description | Specifications |
|---|---|---|
| 1 | plate | aluminium, 60 x 40 x 3 mm |
| 1 | plate | aluminium, 20 x 40 x 3 mm |
| 8 | screw | M3 |
| 8 | nut | M3 |
Tools you will need:
- Drill-press
- 3 mm metal drill
The Fan
Use a 40 x 40 mm, 12V, brushless fan.
How to exchange the Pipe
- Loosen the two screws indicated in red.
- Unscrew the Pipe through the bottom of the heater block.
- Pull the Pipe down
You have now removed the Pipe. Install another one by reversing the steps.
Sources
- Solder paste: Bengs Modellbau (http://www.bengs-modellbau.de/werkzeug/loetzubehoer/silberlotpaste.php)
- The stainless-steel tubing was found on ebay
