HackingGM3Gearmotor
Hacking the GM3 Gearmotor
[ <img src="" align="right">]
The GM3 gearmotor is the standard motor for the RepRap extruder. There are a couple things you can do to make it function better. One simple thing you can do is lock the internal clutch which allows the motor to generate more torque without slipping. You can also lubricate the gears and make the motor easier to mount / attach.
You can view the full flickr set online.
Take it Apart
Remove the main screws
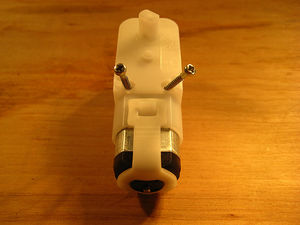
<div class="thumb tright"></div>These screws hold the two halves of the case together. Remove them with a small screwdriver and put them in a tray for safekeeping.
Remove the retaining strap
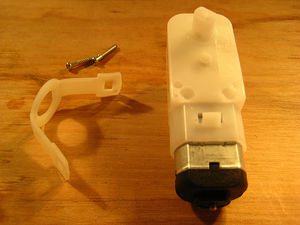
<div class="thumb tright"></div>This plastic retaining strap holds the motor into the plastic housing. The easiest way to remove it is by using a thin flathead screwdriver to pry one end of the strap over the holding tabs. Once you get one side, it comes off very easily. To put it back on, simply put one end over the tab, put it over the motor, and push it over the other tab with your finger.
Remove the motor
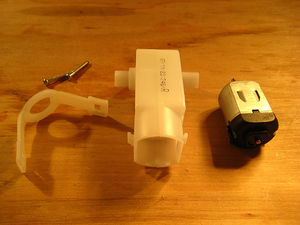
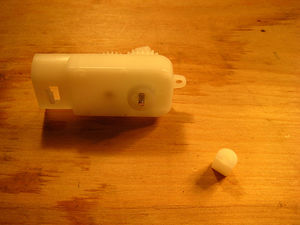
<div class="thumb tright"></div>Removing the motor is simple. Just pull it directly out of the housing. Inserting it back in is similarly easy.
Open the case
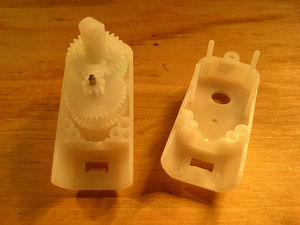
<div class="thumb tright"></div>This is the trickiest part. DO NOT USE TOO MUCH FORCE! Insert your thumbs into the motor housing and gently pry apart. There are plastic 'rods' that keep the housing together and they will 'pop' out. If you use too much force, everything inside will go flying. The key is to open it in a calm and controlled manner. Also, you don't want to break the rods.
Look at the gearbox
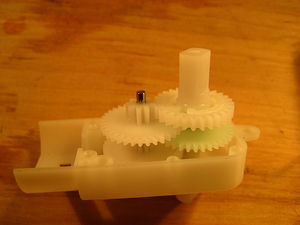
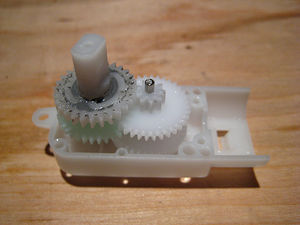
<div class="thumb tright"></div>This is the gearbox. The order and positioning is important. If you were doing this on your own, you would need to memorize it or take a picture. Luckily, I have a picture of it right here for you. It's pretty, right?
Remove the 'D' shaft
<div class="thumb tright"></div>The second, 'D' shaped shaft is only lightly attached. Grab it and rotate it to remove it. It should come off with very little force.
Remove the gear train
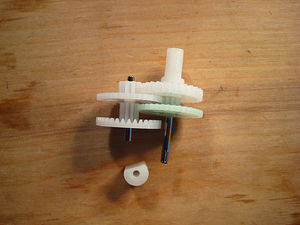
<div class="thumb tright"></div>With the D shaft removed, the gear train will easily slide out.
Remove the lower drive gear
<div class="thumb tright"></div>Pull the green gear off the drive shaft and put it to the side. An easy way is to hold the drive shaft on the table vertically and push down on the 2nd gear.
Remove the upper drive gear
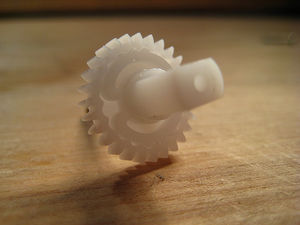
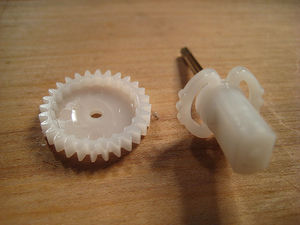
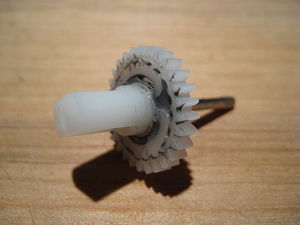
<div class="thumb tright"></div>The upper drive gear has an integrated clutch. Remove the drive gear just like you did above by pushing down on the gear itself, sliding it away from the clutch.
Lock the clutch
The drive gear has inner notches that match up with the clutch / flat drive shaft. When the torque is too high, the clutch compresses and 'slips' to the next notch. Our goal is to make it so that the drive gear is directly locked to the clutch. We'll do that in 2 different ways: gluing the drive gear to the clutch, and filling the gaps between the clutch that allow it to slip.
Clean the drive gear / clutch
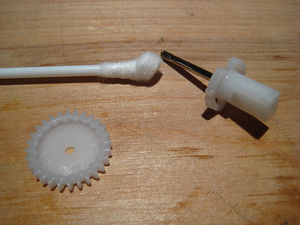
<div class="thumb tright"></div>Use a Q-tip and some rubbing alcohol to clean the surfaces of the drive gear and clutch. This will allow you to get a better bond between the two. Make sure you clean off all the rubbing alcohol when you're done. If you wait a few minutes, it will evaporate.
Score the drive gear / clutch
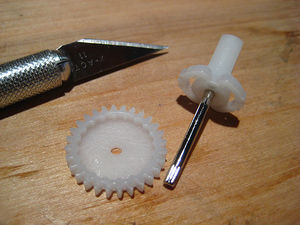
<div class="thumb tright"></div>Carefully take an X-acto knife, or other sharp tool and score the top of the drive gear and the bottom of the clutch. This will give better surface area, and provide better adhesion for the superglue. Make sure you dont cut yourself!
Glue it!
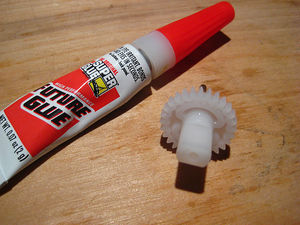
<div class="thumb tright"></div>Using some superglue, glue the drive gear to the bottom of the clutch. Hold it tightly for a few minutes to guarantee a solid bond. You may need to do this twice to get a really solid bond.
JBWeld / Epoxy it!
<div class="thumb tright"></div>Mix up some JBWeld, or ideally some epoxy. I used some JBWeld because it is easy to see. Make sure you mix it thoroughly. You'll then want to apply it to the crevices between the clutch and the drive gear. You need to be very careful during this step, otherwise you'll get it into the gear teeth (as I did.) This isn't fatal, but it means you have to clean things a bit and its a hassle.
Re-assemble it
<div class="thumb tright"></div>Put all the gears back in the proper order. Use the pictures if you dont remember. Once you have them together, turning the drive shaft should turn all the gears. Once you are satisfied you have the gears in right, simply follow the directions, but in reverse. Everything should fit together gently. DO NOT FORCE ANYTHING! If it doesn't fit right, chances are that you are doing it wrong. Just relax, figure out where things go and take your time. Breaking a motor will just cause more problems.
Further reading
- Nophead's Extruder Tweaks have some more tips for tweaking this motor and the extruder it drives.
- Magnetic Rotary Encoder 1.0 was designed to mount to this GM3 gear motor.
