DIY 4 pin molex connector
Release status: unknown
| Description | A DIY Molex socket for those who can't buy them locally
|
| License | unknown
|
| Author | |
| Contributors | |
| Based-on | [[]]
|
| Categories | |
| CAD Models | |
| External Link |
Oddly Molex power headers don't seem to be stocked by the main UK parts suppliers. The in-line socket is quite easy to find though, on fan adapters and power splitters. It can be directly wired to where the header would go via a short length of wire.
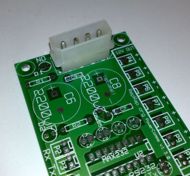
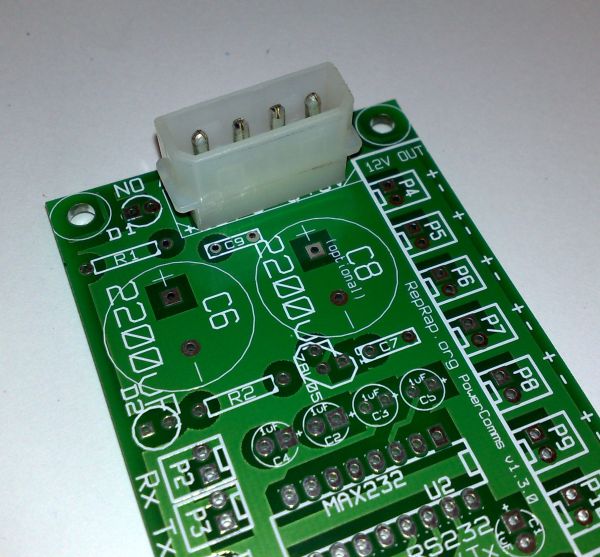
I wanted the socket mounted to the board, so I tried mounting the socket on the board by pulling the wires from the connectors pins through the holes and soldering them. This worked but felt loose and with the force needed to put a connector in or pull it out I didn't feel happy leaving it like that. My first plan was to glue the connector to the board but only the outer edges of the connector touch the board so I decided to cut the connector down to get a larger contact area. I found though that the shortening improved the feel of the connector so much I didn't glue it in the end.
Parts
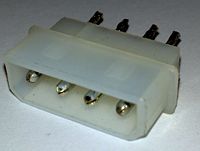
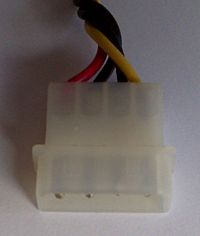 A normal Molex socket like the one to the left.
Shortening the connector
Before cutting the connector the pins need removing, I did this with a tool that came with some coloured connectors for case pimping. I have also done it in the past using tweezers to push the locking tabs in while pushing the pin out.
The cut is easiest to make just above where the connector becomes solid and then filing any excess off to get a flat near solid bottom. I wrapped the connector in masking tape as it's easy to mark the cut-line on and it gives a bit of grip while starting the cut.
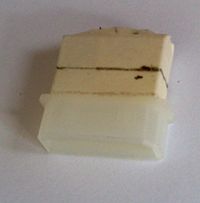 The connector wrapped in masking tape and the cut line marked.
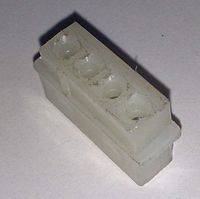 To the left is how the connector looked after the rear section had been removed
Shortening the pins
The pins are too thick to pass directly through the holes in the board and so they also need cutting down.
 cutting off up to where the pin becomes round seems like the right length.
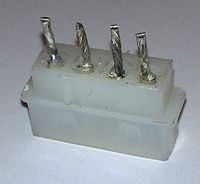
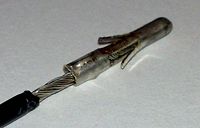 A new piece of wire needs soldering to the pin, it needs to be able to pass through the holes in the board.
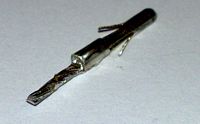 Some solder has wicked up into the wire making it rigid.
The solder making the wire rigid helps with getting the wires through the holes and also improves the rigidity.
