Builders/ReplathHowto
This document Is a work in progress
Replath is still very much in development at the moment so hopefully this guide will show you how to use Replath and a RepRap / RepStrap machine to make a PCB.
Contents
Toolhead
The first thing you will need is a pen toolhead for your machine. So far there is only one Category:PenHolderToolheads, but I think others are coming soon.
Installing the Software
Download and install pyRepRap and Replath. Replath is the plotting program and pyRepRap is a RepRap communications library. (At present you will still need to install pyRepRap even if you do not want to use a serial SNAP RepRap, I am in the process of detaching the two.
Getting a Gerber File
You will need a gerber file to use with replath. A gerber file describes where all the traces and pads are drawn onto the PCB, and at what sizes. I made my gerber file with with Kicad, an open source PCB design program.
Configuring Replath
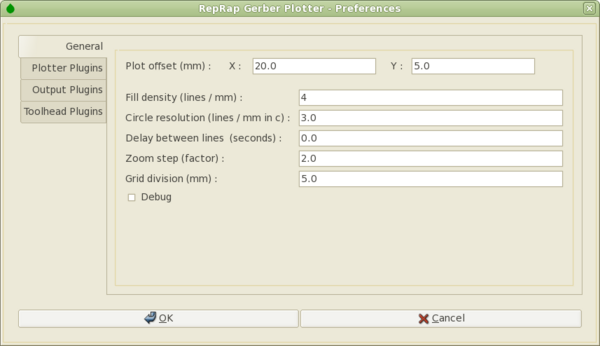
Start replath either from the graphics menu or run replath from a terminal. Click on the preferences button from the toolbar...
Pen Setup
Put an unused piece of copper clad board onto your RepRap table. Go into Replath preferences and select the 'Toolhead' tab, then the 'Pen' tab. Now click 'Setup Wizard'.
Step 1
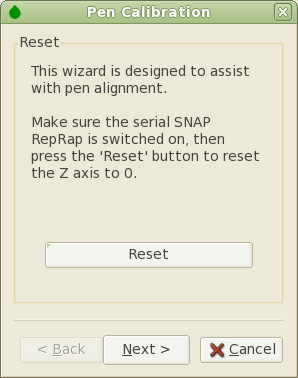
Make sure that your RepRap is connected and switched on, then click 'Reset' to reset all axes to the home position.
Step 2
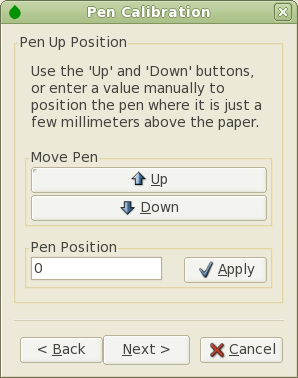
Use the 'Up' and 'Down' buttons to move the pen into a position where is is about 5mm away from the surface of the PCB. Alternatively you can move larger distances by entering a position in 'Pen Position' and clicking 'Apply'
Step 3
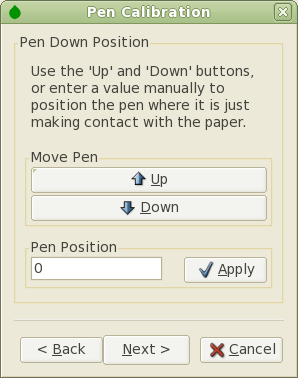
Use the 'Up' and 'Down' buttons to move the pen into a position where is is just touching the surface of the PCB. Alternatively you can move larger distances by entering a position in 'Pen Position' and clicking 'Apply'. You can try manually moving the X or Y axis to make sure the pen is drawing on the PCB and adjust the pen position accordingly.
Step 4
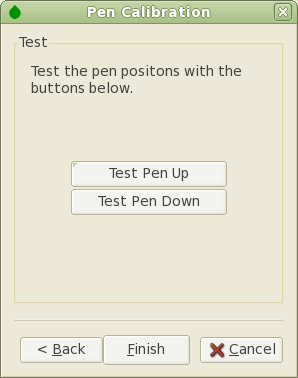
The 'Test Pen Up' and 'Test Pen Down' buttons simple move the pen to either position. This can be usefull for checking that the positions are right. If not you can go back and change them.
Opening the Gerber File
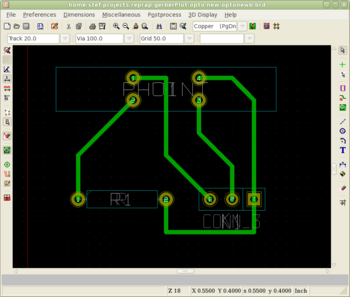
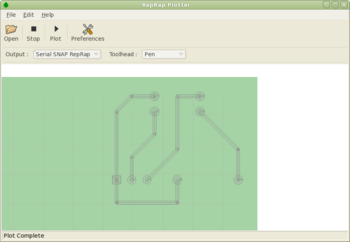
Click open and find your gerber file. You will be asked to choose between area fill and isolation traces. For this example, choose area fill. The gerber should be displayed on screen. You can drag the diagram around using the left mouse button and zoom with the wheel.
Configuring Plot
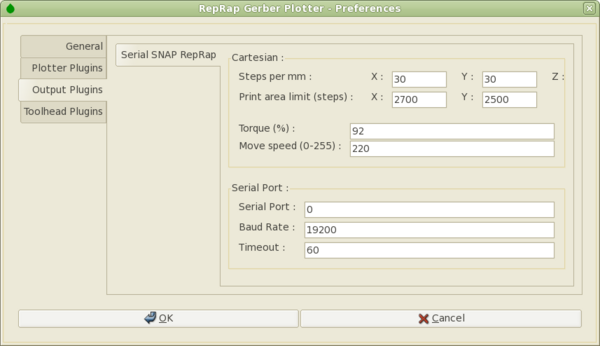
Replath has import and output plugins that can be set in the bar below the toolbar. For this example set the output to 'Serial SNAP RepRap' and the toolhead to 'Pen'.
Plotting
Replath should be all ready to go now. Make sure your RepRap machine is connected and switched on, then click 'Plot' from the toolbar. The machine should start plotting your PCB! During plotting, the percentage of lines plotted is shown in the status bar.
