TechZoneHuxley
General
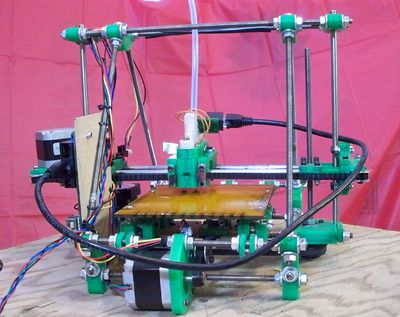
This page and its sub pages should guide you through assembling a RepRap Huxley from the TechZone kit, or from parts you have printed which are the same as the TechZone parts. It is a work in progress, and needs some help, feel free to edit this document to add comments of you your own, or contact us [here] and send us messages asking us for better clarification or details.
I am starting by posting the pictures I have, and over the next few days, I will fill in the instructions and detials (24 Dec 2010)
Thanks,
Lambert (TechZone R&D/Support/Documenter)
You can access the assembly instructions pages from this page, or from the Main Huxley page.
Before you get started, I recommend browsing through all the different assembly sections, so that you have an Idea of what will be coming (it helps to keep you from second guessing what needs done next). You will find that a clean work area, with a good work surface will save you lots of time, and help keep the frustration level down. TechZone has tried very hard to make this kit as complete as possible, if you find that there are some essential parts missing, which should be included in the kit, please contact us [here] and let us know.
Unpacking the Huxley Kit
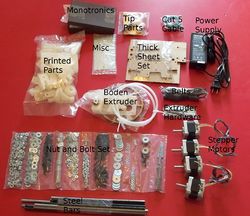
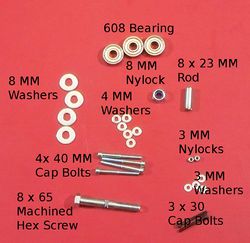
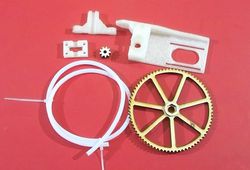
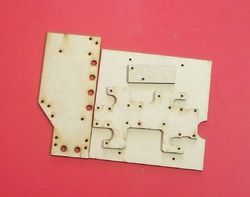
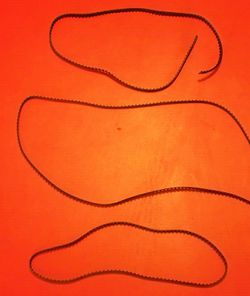
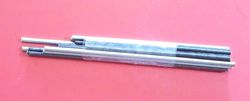
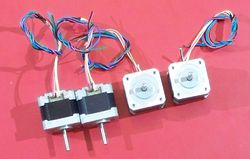
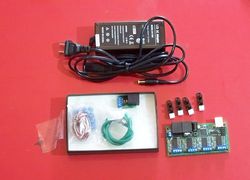
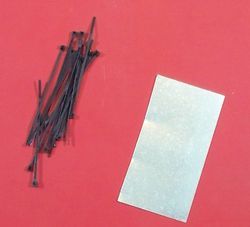
On the left is a picture of the parts which come in the Huxley Kit:
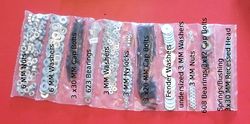
Nut and Bolt Set
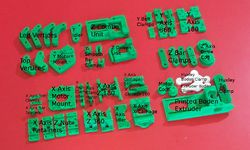
Printed Parts Set
Extruder
Extruder Hardware
Extruder Printed and LaserCut parts
Thick Sheet Set
Belts
Bar Set
Motors
Monotronics Electronics set
Miscellaneous Items
Included in this is:- (1) Thin sheet material
- (15) small zip ties
Assembly Instruction Links
I know it would have been more convenient for most of you if these links had been at the top of the page, but it is important that you look through your kit and make sure all your items are there, before you begin assembly.
6) Electronics
The extruder is a modified version of Wade's Geared Extruder, and assembly instructions for it will be close to instructions for assembling the extruder here. The TechZone kit does not include anything for the springs that you see on the page for Wade's extruder, but otherwise assembly is nearly identical.
Files
The files needed to print and make your own Huxley, without buying the kit can be downloaded from here:
| FILE ID# | TYPE | DESCRIPTION | AVAILABLE FORMATS | CREATED/RESERVED BY |
|---|---|---|---|---|
| TechZone Huxley Printable Parts | TechZone variation of the Huxley | These are printable .stl files for the Huxley, the way TechZone did it. | .stl.zip | --Kimberly Andrus (TechZone) 12:00, Dec 24, 2010 (UTC) |
| TechZone Huxley Thick Sheet Set | TechZone variation of the Huxley | This is the Thick Sheet set, the way TechZone did it. | .cdr.zip, .svg.zip | --Kimberly Andrus (TechZone) 12:00, Dec 24, 2010 (UTC) |
| TechZone Huxley Bowden Extruder Gears | TechZone variation of the Huxley | This is the Gears Used in the TechZone Bowden Extruder. | .cdr.zip, .svg.zip | --Kimberly Andrus (TechZone) 12:00, Dec 24, 2010 (UTC) |
Differences in files
The TechZone files differ from the Huxley currently being developed in the following ways:
- The Y axis motor mount has been modified to allow Nema17 or Nema14 motors to be mounted, it also has an altered height, in order to work with the modified Leg Vertices (see below)
- The Y axis idler has an altered height to work with the modified Leg Vertices.
- The Leg Vertices have been modified to be a little taller, and to have feet (that don't break off under pressure), the two top vertices are not altered, only the four lower vertices
- The Z drive screw base was inspired by Tim Schmidt's Z Axis
- The Z Axis motor mount was also inspired by Tim Schmidt's Parts this part is for a nema 17 motor
- The X axis motor mount has been modified to accept Nema17 or Nema 14 motors
- The X Axis Carriage has been changed to make it narrow enough for the belt to bypass it (rather than using larger idler bearing space on the X idler bracket and X motor mount) It also uses a bushing on the 360 side
- The 360 degree side of the X Axis Carriage is now the bushing clamp for the X axis carriage.
- The 180 degree side of the X Axis Carriage has been altered to allow the belt to pass by without interference.
- The X Axis belt clamps have been modified to fit the new X Carriage.
- The bowden extruder is a modified Wades Extruder, it allows for a larger gear, which TechZone cuts from plywood with a laser.
- The bowden clamps were created from the models done by Erik as published on Thingiverse here.
- The thick sheet set was modified to make it a little simpler, the print size was increased a tiny bit (file available above in Files section above.
- The motor end X Bar Clamp was changed to make it a little sturdier (it now looks very much like the Idler end Bar Clamp).
The other TechZone parts used were selected from the various publications of Huxley parts found on Thingiverse. All the parts we modified (except the Bowden clamps) were modified using Google Sketchup. An Stl importer, and exporter was added to Google Sketchup, to allow the stl files to be modified directly - eliminating another cad format. A special thanks to Derrick Huestis, who helped TechZone with the file modifications.
